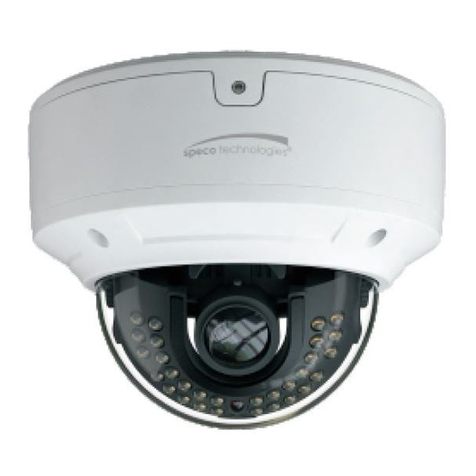
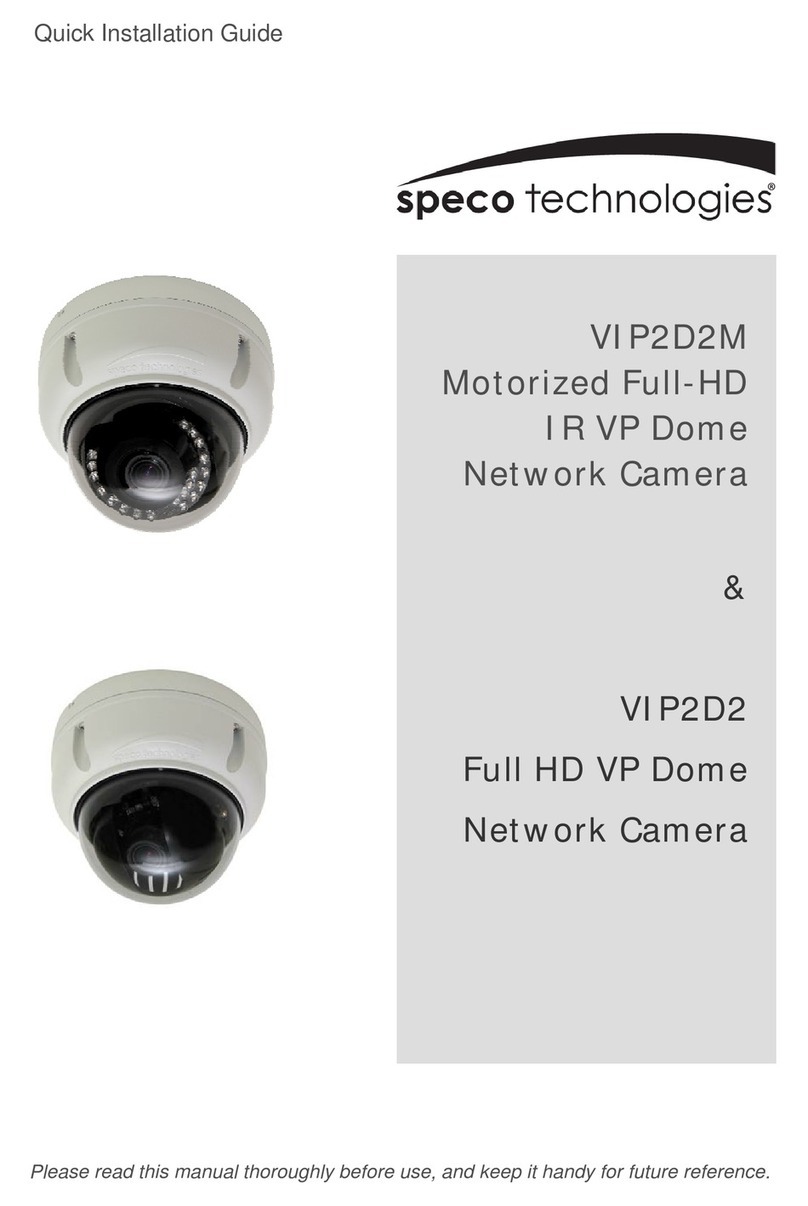
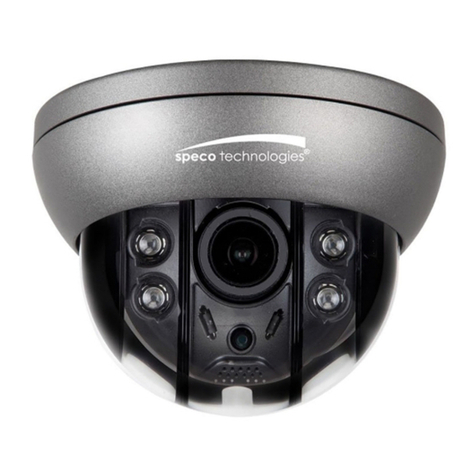
Speco SIPT5 User manual

i
Speco Internet Protocol (SIP) Series
Camera Instruction Manual
(Version 1.0.0)
SIP Weatherproof Bullet Cameras
SIPB1 & SIPB2
SIP Tamperproof Weatherproof Dome Cameras
SIPD3 & SIPD4
SIP Traditional Camera
SIPT5
SIP Weathrproof Speed Dome Camera
SIPSD10X
SIP Megapixel Cameras
SIPMPB & SIPMPD & SIPMPT
Speco Technologies
200 New Hwy, Amityville, NY 11701
800-645-5516 www.specotech.com

ii
Table of Contents
1. FEATURES....................................................................................................... 1-1
1.1 Package ....................................................................................................................... 1-1
1.2
Dimension and Connector Description
....................................................................... 1-2
1.2.1 Dimensions ....................................................................................................................1-2
1.2.2 Connector Description...................................................................................................1-9
2. INSTALLATION ............................................................................................ 2-11
2.1 Minimum System Requirements ........................................................................... 2-11
2.2 Preparation before setup ........................................................................................ 2-12
2.2.1 Setup your PC network................................................................................................2-12
2.3 Configuring the IP device................................................................................... 2-17
2.3.1 Video Display..............................................................................................................2-19
2.3.2 Host Setting .................................................................................................................2-21
2.3.3 WAN Setting ...............................................................................................................2-23
2.3.4 Date Setting .................................................................................................................2-26
2.3.5 Video Setting ...............................................................................................................2-28
2.3.6 Video Adjustment........................................................................................................2-31
2.3.7 Camera Setup...............................................................................................................2-33
2.3.8 Camera Setup (PTZ camera model).............................................................................2-35
2.3.9 PTZ (PT/TZ Camera only) ..........................................................................................2-37
2.3.10 User Account Management .........................................................................................2-39
2.3.11 System Info..................................................................................................................2-40
2.3.12 Firmware Upgrade.......................................................................................................2-42
2.3.13 Factory Default ............................................................................................................2-44
2.3.14 Save Reboot.................................................................................................................2-45
2.3.15 Logout..........................................................................................................................2-46
2.4 Use of OSD ........................................................................................................... 2-47
2.4.1 Function.......................................................................................................................2-47
2.4.2 OSD Menu Setting.......................................................................................................2-48
2.4.3 Operating Camera OSD Menu.....................................................................................2-49
2.4.4 Operating Camera OSD Menu (SIPSD10X) ...............................................................2-70
2.4.5 DIP SW SETTING (SIPSD10X).................................................................................2-88
2.4.6 ID SETTING (SIPSD10X) ..........................................................................................2-88

iii
2.4.7 PROTOCOL (SIPSD10X)...........................................................................................2-89
2.4.8 BAUD RATE SETTING (SIPSD10X)........................................................................2-89
3. APPENDIX ..................................................................................................... 3-90
3.1 Specification ............................................................................................................. 3-90
3.1.1 SIP Camera Series .......................................................................................................3-90
3.1.2 SIPMP Camera Series .................................................................................................3-97


1-1
1. FEATURES
1.1 Package
Package of Products is composed of the main body of the camera, Software CD (NVR
Program, Product Manual, NVR Manual), Quick Install Guide, Cross LAN Cable,
Accessory Pack, Power Lead Cable.
Please check before starting installation.
1
Software CD
SIP/SIPMP Camera
Cross LAN Cable
Quick Install Guide
Power Lead CableAccessory Pack

1-2
1.2 Dimension and Connector Description
1.2.1 Dimensions
1. SIPB1 & SIPB2
①②③④⑤
⑦
⑥
⑧

1-3
2. SIPD3
①②③④⑤
⑦
⑥⑧

1-4
3. SIPD4
①②③④⑤
⑦
⑥
⑧

1-5
4. SIPT5
①
②
③
④
⑤
⑥
⑧
⑨

1-6
5. SIPSD10X
①
②③
④
⑤
⑩
⑥

1-7
6. SIPMPB
①②③⑤
⑪
⑥

1-8
7. SIPMPD
①②③⑤
⑥

1-9
8. SIPMPT
1.2.2 Connector Description
①12 Volts DC Power Input
②Audio Output
③Audio Input : The SIP Camera supports one audio input and output
④Video Output : The SIP Camera supports one analog video output with
BNC connector.(** Not available on the megapixel series)
⑤Ethernet Port : Standard RJ45 connector. Supporting POE. (** Built-in
Power Over Ethernet except the SIPSD10X speed domes)
⑥Reset Button (** Please open the case for the Bullet / Dome type camera )
①
②
③
⑤
⑫
⑥
⑨

1-10
Step 1 : Switch off SIP Camera by disconnecting the power cable.
Step 2 : Using a suitable pointed object, press and continue to hold the Reset
Button. While continuing to hold the reset button, reconnect the power cable.
Step 3 : Keep holding the reset button for 6 seconds, release the reset button.
The unit will start up with factory default settings.
⑦Video test port : Second Video Test output
⑧OSD control joystick
⑨Action LED Indicator : The LED will light up after SIP Camera has
successfully completed the boot process.
⑩DIP Switch (Baud rage & Address setting) :
Please refer to the 2.4.5 for more descriptions
⑪LED Light level controller
⑫Digital Input / Transistor Output

2-11
2. INSTALLATION
2.1 Minimum System Requirements
CPU
Pentinum 4 2.4GHz and above
Hard Disk 40 GB or above
Memory 256 MB or above
Operating System Windows XP with SP2 or above
Video Resolution SVGA or XGA with 1024x768 resolution
2

2-12
2.2 Preparation before setup
To configure your IP device, you have to use Internet Explorer to log in.
Before that, your PC’s network settings and the IP device’s IP address must
be set up. Make sure all the connections are connected correctly, and then
follow the procedures below.
1. Setup your PC network
You have to match your PC’s TCP/IP setting with the IP device’s
default settings before you can use IE browser to login it. This section
tells you how to setup your PC’s TCP/IP settings.
2. Setup IP device’s IP address
This IP device’s IP address can be setup manually or automatically by
network service (DHCP). If it acquires the IP address by using the
DHCP service, please use the IP utility software bundled in the product
CD to search all the IP devices’ IP address.
2.2.1 Setup your PC network
To set up the network of IP device via a PC, you have to change the TCP/IP
settings of the PC.
The following are the default network settings of IP device.
IP Address: 192.168.0.100
Subnet Mask: 255.255.255.0
To access the IP device, the IP address of the PC should match the address
below.
IP Address: 192.168.0.xxx
Subnet Mask: 255.255.255.0
NOTE: xxx should be a number from 1 to 254, but 100 is excepted.

2-13
The procedure below is the setup procedure of a PC using Windows XP as
its OS. When running an OS other than Windows XP, please refer to the
manual included with the OS.
zSTEP 1
Start up your PC.
zSTEP 2
Click the [Start] and select the "Control Panel"

2-14
zSTEP 3
Double-click the "Network and Internet connections" icon.
zSTEP 4
Double-click the "Network connections" icon

2-15
zSTEP 5
Click “Local Area Connections”, and then click “Change settings of
this connection” in the network Task menu.
zSTEP 6
Click “Internet Protocol (TCP/IP)”, and then click the [Properties]
button.

2-16
zSTEP 7
Click the “Use the following IP address” radio button and enter the IP
address and the subnet mask.
zSTEP 8
Click the [OK] button and the window dialog box closes.
Please set the settings as below.
IP address: 192.168. 0.xxx
Subnet mask: 255.255.255. 0
(NOTE: xxx should be a number
from 1 to 254, but 100 is
excepted.)
This manual suits for next models
8
Table of contents
Other Speco Security Camera manuals

Speco
Speco ProVideo CVC-724EXTP User manual

Speco
Speco IP-INTB1 User manual

Speco
Speco O4VT1M User manual

Speco
Speco O2T7 User manual

Speco
Speco O4VFBM User manual

Speco
Speco H4FB1 User manual

Speco
Speco O4VT1 User manual

Speco
Speco HLPR1G User manual

Speco
Speco HT-7816DNV User manual

Speco
Speco CVC637HW User manual

Speco
Speco LEDome User manual

Speco
Speco SIPB1 User manual

Speco
Speco O4FB8M User manual

Speco
Speco VL-62 User manual

Speco
Speco CVC61HRB User manual

Speco
Speco HT7248TM User manual

Speco
Speco O8D6M User manual

Speco
Speco Intensifier VLINTT5 User manual

Speco
Speco O4B7M User manual

Speco
Speco O2P25X User manual