4
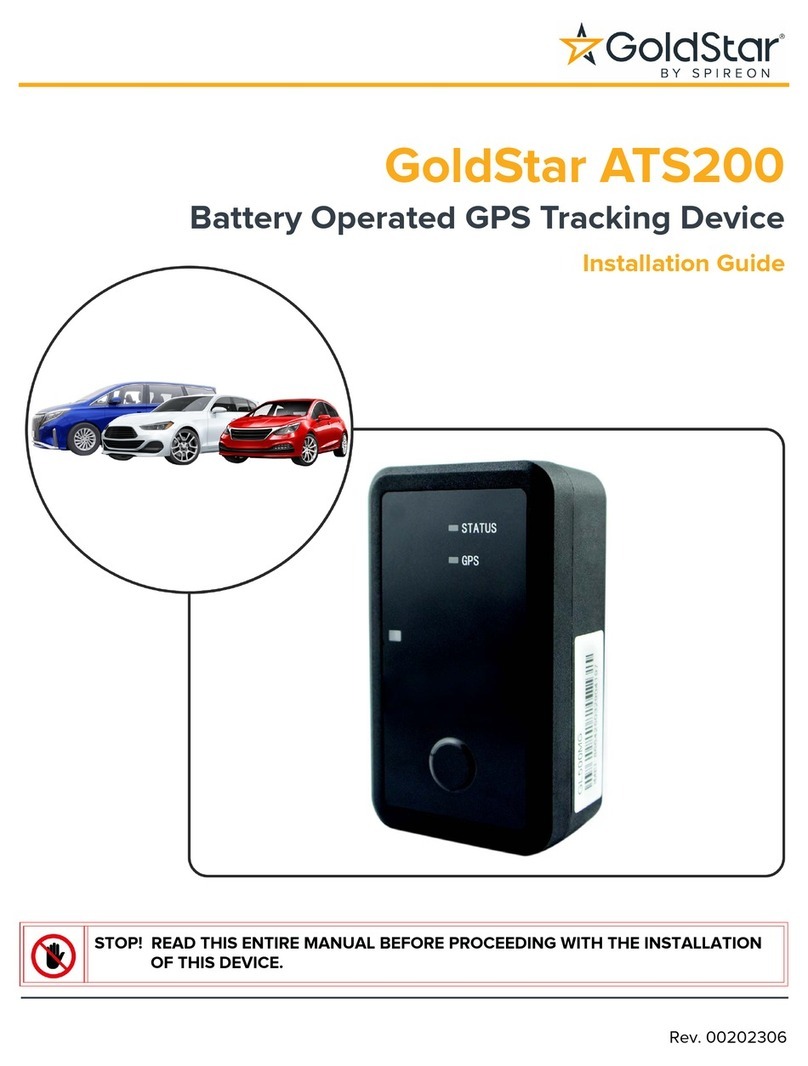
GoldStar ATS300
Installation Guide
Rev. 00022305
Installation Procedure
Powering Up the Tracking Device
1. Locate the Power-up Button on the left side of
the flat face of the Tracking Device.
2. Using the Power-Up Tool (supplied in the
Tracking Device Kit) press and hold the Power-
up Button for 5 seconds to turn on the Tracking
Device.
3. The red LED will flash for 5 seconds.
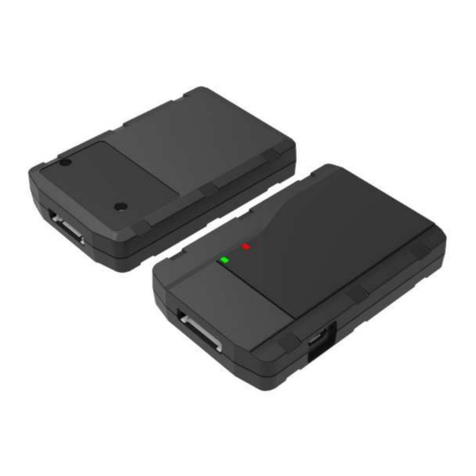
LEDs
The ATS300 has two LED indicators:
To preserve battery life, both LEDs will turn off once cell and GPS connections have been established
and the Tracking Device sends in the first event.
Mounting Locations
The Tracking Device should be mounted as high in the vehicle as possible with the LEDs upwards
towards the roof of the vehicle.
Some examples include:
• Behind the knee bolster
• Behind the glove box
• Under the rear deck, above the metal support structure
LED Color Indication LED Action
Red GPS acquisition status Flashes while acquiring GPS
Solid after GPS lock acquired
Green Cellular connection status Flashes while acquiring signal
Solid after signal acquired
Note: After the initial power-up sequence, the Tracking Device will enter sleep mode to
preserve battery life. To wake the Tracking Device, press and hold the Power-up Button
again.
Caution! Ensure the Tracking Device is not mounted below any metal obstructions. The
Tracking Device should be mounted away from any moving parts (steering shaft, tilt col-
umn, pedals).
