4
GoldStar ATS200
Installation Guide
Rev. 00202306
Mounting Options
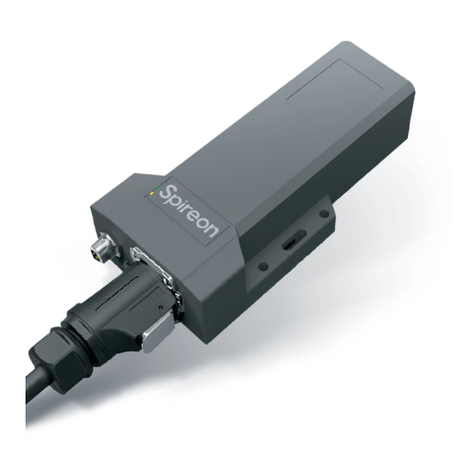
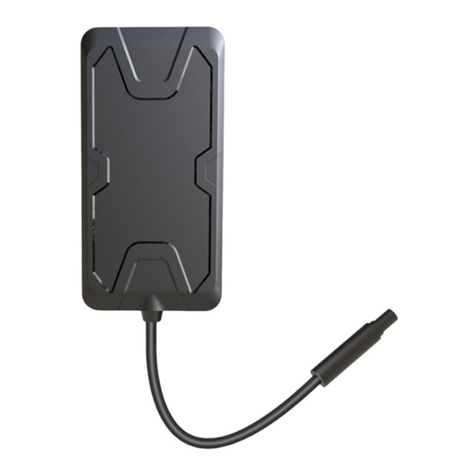
You can mount the Tracking Device in one of two
ways:
1. Zip Tie Mounting
A. Select a mounting point that you can wrap
zip ties around.
B. Wrap the zip ties (supplied in the Device
Install Kit) around the Tracking Device and
the mounting point, making sure the zip ties
fit down into the grooves on the top of the
Tracking Device.
2. Screw Mounting (requires optional Mounting Plate)
A. Using the M3 x 6 screw (supplied in the Magnetic Mounting Plate Kit), attach the Magnetic
Mounting Plate to the bottom of the Tracking Device.
B. Use the 2 self-drilling screws (supplied in the Magnetic Mounting Plate Kit) to mount the Tracking
Device to a rigid surface.
Device Behavior - Mode Definition
The Tracking Device has three operational modes:
Mode Activation Purpose
Quick Track Automatically activated when the
Tracking Device powers on
Quickly identifies where the user lives
and works
Daily Track
Automatically activated after the Track-
ing Device establishes a geographic
profile of home and work
Automatically reports location of the
Tracking Device about once a day
Recovery Track Manually activated by user Provides the user with live trip tracking
and locate commands
Caution! Recovery Track will severely impact battery life of the Tracking Device. Only
use Recovery Track during live repossession scenarios.
