manuals.online logo
Brands
  1. Home
  2. •
  3. Brands
  4. •
  5. Sproutwell
  6. •
  7. Greenhouse Kit
  8. •
  9. Sproutwell GRANGE-3 User manual

Sproutwell GRANGE-3 User manual

ItemNo. &Packing List
Assembly Instructions
Packing List
etc.
Product Size
(L*W*H)
400*300*243CM
600*300*243CM
800*300*243CM
1000*306*243CM
ALU. No. 1 ALU. No. 2 ALU. No. 3 PC No. 1 PC No. 2
1CTN
1CTN
1CTN
1CTN
1CTN
1CTN
1CTN
1CTN
1CTN
1CTN
1CTN
2CTNS
3CTNS
1CTN
1CTN
1CTN
1CTN
1CTN
2CTNS
3CTNS
4CTNS
5CTNS
etc.
etc.
MODEL:GRANGE - 3
PLEASEREADCAREFULLYBEFOREASSEMBLY
PRODUCT SIZE(400x300x243CM):PLEASE REFER TO PACKING LIST BELOW
2
Click
Functions and Features:
2. Easy and fast assembly.
7mm/10mm
Free Tool Free Tool Free Tool
1. For safety purposes, we strongly recommend that the product will be assembled by at least two people.
Assembly and Maintenance Advice
2. Some parts have sharp edges. Please be careful when handling components. Always wear gloves, shoes
and safety goggles during assembly.
3. DO NOT climb or stand on the roof, heavy articles should not be leaned against the greenhouse.
4. Keep roof and gutter clean of snow,dirt & leaves. Large amounts of snow on roof can damage the product,
making it unsafe to stand below or nearby.
5. When your product needs cleaning, use a mild detergent solution and rinse with cold clean water.
Do not use acetone, abrasive cleaners or other special detergents to clean the panels.
1. In comparison to a traditional greenhouse structure,all main profiles are
manufactured in a square hollow section design,resulting in a stronger
3. The unique design allows the greenhouse to be easily extended at any stage
in 2m long sections as detailed in the table of Front Page;
more weather resistant product.
4. The Grange Series greenhouses include gutters
You can also easily connect these to a suitable
and aluminium downpipes to harvest the rainwater.
tank.
Manualopener Automaticopener
3
5. A steel base is not required as the aluminium base frame is fixed to
the necessary concrete footings with the expansion bolts provided,
alternatively you can easily secure it to a timber base with timber
screws(not provided).
Expansion screw
/ Concrete ground
6.
The Grange Series greenhouses come standard with Manual opening
arms. Automatic openers can be purchased seperately and fitted to
any window vent. We recommend two automatic vent openers be fitted
7. Please ensure the roof vents are not installed into the end roof bays of
the greenhouse as this is where you need the bracing.
8. Each Polycarbonate Panel comes with UV protected properties.
Please ensure the clear film with the text faces out, toward the
sun Remove both films before installation of the panels.
to each vent in the same positions the standard manual vent arms.
PLEASE NOTE:
We have recently changed our polycarbonate
film. All panels must be installed with the white
film facing inside and the clear film with writing
facing the sun.
If you have any questions please feel free to
contact us.
Head Office: Mon-Fri 9am-4pm
14 Crown Street
South Geelong, VIC 3220
PH: 1300 657 174
Support@sproutwellgreenhouses.com.au
POLYCARBONATE ORIENTATION
WRITING
FACES THE
SUN
X
4
Front Assembly
L05A 2
QTY.
L01A
L03E 1
1
NO.
PART
L03F 1
L08A 3
L01B 1
L01C 1
L04B 2
A1
B1
C2
D1
E1
F1
18
W01 2
18
QTY.
NO.
PART QTY.
NO.
PART
J03R/L 1/1
J04 2
J01 1
J02R/L 1/1
W05 2
2
DoorAssembly
L04B 3
L05A 2
QTY.
L01A
L03C 1
2
NO.
PART
L03D 1
L08A 3
L01B 1
L01C 1
L05B 1
A1
B1
C2
D1
E1
F1
20
W01 2
20
J03R/L 1/1
J04 2
QTY.
NO.
PART QTY.
NO.
PART
J01 1
J02R/L 1/1
W05 3
3
BackAssembly
L05G 4
QTY.
L18A
L16A 1
2
NO.
PART
L18B 2
L18C 1
L16B 1
J 8
8
8
16
L16C 1
L01D 1
L04A 1
8
8
T08 2
T08 2
Z01
5X15
M01
M6
S01
M6X12 M01
M6
S01
M6X12
S03
M8X60
M01
M6
S01
M6X12
Z02
4X16D
Z02
4X16D
S03
M8X60
ALU.BOXNO.1
5
ALU. Box No.1
J07
J08
2
2
J07
J08
2
2
2X2 Sections AssemblyMiddleSection Assembly
ALU.BOXNO.2
6
ALU. Box No.2
L02A 4
QTY.
NO.
PART
L08B 4
L02B 4
L06 2
L07 4
L05C 4
L05D 4
L05B 4
L15A 4
L09 4
L19 8
L20 4
L21 4
L04E 4
QTY.
NO.
PART
W06 8
W08 4
84
8
24
16
W05 8
8
76
16
W08A 4
L22 6
QTY.
NO.
PART
6
6
J04 2
L03B 2
L03A 2
G2
H1
J05 1
L05E 2
L05F 4
J06 2
S01
M6X12
S02
M6X20
M01
M6
Z02
4X16D
Z03
5X30
Z04
4X10
S03
M8X60
C2
S01
M6X12
M01
M6
S05
M5X35
M05
M5
16
16
M06
M5 16
1X2 Sections AssemblyMiddleSection Assembly
ALU.BOXNO.3
7
ALU. Box No.3
L02A 2
QTY.
NO.
PART
L08B 2
L02B 2
L06 1
L07 2
L05C 2
L05D 2
L05B 2
L15A 2
L09 2
L19 4
L20 2
L21 2
L04E 2
QTY.
NO.
PART
W06 4
42
4
12
8
W05 4
4
38
8
L22 3
QTY.
NO.
PART
6
6
J04 2
L03B 2
L03A 2
G2
H1
J05 1
L05E 2
L05F 4
J06 2
C2
S01
M6X12
S02
M6X20
M01
M6
Z02
4X16D
Z03
5X30
Z04
4X10
S03
M8X60
S01
M6X12
M01
M6
W08 2
W08A 2
S05
M5X35
M05
M5
8
8
M06
M5 8
QTY.
NO.
PART
Y6 4
Y7 2
Y9 2
QTY.
NO.
PART
Y1 1
Y2 2
Y4 1
Y5 1
QTY.
NO.
PART
Y1 1
Y2 3
Y4 1
Front Assembly BackAssembly
1X2 Sections Assembly
DoorAssembly
QTY.
NO.
PART
Y11 2
Y3 1
Y10 2
8
PC Box No. 1
PC Box
No.1
PC Box No. 2
PC Box
No.2
L05A 2
QTY.
L01A
L03E 1
1
NO.
PART
L03F 1
L08A 3
L01B 1
L01C 1
L04B 2
A1
B1
C2
D1
E1
F1
18
W01 2
18
QTY.
NO.
PART QTY.
NO.
PART
J03R/L 1/1
J04 2
J01 1
J02R/L 1/1
W05 2
2
L01D 1
L04A 1
8
T08 2
QTY.
NO.
PART
Y1 1
Y2 2
Y4 1
Y5 1
L08A L08A L08A
L01A L01D
L03F
L03E
A
B
CC
L04A
L04B L04B
D
E
F
L01B L01C
W01 W01
L05A L05A
Y2 Y2
Y1
Y5
Y4
9
Z02
4X16D
M01
M6
S01
M6X12
S03
M8X60
Overview of Front Assembly
J07
J08
2
2
L04B 3
L05A 2
QTY.
L01A
L03C 1
2
NO.
PART
L03D 1
L08A 3
L01B 1
L01C 1
L05B 1
A1
B1
C2
D1
E1
F1
20
W01 2
20
J03R/L 1/1
J04 2
QTY.
NO.
PART QTY.
NO.
PART
J01 1
J02R/L 1/1
W05 3
3
8
T08 2
QTY.
NO.
PART
Y1 1
Y2 3
Y4 1
Y3 1
L08A L08A L08A
CC
A
B
L05A
L05A
L04B L04B L04B
L01B L01C
W01 W01
F
DE
L01A
L01A
L05B
L03C L03D
Y2 Y2 Y2
Y1 Y4
Y3
10
M01
M6
S01
M6X12
Z02
4X16D
S03
M8X60
Overview of Back Assembly
J07
J08
2
2
11
Y6 Y6 Y6 Y6
Y6 Y6 Y6 Y6
Y7 Y7
Y7 Y7
Y9 Y9
Y9 Y9
Y10 Y10
Y10 Y10
Overview of 2x2 Sections Assembly and Middle Section Assembly
L02A 4
QTY.
NO.
PART
L08B 4
L02B 4
L06 2
L07 4
L05C 4
L05D 4
L05B 4
L15A 4
L09 4
L19 8
L20 4
L21 4
L04E 4
QTY.
NO.
PART
W06 8
L22 6
QTY.
NO.
PART
6
6
J04 2
L03B 2
L03A 2
G2
H1
J05 1
L05E 2
L05F 4
J06 2
C2
QTY.
NO.
PART
Y6 8
Y7 4
Y9 4
Y10 4
M01
M6
S01
M6X12
W08 4
84
8
24
16
W05 8
8
76
16
W08A 4
S01
M6X12
S02
M6X20
M01
M6
Z02
4X16D
Z03
5X30
Z04
4X10
S03
M8X60
S05
M5X35
M05
M5
16
16
M06
M5 16
L08B L08B
L02A
L02A
L07
L07
L02B L02B
L06
L04E L04E
L05B L05B
L05C
L05C
L05D
L05D
L22
L22
L22
L09
L09
L15A L15A
L20 L20
L21
L21
L19 L19
L19
L19
L08B
L08B
L05C L05C
C
C
L02A
L02A
L03A
L03A
L05F
L05F
L05E
G
G
L05B
L05B
L22
L22
L07
L07
L03B L03B L04E
L04E
L02B
L05D
L05D
L02B
L21
L15A L15A
L20
L20
L09
H
L19
L19
L19
L19
L21
L06
12
* This page shows how one GRANGE-3 is assembled, 400x300x243CM.
L08B
L08B
L05C L05C
C
C
L02A
L02A
L03A
L03A
L05F
L05F
L05E
G
G
L05B
L05B
L22
L22
L07
L07
L03B L03B L04E
L04E
L02B
L05D
L05D
L02B
L21
L15A L15A
L20
L20
L09
H
L19
L19
L19
L19
L21
L06
13
Overview of Middle Section Assembly
* This page shows how one 2 Section is assembled for a longer size.
L02A 2
QTY.
NO.
PART
L08B 2
L02B 2
L06 1
L07 2
L05C 2
L05D 2
L05B 2
L15A 2
L09 2
L19 4
L20 2
L21 2
L04E 2
QTY.
NO.
PART
W06 4
L22 3
QTY.
NO.
PART
6
6
J04 2
L03B 2
L03A 2
G2
H1
J05 1
L05E 2
L05F 4
J06 2
C2
QTY.
NO.
PART
Y6 4
Y7 2
Y9 2
Y10 2
Y6 Y6
Y6 Y6
Y7
Y7
Y9
Y9
Y10
Y10
S01
M6X12
M01
M6
42
4
12
8
W05 4
4
38
8
S01
M6X12
S02
M6X20
M01
M6
Z02
4X16D
Z03
5X30
Z04
4X10
S03
M8X60
W08 2
W08A 2
S05
M5X35
M05
M5
8
8
M06
M5 8
When assembling a greenhouse longer than 4 meters, you simply replicate these 2 meter sections
to increase the greenhouse to the desired length.
ab
ab
=
ab
=
ab
14
Expansion screw
/ Concrete ground
* It is crucial the a + b dimensions are the same to ensure the base is square.
Support at the corners only is not adequate.
Front Assemby BackAssembly
15
4Section Assemby
123 4
* W= Outer Width of Base Profiles
* L= Outer Length of Base Profiles
* a=b= Outer Diagonal of Base Profiles
* a1=b1= Inner Diagonal of Base Profiles
GRANGE-3
(4 x 3M)
4 x 3M
W
L
a=b
a1=b1
6 x 3M 8 x 3M 10 x 3M 12 x 3M 14 x 3M 16 x 3M 18 x 3M etc.
(mm)
(mm)
(mm)
(mm)
3059.6
4060.26062.28064.210066.212068.214070.216072.218074.2
5083.9 8625.110520.912450 14399 16360.818331.3
4958.9 8510.210409.712341.714293.116256.618228.6
6790.5
6670.7
3059.63059.63059.63059.63059.63059.63059.6
Item No.
Dimensions
16
2 Section Assembly
GRANGE-3 + 2 Section Assembly
(6 x 3M)
Front Assembly Back Assembly
GRANGE-3
* The basic model, GRANGE-3, can be easily extended by adding
a '1x2 Section Assembly' each time for a longer size.
17
* This shows a layout for W05's positions where it is placed
in the middle of PC panel for each section.
W05
S03
W05
W05
Back
Front
1x2 Section Assembly
GRANGE-3
12
456
123
4
5
6
Y11
3
L18A
L18C
L18B
L16C
L05G
J
J
L16C
L18C
Z01
J
L18A
L18C
Z01
L16C
L18B
Z01
J
L18A
L18B
Z01
L05G 4
QTY.
L18A
L16A 1
2
NO.
PART
L18B 2
L18C 1
L16B 1
J 8
8
8
16
L16C 1
Y11 2
L05G
18
Z01
5X15
M01
M6
S01
M6X12
Door 1 Assembly
7
11
9
10 12
78
9
10
12
Y11
8
L18A
L18B
L16B
L16A
L05G
J
J
L16A
L18B
Z01
J
L18A
L18B
Z01
L16A
L16B
Z01
11
J
L18A
L16B
Z01
L05G
19
Door 2 Assembly
L15A
L20 L19
L21
Z02
Y10
L19
Z02
Z02
Z02
QTY.
NO.
PART L15A 1
L19 2
L20 1
L21 1
W06 2
2
2
4
6
20
Z02
4X16D
Z04
4X10
S02
M6X20
M01
M6
Roof Vent Assembly
Y10 1

Other Sproutwell Greenhouse Kit manuals
Sproutwell SMALL GAZEBO User manual

Sproutwell

Sproutwell SMALL GAZEBO User manual

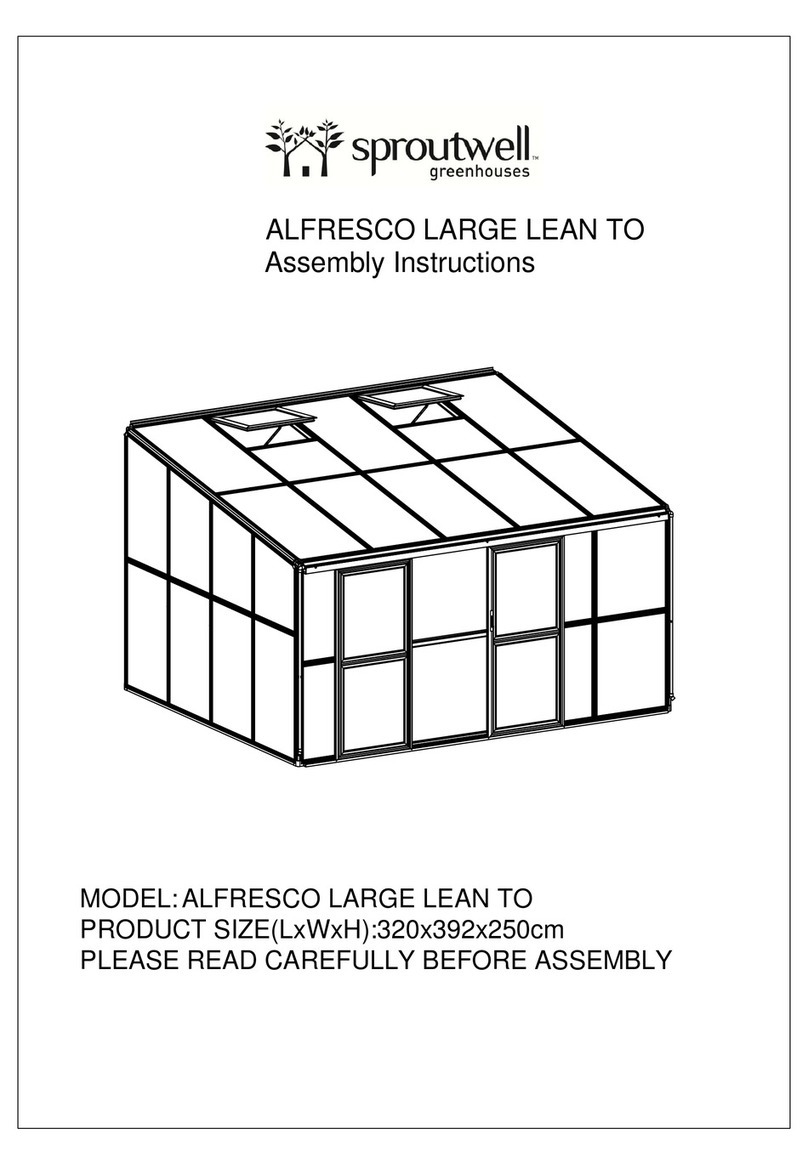
Sproutwell ALFRESCO LARGE LEAN TO User manual

Sproutwell

Sproutwell ALFRESCO LARGE LEAN TO User manual

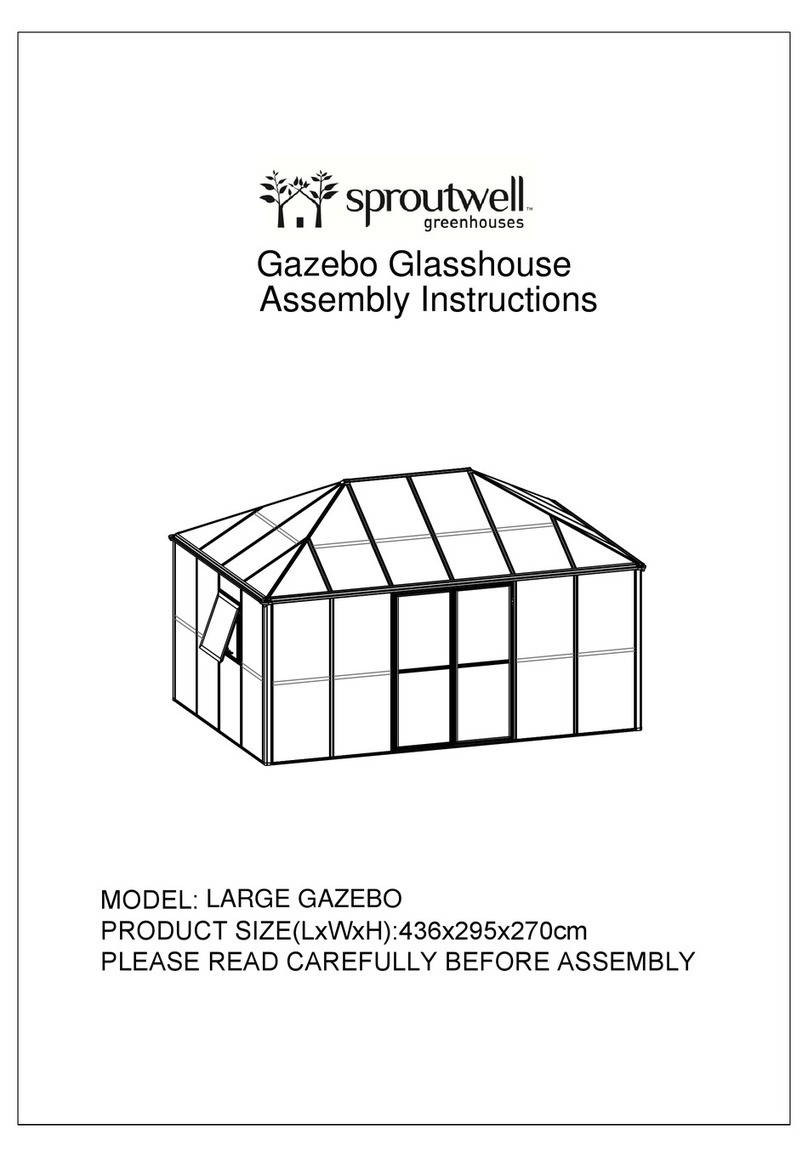
Sproutwell LARGE GAZEBO User manual

Sproutwell

Sproutwell LARGE GAZEBO User manual

Sproutwell GRANGE - 5 User manual

Sproutwell

Sproutwell GRANGE - 5 User manual

Sproutwell GRANGE-4,3000 User manual

Sproutwell

Sproutwell GRANGE-4,3000 User manual

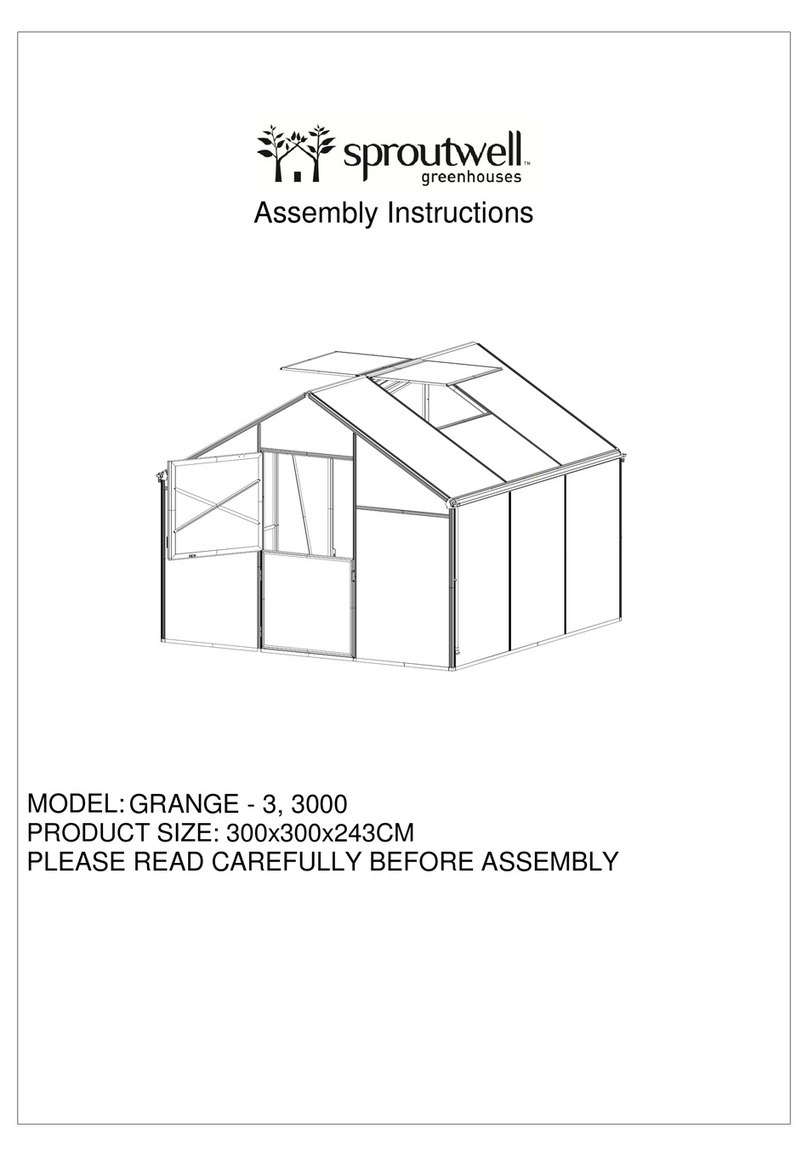
Sproutwell GRANGE-3,3000 User manual

Sproutwell

Sproutwell GRANGE-3,3000 User manual

Sproutwell GRANGE-4 User manual

Sproutwell

Sproutwell GRANGE-4 User manual

Sproutwell NURSERY GREENHOUSE User manual

Sproutwell

Sproutwell NURSERY GREENHOUSE User manual

Sproutwell Small Circle User manual

Sproutwell

Sproutwell Small Circle User manual

Sproutwell REGATTA User manual

Sproutwell

Sproutwell REGATTA User manual

Sproutwell GRANGE-7 User manual

Sproutwell

Sproutwell GRANGE-7 User manual
Popular Greenhouse Kit manuals by other brands

PNI SP6000 user manual

PNI

PNI SP6000 user manual

Riverstone Networks Monticello Black Premium Assembly instructions

Riverstone Networks

Riverstone Networks Monticello Black Premium Assembly instructions

Royal Well Chili Pepper RW2277 manual

Royal Well

Royal Well Chili Pepper RW2277 manual

Palram Plant Inn-Clear Glazing Assembly instructions

Palram

Palram Plant Inn-Clear Glazing Assembly instructions

Juliana OASIS Assembly instruction

Juliana

Juliana OASIS Assembly instruction

Growing Spaces Doorway installation manual

Growing Spaces

Growing Spaces Doorway installation manual

Mueller 9x12 Greenhouse Kit instructions

Mueller

Mueller 9x12 Greenhouse Kit instructions

Velcom CAMELLIA R Technical manual

Velcom

Velcom CAMELLIA R Technical manual

Palram Victory Orangery - Garden Chalet Assembly instructions

Palram

Palram Victory Orangery - Garden Chalet Assembly instructions

Dancover TITAN Arch+ 60 manual

Dancover

Dancover TITAN Arch+ 60 manual

Vitavia VM0028-I 5200 Assembly instructions

Vitavia

Vitavia VM0028-I 5200 Assembly instructions

G21 GZ 48 Assembly instructions

G21

G21 GZ 48 Assembly instructions

Mr Fothergill's Little Gardeners 14514 instructions

Mr Fothergill's

Mr Fothergill's Little Gardeners 14514 instructions

Outsunny 845-243 Assembly & instruction manual

Outsunny

Outsunny 845-243 Assembly & instruction manual

harvst Yard Setup and assembly guide

harvst

harvst Yard Setup and assembly guide

ClearSpan PB00556R3S manual

ClearSpan

ClearSpan PB00556R3S manual

Growers SOLUTION DAKOTA Installation

Growers SOLUTION

Growers SOLUTION DAKOTA Installation

Janssens HELIOS SL Mounting instructions

Janssens

Janssens HELIOS SL Mounting instructions

manuals.online logo
manuals.online logoBrands
  • About & Mission
  • Contact us
  • Privacy Policy
  • Terms and Conditions

Copyright 2025 Manuals.Online. All Rights Reserved.