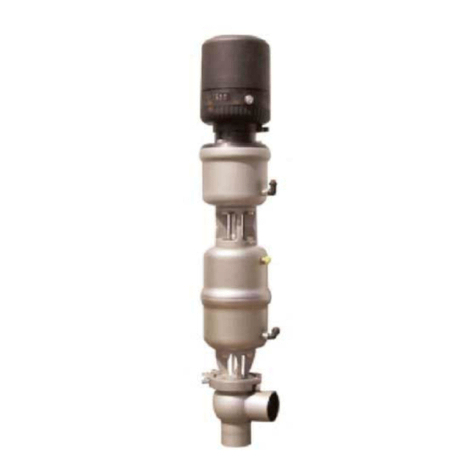
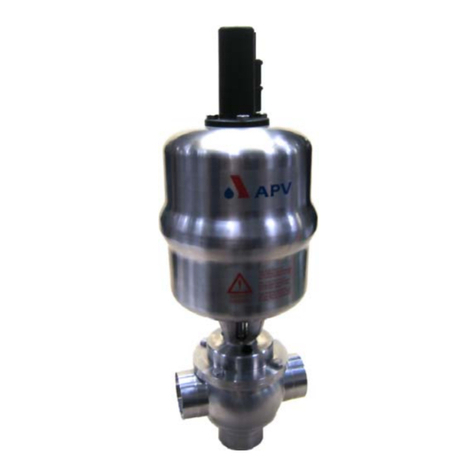
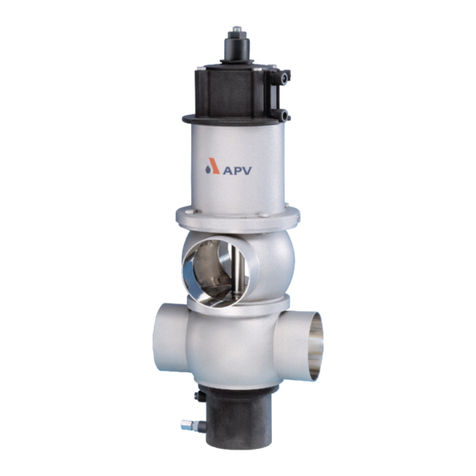
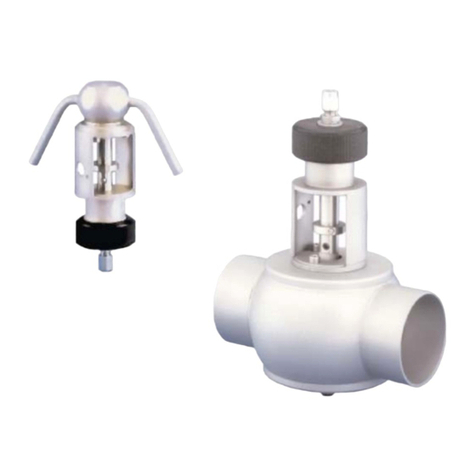
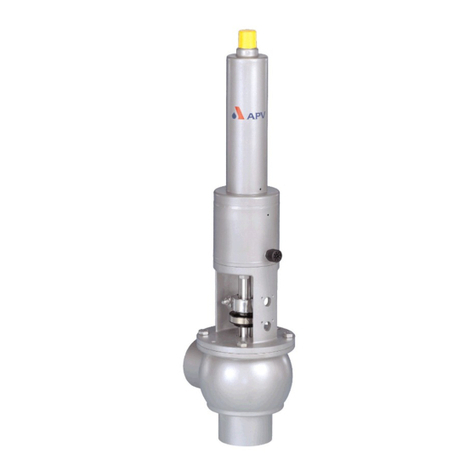
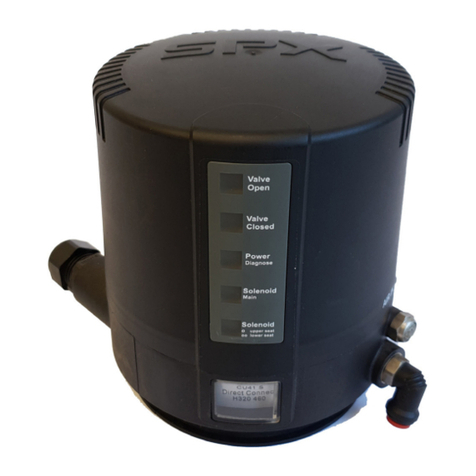
SPX APV DELTA M4 User manual

Read and understand this manual prior to
operating or servicing this product.
Operating Manual
DELTA M4
Membrane Valve


1. General Terms 2
2. Safety Instructions 2
3. Mode of Operation 3
4. Auxiliary Equipment 4
5. Installation 5
5.1 Welding Instructions 5
6. Dimensions / Weights 6 - 7
7. Technical Data 8 - 9
8. Maintenance 10
9. Service Instructions 11 - 15
M4, MT4, MP4, MEP4, MTP4
10. Modification of Actuator 16
11. Assembly Tool for Seat Seal 17
(Installation of seat seal for change-over/divert valves)
12. Service Instructions 18 - 20
MES 4
13. Trouble Shooting 21
14. Spare Parts Lists
Single Seat Valves M 4, ME 4, MT4
DN design RN 01.064.0 / inch design RN 01.064.1
Single Seat Valves MP 4, MEP 4, MTP 4
DN design RN 01.064.2 / inch design RN 01.064.3
Change - Over / Divert Valves MES 4
DN design RN 01.064.4 / inch design RN 01.064.5
Actuator RN 01.054.86
Table of Contents Page
1
Membrane Valve
DELTA M4
Operating Manual Rev. 1
UK


This operating manual should be read carefully by the competent
operating and maintenance personnel.
We point out that we will not accept any liability for damage or
malfunctions resulting from the non-compliance with this
operating manual.
Descriptions and data given herein are subject to
technical changes.
2. Safety Instructions
- Danger !
- The technical safety symbol draws your attention to important
directions for operating safety. You will find it wherever the activities
described are bearing risks of personal injury.
- Electric and pneumatic connections must be separated.
- Before any maintenance of the valve, the line system must be
depressurized and discharged if possible.
-Do not reach into the open valve.
Risk of injury.
- Observe service instructions to ensure safe maintenance of
the valve.
- If the membrane is damaged, leakages drain off the leakage bore
in the yoke area.
-Attention!
With valve design NC (normally closed):
control the actuator with air before releasing the
housing screws.
- The welded actuator is under spring load, do not open it.
1. General Terms
2
Membrane Valve
DELTA M4
Operating Manual Rev. 1
UK

3. Mode of Operation
Membrane valves DELTA M4 have been developed for use in the
brewing and beverage industries, dairy and food applications as
well as in the chemical and pharmaceutical industries.
The function of the DELTA M4 valve is to shut off line sections.
The membrane valves offer optimum protection of the product in
hygienic and aseptic applications. Product safety is provided by the
hermetic separation of the product chamber from the environment
(atmosphere) by a flexible membrane.
- Operation by pneumatic actuator with air connection,
reset by spring force.
- By different assembly of the actuator, the following designs can
be realized:
NC: actuator normally closed
("fail-down": air-to-raise, spring-to-lower)
NO: actuator normally open
("fail-up": air-to-lower, spring-to-raise)
- The inner parts of the actuator are maitenance-free.
- The cleaning of the inner area of the valve is undertaken
during CIP cleaning of the line system.
- Leakages at the membrane are indicated at the leakage drain
in the yoke area.
- For the pneumatic control of the valve, a control unit is installed
on top of the actuator.
- The yellow luminous diodes installed in the control unit indicate
the position of the valve rod.
- For aggressive products, the MP design of the inner parts with
a membrane shaft out of TFM should be used.
3
control unit
DELTA CU valve position
indicator
actuator
yoke
leakage
indicator
housing
Membrane Valve
DELTA M4
Operating Manual Rev. 1
UK

-Valve position indication
For the valve position indication, a proximity switch holder (PSH)
can be installed direct on the actuator.
To signal the limit position of the valve seat, proximity switches can
be mounted to the holder if required.
We recommend our APV standard types:
operating distance: 5 mm / diameter: 11 mm.
If the user decides to apply valve position indicators other than
APV type, we cannot take over the liability for any malfunctions
resulting therefrom.
-Control Unit
The assembly of a control unit on the M4 valve is possible.
The following designs are available:
4. Auxiliary Equipment
4
PSH
-For the assembly of the control unit on the M4 valve an
adapter is required.
1 solenoid valve
Direct Connect CU31 Direct Connect
ref.-No.: 16-31-232/93
Profibus CU21V
ref.-No.: 16-31-236/93
Device Net CU31 Device Net
ref.-No.: 16-31-240/93
AS - Interface CU31 AS - Interface
ref.-No.: 16-31-244/93
adapter
Designation: CU 2 adapter - SW4 / SD4 / M4
ref.-No.: 08-48-415/93
control unit
with adapter
The tank bottom welding flange for the MT4 valve
does not form part of the scope of supply.
Order reference numbers for the tank bottom welding flange:
DN inch ref.-No.:
25 1” 31B 15 - 01 - 391/42
40 1,5” 31B 15 - 01 - 441/42
50 2” 31B 15 - 01 - 491/42
65 2,5” / 3” 31B 15 - 01 - 541/42
80 31B 15 - 01 - 641/42
100 4” 31B 15 - 01 - 691/42
tank bottom welding flange
DN inch CF
25 1” 138 M8
40 1,5” 153 M8
50 2” 168 M8
65 2,5” / 3” 200 M10
80 223 M10
100 4” 258 M10
C
F
Membrane Valve
DELTA M4
Operating Manual Rev. 1
UK

5
- The installation of the valve must be undertaken in such a manner
that fluids can drain off the valve housing and should be provided
preferably in vertical position.
- The valve housing can be welded direct into the pipeline
(completely dismantable valve insert).
-Attention: Observe welding instructions.
5.1 Welding Instructions
- Before welding of the valve, the valve insert must be dismantled
from the housing. Careful handling to avoid damage to the parts
is necessary.
- Welding should only be carried out by certified welders (EN 287-1).
(Seam quality EN 25817 "B").
- The welding of the valve housings must be undertaken in such a
way that the valve body is not deformed.
- The preparation of the weld seam up to 3 mm thickness must be
carried out as a square butt joint without air.
(Consider shrinkage!)
- TIG orbital welding is best!
- After welding of the valve housings or of the mating flanges and
after work at the pipelines, the corresponding parts of the
installation or pipelines must be cleaned from welding residues
and soiling. If these cleaning instructions are not observed,
welding residues and dirt particles can settle in the valve and
cause damage.
- Any damage resulting from the non-observance of these welding
instructions is not subject to our guarantee.
5. Installation
Membrane Valve
DELTA M4
Operating Manual Rev. 1
UK

Weight
in kg
M4 / MT4
Weight
in kg
MES4
Dimensions in mm
DN A B D F H K L L1 L2 X Y E G*
25 406 29,5 26 50 32 86 456 446 500 65 26,0 200 290 4,2 7,4
40 445 37,5 38 67 44 126 512 490 571 75 29,5 200 300 7,1 11,0
50 451 45,5 50 72 56 126 523 509 609 80 37,5 200 310 7,1 12,0
65 460 52,0 66 85 74 126 545 524 660 95 46,0 200 330 7,9 13,5
80 516 59,5 81 98 91 189 614 587 758 108 53,5 200 380 14,2 21,0
100 528 69,0 100 111 110 189 639 613 817 125 65,0 200 400 15,2 26,5
inch
1” 405 28,0 22,2 50 28,6 86 455 443 490 65 24,5 200 290 4,2 7,4
1,5” 443 37,0 34,9 67 41,1 126 510 486 562 75 28,0 200 300 7,1 11,0
2” 449 43,0 47,6 72 53,8 126 521 506 600 80 36,5 200 310 7,1 12,0
2,5” 454 49,0 60,3 85 68,0 126 539 515 639 95 43,0 200 330 13,5
3” 463 55,0 72,9 90 80,1 189 553 530 678 95 49,0 200 380 21,0
4” 526 68,0 97,6 111 107,6 189 637 609 809 125 64,0 200 400 15,3 26,5
6
6. Dimensions / Weights
M 4 MES 4 MT 4
6.1 M4 Valves with control unit DELTA CU
*If necessary, dimension Gcan be reduced by unscrewing shaft / guide rod.
G
Membrane Valve
DELTA M4
Operating Manual Rev. 1
UK

Weight
in kg
M4 / MT4
Weight
in kg
MES4
Dimensions in mm
DN A B D F H K L L1 L2 X Y E G*
25 348 29,5 26 50 32 86 398 388 442 65 26,0 200 290 3,2 6,4
40 387 37,5 38 67 44 126 454 432 513 75 29,5 200 300 6,1 10,0
50 393 45,5 50 72 56 126 465 451 551 80 37,5 200 310 6,1 11,0
65 402 52,0 66 85 74 126 487 466 603 95 46,0 200 330 6,9 12,5
80 458 59,5 81 98 91 189 556 529 700 108 53,5 200 380 13,2 20,0
100 470 69,0 100 111 110 189 581 555 760 125 65,0 200 400 14,3 25,5
inch
1” 347 28,0 22,2 50 28,6 86 397 385 432 65 24,5 200 290 3,2 6,4
1,5” 385 37,0 34,9 67 41,1 126 452 428 504 75 28,0 200 300 6,1 10,0
2” 391 43,0 47,6 72 53,8 126 463 448 542 80 36,5 200 310 6,1 11,0
2,5” 396 49,0 60,3 85 68,0 126 481 457 581 95 43,0 200 330 12,5
3” 405 55,0 72,9 90 80,1 189 495 472 620 95 49,0 200 380 20,0
4” 468 68,0 97,6 111 107,6 189 579 551 751 125 64,0 200 400 14,3 25,5
7
6. Dimensions / Weights
6.2 M4 Valves with valve position indication (proximity switch holder)
M 4 MES 4 MT 4
G
*If necessary, dimension Gcan be reduced by unscrewing shaft / guide rod.
Membrane Valve
DELTA M4
Operating Manual Rev. 1
UK

8
Product - wetted parts : 316 L, 1.4404
Other parts : 1.4301
Seals : standard: EPDM
Option : HNBR
Membrane: TFM / EPDM
Option: membrane shaft MP4 TFM
Actuator : 1.4301
Max. line pressure : 5 bar
Max. operating temperature : 135°C EPDM, HNBR
Short-term steam load: 140°C EPDM, HNBR
Air connection (for hose): 6 x 1mm
Max. pneumatic air pressure: 8 bar
Min. pneumatic air pressure: 6 bar
(Dry and clean pneumatic air must be used only!)
The opening and closing times of valves equipped with a
control unit DELTA CU can be fixed by adjusting the throttle
at the solenoid valve.
7. Technical Data
single seat valves change-over/divert valve
DN inch
25 1” 8 5
40 1,5” 13 10
50 2” 13 10
65 2,5” 16 13
3” 16 13
80 21 18
100 4” 25 22
movement in mm
1m 10m
DN inch
25 1” 1 2
1,5” 1 2
40 3 4
50 2” 3 4
65 2,5” 3 4
80 3” 5 6
100 4” 5 6
closing times in sec.
control pressure 6 bar
hose length 1m a. 10m.
Membrane Valve
DELTA M4
Operating Manual Rev. 1
UK

DN inch
25 1” 22 22
40 1,5” 42 38
50 2” 73 70
65 2,5” 130 112
80 3”
100 4” 342 276
9
single - seat valves
change-over / divert valves
DELTA M4
kvs values in m3/ h
7. Technical Data
DN inch
25 1”
40 1,5”
50 2”
65 2,5” 65 65
80 3”
100 4”
Membrane Valve
DELTA M4
Operating Manual Rev. 1
UK

10
8. Maintenance
- The maintenance intervals depend on the corresponding
application and are to be determined by the operator himself
carrying out temporary checks.
Tools required:
- 1x spanner SW10 ( DN 25 / 1” )
- 1x spanner SW13
- 1x spanner SW17
- 1x spanner SW19
- The assembly and disassembly as well as the exchange of seals
is done according to the service instructions.
- All seals must be provided with a thin layer of grease
before their installation.
- The membrane must be provided with a thin layer of grease
at the product-averted side.
Recommendation:
APV-food-grade grease for EPDM and HNBR
(0,75 kg/ can - WS-Nr. 000 70-01-019/93)
(60 g/ tube - WS-Nr. 000 70-01-018/93)
! No matter what type of application, use only those greases
being suited for the respective seal material !
Recommendation for screw retention
Typ: Loctite 243 semi-solid
(5ml - WS-Nr.00070-01-110/93)
(50ml - WS-Nr.00070-01-111/93)
To simplify the installation of the seat seal,
an assembly tool is available.
assembly tool M4
DN inch ref.-No.:
25 1” 000 51 - 13 - 110/17
40 1,5” 000 51 - 13 - 111/17
50 2” 000 51 - 13 - 112/17
65 2,5” 000 51 - 13 - 113/17
3” 000 51 - 13 - 121/17
80 000 51 - 13 - 114/17
100 4” 000 51 - 13 - 115/17
Membrane Valve
DELTA M4
Operating Manual Rev. 1
UK

9.1 Dismantling from the line system M4 / MT4, (MP4 / MTP4)
a. Shut off line pressure and discharge lines and tanks if possibe.
b. Valve design NC: control actuator with air.
Do not touch movable parts!
Risk of injury.
c. Remove housing screws (11) and lift complete valve insert
including actuator out of the housing.
d. Valve design NC: cut off compressed air.
e.CU design: remove the control unit by turning the
locking ring.
Valve position indicator: remove proximity switches.
Detach indicator housing
(proximity switch holder) from actuator.
9.2 Dismantling of product-wetted parts
The item numbers refer to the spare parts drawings
M4, ME4, MT4: DN design RN 01.064.0
inch design RN 01.064.1
a. CU design and valve position indicator:
First of all, release actuator screw. Release the locking nut (21),
while holding up the centering washer (16). Remove the
centering washer.
b. Pull lower valve shaft (3) out of the actuator (13),remove
seat seal (2).
c. Remove membrane (4) and upper valve shaft (5).
Only with valves of the nominal dimensions DN 25 / 1”
must the membrane (4) be removed as follows:
Twist valve shaft off the guide rod.
Remove membrane (4) and upper
valve shaft (5).
d. Remove yoke (8) from actuator (13).
e. Detach O-ring (6) and guide bush (7) from the yoke (8).
f. MT4 valves: the tank housing seal (23) can be replaced.
11
9. Service Instructions
MT 4
18
17
21
16
!
20
21
16
13
8
4
3
2
1
7
11
6
5
actuator screw
Membrane Valve
DELTA M4
Operating Manual Rev. 1
valve
position
indicator
UK

12
9. Service Instructions
9.2 The item numbers refer to the spare parts drawings
MP4, MEP4, MTP4: DN design RN 01.064.2
inch design RN 01.064.3
II. Dismantling of product-wetted parts
a. CU design and valve position indicator:
First of all, release actuator screw. Release the locking nut (21),
while holding up the centering washer (16). Remove the
centering washer.
b. Pull membrane shaft (4) with guide rod out of the actuator (13)
and twist membrane shaft off the guide rod (9).
c. Remove upper valve shaft (5).
d. Dismantle yoke (8) from actuator (13).
e. Remove seal ring (2).
f. Detach O-ring (6) and guide bush (7) from the yoke (8).
g. MTP4 valves: the tank housing seal (23) can be replaced.
18
20
21
16
13
8
7
2
5
4
9
6
actuator screw
17
21
16
Membrane Valve
DELTA M4
Operating Manual Rev. 1
valve
position
indicator
UK

17
21
16
13
9. Service Instructions
9.3 Installation of seals and assembly of valve
The item numbers refer to the spare parts drawings
M4, ME4, MT4: DN design RN 01.064.0
inch design RN 01.064.1
a. Insert guide bush (7) and O-ring (6) into the yoke (8).
Fasten the yoke (8) at the actuator (13).
b. Install seat seal (2) in the lower valve shaft (3). For the installation
of the seat seal, use the APV assembly tool (see page 17).
Grease the seat seal only slightly before its installation.
If installed manually, vent the seal groove between the seal
and the groove wall with a thin object.
c. Provide the product-averted side of the membrane (4) with a thin
layer of grease and place it on the upper valve shaft (5). Put upper
valve shaft with membrane on the guide rod (9).
Only with valves of the nominal dimensions DN 25 / 1” must
the lower valve shaft be fastened on the guide rod
after a membrane replacement.
The lower shaft must be secured by a drop of a screw locker
(e.g. type: Loctite- semi-solid). Apply the agent only in the
threaded bore, but not on the thread of the guide rod
(see sketch 1). In case of non-observance of these instructions,
the two valve shafts can paste up.
d. Insert lower valve shaft (3) with guide rod (9), membrane (4) and
upper valve shaft (5) through the yoke (8) and the actuator (13).
The upper valve shaft must be led smoothly through the
guide bush in the yoke. If the shaft stiffs, check the right fit
of the guide bush.
e. CU design and valve position indicator:
Place the centering washer (16).Apply a drop of a screw locker
(e.g. type: Loctite - semi-solid) on the thread of the guide rod.
Screw on locking nut (21) and fasten it with a tightening torque of
MD = 40 Nm. Hold up the centering washer during this process.
CU: Tighten plastic actuator screw.
! Valve position indicator: Fasten metallic actuator screw
as locking nut.
Instructions to replace the guide rod:
for valve dimensions DN 40 - 100 / 1,5” - 4”
Unscrew the guide rod (9) from the lower valve shaft (3).
Clean the valve shaft (remove grease and impurities).Apply a
drop of a screw locker (e.g. type: Loctite - semi-solid) in the area
of the threaded bore of the lower valve shaft (see sketch 1).
Screw in guide rod and tighten it. In case of non-observance of
these instructions, the two valve shafts can paste up.
7
8
5
4
3
sketch 1
2
6
16
21
thin grease layer
do not
grease do not
grease
9!
!
actuator screw
sketch 1 seat for
upper
valve shaft
apply screw locker
in the threaded bore
Membrane Valve
DELTA M4
Operating Manual Rev. 1
valve
position
indicator
UK

9.4 Installation of seals and assembly of valve
The item numbers refer to the spare parts drawings
MP4, MEP4, MTP4: DN design RN 01.064.2
inch design RN 01.064.3
a. Insert guide bush (7) and O-ring (6) into the yoke (8). Fasten the
yoke (8) at the actuator (13) by means of hex. screws.
b. Slightly grease O-ring (2) and place it on the yoke.
c. Apply a drop of a screw locker (e.g. type: Loctite - semi-solid) in
the threaded bore of the membrane shaft. Screw the guide rod (9)
in the membrane shaft (4). Place the upper shaft (5).
Only with valves of the nominal dimensions DN 25 / 1T must
the upper valve shaft be placed on the guide rod, at first.
d. Insert membrane shaft (4) with guide rod (9) and upper
valve shaft (5) through the yoke (8) and the actuator (13).
The upper valve shaft must be led smoothly through the
guide bush in the yoke.
If the shaft stiffs, check the right fit of the guide bush.
e. CU design and valve position indicator:
Place the centering washer (16).Apply a drop of a screw locker
(e.g. type: Loctite - semi-solid) on the thread of the guide rod.
Screw in the locking nut (21) and fasten it with a tightening
torque of MD = 40 Nm.
Hold up the centering washer during this process.
CU: Tighten the plastic actuator screw.
Valve position indicator: Fasten the metallic actuator screw
as locking nut.
14
9. Service Instructions
!
!
17
21
16
16 21
13
actuator screw
8
5
9
4
apply screw
locker
in the
thread
67
2
Membrane Valve
DELTA M4
Operating Manual Rev. 1
valve
position
indicator
UK

15
9.5 Installation of valve
M4, MT4, MP4, MEP4, MTP4
a. CU design: place the control unit (20) on the
adapter (22) and secure it by
the ring.
Valve position indicator: fasten the indicator housing (18).
b. To assemble the valve insert in the NC design,
proceed as follows:
Place the pre-assembled valve insert (see sketch 1) carefully
in the valve housing.The membrane (M4) or the membrane shaft
(MP4) must not be damaged during the installation of the valve
insert in the housing.
NC design: control actuator with air (see sketch 2).
Through the control with air, the yoke on the housing
flange lowers. Screw the hex. screws (11) in the housing flange
and tighten them crosswise.
Do not touch movable parts!
Risk of injury.
!NC design: cut off air.
c. Valve position indicator: plug proximity switches and
fasten them.
- Adjust proximity switches if necessary.
d. Check basic adjustment of valve position indication.
- By turning the positioning screws in the control unit, the shift
points can be adjusted.
sketch 1
sketch 1
MP4, MEP4,
MTP4
M4, ME4,
MT4
sketch 2
sketch 2
9. Service Instructions
Membrane Valve
DELTA M4
Operating Manual Rev. 1
UK
Table of contents
Other SPX Control Unit manuals

SPX
SPX Waukesha Cherry-Burrell W Series User manual

SPX
SPX APV DELTA PR2 User manual

SPX
SPX APV DELTA DET3 User manual

SPX
SPX APV DELTA UF3 User manual

SPX
SPX APV DELTA DE3 User manual

SPX
SPX Waukesha Cherry-Burrell W-Series User manual

SPX
SPX APV DELTA SVS1F DN 125 User manual

SPX
SPX APV DELTA SWmini4 User manual
SPX
SPX APV DELTA MS4 User manual

SPX
SPX W Series User manual
Popular Control Unit manuals by other brands
HAUTAU
HAUTAU GSM 1 Installation and operating instructions

GHI electronics
GHI electronics G120 user manual

Gate
Gate Titan user guide

Kold-Ban International, Ltd.
Kold-Ban International, Ltd. KSM PLC Installation & operation manual

Nibe
Nibe SAM 41 Installer manual

SSS Siedle
SSS Siedle LEDM 600-0 Product information