7
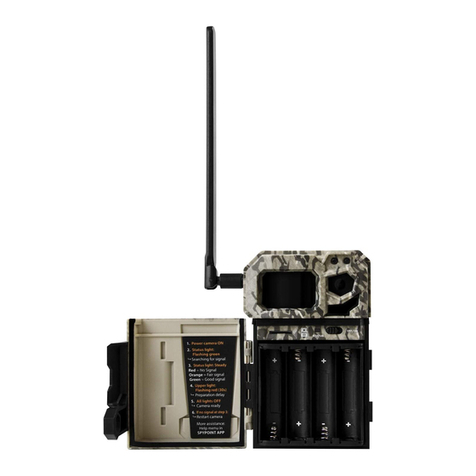
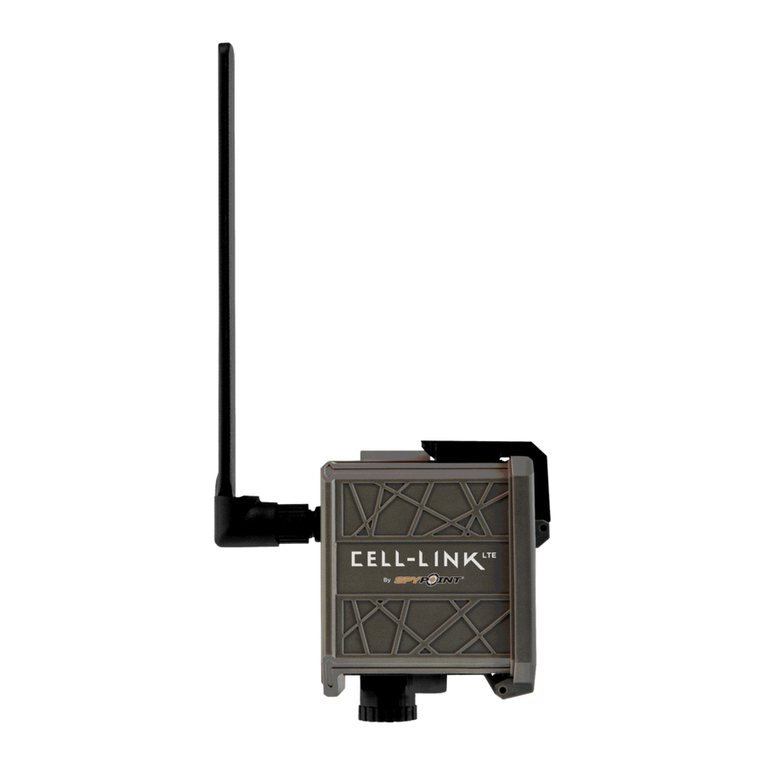
1. Open the CELL-LINK door
2. Turn the CELL-LINK ON (ON/OFF switch)
3. All lights ashing – Searching for signal
The signal search can take a few minutes to process. If only 1 bar is ashing, the
network test is unsuccessful. Try moving the CELL-LINK (along with your camera)
to another spot in order to maximize signal strength, then restart the cellular
module. This operation might need to be repeated as the SPYPOINT SIM card and
services are powered by multiple providers. The network modem will maneuver
to ensure the strongest signal strength by searching for the best tower available
(cellular network).
4. Solid bars – Signal strength
Once the network test is completed, bars will stabilize showing the signal
strength. Note that signal bars displayed on the CELL-LINK can dier from those
shown on other cellular devices as there is no industry standard or practice to
label DBM values to a specic number of bars.
5. All lights OFF – CELL-LINK ready
Shut the CELL-LINK door. The CELL-LINK has updated its status
in the SPYPOINT
app and website with its latest information. The
CELL-LINK is now ready to
grab the pictures taken by your trail camera and transmit them to you via the
SPYPOINT app or website upon its next transmission.
HERE ARE THE RECOMMENDED CAMERA SETTINGS FOR ENSURING
OPTIMAL PERFORMANCE OF YOUR CELLLINK:
•A low-resolution photo format.
•A delay no shorter than 1 minute between each detection.
•In time lapse mode, a delay no shorter than 1 minute.
STARTING YOUR CELL-LINK
NOTE:
Before starting the CELL-LINK, ensure you have successfully
congured your trail camera according to your preferences and
that you have done this by following your camera’s user manual.
NOTE:
The CELL-LINK doesn’t support video transfers. However, if you
congure your camera for having a photo taken before each video,
this photo will be sent out to you from the CELL-LINK.

