3.4 BLE OTA reset manager
• The application implements the OTA Reset Manager which, at reset, passes control to the latest valid
Bluetooth LE application updated through the Bluetooth LE Over-The-Air (OTA) Service
• The OTA Reset Manager is a basic application which is stored at BlueNRG-LP FLASH base address
(0x10040000) and it allows to transfer of control towards the new upgraded application every time we reset
• The new application must add the OTA service and related characteristics defined on files OTA_btl.c
• At device reset, the reset manager will take care of jumping to the location of the last image that was
successfully loaded by the OTA bootloader
Note: • Before downloading the OTA Reset Manager performs a device Mass Erase of the selected BlueNRG-LP
device (use IAR, Project, Download, Erase Memory). Then, open the IAR project related to a Lower
Application with OTA Service and download it on the selected device. At this stage, the BlueNRG-LP
device is ready for performing OTA upgrades.
• Refer BLE_SensorDemo projects for related OTA update examples (Lower and Higher Applications with
OTA service configurations).
Running the Application:
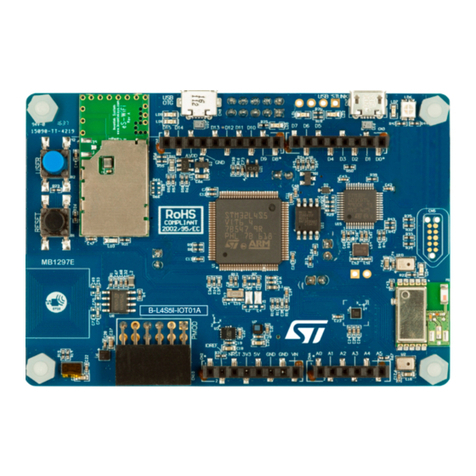
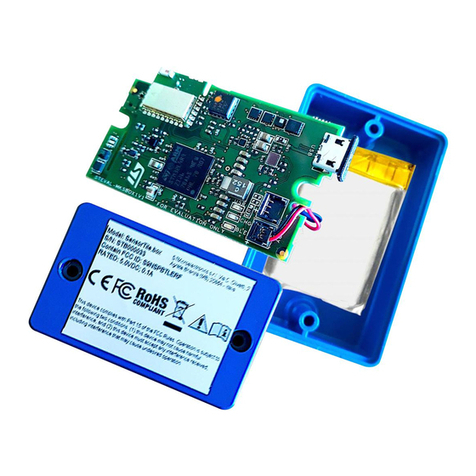
Step 1. Take One SensorTile.box PRO hardware and one BlueNRG-LP EVK
Step 2. Connect the STLINK V3 programmer probe to JP3 header on SensorTile.box PRO board. Connect the
programmer to PC with a USB Cable
Step 3. Open the BLE_OTA_ResetManager.eww (STSW-MKBOX- BLEDK\Projects\BLE_Examples
\BLE_OTA_ResetManager) IAR project, and select project, download, erase memory to erase the
device Flash
Step 4. Build and download the related OTA reset manager application (STSW-MKBOX-
BLEDK\Projects\BLE_Examples \BLE_OTA_ResetManager) on the selected platform (pre-built image
is available on STSW-MKBOX-BLEDK\Firmware\BLE_Examples\BLE_OTA_ResetManager folder and
can be loaded through RF Flasher utility)
Note: While flashing BLE_OTA_ResetManager binary(.bin) using RF Flasher Utility enter the image “Flash
from Address” as “0x10040000”
Step 5. Open the BLE_SensorDemo.eww IAR project, LowerApp_OTA workspace (STSW-MKBOX-
BLEDK\Projects \BLE_Examples\BLE_SensorDemo) and build and download the related application
image on the selected platform (pre-built image is available on STSW-MKBOX- BLEDK\Firmware
\BLE_Examples \BLE_SensorDemo\BlueNRG-LP\LowerApp_OTA folder and can be loaded through
RF Flasher Utility)
Step 6. Remove the STLink Debugger from PC, Power reset the Board using S1 swit
Step 7. Program the BlueNRG-LP kit platform with the required DTM application to be used with the BlueNRG
GUI (pre-built DTM image DTM_UART_WITH_UPDATER.hex is available on STSW-MKBOX-
BLEDK\Firmware\BLE_Examples \DTM_BlueNRG-LP_EVK folder and can be loaded through RF
Flasher Utility GUI)
Step 8. Open the BlueNRG GUI on the PC and select the COM port related to the BlueNRG-LP EVK platform
(STEVAL-IDB011V1) configured in step 6, through the dropdown “Port” and press ‘Open’
Step 9. Select ‘Tools’ - ‘OTA bootloader’ to open up the dialog containing OTA FW upgrade actions and press
‘Search for devices’
Step 10. After ‘Search for devices’, the GUI starts the discovery process and returns with some information
about the address and application names of the devices running OTA FW upgrade service within the
radio range. Once the previous process ends, the device list can be opened through the combo box
arrow below the ‘Search for devices’ button and the user can choose the device they intend to connect
for the firmware upgrade process using the “Connect” button (application address and names are
displayed). If the user realizes he has connected the wrong device, he can just press the ‘Force
Disconnection’ button and get back to the device selection within the combo box
UM3227
BLE OTA reset manager
UM3227 - Rev 1 page 15/27