Stalgast 804350 User manual

Glasswasher
MODEL: 804350, 804351, 804412, 804413, 804414
INSTRUCTION MANUAL
Stalgast sp. z o.o. ul. Staniewicka 5 03-310 Warszawa
v4.0 - 08.2011

- 2 -
Contents
1. SAFETY INSTRUCTIONS ........................................................................................................ 3
2. SAFETY REGULATIONS.......................................................................................................... 3
3. STRUCTURE OF THE APPLIANCE ......................................................................................... 4
3.1. Appliance usage.................................................................................................................................................... 4
3.2. Control panel ....................................................................................................................................................... 4
4. TECHNICAL SPECIFICATION ................................................................................................ 4
5. SETTING UP THE APPLIANCE ............................................................................................... 5
5.1. Connecting to the Power Source ........................................................................................................................ 5
5.2. Connecting the appliance to a water supply sewage system ............................................................................ 5
5.3. Drain..................................................................................................................................................................... 5
5.4. Setting the appliance .......................................................................................................................................... 5
5.5. Initializing the appliance ..................................................................................................................................... 6
6. OPERATING THE APPLIANCE................................................................................................ 7
6.1. Setting up activities before the start of washing................................................................................................ 7
6.2. Loading the dishwasher....................................................................................................................................... 7
6.3. Glasswasher start up ........................................................................................................................................... 7
6.4. Tank empting at the end of the day.................................................................................................................... 8
7. CLEANING AND MAINTANANCE......................................................................................... 8
7.1. Everyday cleaning ................................................................................................................................................. 8
7.2 . Periodic inspections ............................................................................................................................................. 9
7.3. Periods of non-use................................................................................................................................................ 9
7.4. Regeneration cycle(Only for models with water softener)................................................................................ 9
8. TROUBLESHOOTING .............................................................................................................. 10
9. RECYCLING .............................................................................................................................. 10

- 3 -
Thank you for your purchase of a Stalgast product. Before use please familiarize yourself in detail with the following instruction
manual.
Copying of the following manual without the consent of the manufacturer is prohibited.
Images and drawings are of illustrative character and may differ from the purchased product.
ATTENTION: This manual should be kept in a safe place accessible for personnel. The manufacturer reserves the right to
change the technical characteristics of the product without any notice.
1. SAFETY INSTRUCTIONS
•Incorrect maintenance and/or use may cause serious harm to people and damage the appliance.
•The appliance can only be used for the purpose for which it has been designed.
•The manufacturer does not take any responsibility for damages caused by improper maintenance or use of the appliance.
•When in use, secure the appliance and its electrical plug from any contact with water or other liquids. In case the appliance
is accidentally dropped into water the electrical plug should be immediately removed from the socket and the appliance
should be inspected by a trained professional.
Failure to obey these instructions may cause life-threatening danger.
•Never open the casing of the appliance on your own.
•Do not stick any objects into the casing of the appliance.
•Do not touch the electrical plug attached to the appliance with wet hands.
•Check the condition of the electrical plug and cord regularly. In case the electrical plug or power cord is damaged order a
repair by a specialized service provider.
•In case the appliance is dropped or damaged otherwise, before further use always order a check-up and repair by a specia-
lized service provider.
•Do not make any attempts to repair the appliance on your own - this may cause life-threatening danger.
•Protect the electrical cord from contact with sharp or hot objects and keep it away from open re. When you disconnect
the appliance from the electrical socket always hold the plug and never pull the electrical cord.
•Secure the electrical cord (or the extension cord), so that it is not unplugged by mistake and so that no one can stumble
over it.
•Monitor functioning of the appliance while in use.
•Use of the appliance by people underage, physically or mentally incapable, with motion disorders as well as people without
proper experience and knowledge regarding the use of this appliance should not be allowed. All of the above mentioned
persons should only use the appliance under supervision of a person responsible for their health and safety.
•When the appliance is not used or undergoing maintenance you should always unplug the appliance from the source of
electricity by removing the electrical plug from the socket.
•ATTENTION: when the electrical plug is plugged into the socket the appliance remains live.
•Switch the appliance off before removing the plug from the socket.
•Never pull the appliance by the electrical cord.
2. SAFETY REGULATIONS
The manufacturer is not liable for any injury or damage to the product resulting from failure
to comply with recommendations contained in the manual, improper use of equipment, the use of non original spare parts
and individual attempts to repair the appliance.
The appliance shall be connected to the grounding conductor in accordance with local regulations and norms.
The appliance is compliant with the standards introduced by the European Union Directive 2002/96 / EC.
Suitable storage of appliance is part of environment pollution prevention.
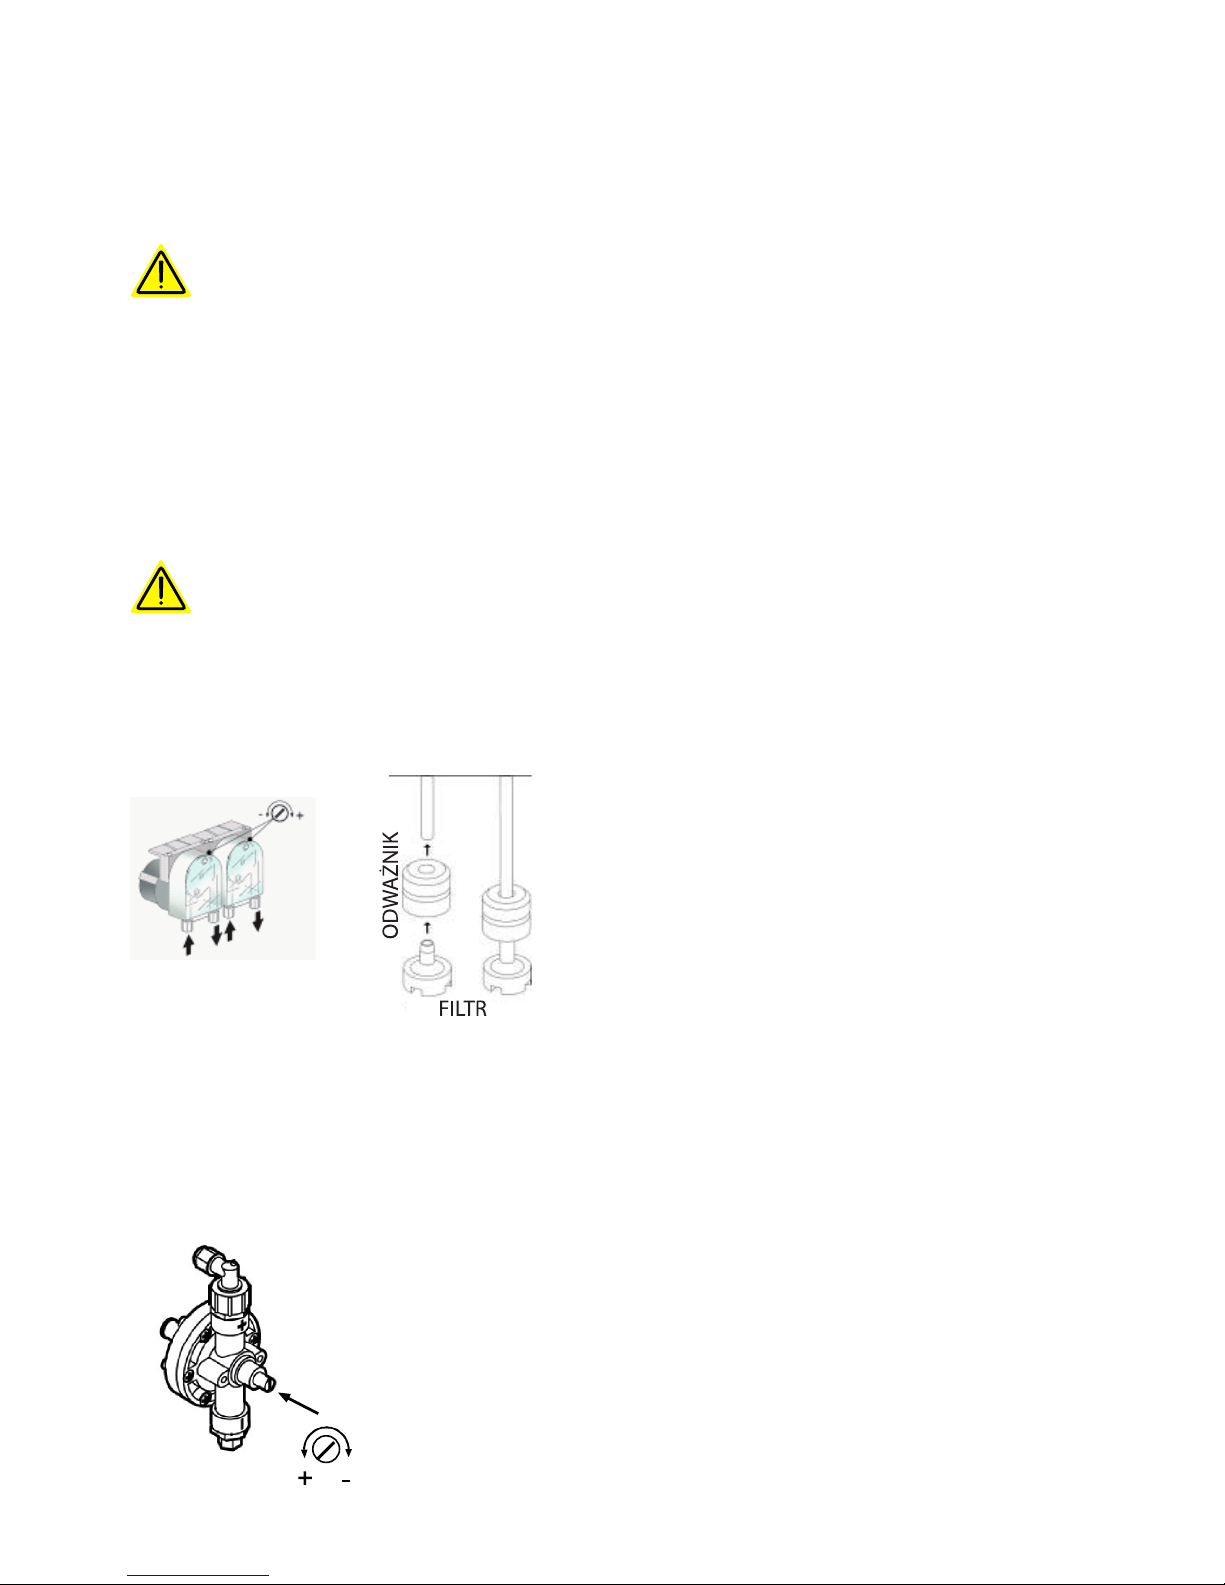
Solvents such as e.g. alcohol, turpentine shall not be used in the glasswasher due to the risk of explosion.
Dishes with food debris also should not be put to the glasswasher.
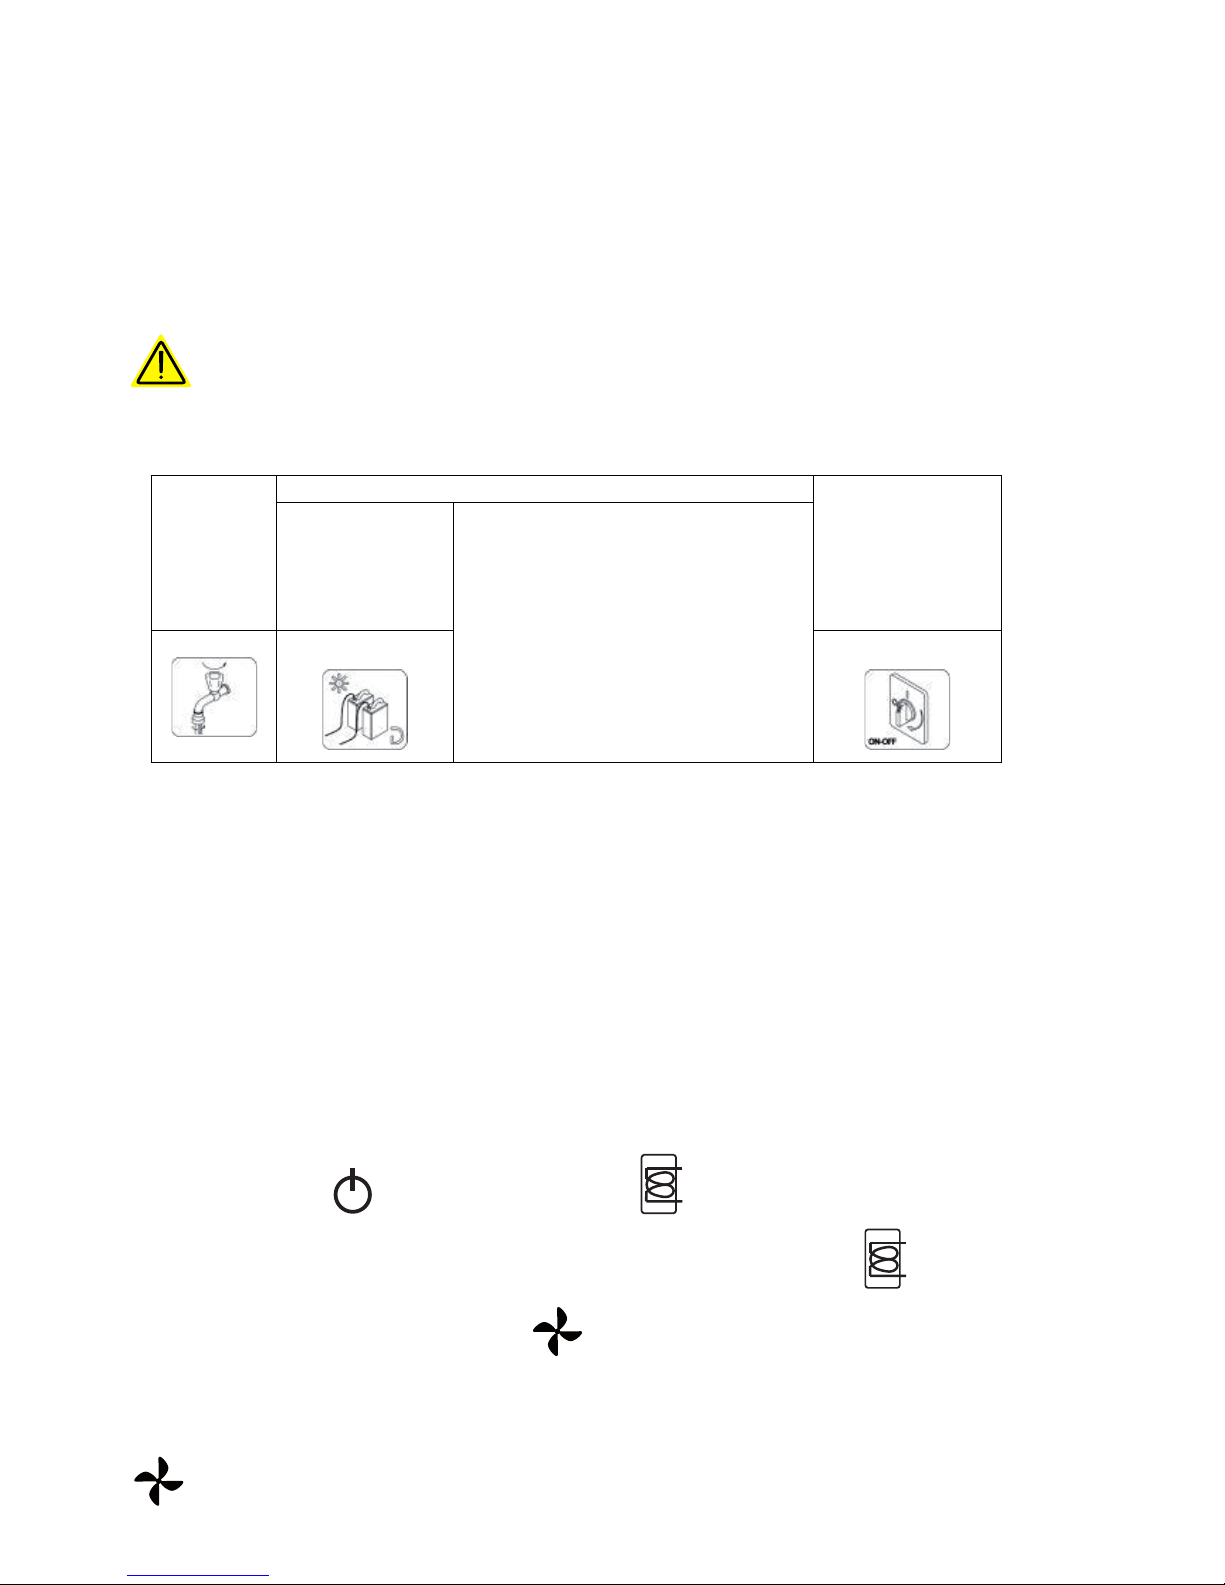
The glasswasher and its elements should not be used as a ladder or a support for other appliances or objects.
Do not sit or lean on the open door of the glasswasher. This can cause an accident. For the reasons above
always close the appliance’s door.
Water left on the dishes in the end of the washing cycle is not suitable for drinking.

- 4 -
The appliance cannot be used by under-aged and those with intellectual, physical or sense limited abilities
who are not able to fully comply with manual principles. Operating the appliance may be carried by persons
mentioned above only under supervision.
3. STRUCTURE OF THE APPLIANCE
3.1. Appliance usage
The glasswasher is designed only for professional use and should be operated by trained
staff. The appliance is used for washing dishes (plates, bowls, cups, utensils, trays, etc.) and other similar elements used in
catering business and other related industries in its compliance with international electrical and mechanical safety standards
regulations and conditions (CEI-EN-IEC 60335-2-58 / 61770) and electromagnetic compatibility (CEI-IEC-EN 55014-1 / -2,
61000-3, 4, 50366).
3.2. Control panel
804350, 804412
804351, 804413
804414
Power Switch (ON/OFF)
Control Lamp
Standard Washing
Cycle
Pump Drain Switch
Regeneration Cycle Switch
Boiler Control Lamp
4. TECHNICAL SPECIFICATION
Model 804350, 804351 804412, 804413, 804414
Dimensions (WxDxH) 425x500x585 mm 470x520x635 mm
Power supply 230V/1 230V/1
pic. 1
pic.2
pic.3

- 5 -
Frequency 50 Hz 50 Hz
Max power consumption 2,73 kW 2,73 kW
Boiler power 2,6 kW 2,6 kW
Water tank power 1,6 kW 1,6 kW
Washing pump power 0,13 kW 0,13 kW
Water supply pressure 200-400 kPa 200-400 kPa
Supplied water temperature 50 – 60 °C 50 – 60 °C
Supplied water hardness 7 – 12 °dF 7 – 12 °dF
Water usage 2,4 l/cycle 2,4 l/cycle
Boiler volume 2,7 l 3,9 l
Container volume 11 l 14 l
Standard cycle duration for supplied water
temperature at 50°C
120 sec 120 sec
Noise level 56 dB(A) 56 dB(A)
Weight ~27 kg ~42 kg
Steaming YES (≥92 oC) YES (≥92 oC)
5. SETTING UP THE APPLIANCE
5.1. Connecting to the Power Source
Connecting of this appliance to a source of electricity may only be performed by employees of the technical service provider
in accordance with current legal provisions. Electrical parameters of the appliance are listed in point 3 of this manual. It is
not allowed for one electrical safety fuse to be used for two appliances. Installation of a main switch and a residual current
appliance is required. Both of the above are to be installed in a easily and quickly accessible place in such a way, that they will
guarantee the possibility to disconnect the appliance from the source of electricity according to category 2.
The appliance is fully disconnected from the source of electricity only if the main switch is set to OFF. The appliance is
to be connected with the use of a connector placed in the bottom-rear part of the appliance. Protective Earth (PE) connector
is marked yellow-green, neutral connector (N) is marked blue and phase connectors (L1, L2, L3) are marked with black, grey
and brown respectively.
5.2. Connecting the appliance to a water supply sewage system
Water pipes and electricity supply cord are located in the back of the appliance. The water supply pipe should be connected
to the 3/4” outlet. Use new pipes to connect the appliance. For safety purposes the value of water pressure should be
maintained within the level of 2-4 bar. In case water pressure is higher make sure to install a pressure limiter. Main valve should
be installed above the supply pipe. Main valve should be installed in an accessible place; therefore it should not be installed
behind the appliance. Duration of the cycle is provided for water temperature equal 50C. In case the appliance is connected
to cold water cycle duration will extend, as the appliance is equipped with a pressure rinsing system which requires constant
temperature.
5.3. Drain
The appliance is equipped with a drain pipe, which is to be installed at oor level with the use of a deaerator.
Before initializing the appliance make sure that the supply and drain pipes are not bent, blocked or damaged in any
other way during the process of installation.
5.4. Setting the appliance
The appliance is to be carried into the place of installation, unpacked and contents of the packaging should be veried. In
case of any damage to the appliance or its elements the shipping company should be notied immediately. Elements of the
packaging should be kept out of reach of children and domestic animals, as they may cause accidents. All materials used for
packaging are environment friendly and may be stored safely in a proper place. Elements meant for recycling are marked in the
following manner:

- 6 -
• PE – polyethylene; external packaging, instruction manual cover, safety elements of the packaging
• PP – polypropylene; handles
• PS – polystyrene foam; edge guards, lid
• Wooden and cardboard elements of the appliance should be left in designated places in accordance with current regulation.
It is not allowed to store the appliance or elements of the appliance directly within the natural environment. The
appliance is manufactured of stainless steel and metal elements, which may be easily disassembled. Plastic elements of the
appliance are marked with proper symbols.
Connections of the appliance must meet requirements of current norms in the place of installation. Before installing the
appliance make sure, that the elements sensitive to humidity are secured from becoming wet e.g. when the appliance is being
washed. Protective elements should be removed after the appliance is set in place. Level the appliance using a level tool and
its adjustable footing, which will ensure stable ground for the appliance to work properly. Any other means of leveling the
appliance should be approved by the manufacturer.
5.5. Initializing the appliance
Before rst use of the appliance make sure the electrical safety system is working correctly. This, and rst initialization
of the appliance, may be performed only by employees of the technical service provider, who should also provide a short
training session on functioning of the appliance. Each appliance is equipped with a rinse aid level indicator. Washing uid
level indicator is available on chosen models of the appliance. Washing and rinse uid containers should be set in place and
connected with suction pipes: transparent for washing uid and transparent/blue for rinse uid. In order to calibrate the
appliance use the screws as seen on Pic.3. It is recommended that the calibration is performed by the personnel of the uid
supplier.
Before connecting the suction pipes attach weights (in order to keep the pipes close to the bottom containers) and install
lters. (Pic.4)
In case when the indicators for both uids are not installed before the appliance was assembled, it may be done later with the
use of a prober set of tools. Alternatively and external level indicator may be connected through an electric connector using
a2x0.5mm H07 RN-F connector. The cable should be connected through an opening indicated on the technical specication
scheme in accordance with electrical parameters of the appliance and any current legal regulations.
rys. 4 rys. 5
rys. 6

- 7 -
Specication of the level indicator: 230V?50Hz, 15W. The washing uid level indicator should be connected to the washer
using the transparent pipe above the indicator.
6. OPERATING THE APPLIANCE.
6.1. Setting up activities before the start of washing
Make sure you use washing and rinsing uids for industrial washing machines.
It is not allowed to use uids meant for hand washing. It is recommended to use uids produced for this particular sort of
dishwasher.
When lling the uid containers be careful not to switch the appliance off, as this may cause damage or failure of the
appliance. It is not allowed to pick different washing uids, as this may cause damage to the uid level indicator. Industrial
washing uids may cause skin irritation. Therefore, always follow recommendations on the packaging of the uid.
Open the
valve
Check:
Switch the power
switch off; “OFF”
will appear on the
display.
Level of the
washing fluid
and rinsing fluid
in containers
If the filters were installed properly,
if the nozzle is rotating properly,
if anything is blocking the flow of
water through the appliance
(are there any foreign objects inside
the appliance, which might obstruct
the flow of water).
6.2. Loading the dishwasher
a. Glass
Remove remains of food etc. from glasses etc. Place the glasses in the basket with their bottoms up.
b. Cutlery
Use the cutlery basket. It is recommended that cutlery is placed in the basked with handles pointing down. Be careful not to
cut yourself on forks and knives.
6.3. Glasswasher start up
Activate the switch on the wall, open the washer door, place the overow plug in its designated place and close the door.
Press the ON/OFF button . and heating indicator will turn on .
Place the basket into the chamber of the appliance and wait for the heating indicator to turn off .
In order to initiate a washing cycle press the button .
After the beginning of the washing cycle, the indicator light will turn on. In case the door is opened during a cycle the program
will stop automatically.
After the door is closed the program will reset and in order to start the washing cycle it is necessary to press the button again
.

- 8 -
After the cycle is nished the cycle control indicator turns off and the heating indicator turns on .
Remove the basked from the chamber of the appliance.
6.4. Tank empting at the end of the day
a. Emptying the tank in the models equipped with a drain pump
Otworzyć drzwi urządzenia, usunąć korek przelewowy i zamknąć drzwi.
The appliance should be switched off by pressing the ON/OFF button when it is switched off open the door and remove
the overow plug and close the door.
The process of emptying the appliance will begin automatically until the tank is completely drained.
In order to reactivate the appliance replace the overow plug, close the door and press on the ON/OFF button. If the
appliance will not be used further turn it off using the main power switch.
b. Emptying the tank in the models without a drain pump
The appliance should be switched off by pressing the ON/OFF button after it is switched off, open the door
remove the overow plug and wait for the water to ow out of the tank completely. Replace the overow plug
and close the door.
Do not switch the appliance off with water still in the tank. Before switching the appliance off make sure the tank
is empty. After the work of the appliance is nished, and alternatively after a regeneration cycle nished, switch
the appliance off using the ON/OFF switch and turn off the main switch as well as the water intake valve. Do not
leave the appliance turned on when not in use for a long time.
7. CLEANING AND MAINTANANCE
To ensure long and failure-free usage of the appliance, it must be regularly cleaned and serviced. The appliance must be
regularly serviced (at least once a year) by a qualied service technician.
Any damage or equipment failure resulting from non-compliance with user instructions in this manual as well as failure to
comply with existing legislation and standards will not be treated as a liability of the manufacturer.
7.1. Everyday cleaning
Washing the device with running water or with the use of pressure washers is prohibited.
a. a.Cleaningtheltersduringtheday
In case of intense use of the device clean lters every 30-40 washing cycles, in order to ensure proper operation of the
device. For this purpose partially empty the tank.
Remove the lters 1 and 2 (pic.7)carefully(2 is screwed in), so that greasy residue and remains of food products to not fall
into the lter container. Clean impurities of the lters and rinse them well. Do not use any sharp tools or edges to clean the
lters. Make sure that calcium residue is also removed, as it helps to stop it from blocking the lters.
rys. 7

- 9 -
Surface of the lters should be carefully cleaned with a damp cloth and a neutral detergent (non-corrosive) without any
chlorine or any other corrosive substance, which may damage surface of stainless steel.
In order to avoid corrosion stains on the surface of stainless steel avoid using any corrosive detergents including chlorine or
causing mechanical damage to the surface of stainless steel. Use non-corrosive detergents to clean the oor near the device
and any surrounding objects.
7.2 . Periodic inspections
You should remove the arms Fig.8. (lower and upper 2 and 6) by unscrewing screws (4). Unscrew the cap (7) located at the
two ends of the arm 2. Pay special attention to the rings 8.
You should clean the holes and nozzles under a stream of water. To clean the nozzles do not use sharp tools.
After cleaning the nozzle must be re-mounted.
Wash external surface of the device using soap and a damp cloth, rinse it and wipe it dry.
7.3. Periods of non-use
In case the device is to remain unused for extended periods of time it is necessary to empty all washing and rinsing liquid
containers in order to avoid crystallization and possible damage to the pump. For this purpose unplug the suction pipes and
place both containers in a bowl of pure water. Carry out several washing cycles and empty the water tank.
Finally, switch the device off using the main switch and close the water intake valve. Connect suction pipes to washing and
rinsing uid containers only when the device is to be used again (the red washing liquid container pipe, and the transparent
rinsing liquid container pipe).
Do not leave the device switched on and the water intake valve open during periods of non-use.
7.4. Regeneration cycle(Only for models with water softener)
When the device is turned on, and the tank full, you need to press the button until the LED above the key will blink and
start treatment cycle. Open the door and remove the overow plug to empty the tank, and then close the door. After 20
minutes the regeneration cycle is complete and the device switches to standby mode. Open the door, insert the overow line
again and close the door.
During the regeneration cycle there it is not possible to carry out any other operations. This cycle must always be done with
an empty tank.
Uplift regenerating salt (for models with water softener)
Supplementing salt should be carried out with an empty tank to avoid getting water to wash the softening device.
rys. 8

- 10 -
CAUTION! Use only special salt suitable for this purpose. Do not use table salt.
The salt dispenser accommodates about 1 kg of granulated salt.
The salt container is located in the lower part of the tank. After removing the basket, unscrew the lid and pour the salt through
provided for this purpose hole. Before screwing the lid back remove any salt residue from the vicinity of the hole.
8. TROUBLESHOOTING
PROBLEM CAUSE SOLUTION
Indicator light does not turn on Lack of power Check the connection to electrical
network
Washing program does not begin The device is not ready to begin the
program
wait until the heating indicator is on
Improper washing blocked nozzles dismantle and clean the nozzles
Washing liquid level to low or incorrect
washing liquid used
Check if the washing uid used is meant
for use with this particular device, check
level of the washing uid
Improper setting of plates and glass
inside the washer
Set the plates properly (6.1)
Low washing temperature Check the temperature value presented
on the display. If the value is lower than
50oC contact a representative of the
technical service provider
Improper rinsing Blocked nozzles Check the nozzles and check the water
softener (if included)
Calcium residue on the boiler
Stains on glass and cutlery
Not enough rinsing uid or improper
rinsing uid used
Check if the used uid is meant to be
used with the particular type of washer
and check the level of rinsing uid. If the
problem continues contact the technical
service provider
Hard water (above 12dF or too much
dissolved salt in the water)
Water remains in the tank
regardless of the draining attempts
The drain pipe is installed incorrectly or
blocked
Check if the drain pipe and the drain
aperture are not blocked and check if
the drain aperture is not located too
high.
9. RECYCLING
If you are recycling or disposing of your machine, please ensure this is done in accordance with local and national regulations.
This manual suits for next models
4
Table of contents
Other Stalgast Dishwasher manuals

Stalgast
Stalgast 801350V06 User manual

Stalgast
Stalgast 803021 User manual

Stalgast
Stalgast 801350V03 User manual

Stalgast
Stalgast 803020 User manual

Stalgast
Stalgast 801400 User manual

Stalgast
Stalgast 804420 User manual

Stalgast
Stalgast 801005 User manual

Stalgast
Stalgast 803025 User manual

Stalgast
Stalgast 801350 User manual