manuals.online logo
Brands
  1. Home
  2. •
  3. Brands
  4. •
  5. Star Trac
  6. •
  7. Treadmill
  8. •
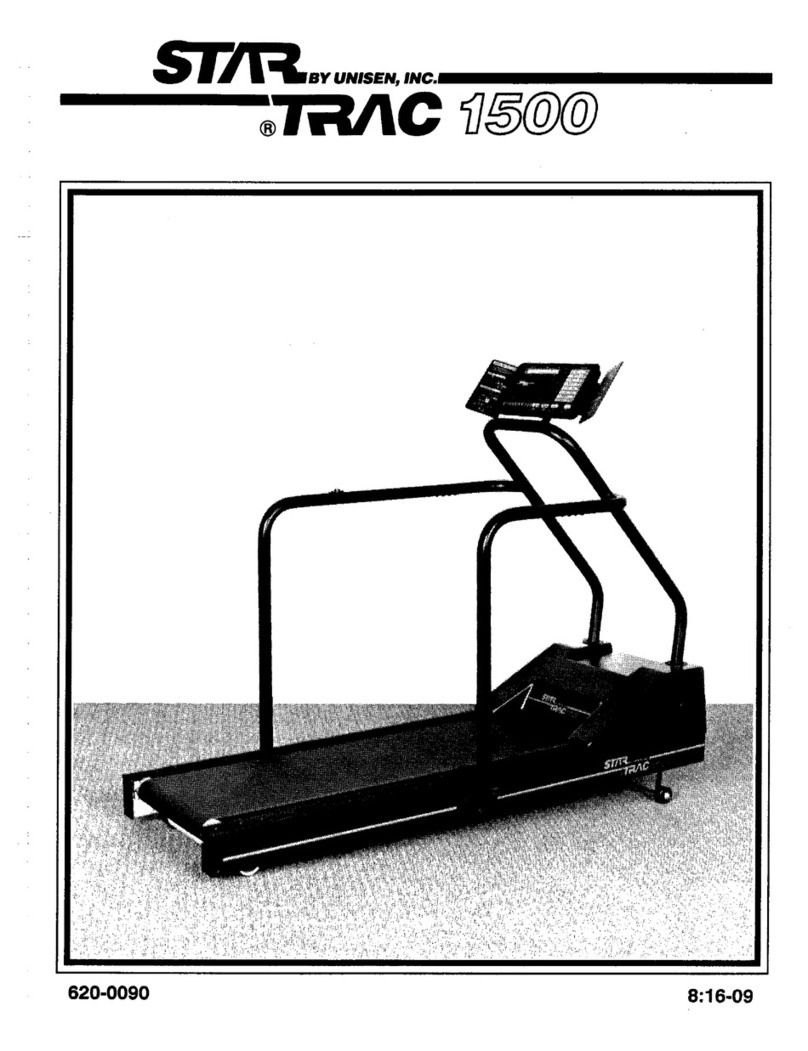
  9. Star Trac 2000 series User manual

Star Trac 2000 series User manual

•
•
STAR TRAC
SERVICE MANUAL
VERSION 1.0
r
~
~
-
- -
.)
- G
~
c
......
•
"
~Jr=I,BYUNISEN,
INC._
®liIIlC
Copyright 1993, Unisen, Inc. All rights reserved, including those to reproduce this book
or
part
thereof
in
any form without first obtaining written permission from Unisen, Inc.
Every effort has been made to keep the information current; however, periodically changes are made to
the information herein, and these changes will
be
incorporated into new editions
of
this publication. All
product names and logos are trademarks
of
their respective owners. Printed
in
the USA, 01093.
•
•
•
••
FOR
ADDITIONAL SUPPORT
Customer Service
Unisen, Inc.
14352 Chambers Road
Tustin, California 92680
Telephone: 714 I669 -1660
Fax: 714 I838 -6286
~.
Hotline Telephone:
Technical Assistance:
Sales Assistance:
800
I535 -4634
800
I503 -
1221
800
I228 -6635
•
NOTE:
For
faster service, please have your
STAR
TRAC
Model and Serial
Numbers available.
••
•
1-
---
•
ACKNOWLEDGEME
TS
We
wish to extend thanks to the entire STAR TRAC Customer
Service team for their support. And, aspecial thanks to Dennis Vega
and Sandy Sather for their valuable technical assistance.
••
'.
l~
........
;;;;.;...-
_
•
••
•
r
•CONTElVl'S
TABLE OF CONTENTS
PAGE
NUMBER
r
•
'.
How
TO
USE
TIllS
MA
AL
7
CHAPTER 0E:
PREvE
TlVE
MAl
TE
A
CE
9
DAILY
10
WEEKLY
11
BnNEEKLY
12
MONTI-U.Y
13
CHAPTER
Two:
DIAG
OSTIC
TEST 15
ACTIV
AT
GMOTOR
TEsT
MODE
16
ACTIVA
TI
GDlSPLAY
TEsT
MODE
25
CHAPTER THREE: TROUBLESHOOTI G ERROR CODES 27
SPEED
ERRORS 28
ELEVATlO ERRORS 38
FS
ERRORS 52
CPU
ERRORS 55
No DISPLAY POWER 57
CHAPTER
Fo
R:
I
CREASING
MECHA
leAL
UPTIME 59
Ru
GBELT TROUBLESHOOTING
60
DRIVE MOTOR TROUBLESHOOTING 65
HEAD-
AND TAll..ROLLER TROUBLESHOOTING 68
TREADMILL
VmRA
TIO TROUBLESHOOTING 69
TREADMll...L STATIC AND SHOCKING TROUBLESHOOTING
71
-------------------
-
CO!'ffENTS
PAG£
NUMBeR
•
CHAPTER FIVE: REPLACEMENT PROCEDURES
72
DISPLAYCABLE
74
EMERGENCY STOP SWITCH
78
ELEVATION MOTOR
81
MOTOR BELT
85
ELEVATION SENSOR
87
LIMIT
SWITCH
89
RPM
SENSOR
92
MOTOR CONTROL BoARD
95
FLYWHEEL
98
MOTOR PULLEY
101
HANDRAILS 104
SUK
DECK
106
RUNNING BELT
110
•
ELEVATION CANS
115
INDEX 117
•
~.
•
'.
How
TO
USE
TIns
MANuAL
This service manual
is
intended to assist
in
preventive maintenance, troubleshooting,
and replacing worn parts for the STAR TRAC 2000 and 3000 Series Treadmills.
STAR
TRAC
MODELS
2000P Series
~1~0
STAR TRAC Programmable
2000S Series STAR TRAC Simple
2000J Series
~
\STAR TRAC Jogger
2000W Series STAR TRAC Walker
3000P Series STAR TRAC Programmable
3000S Series STAR TRAC Simple
3000J Series ST
AR
TRAC Jogger
3000W Series ST
AR
TRAC Walker
In
Chapter
One: Preventive Maintenance, you will find the recommended
maintenance guide for your treadmill.
Keep~ng
aregular preventive maintenance
schedule increases the treadmill uptime and runners' enjoyment.
In
Chapter
Two: Diagnostic Test you will learn how to acti ate the Motor Test
Mode and Display Test Mode to prevent problems and service your treadmill.
Correcting problems and troubleshooting error codes are covered
in
Chapter
Three:
Troubleshooting
Error
Codes.
Chapter
Four: Increasing Mechanical ptime provides hints and tips for preventing
and troubleshooting common mechanical problems.
Chapter
Five: Replacement
Procedures details with text and illustrations how to replace the worn parts.
--
..
-
..
_--
--------~---------
Chapter Four: Increasing echanical Uptime provides hints and tips for preventing
and troubleshooting common mechanical problems. Chapter Five: Replacement
Procedures details with text and illustrations how to replace the worn parts.
DIRECTIO AL
ORlE
TATIO
The
directions used
in
this manual are from the runner's viewpoint.
The
display panel
is the front
of
the treadmill. The right, left and rear are as viewed by the runner.
•
Front
Left
UNISE
CUSTOMER SERVICE
STAR
TRAC
SERVICE
MA
UAL
I - 800 -503 -
1221
Right
Back
PAGE 8
•
•
CHAPTER
ONE:
PREVENTIVE
MAINTENANCE
•Performing regular preventive maintenance on all STAR TRAC treadmills is strongly
recommended. Without preventive maintenance, normal wear and tear may cause
cumulative effects, such as misalignment and early replacement
of
parts.
In
addition,
the more the treadmill is
in
use, the stricter you should adhere
to
the preventive
maintenance schedule.
NOTE:
If
any unusual problems, such as error codes and blown circuit breakers,
occur, please refer to Chapter Three: Troubleshooting Error Codes.
•
UNlSEN
CUSTOMER SERVICE
STAR
TRAC
SERVICE
MANuAL
1 -
800
-
503
-
1221
PAGE 9
l~
_
DAILY PREVENTIVE MAINTENANCE
You should perform the following maintenance on adaily basis.
•Use acloth and diluted all-purpose cleaner to remove any dust, dirt,
and other substances from the main part
of
the treadmill. Wipe the
display panel, console, handrails, and motor cover. Avoid using cleaner
under the running belt.
•To ensure the longevity
of
the running belt, clean under the running
belt with asoft, dry cloth.
To clean, slide the cloth between the running belt and the deck from
one side
of
the frame
to
the other side. You may need aruler
or
rod to
slide towel under the running belt.
Then, holding the edges
of
the cloth, pull the cloth from the headroller
to the tailroller.
NOTE:
Do
NOT clean the running belt by activating the treadmill. Do
NOT place feet or any weight on the running belt when cleaning the
treadmill.
•
•
UNISEN CUSTOMER SERVICE
STAR
TRAC
SERVICE MANUAL I - 800 -503 -
1221
PAGE
10
•
You should perform the following maintenance
on
aweekly basis.
•
•
•
•
•
Check the running belt for alignment and tension.
NOTE: Do NOT automatically tighten the belt daily. For additional
infonnation on how to verify belt alignment
or
correct abelt that has
slipped or mistracked, please refer to Chapter Four: Increasing
Mechanical Uptime.
Verify power cord is not under the treadmill.
If
the power cord is
placed under the treadmill, it may become pinched
or
bind up the
elevation screws. This results
in
error codes or treadmill damage.
WEEKL
YPREVENTIVE MAINTENANCE
Elevate the treadmill and vacuum the floor under the treadmill. Be
careful not
to
bump the elevation switches as you sweep.
•Inspect the deck and running belt surfaces for unusual wear.
Check the deck for worn areas where the underlying fiber board
or
soft
spots are visible. Inspect the underside center
of
the running belt for a
worn, glazed appearance.
•UNISEN CUSTOMER SERVICE
STAR
TRAC
SERVICE
MANUAL
1 - 800 -503 -
1221
PAGE
11
~--------
•Walk on the deck surface.
If
any portion feels soft, replace the deck.
NOTE: For information on replacing aworn deck or belt, please refer
to Chapter Five: Replacement Procedures. •
•
If
you have a3000 Series, check the subdeck and weardeck screws.
If
loose, tighten them.
BIWEEKLY
PREVENTIVE MAINTENANCE
You should perform the following maintenance biweekly
or
twice amonth basis.
•Vacuum around the motor and electronics by removing the shroud
cover and lifting the motor shroud.
Raise the motor shroud and suspend it from the display neck with the
bungie cord, from your STAR TRAC Treadmill Toolkit. Be sure to
avoid bumping or damaging the RPM disc and sensor, elevation sensor,
limit switches, and wire connections.
NOTE:
To
raise the motor shroud, use the Phillips screwdriver to
remove the screw in the motor shroud. Gently lift the motor shroud
up
the display handrail.
Using
the bungie cordfrom the STAR TRAC
Toolkit, hold the motor shroud at the top
of
the display handrail.
•
UNISEN CUSTOMER SERVICE
STAR
TRAC
SERVICE
MANUAL
1 - 800 -503 -
1221
PAGE
12
•
--------~
•
To
replace the motor shroud, remove the bungie cord and
Lower
the
motor shroud until it touches the frame. Press the sides
of
the motor
shroud to the frame and attach the
veLcro
fasteners. Using the Phillips
screwdriver, tighten the screw in the center
of
the motor shroud.
MONTHLY
PREVENTIVE
MAINTENANCE
You should perform the following maintenance once amonth.
•Lubricate the elevation screws with asilicon lubricant to prevent rust
accumulation.
•Activate Motor Test Mode and Display Test Mode
of
Diagnostic Test.
This will diagnose any unforeseen maintenance and error codes.
NOTE: For additionaL information on activating Diagnostic Test,
please refer to Chapter
Two:
Diagnostic test.
••
UNISEN CUSTOMER SERVICE
STAR
TRAC
SERVICE
MANUAL
1-
800
-
503
-
1221
PAGE
13
e.
e·
e
r
I
[
I•
•
--
--
-----------------
CHAPTER Two:
DIAGNOSTIC TEST
The STAR TRAC software program contains aself-diagnostic test mode that precisely
determines the reason for
an
error. This chapter outlines how
to
activate Diagnostic
Test and diagnose the problem.
Diagnostic Test consists
of
the Motor Test Mode and Display Test Mode. You will
use the test mode to check the motor, sensors (if they are working and calibrated),
and switches (if they are active and responding). The Display Test Mode checks the
keyboard response and
Quality
of
the LEDs. The Diagnostic Tests are the best
methods for determining specific failure areas
on
the STAR TRAC treadmill.
Remember,
in
Diagnostic test, you are
in
command. Pay attention to the display
panel. The LED lights and readouts show you the exact position and limits
of
the
treadmill.
In
this chapter,
you
will learn:
CONTENTS
ACTIVATING MOTOR TEST MODE
ACTIVATING DISPLAY TEST MODE
PAGE
NUMBER
16
25
•UNISEN CUSTOMER SERVICE
STAR TRAC SERVICE
MANUAL
1 - 800 -
503
-1221 PAGE 15
ACTIV
ATING
MOTOR TEST MODE
OF
DIAGNOSTIC TEST
Use the Motor Test Mode
to
check the motor, sensors (if they are working and
calibrated), and switches (if they are active and responding).
In
addition, you may be
instructed to activate the Motor Test Mode during preventive maintenance
or
troubleshooting.
To activate Motor Test Mode, please follow these instructions.
If
your treadmill does
not respond, please refer
to
Chapter Four: Increasing Mechanical Uptime or
contact STAR TRAC customer service.
•
..
Step One Tum the power switch
to
the OFF position.
Place the treadmill into the Motor Test Mode.
Step Two
•
If
you have aJogger, Programmable,
or
Simple with number
keys, simultaneously press key number 8, while turning the
power switch
to
ON. •
•
If
you have aWalker or Simple with no number keys,
simultaneously press the -(minus) key, while turning the power
switch
to
ON.
UNISEN CUSTOMER SERVICE
STAR
TRAC
SERVICE MANUAL 1 - 800 -503 -
1221
PAGE 16 •
•Step Three Verify the display panel reads:
Verify the running belt
is
not moving.
•
If
you have a2000 Series treadmill from 1990
or
earlier, verify
the display panel reads:
If
the running belt
is
not moving, proceed to the next step.
If
the running belt begins moving, then:
•
To
raise the motor shroud, use the Phillips screwdriver
to remove the screw holding the motor shroud to the
frame. Gently raise the motor shroud up the display
handrail.
Using
the bungie cordfrom the STAR TRAC
Toolkit, hold the motor shroud at the top
of
the display
handrail.
I
J
I
r
r
•
Step Four
o
o
3
2
0.0
0.0
UNISEN
CUSTOMER SERVICE
STAR
TRAC
SERVICE
MANUAL
1 - 800 -503 -1221 PAGE 17
•Adjust the
VR2
potentiometer, located on the motor
control board by using asmall, flat screwdriver to slowly
tum
the screw on the
VR2
potentiometer counter-
clockwise until the running belt quits moving. •
TR
4/1
JV1oroR.
CONTRoL
p.C.
ASSEMBL'{
rn
D
L-.-..----J
D
(,0-3
ELE"
"""OTOR.
o
o
co-2.
>1aTl>'t
I
L,,,e
-+.....,...
"dT
..
2 I
CO-4D
L'
.....
'l
S"'''!l:1l!£
c.o-\2.
AurD·'J,.F
.....
1it
C::::J •
Step Five Verify the threshold adjustment works correctly by increasing the speed
of
the running belt.
•Press the +(Plus) key
or
fast key to change the display readout
under Distance from 3to 18.
•
If
you have
an
older 2000 Series (1990
or
earlier), press the fast
key to change the display readout under Distance from 2to 16.
NOTE:
At
this point, the belt should be moving slowly at approximately
one inch per second. Look
for
a
smooth.
movement
of
the belt without
hesitation orjerking motions.
UN1SEN CUSTOMER SERVICE
STAR
TRAC
SERVICE
MANUAL
1 - 800 -503 -
1221
PAGE
18 •

This manual suits for next models

1

Other Star Trac Treadmill manuals

Star Trac 8TRx User manual

Star Trac

Star Trac 8TRx User manual

Star Trac E Series Use and care manual

Star Trac

Star Trac E Series Use and care manual

Star Trac TR901 User manual

Star Trac

Star Trac TR901 User manual

Star Trac Treadmill 4000 User manual

Star Trac

Star Trac Treadmill 4000 User manual

Star Trac E-TR Service manual

Star Trac

Star Trac E-TR Service manual

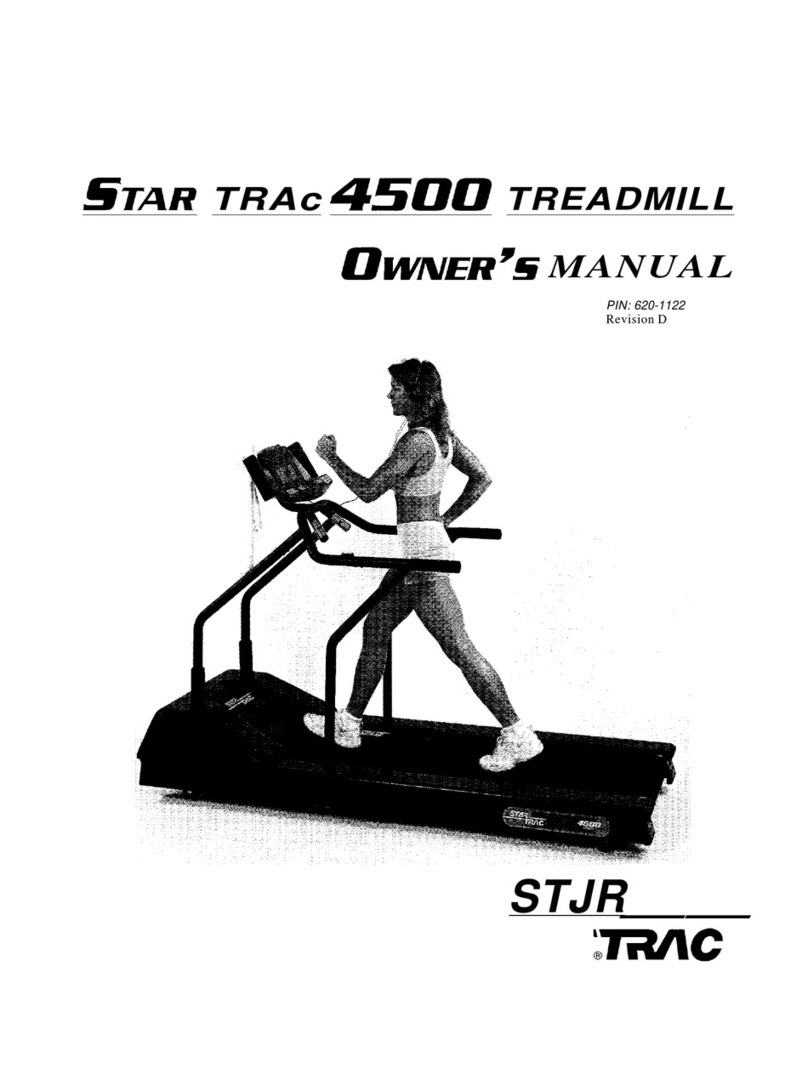
Star Trac 4500 User manual

Star Trac

Star Trac 4500 User manual

Star Trac E-TRx User manual

Star Trac

Star Trac E-TRx User manual

Star Trac 1000 User manual

Star Trac

Star Trac 1000 User manual

Star Trac E-TRe User manual

Star Trac

Star Trac E-TRe User manual

Star Trac 4500 User manual

Star Trac

Star Trac 4500 User manual

Star Trac 1400 User manual

Star Trac

Star Trac 1400 User manual

Star Trac E Series User manual

Star Trac

Star Trac E Series User manual

Star Trac TR1800S User manual

Star Trac

Star Trac TR1800S User manual

Star Trac E Series Operation manual

Star Trac

Star Trac E Series Operation manual

Star Trac 1600 User manual

Star Trac

Star Trac 1600 User manual
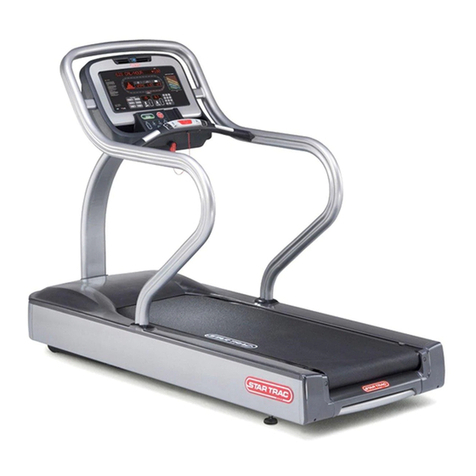
Star Trac Star Trac Fitness S-TR User manual

Star Trac

Star Trac Star Trac Fitness S-TR User manual

Star Trac 1000 User manual

Star Trac

Star Trac 1000 User manual

Star Trac E-TRx User manual

Star Trac

Star Trac E-TRx User manual

Star Trac E-TRx User manual

Star Trac

Star Trac E-TRx User manual

Star Trac 8 SERIES Reference manual

Star Trac

Star Trac 8 SERIES Reference manual

Star Trac E-TR User manual

Star Trac

Star Trac E-TR User manual

Star Trac 4-TR User manual

Star Trac

Star Trac 4-TR User manual
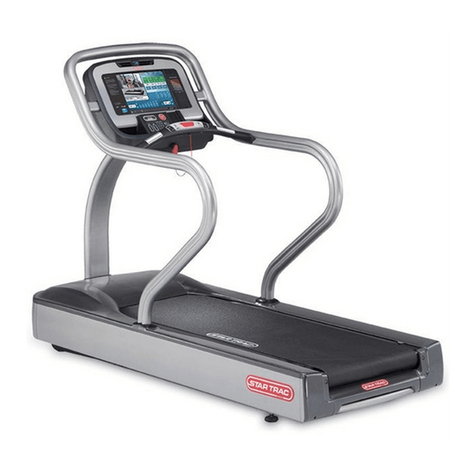
Star Trac Pro User manual

Star Trac

Star Trac Pro User manual

Star Trac TR 3900 Dimensions

Star Trac

Star Trac TR 3900 Dimensions
Popular Treadmill manuals by other brands

Diadora D-Walk user manual

Diadora

Diadora D-Walk user manual

Horizon Fitness LS 925T LS 925T user guide

Horizon Fitness

Horizon Fitness LS 925T LS 925T user guide

Weslo compact SL user manual

Weslo

Weslo compact SL user manual

CYBEX 625T owner's manual

CYBEX

CYBEX 625T owner's manual

Vision Fitness T600E instructions

Vision Fitness

Vision Fitness T600E instructions

Weslo Crosswalk 365e Treadmill user manual

Weslo

Weslo Crosswalk 365e Treadmill user manual

Woodway 4Front Translation of the original operation manual

Woodway

Woodway 4Front Translation of the original operation manual

SportsArt Fitness T621 Repair manual

SportsArt Fitness

SportsArt Fitness T621 Repair manual

Horizon Fitness CT5.1 owner's manual

Horizon Fitness

Horizon Fitness CT5.1 owner's manual

Insportline inCondi T420i user manual

Insportline

Insportline inCondi T420i user manual

Confidence Fitness Power Trac manual

Confidence Fitness

Confidence Fitness Power Trac manual

Christopeit Sport CS3000 Assembly and operating instructions

Christopeit Sport

Christopeit Sport CS3000 Assembly and operating instructions

habitat et jardin VICTORIA manual

habitat et jardin

habitat et jardin VICTORIA manual

Trojan PEGASUS 400 user manual

Trojan

Trojan PEGASUS 400 user manual

VITAL GYM T 5.1 user manual

VITAL GYM

VITAL GYM T 5.1 user manual

Reebok ASTRORIDE A6.0 user manual

Reebok

Reebok ASTRORIDE A6.0 user manual

HOMCOM A90-225 Assembly instruction

HOMCOM

HOMCOM A90-225 Assembly instruction

NordicTrack T15.0 Treadmill Gebruikershandleiding

NordicTrack

NordicTrack T15.0 Treadmill Gebruikershandleiding

manuals.online logo
manuals.online logoBrands
  • About & Mission
  • Contact us
  • Privacy Policy
  • Terms and Conditions

Copyright 2025 Manuals.Online. All Rights Reserved.