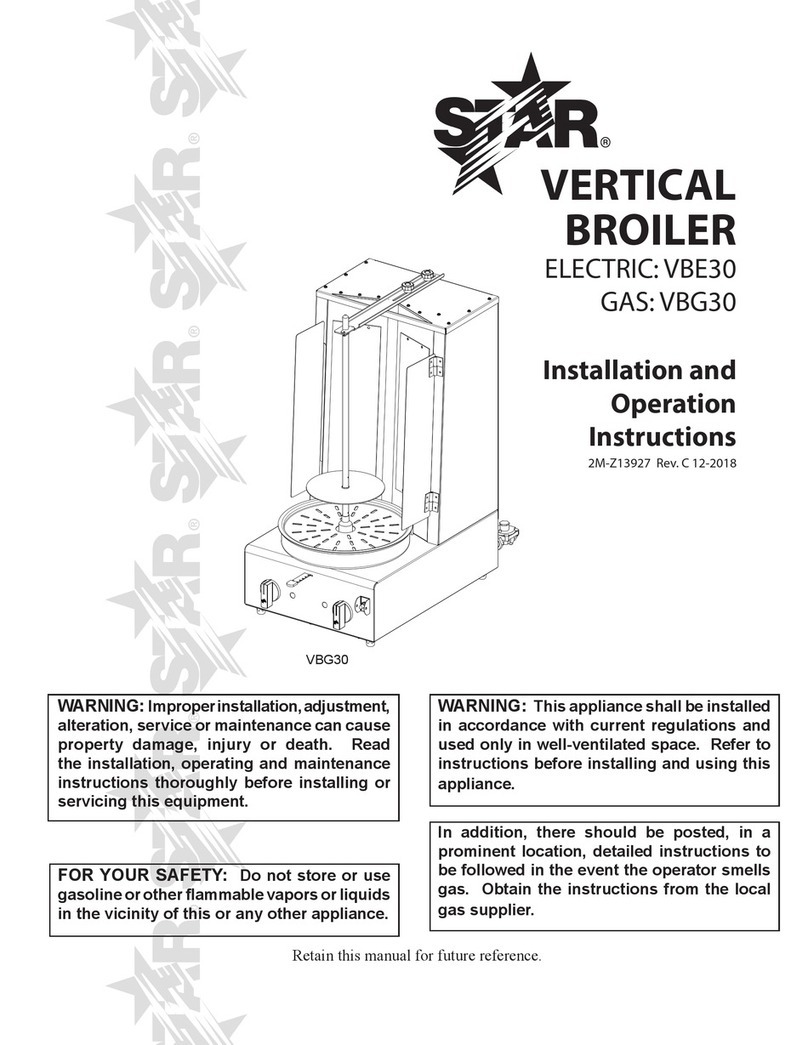
Star 121 User manual

USER MANUAL
Model 121
Star Universal (Gosport) Ltd
Unit 2, Clarence Wharf, Mumby Road, Gosport, Hampshire, United Kingdom, PO12 1AJ
Tel: + 44 (0) 23 9258 2857 Fax: + 44 (0) 23 9251 1731
Email: sales@staruniversal.com
Web: www.staruniversal.com

2
Star Universal (Gosport) Ltd
Unit 2, Clarence Wharf
Mumby Road
Gosport
Hampshire
PO12 1AJ
Telephone Number: 023 9258 2857
Fax Number: 023 9251 1731
Website: www.staruniversal.com
All rights reserved. Nothing from this edition is allowed to be copied and/or made public by means of print, photocopy or any other way without previous written permission
of Star Universal (Gosport) Ltd
Star Universal (Gosport) Ltd reserves the right to change spare parts and/or specifications without previous notice. Contents of this manual can also be changed without
previous warning.
Star Universal (Gosport) Ltd cannot be held responsible for eventual damage caused by specifications deviating from the standard model.
Although extreme care has been exercised during the writing of this manual, Star Universal (Gosport) Ltd will not accept any liability for eventual errors in this manual and/or
for the consequences of (mis)interpretation of the contents.
Star Universal (Gosport) Ltd is not responsible for damage or problems which result from the use of other than the original spare parts.
If this manual has not been supplied with instructions for certain repairs, adjustments and maintenance, you should contact Star Universal (Gosport) Ltd

3
Contents
1Introduction and check list 3
2Safety 4
2.1 Safety Instructions 4
2.2 Safety Features 4
3Connecting the Handset to the Machine 5
4Handset Operation 5
5Maintenance Calendar 6
6Jaw Maintenance and Service Spares 6-7
7Thermocouple Replacement 8
8Service Replacements and Jaw Assemblies 9
9Wiring Diagram 10
10 Technical Specification 11
11 Environmental Policy 11
12 Warranty Policy 11
1 INTRODUCTION
With the purchase of this heat sealing machine you will be able to pack a great variety of
products. To use the heat sealer, Star Universal (Gosport) Ltd has ensured that all the machines,
from the smallest to the largest model, fulfil the greatest demands. All the machines are built
in-house to the highest standard and undergo vigorous testing, complying with all regulations.
Unpacking
The heat sealing machine is packed in either a box or pallet. We recommend you keep the
box/pallet so you can transport the heat sealer safely in the future, if ever required.
Use the following list to check the contents of the box/pallet:
Manual
✓
Power Pack
✓
Spares Kit
✓
Additional spares (if applicable)

4
2 SAFETY
2.1 SAFETY INSTRUCTIONS FOR HEAT SEALER OPERATION
WARNING this manual should be read in full prior to operating this heat sealing
machine. Ensure all the operators are aware of how to use it safely.
All users of this product are requested to follow all warnings and instructions contained in this
manual. In addition, all warnings and instructions affixed to the machine should be followed.
The machine is not rated for direct water contact unless otherwise stated.
Ensure the power is switched off and the plug removed from the socket prior to carrying out any
service work.
The machine should be regularly serviced using genuine Star parts and is subject to the portable
appliance test regulations.
When not in use switch the machine off.
The sealer is designed to be installed on a flat level surface to ensure stability during operation.
Heat sealers are not designed to be used in flammable or explosive environments.
With repeated cycling residual heat can build up on the sealing jaws. Avoid touching them
wherever possible.
Keep hands clear of the sealing jaws when operating the machine.
Always use heat sealers in a ventilated environment as sealing certain plastics may create fumes.
Check with your bag/material manufacturer.
2.2 SAFETY FEATURES
All Star heat sealers are built to minimise risk of any injury to machine operators and anyone
who can come into contact with them. The main risks involved with Star heat sealing and the
safety features built into the machines are:
Sprung jaw: After machine operation certain models are sprung to open. Make sure operators
are clear of anything that may impact them.
Heated sealing jaws: The heating element and jaws may become hot with continued use. This
temperature is low enough so as not to risk causing burns. The element ribbon is only heated to
weld temperature when the jaws are fully closed. Warning labels are affixed to the jaws to advise
operators to keep their hands clear.
Sharp cutter blade: On a machine fitted with the manual cutter the blade is spring loaded so it
should only be exposed when the yellow handle on the top sealing jaw is pushed down. If the
blade is exposed all the time the carriage needs replacing.
Exposed electrical terminal: The only exposed electrical terminals are low voltage on a SELV
circuit and pose no risk.
Star Heat Sealers meet the health and safety requirements of The Supply of Machinery (Safety)
Regulations 1992 No. 3073 and The Machinery Directive 2006/42/EC. The CE mark will be affixed
to the product where applicable.
A request is made that any known incidents that result in injury to an operator from the
legitimate use of this heat sealer is reported to Star Universal Technical Department. Tel: 02392
582857 e mail: info@staruniversal.com
!

5
3 CONNECTING THE HANDSET TO THE POWER PACK
Before connecting the power pack to the electric supply the jaws or sealing head supplied should
be connected to the power pack.
This power pack should only be used with jaws or sealing heads compatible with it. The jaws or
sealing head supplied with this power pack are the following specification:
Star 121 Handset
If you wish to connect a different set of jaws or sealing head to this power pack, please contact
Star Universal with the new specification and power pack serial number so we can advise
compatibility.
With the power pack turned off take the large 6 pin plug on the end of the cable and connect it
to the socket on the back of the power pack. The plug will only fit one way round. Ensure the
two catches are engaged to give a strong connection.
If there is a green thermocouple plug, plug this into the green socket on the back of the machine.
The plug will only fit one way round
If there is a black 2 pin plug attached, plug this into the black 2 way socket. The plug will only fit
one way round. Turn the collar clockwise to secure the connection.
4 HANDSET OPERATION
SETTING JAW PRESSURE AND SAFETY SWITCH
To close the sealing jaws, apply pressure to the handle until the latch engages. The pressure
applied can be adjusted. If the jaw closure is too tight, release the two screws on the catching
mechanism. Tightening the screws will apply more pressure.
If the machine does not cycle when the jaws are closed and the start switch is pressed the jaws
closed sensors may be too far apart. Loosen the two screws holding them onto the jaw and move
closer together. Re tighten the screws.
MACHINE OPERATION
Once the weld and cool times have been set, along with the compensation if required, the sealer
is ready to use.
The operation involves placing the material to be sealed between the jaws, shutting the jaws
until the catch is made and pressing the start button. The machine automatically runs through
a weld and cool cycle. When the blue cool light goes out release the jaws by squeezing the
release lever and lifting the top jaw up.
When operating the machine ensure your hands or anyone else’s are not between the jaws. Try
and avoid touching the jaws if possible as they can become warm with continuous use.

6
5 MAINTENANCE
WARNING! Unplug machine before any maintenance is carried out
DAILY MAINTENANCE
Visually check barrier tape
Change tapes if there are any burn marks, rips OR
damage.
Jaws move freely
Before turning machine on, manually shut jaws and
ensure they move freely.
MONTHLY MAINTENANCE
Sealing jaws
Change tapes, element and rubber if necessary. Check
end blocks are not damaged.
6 MONTH MAINTENANCE
Repeat monthly maintenance
A 6-month maintenance kit can be ordered from Star
Universal.
YEARLY MAINTENANCE
Contact Star Universal
You can request an onsite visit or send the machine to
Star Universal (Gosport) Ltd.
6 JAW MAINTENANCE AND SERVICE SPARES
Under normal operating conditions it will be necessary to replace certain expendable items that
are readily available from our spares department. Use of non-Star genuine parts or the incorrect
part number can cause damage to the machine and invalidate the warranty.
Before replacing any sealing jaw items ensure the machine is switched off and unplugged.
Replacing consumable items
Barrier Tape: The barrier tape is a brown Teflon coated cloth designed to prevent plastic sticking
to the element ribbon. If this becomes burnt or damaged peel the old tape off, removing any
excess adhesive from the jaws. Take a length of new tape, remove one of the adhesive strips
and stick it to the front of the jaw, remove the other adhesive strip and stick to the back of the
jaw. The tape should be applied loosely so it is not in contact with the element ribbon when the
jaws are open.
!

7
Element Ribbon: Remove the barrier tape as above. Place the loading pins through the
expansion blocks and holes in either end of the jaw to keep the springs under compression and
loosen the Allen key bolt. Remove the old ribbon. Cut a length of new element ribbon slightly
longer than the jaw and fold one end back on itself by about 5mm. Place this end in one of the
expansion blocks and tighten the Allen bolt. Measure the length of ribbon required to fit into
the other expansion block, cut to length and fold the end back 5mm. Fit in the other expansion
block and tighten the Allen bolt. Remove the loading pins and re-cover with barrier tape. Ensure
on double heat machines that the two elements line up to produce a good seal.
Brass Shim: Remove barrier tape and element ribbon as above. Remove the brass clamp by fully
unscrewing the Allen bolt. Replace the brass shim, attach the brass clamp and re fit the ribbon
and tape as above.
Silicone Rubber/Sponge –Heated Jaw: Remove the barrier tape and element ribbon as above.
Peel the silicone rubber away from the aluminium sealing jaw and clean any residual adhesive
left behind. Apply a NARROW bead of silicone adhesive to the channel, cut a piece of silicone
rubber to length and press into the channel ensuring a smooth surface. Replace the sealing
ribbon and barrier tape as above.
Compression Spring and Ball Bearing: Remove barrier tape and element ribbon as above,
remove loading pin taking extra care due to the spring being under tension. Replace
Compression spring and ball bearing. Refit element ribbon and tape as above.

8
7 THERMOCOUPLE REPLACEMENT
Thermocouple: If the silicone has been replaced cut a shallow V in it just deep enough for the
thermocouple wire to sit flush with the rubber, the tip/disc should be sat on top of the rubber.
Place the thermocouple through the hole and fasten in place with thermocouple adhesive strip.
The tip of the thermocouple should be in the centre of the silicone. The backing tape should be
applied to cover the thermocouple.
1. Cut V shape into rubber:
2. Place thermocouple through hole in jaw:
3. Secure thermocouple using the thermocouple adhesive strip:
4. Place backing tape over length of rubber and replace the element ribbon:

9
8 SERVICE REPLACEMENTS AND JAW ASSEMBLIES
Part No
Diag No
Description
B018007
1
65mm Barrier Tape
E024002
2
6mm Element Ribbon
B017002
B017007
3
9.5mm Silicone Rubber
9.5mm Silicone Sponge
M202005
4
Expansion Block (Pair)
M202004
5
9mm Brass Shim
B021005
6
Compression Spring
B022002
7
Ball bearing
B023004
8
1 ½” Roll Pin
B029002
9
Allen Key
M202009
10
Loading Pin
B018022
11
9mm S/A Backing Tape
E019005
12
Thermocouple
B017014
NA
Silicone Rubber Compound (85g)
B021007
NA
Gas Strut
JAW ASSEMBLIES
HEATED JAW WITH HEATED JAW UNHEATED JAW
THERMOCOUPLE
1
2
3
4
8
5
6
7
9
10
1
1
2
2
3
11
3
12
3
1

10
10 WIRING DIAGRAMS
STAR 121 HANDSET
SW2 TRIGGER
RS1 JAWS CLOSED REED SWITCH
EM ELECTRO-MAGNET (if fitted)
N NEON (if fitted)
N/A
STAR UNIVERSAL (GOSPORT) LTD

11
11 TECHNICAL SPECIFICATION
All the above weights and dimensions are approximate and based on the standard machine E&OE.
Star Universal reserves the right to change the above specifications without prior notice.
12 ENVIRONMENTAL RESPONSIBILITY
MACHINE RECYCLING
As this machine contains electrical and electronic components it must be disposed of correctly
and not in general land fill.
As Star Universal only build industrial equipment to individual customer requirements the
responsibility for the disposal lies with the end user.
Star Universal will offer a collection service for machines we have built at the end of their
useful life for recycling.
Please contact us for prices stating the machine model and serial number.
Producer Registration No. WEE/MM7018AA
13 STAR UNIVERSAL WARRANTY POLICY
The Company provides a 1-year warranty from the date of delivery on all Star Heat Sealing
machines. If any part is found defective due to faulty manufacture, Star Universal will affect the
repair or replacement to the customer free of charge providing:
a) The fault is reported directly to the Service Department.
b) The fault is not caused by misuse, neglect or faulty adjustments by the operator.
c) The machine failure has not occurred through normal wear and application usage.
d) The machine has not been serviced or repaired by any person not authorised by Star
Universal during the warranty period.
e) The machine is returned to Star Universal at the address below.
Expendable items like the jaw barrier tape and heating elements are not covered by the
warranty but are readily available at a charge from the Service Department.
Travel time to attend a machine on site may be charged at the current applicable rates.
This warranty is additional to the normal customer statutory rights.
Seal Length
400mm - 700mm
Seal Width
Seal only or Seal Cut Seal available
Jaw Opening
25mm approx.
Max Material thickness
1000µm approx. (4000g)
Weight
10kg - 15kg

12
Star Universal (Gosport) Ltd
Unit 2, Clarence Wharf, Mumby Road, Gosport, Hampshire, United Kingdom, PO12 1AJ
Tel: + 44 (0) 23 9258 2857 Fax: + 44 (0) 23 9251 1731
Email: sales@staruniversal.com
Web: www.staruniversal.com
Table of contents
Other Star Commercial Food Equipment manuals