3
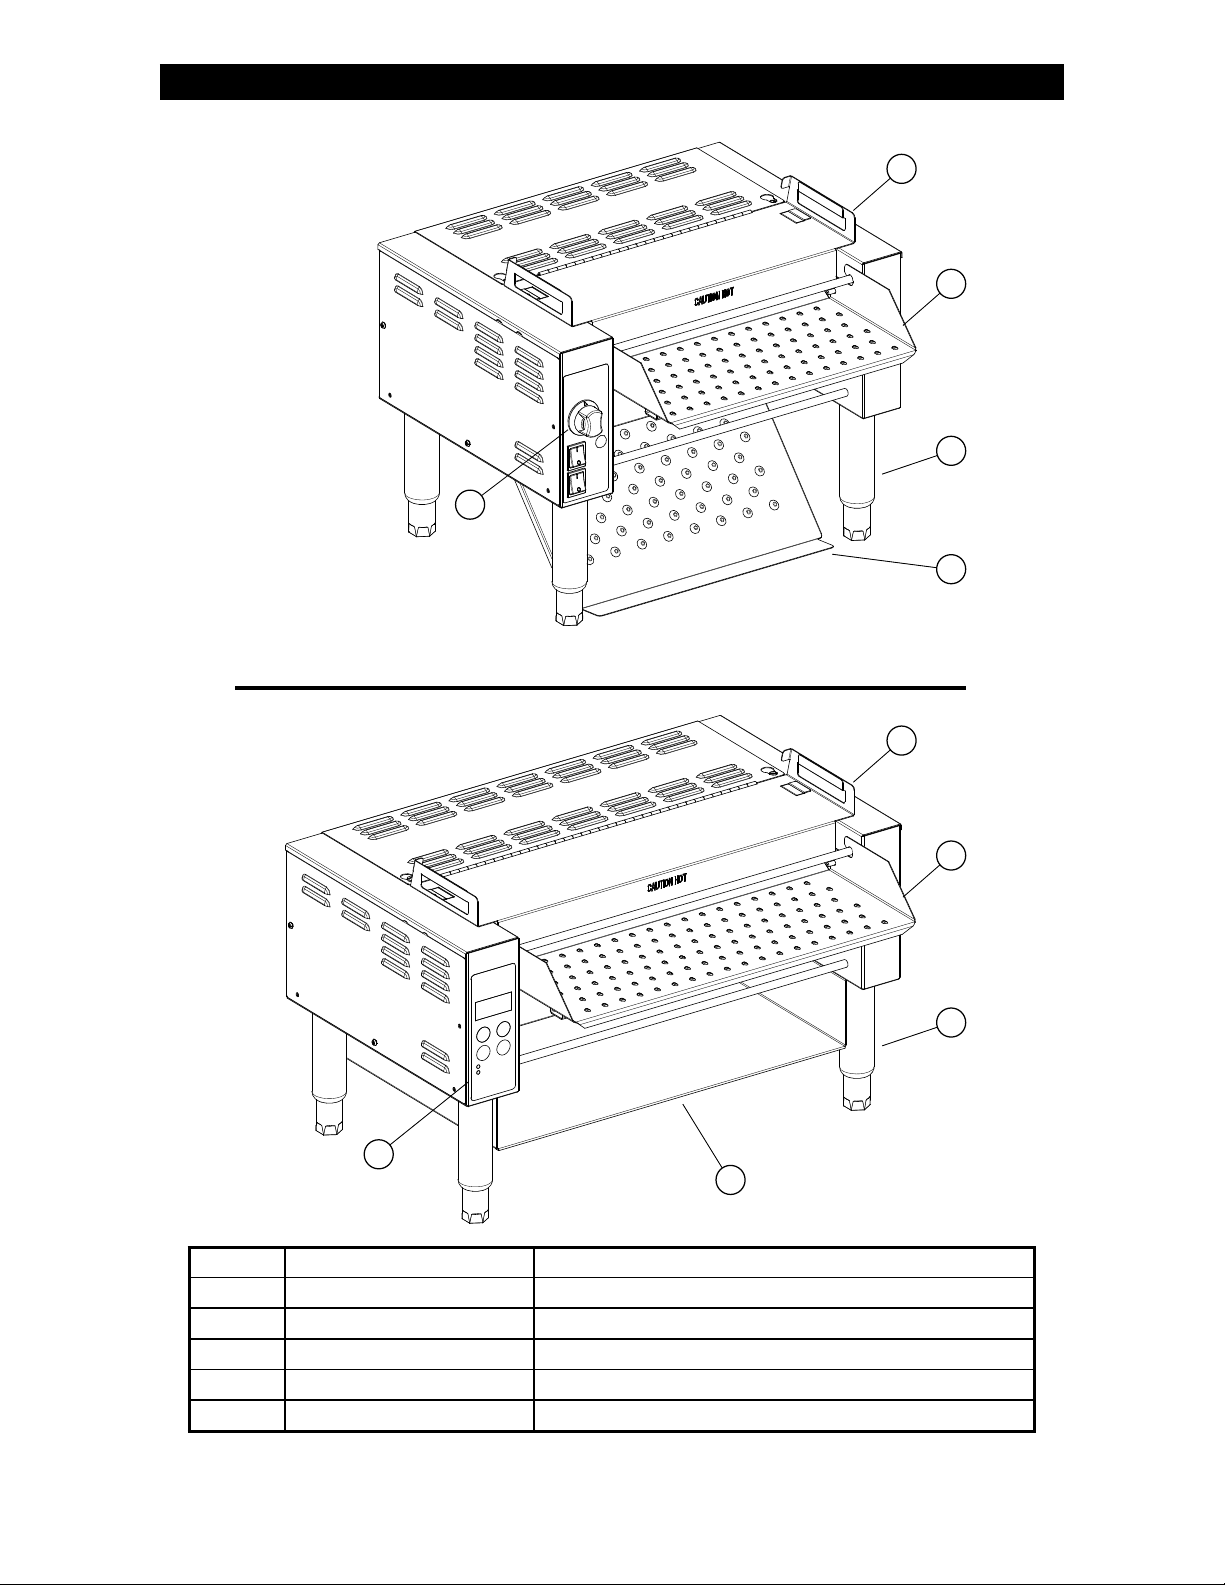
2M-Z19213; Rolling Tortilla Warmer Manual
GENERAL INFORMATION
This equipment is designed and sold for commercial use only by personnel trained and
experienced in its operation and is not sold for consumer use in and around the home nor for
use directly by the general public in food service locations.
Before using your new equipment, read and understand all the instructions & labels associated
with the unit prior to putting it into operation. Make sure all people associated with its use
understand the units operation & safety before they use the unit.
INSPECTION
UN-CRATING AND INSPECTING
Unpack the unit and components from the shipping container. Remove all visible packing
material and those from inside the cooking chamber. If damage is discovered, le a claim
immediately with the carrier that handled the shipment. Do not operate the unit if it was
damaged during shipping. All shipping containers should be checked for freight damage both
visible and concealed. This unit has been tested and carefully packaged to insure delivery of
your unit in perfect condition. If equipment is received in damaged condition, either apparent or
concealed, a claim must be made with the delivering carrier.
Concealed damage or loss - if damage or loss is not apparent until after equipment is unpacked,
a request for inspection of concealed damage must be made with carrier within 15 days. Be
certain to retain all contents plus external and internal packaging materials for inspection. The
carrier will make an inspection and will supply necessary claim forms.
ELECTRICAL CONNECTION
Disconnect the unit from the power source before installing or removing any parts.
Be absolutely sure that the ground connection for the receptacle is properly wired.
Do not connect equipment to power without proper ground connections. Improper grounding
may result in personal injury or death.
CAUTION
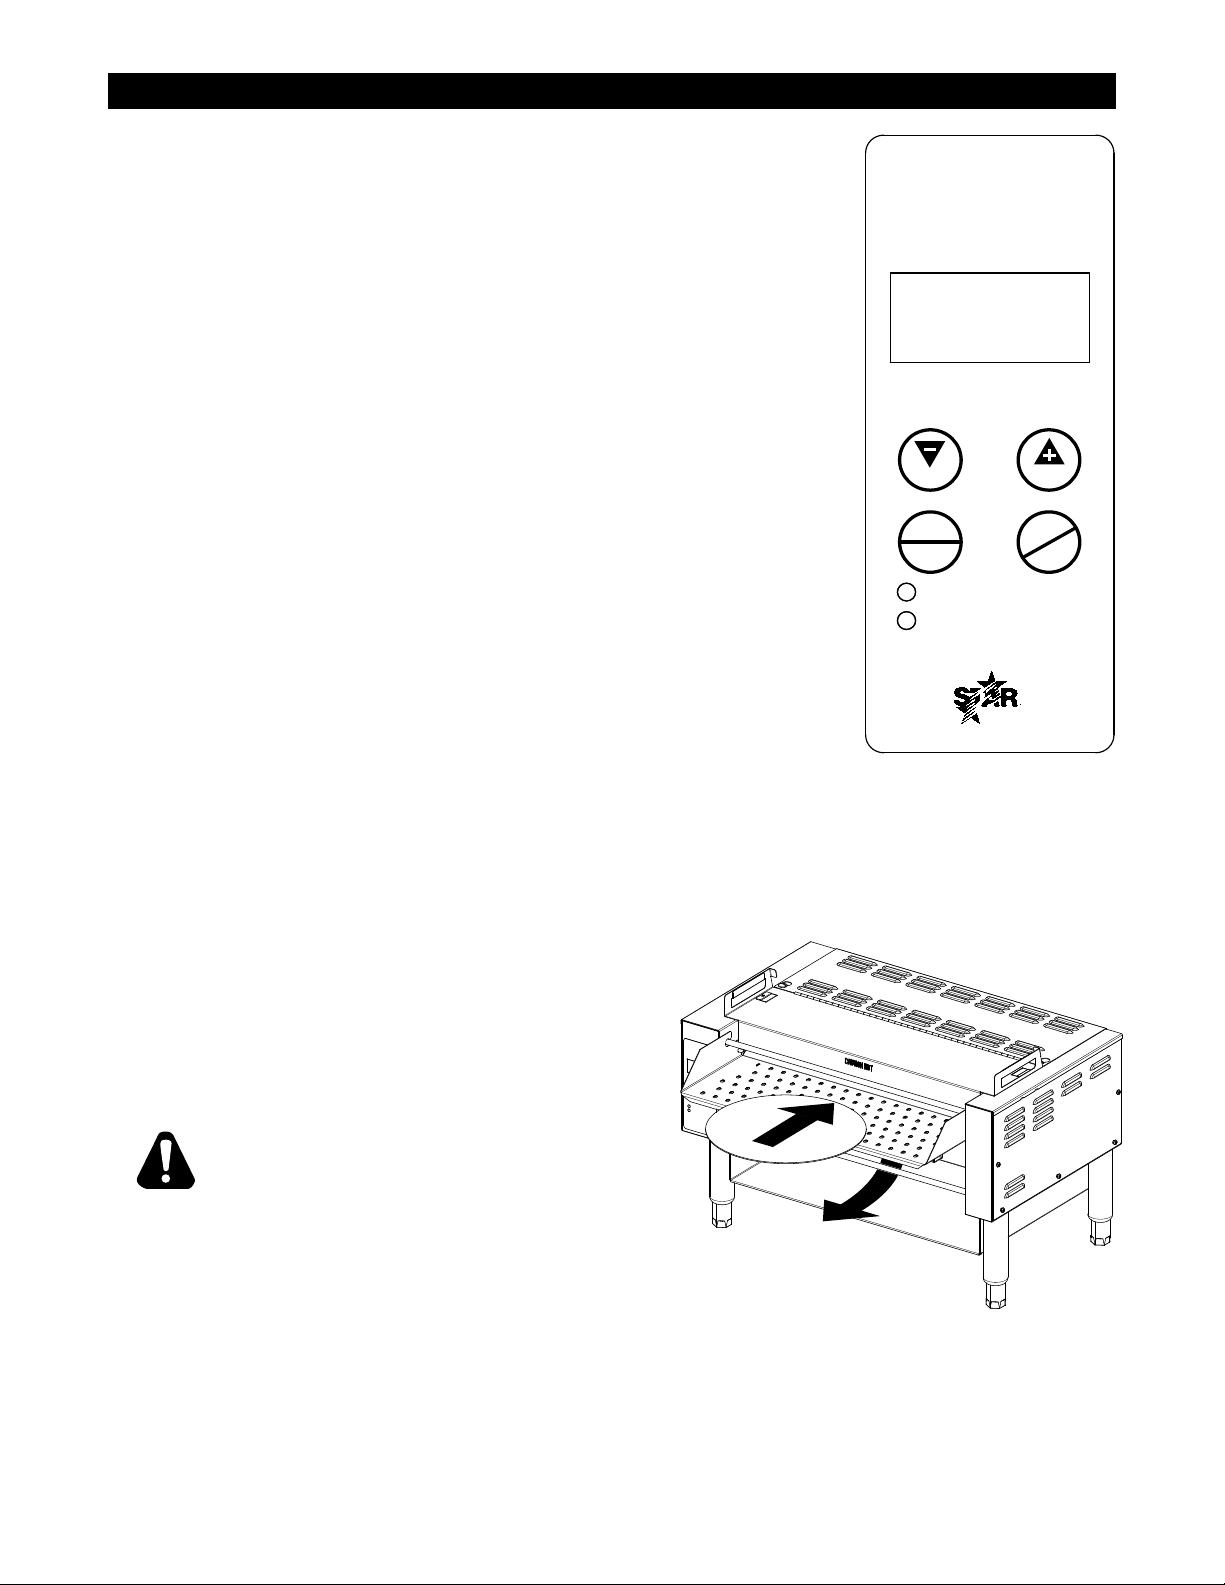
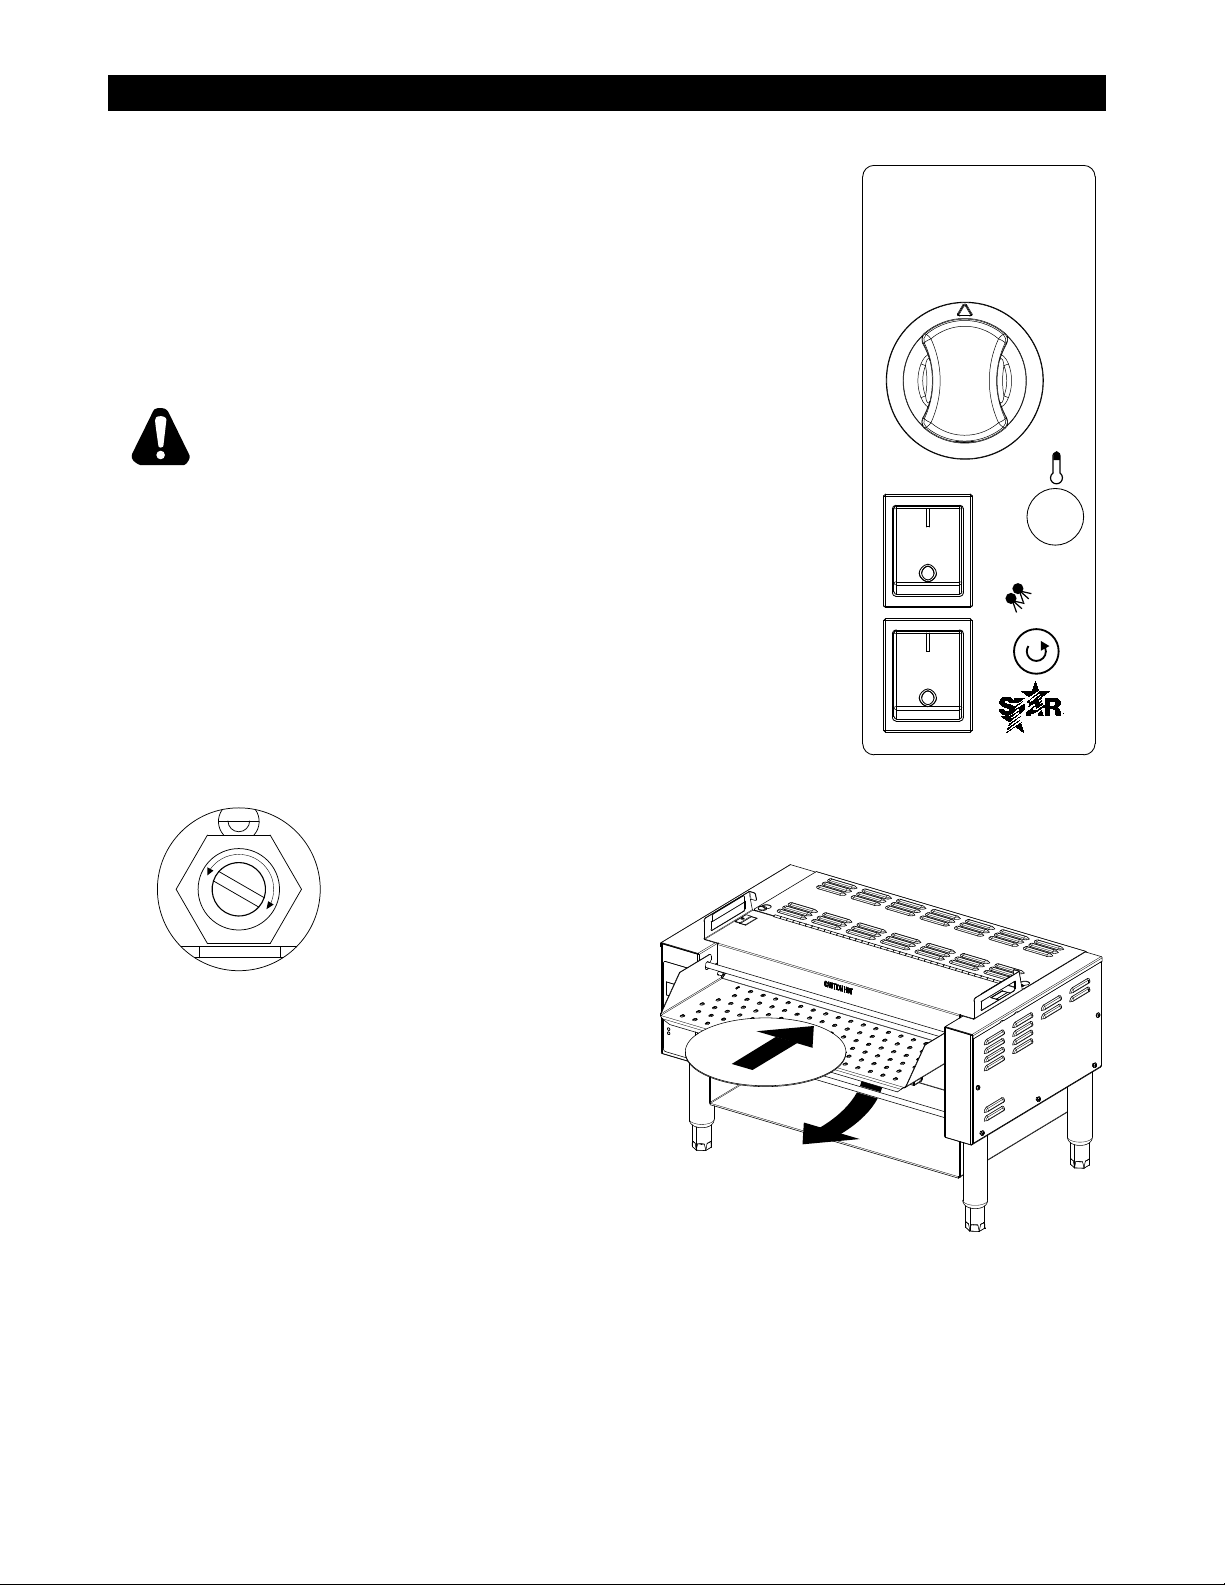
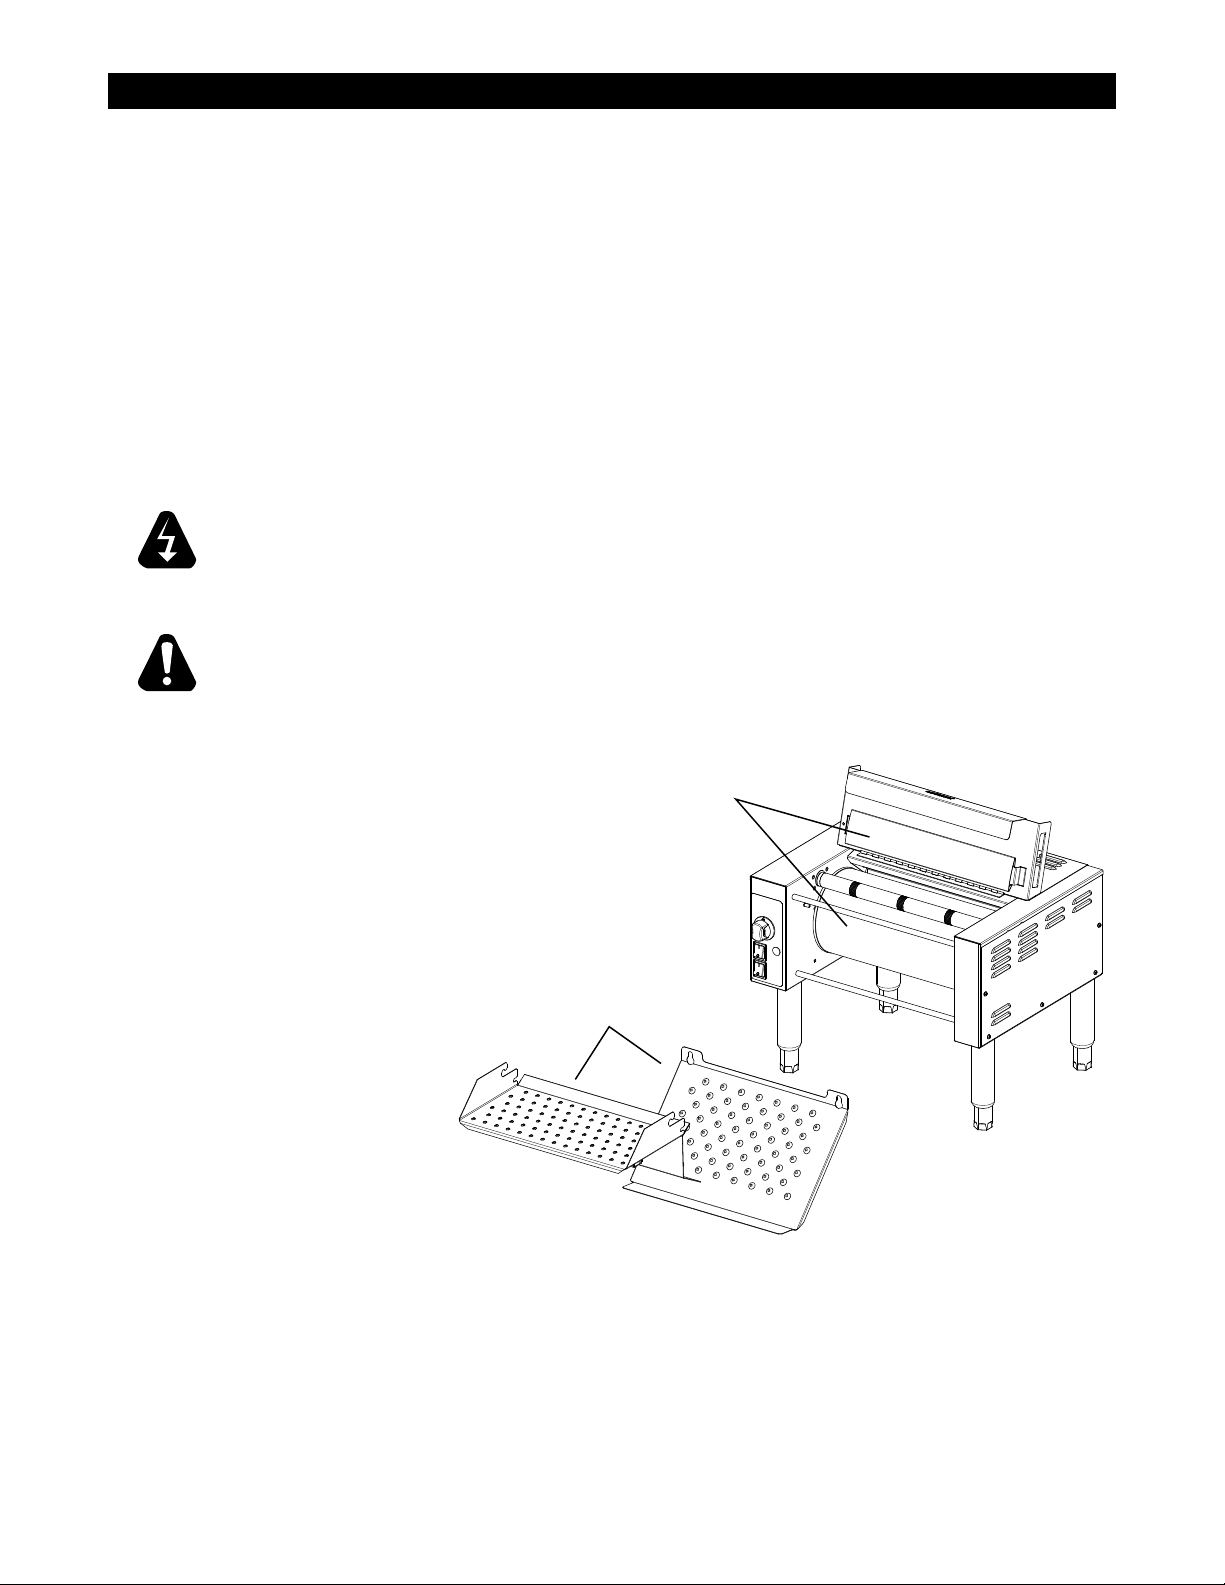
Allow enough space around the toaster for adequate ventilation. Do not operate the unit
without the crumb tray properly positioned. Overheating and poor toasting may occur.
Read all labels on the unit and follow their instructions.
WARNING
Before making any electrical connection to this unit, check that the power
supply is adequate for the voltage, amperage and requirements stated on
the rating plate. A wiring diagram is included.
WARNING
DO NOT CUT OR REMOVE THIS PLUG OR THE GROUNDING PRONG FROM
THE PLUG. FAILURE TO COMPLY MAY RESULT IN DEATH OR SERIOUS
INJURY.
WARNING
CONNECT/PLUG UNIT INTO DEDICATED A. C. LINE ONLY SPECIFIED ON
THE DATA PLATE OF THE UNIT.
CAUTION
SOME SURFACES ARE EXTREMELY HOT DURING OPERATION AND CARE
SHOULD BE TAKEN WHILE USING THIS UNIT.
CAUTION