manuals.online logo
Brands
  1. Home
  2. •
  3. Brands
  4. •
  5. StarTech.com
  6. •
  7. Power Distribution Unit
  8. •
  9. StarTech.com ECUSB3S11 User manual

StarTech.com ECUSB3S11 User manual

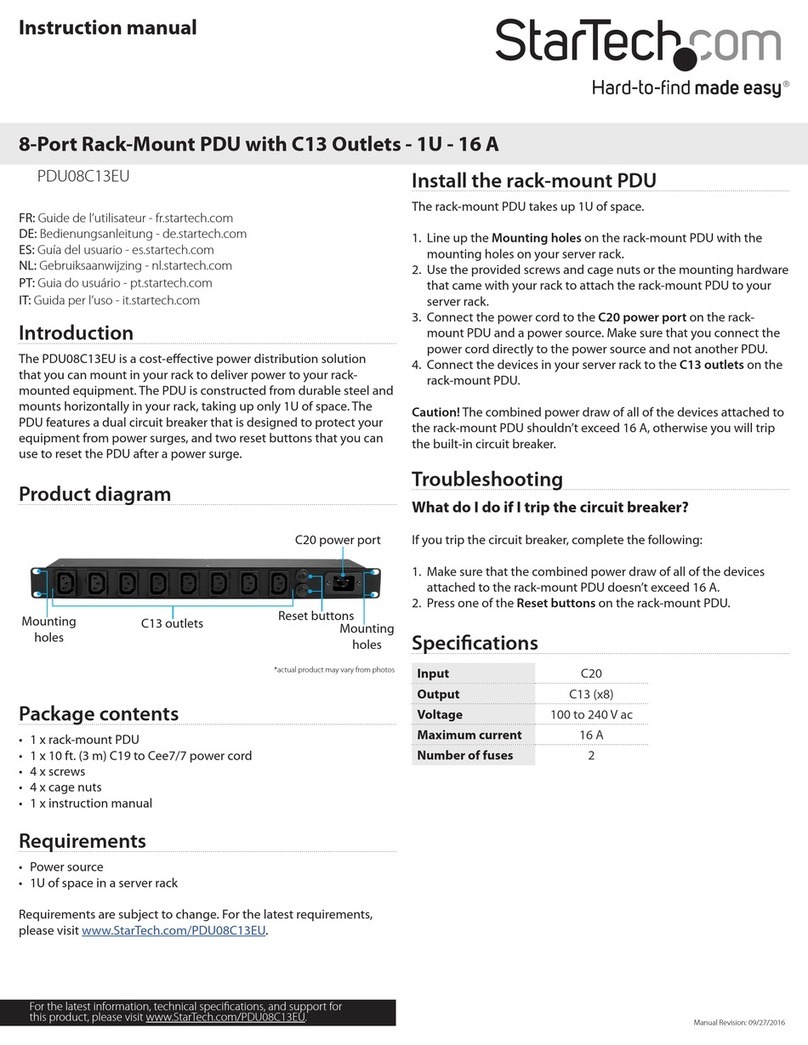
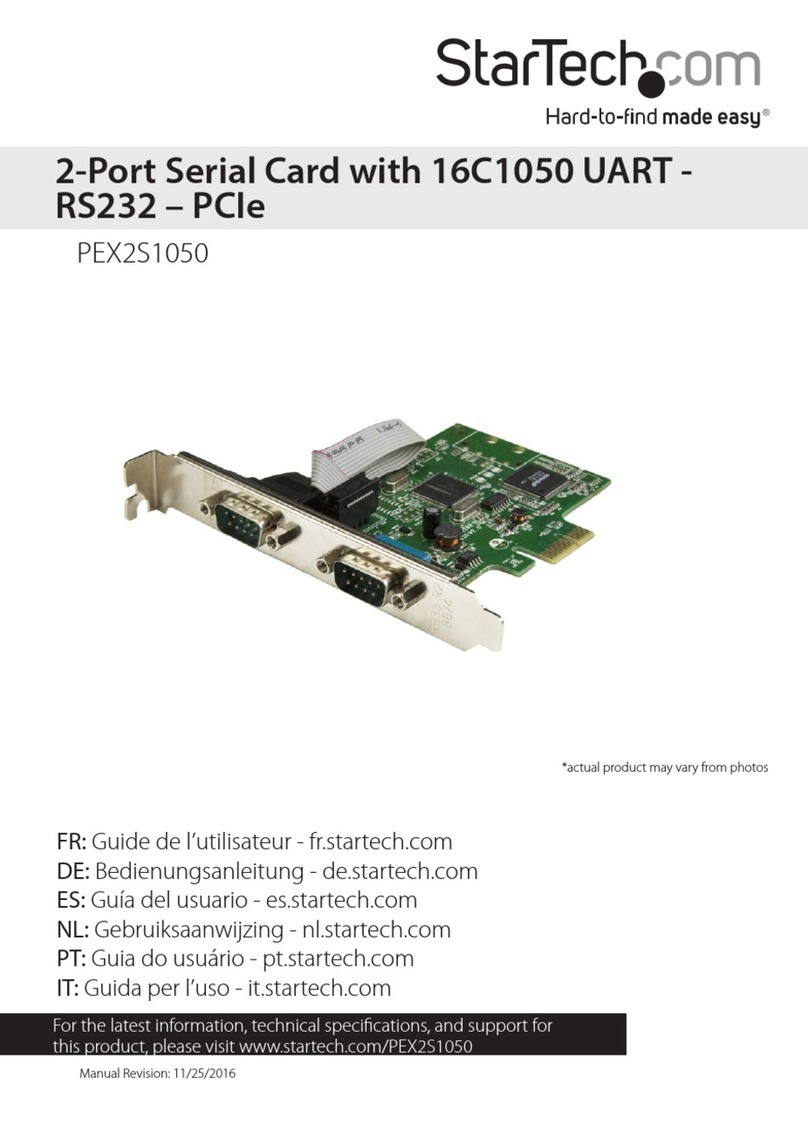
Other StarTech.com Power Distribution Unit manuals

StarTech.com TB31PCIEX16 User manual

StarTech.com

StarTech.com TB31PCIEX16 User manual

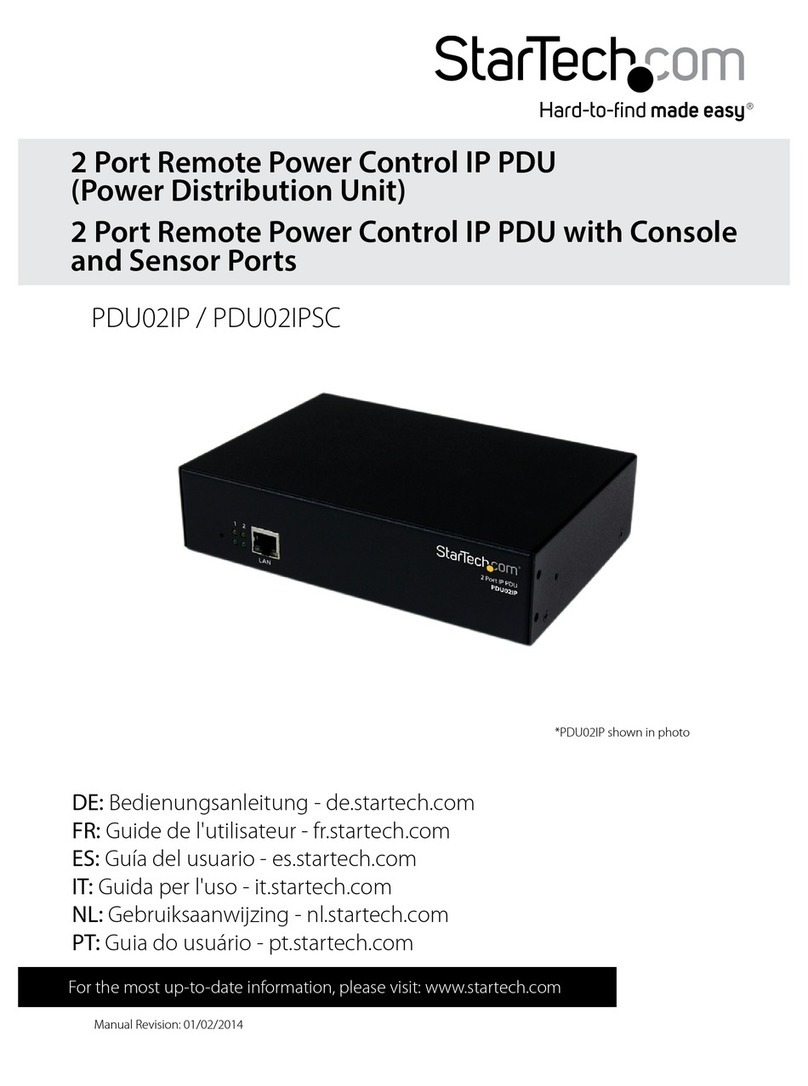
StarTech.com PDU02IP User manual

StarTech.com

StarTech.com PDU02IP User manual

StarTech.com PDU08C13EU User manual

StarTech.com

StarTech.com PDU08C13EU User manual

StarTech.com USB2001EXT2PNA User manual

StarTech.com

StarTech.com USB2001EXT2PNA User manual

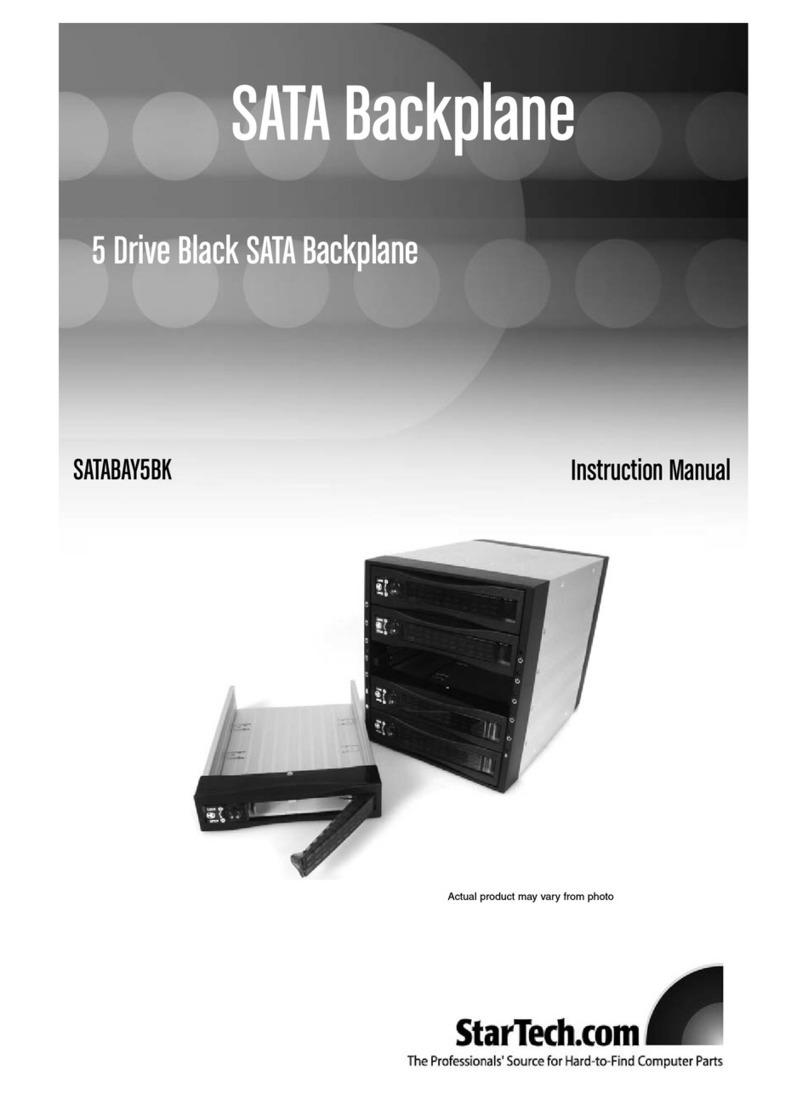
StarTech.com SATABAY5BK User manual

StarTech.com

StarTech.com SATABAY5BK User manual

StarTech.com US1GA30SXSC User manual

StarTech.com

StarTech.com US1GA30SXSC User manual

StarTech.com RKPW161915 System manual

StarTech.com

StarTech.com RKPW161915 System manual

StarTech.com PDU02IP User manual

StarTech.com

StarTech.com PDU02IP User manual

StarTech.com 065030868297 User manual

StarTech.com

StarTech.com 065030868297 User manual

StarTech.com PDU08C13AU User manual

StarTech.com

StarTech.com PDU08C13AU User manual

StarTech.com RKPW081915 User manual

StarTech.com

StarTech.com RKPW081915 User manual

StarTech.com RKPW161915 User manual

StarTech.com

StarTech.com RKPW161915 User manual

Popular Power Distribution Unit manuals by other brands

Lightcorp Nik installation instructions

Lightcorp

Lightcorp Nik installation instructions

hager SP 015 User instructions

hager

hager SP 015 User instructions

Pakedge PowerPak 9 user guide

Pakedge

Pakedge PowerPak 9 user guide

Pts 9042 Series installation guide

Pts

Pts 9042 Series installation guide

Shure WA405 user guide

Shure

Shure WA405 user guide

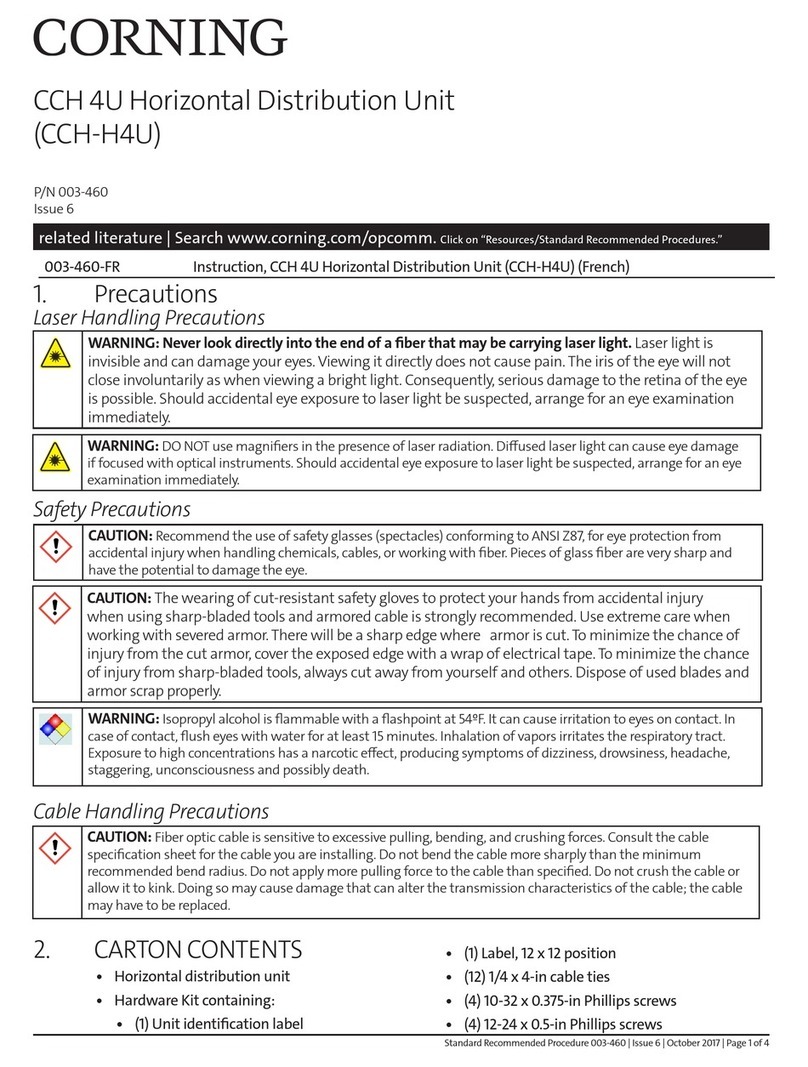
CORNING CCH 4U quick start guide

CORNING

CORNING CCH 4U quick start guide

Panamax M4LT-EX datasheet

Panamax

Panamax M4LT-EX datasheet

PANCONNECT FLAT 3M Assembly instruction

PANCONNECT

PANCONNECT FLAT 3M Assembly instruction

Raytheon 138-118 manual

Raytheon

Raytheon 138-118 manual

D&R ELECTRONICS PDU-6SS user manual

D&R ELECTRONICS

D&R ELECTRONICS PDU-6SS user manual

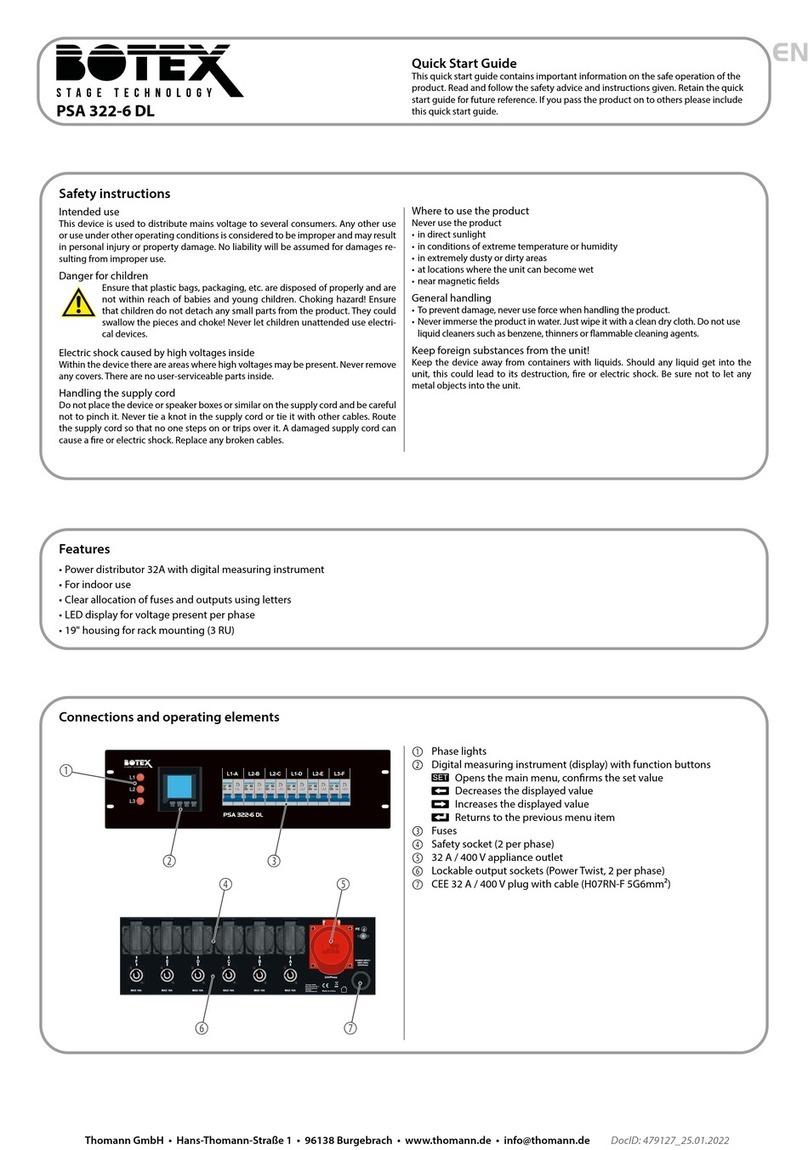
Botex PSA 322-6 DL quick start guide

Botex

Botex PSA 322-6 DL quick start guide

GE QuiXtra 4000 Assembly and mounting instructions

GE

GE QuiXtra 4000 Assembly and mounting instructions

Vertiv Knürr DI-Strip Rack PDU manual

Vertiv

Vertiv Knürr DI-Strip Rack PDU manual

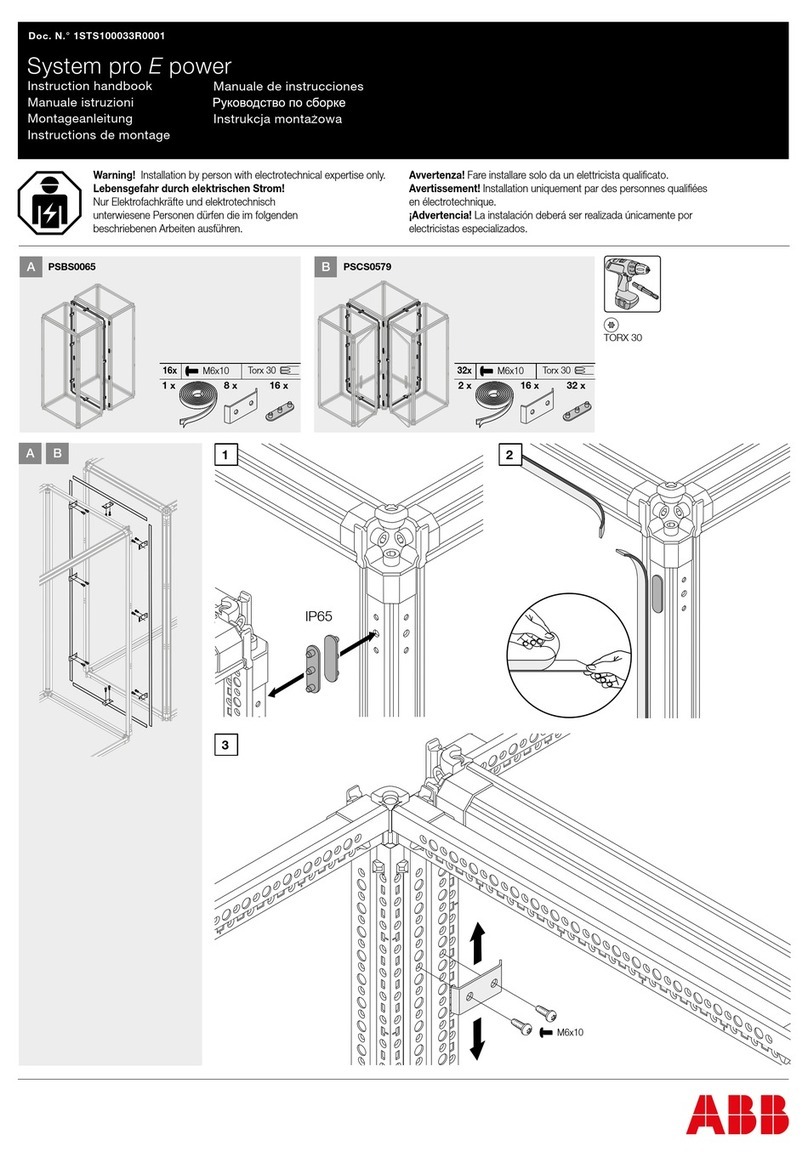
ABB PSBS0065 Instruction handbook

ABB

ABB PSBS0065 Instruction handbook

Baumuller BFN 3-1-0007-001 Instruction handbook

Baumuller

Baumuller BFN 3-1-0007-001 Instruction handbook

Eaton StructuredWiringSolutions ESWT41600 Instruction leaflet

Eaton

Eaton StructuredWiringSolutions ESWT41600 Instruction leaflet

GE GEK-45404F instructions

GE

GE GEK-45404F instructions

Huawei PDU8000 Series user manual

Huawei

Huawei PDU8000 Series user manual

manuals.online logo
manuals.online logoBrands
  • About & Mission
  • Contact us
  • Privacy Policy
  • Terms and Conditions

Copyright 2025 Manuals.Online. All Rights Reserved.

Instruction Manual
DE: Bedienungsanleitung - de.startech.com
FR: Guide de l'utilisateur - fr.startech.com
ES: Guía del usuario - es.startech.com
IT: Guida per l'uso - it.startech.com
NL: Gebruiksaanwijzing - nl.startech.com
PT: Guia do usuário - pt.startech.com
Manual Revision: 05/08/2019
For the most up-to-date information, please visit: www.startech.com
Packaging Contents
• 1x Slim ExpressCard
• 1x DC to USB Cable
• 1x 34mm to 54mm Stabilizer Bracket
• 1x Driver CD
• 1x Instruction Manual
System Requirements
• An available ExpressCard port
• Microsoft® Windows® XP(32/64-bit)/ Server 2003(32/64-bit)/
Vista(32/64-bit)/ Server 2008 R2/ 7(32/64-bit)/ 8(32/64-bit)
ECUSB3S11
1 Port Flush Mount SuperSpeed USB 3.0 ExpressCard
Driver Installation
Windows XP/Server 2003/Vista/7/Server 2008 R2/8
1. Upon starting Windows, if the “Found New Hardware” wizard
appears on the screen, cancel/ close the window or choose not
to install the drivers and insert the included Driver CD into the
computer’s CD/DVD drive.
2. AutoPlay should automatically launch, click to display the
contents on the CD. If not, open “Computer” (“My Computer” in
XP) and double-click on the CD/DVD.
3. Enter the folder“USB 3.0 Host”, then “NEC” and double-click the
le “Setup.exe”.
4. This should launch the driver Installation wizard. Continue
through the wizard and once complete, all the necessary drivers
will be installed.
Installation
Hardware installation
Turning the computer o to insert/remove ExpressCard is not
necessary as they are hot-pluggable.
The ExpressCard will simply slide into the ExpressCard slot on any
compatible system, label side up. Push the card all the way in, until
it ‘clicks’ and locks into place. To eject the card, simply push the card
further into the slot until it clicks, and then release and it will then be
automatically ejected from the slot.
NOTE: Some ExpressCard/54 slots hold an ExpressCard/34 adapter
loosely, so movement of the computer or the adapter card can result
in accidental disconnection. A snap-on 34mm to 54mm stabilizer
bracket is included for such installations.
OPTIONAL: For some high-powered USB 3.0 devices, additional
power may be required. Connect the USB to DC adapter cable from
a USB port on the computer system to the DC plug on the card. This
will provide additional power to the USB 3.0 port.
*actual product may vary from photos
FCC Compliance Statement
This equipment has been tested and found to comply with the limits for a Class B digital device, pursuant to part 15 of the FCC Rules. These limits are designed to provide reasonable protection against
harmful interference in a residential installation. This equipment generates, uses and can radiate radio frequency energy and, if not installed and used in accordance with the instructions, may cause
harmful interference to radio communications. However, there is no guarantee that interference will not occur in a particular installation. If this equipment does cause harmful interference to radio or
television reception, which can be determined by turning the equipment o and on, the user is encouraged to try to correct the interference by one or more of the following measures:
• Reorient or relocate the receiving antenna.
• Increase the separation between the equipment and receiver.
• Connect the equipment into an outlet on a circuit dierent from that to which the receiver is connected.
• Consult the dealer or an experienced radio/TV technician for help.
Use of Trademarks, Registered Trademarks, and other Protected Names and Symbols
This manual may make reference to trademarks, registered trademarks, and other protected names and/or symbols of third-party companies not related in any way to
StarTech.com. Where they occur these references are for illustrative purposes only and do not represent an endorsement of a product or service by StarTech.com, or an endorsement of the product(s)
to which this manual applies by the third-party company in question. Regardless of any direct acknowledgement elsewhere in the body of this document, StarTech.com hereby acknowledges that all
trademarks, registered trademarks, service marks, and other protected names and/or symbols contained in this manual and related documents are the property of their respective holders.
Technical Support
StarTech.com’s lifetime technical support is an integral part of our commitment to provide industry-leading solutions. If you ever need help with your product, visit www.startech.com/support and access
our comprehensive selection of online tools, documentation, and downloads.
For the latest drivers/software, please visit www.startech.com/downloads
Warranty Information
This product is backed by a two year warranty.
In addition, StarTech.com warrants its products against defects in materials and workmanship for the periods noted, following the initial date of purchase. During this period, the products may be returned
for repair, or replacement with equivalent products at our discretion. The warranty covers parts and labor costs only. StarTech.com does not warrant its products from defects or damages arising from
misuse, abuse, alteration, or normal wear and tear.
Limitation of Liability
In no event shall the liability of StarTech.com Ltd. and StarTech.com USA LLP (or their ocers, directors, employees or agents) for any damages (whether direct or indirect, special, punitive, incidental,
consequential, or otherwise), loss of prots, loss of business, or any pecuniary loss, arising out of or related to the use of the product exceed the actual price paid for the product. Some states do not allow
the exclusion or limitation of incidental or consequential damages. If such laws apply, the limitations or exclusions contained in this statement may not apply to you.
Specications
Bus Interface
ExpressCard 2.0
USB 3.0 base specication 1.0
Intel xHCI specication 0.95
Form Factor “Slim” ExpressCard/34 (34mm)
Chipset ID NEC/Renesas µPD720202
Connectors 1 x USB 3.0 type A female
1 x DC Power female (type A)
LEDs None
Maximum Data Transfer
Rate USB 3.0: 5Gbps*
Power Adapter USB to DC adapter
Operating Temperature 0°C ~ 50°C (32°F ~ 122°F)
Storage Temperature -10°C ~ 85°C (14°F ~ 185°F)
Humidity 5% ~ 95% RH
Dimensions (LxWxH) 75mm x 34mm x 5mm
Weight 17.5g
Compatible Operating
Systems
Windows XP(32/64bit)/ Vista(32/64bit)/
Server
2003(32/64bit)/ 7(32/64bit)/ 8(32-64-
bit)/ Server 2008 R2
NOTE: If used with ExpressCard 1.0 enabled computer systems, the
max throughput is limited to 2.5 Gbps. If used with ExpressCard 2.0
enabled computer systems, the max throughput is 5 Gbps.