Indications for use:
Potential user fall into 2 general groups:
Those too weak to hold their heads up for any extended amount of time.
Those with a great deal of extensor tone but poor head control(often resulting in their heads getting caught
under or to the side of their current headrest and requiring constant repositioning by the caregiver)
The goal for users in group 1 is to provide ample support in all directions, especially anteriorly. The goal for
users in group 2 is to provide a system that would offer enough lateral and posterior support that when they
begin to extend their necks, they would be invited back into a midline position and not have to worry about
getting caught or tangled up with head positioning equipment or have a surface behind the occiput that may
provide the perfect spot to push off into neck hyperextension.
Recommendation & Fitting:
The headrest is the finishing point of any seating system -NOT A STARTING POINT. If a client does
not hold his/her head erect , it does not necessarily mean they have poor head control.. It could be the result of
an improperly fitted seating system. Always begin with a thorough mat evaluation where all orthopedic and
medical concerns are addressed. Only after you have determined that their seating system is a proper fit, and
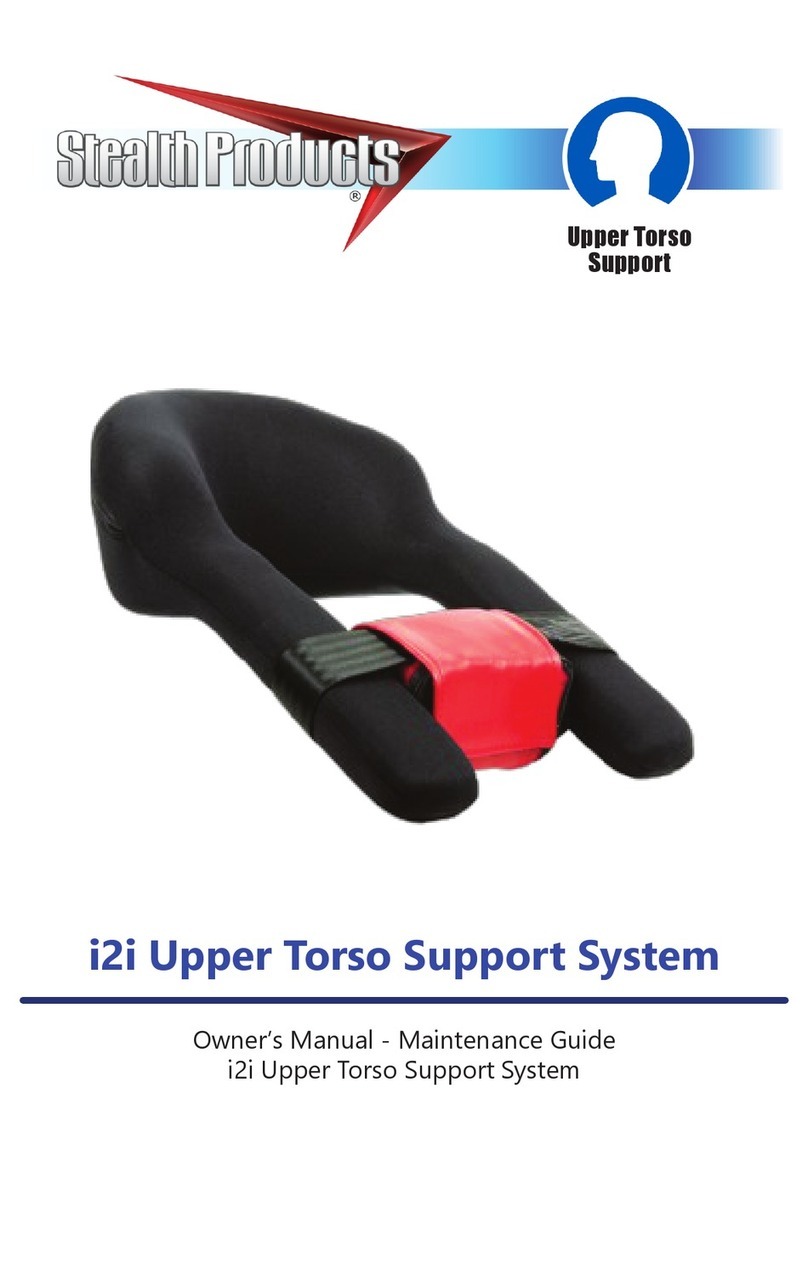
your client continues to require assistance, would we recommend the use of the I2I head & neck positioning
system.
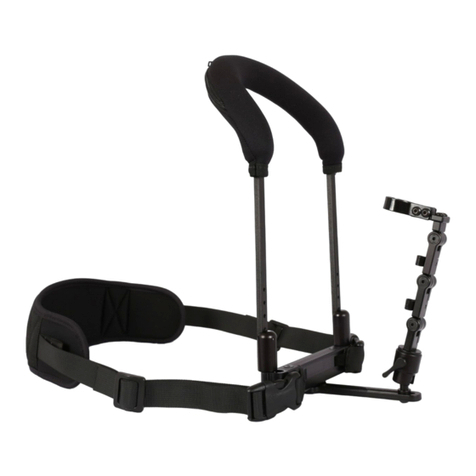
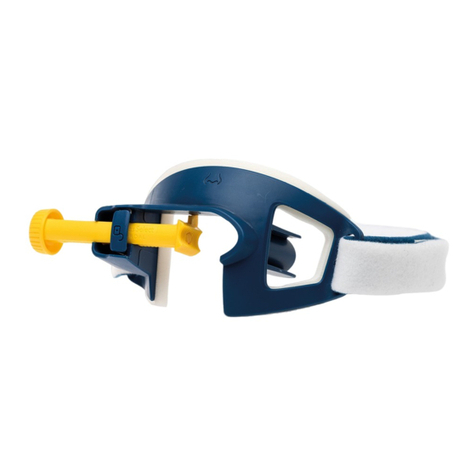
The I2I is not intended to function like a custom molded seat for the head. It is designed to allow freedom
of movement of the neck, but set some boundaries to limit neck extension, lateral flexion and forward
flexion(when using chin prompt). The fitting will vary slightly on an individual basis. But in general, we
recommend that the framework of the I2I follow the contour of the neck, shoulders, and chest. There should
be approximately ¼” to ½” of clearance between the headrest and your client’s body. Do not position in a way
that will apply any force on the body in any area. Remember, some clients will never hold their heads in
midline due to contractures or other orthopedic concerns. Adjust the headrest to their specifications, needs
and comfort. Not just to look good. The anterior stabilizer arms can be bent or molded to improve individual
fit.
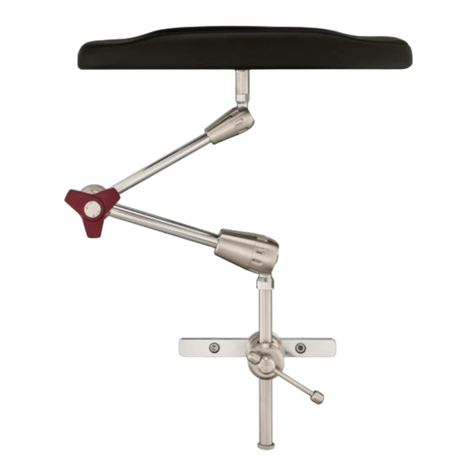
I2IHeadrest
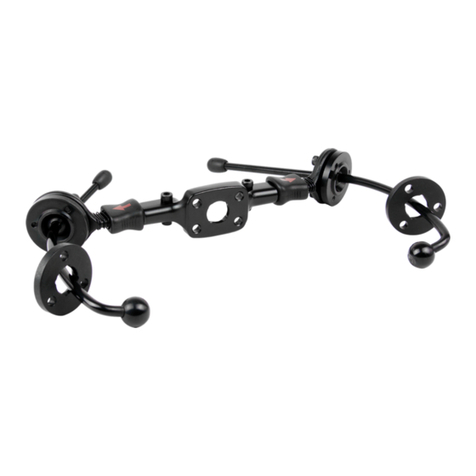
Each seat back mount will come with two ¼ -20 x ¾” Socket Head Screws and four 10 –32 x ¾” Socket Head
Screws for mounting to the seat back. To attach to the seat back: Drill the necessary holes in the seat back.
Insert the ¼ -20 and/or the 10 –32 Socket Head Screws through the designated holes in the seat back mount
[A], through the seat back, then fasten with nuts on opposite side.
Installing the Seat Back Mount
[A]


