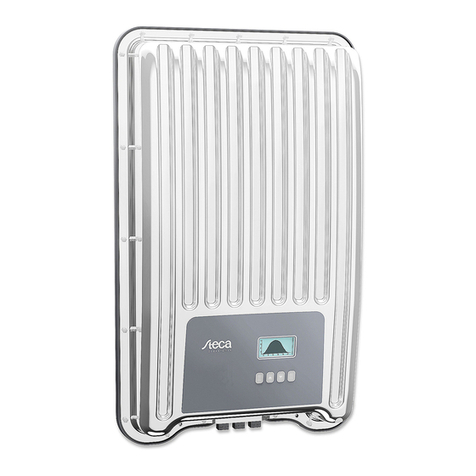
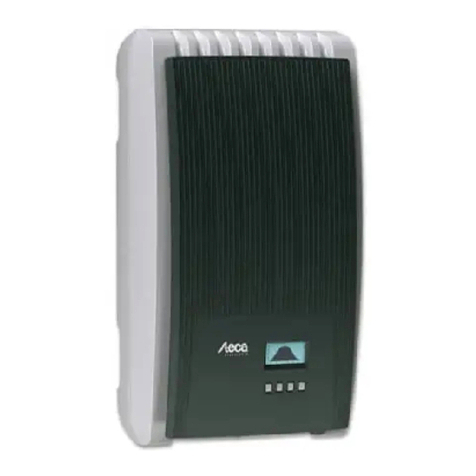
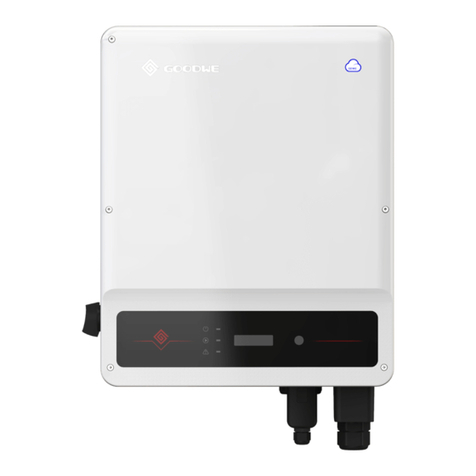
Steca coolcept User manual

Installations- und Bedienungsanleitung
Installation and operating instructions
Notice d'installation et d'utilisation
DE EN
coolcept coolcept-x
747.431 | Z08 | 2014-01-31

Index
DE coolcept – coolcept-x Netzwechselrichter..........................................................................
1 Vorwort............................................................................................................................ 5
2 Allgemeines...................................................................................................................... 6
3 Aufbau und Funktion..................................................................................................... 13
4 Installation..................................................................................................................... 30
5 Bedienung...................................................................................................................... 44
6 Selbsttest........................................................................................................................ 55
7 Störungsbeseitigung...................................................................................................... 58
8 Wartung und Entsorgung............................................................................................... 62
9 Technische Daten........................................................................................................... 63
10 Haftung, Gewährleistung, Garantie.............................................................................. 73
11 Kontakt......................................................................................................................... 75
EN coolcept – coolcept-x Grid inverter....................................................................................
1 Preface........................................................................................................................... 79
2 General information....................................................................................................... 80
3 Structure and function................................................................................................... 86
4 Installation................................................................................................................... 102
5 Operation..................................................................................................................... 115
6 Self test........................................................................................................................ 126
7 Troubleshooting........................................................................................................... 128
8 Maintenance and disposal............................................................................................ 132
9 Technical data.............................................................................................................. 133
10 Liability, commercial guarantee, legal guarantee....................................................... 143
11 Contact....................................................................................................................... 145
-- ..........................................................................................................................................
1 Montage – Installation – Montage............................................................................... 148
2 Zertifikate – Certificates – Certificats............................................................................ 162
747.431 | Z08 | 2014-01-31
2

Table of contents
1 Preface................................................................................................................................. 79
2 General information............................................................................................................. 80
2.1 General safety instructions.......................................................................................... 80
2.2 Identification............................................................................................................... 81
2.3 Scope of delivery......................................................................................................... 82
2.4 Proper usage............................................................................................................... 82
2.5 About this manual....................................................................................................... 83
3 Structure and function......................................................................................................... 86
3.1 Casing......................................................................................................................... 86
3.2 Operating buttons....................................................................................................... 88
3.3 Display......................................................................................................................... 88
3.4 Cooling........................................................................................................................ 96
3.5 Grid monitoring........................................................................................................... 96
3.6 Data communication................................................................................................... 96
4 Installation......................................................................................................................... 102
4.1 Safety measures during installation .......................................................................... 102
4.2 Mounting the inverter .............................................................................................. 104
4.3 Preparing the AC connection .................................................................................... 105
4.4 Preparing the DC connections .................................................................................. 107
4.5 Preparing the data connection cable ........................................................................ 107
4.6 Connecting the inverter and switching on the AC power ......................................... 108
4.7 Initial commissioning of the inverter ........................................................................ 108
4.8 Switching on the DC supply...................................................................................... 112
4.9 De-installing the inverter........................................................................................... 113
5 Operation........................................................................................................................... 115
5.1 Overview of operating functions............................................................................... 115
5.2 General operating functions ..................................................................................... 116
5.3 Main operating functions.......................................................................................... 116
5.4 Internet portal........................................................................................................... 118
6 Self test.............................................................................................................................. 126
7Troubleshooting................................................................................................................. 128
8 Maintenance and disposal.................................................................................................. 132
8.1 Maintenance............................................................................................................. 132
8.2 Disposal..................................................................................................................... 132
9 Technical data.................................................................................................................... 133
9.1 Inverter...................................................................................................................... 133
9.2 AC cables and line circuit breakers............................................................................ 140
9.3 Table of countries...................................................................................................... 141
GB
747.431 | Z08 | 2014-01-31 77

10 Liability, commercial guarantee, legal guarantee............................................................... 143
10.1 Exclusion of liability................................................................................................. 143
10.2 Commercial and legal guarantee conditions............................................................ 143
11 Contact.............................................................................................................................. 145
GB
747.431 | Z08 | 2014-01-31
78

1 Preface
Thank you for choosing inverters from the
coolcept
range of products manufactured by Steca Elek-
tronik GmbH. By using solar energy you make a significant contribution to environmental protection
by reducing the total amount of atmospheric pollution caused by carbon dioxide (CO2) and other
damaging gases.
Highest efficiency with longer service life
The innovative inverter topology is based on a single-stage transformerless circuit concept and is
integrated into all devices in the coolcept series. This unique technology allows peak efficiencies of
98.0 % or 98.6% to be achieved. Depending on the type, the European efficiency of the devices is
also significantly greater than 98 % and sets new standards in photovoltaic grid-feed systems.
A new and unique cooling concept inside the inverter ensures an even distribution of heat and a
long service life.
Designer casing and easy installation
For the first time, the very high efficiency allows the use of a designer casing made of plastic for the
coolcept inverters. This offers many advantages. The overall surface temperature of the devices
remains very low. There are also great installation advantages. The coolcept-x inverters have a sturdy
metal casing that allows them to be also used outdoors.
The lightweight devices weigh only 9 or 12 kg and can be easily and safely mounted on a wall. The
supplied wall bracket and practical recessed grips for right and left handed installers make
mounting of the device simple and convenient. All connections and the DC circuit breaker are exter-
nally accessible.
Visualisation tools and accessories
The devices have a graphical display for visualising the energy yield values, current performance and
operating parameters of the photovoltaic system. Its innovative menu allows individual selection of
the various measurements.
See
www.stecasolar.com
for further information on accessories. Your installer can, of course, also
give you more information about the options and accessories that are available.
GB
747.431 | Z08 | 2014-01-31 79

2 General information
2.1 General safety instructions
nThis document is part of the product.
nInstall and use the device only after reading and understanding this document.
nAlways perform the measures described in this document in the sequence specified.
nKeep this document in a safe place for the entire service life of the device. Pass the document
on to subsequent owners and operators of the device.
ntextvar object does not exist
ntextvar object does not exist
ntextvar object does not exist:
– Device (not functioning, visible damage, smoke, penetration of liquid etc.)
– textvar object does not exist
– textvar object does not exist
Do not switch the system on again before
– the device has been repaired by a dealer or the manufacturer,
– damaged cables or solar modules have been repaired by a technical specialist.
ntextvar object does not exist
nDo not open the casing: Risk of death. Invalidation of the guarantee.
nFactory labels and markings must never be altered, removed or rendered unreadable.
ntextvar object does not exist (e.g. external data logger). textvar object does not exist.
Safety instructions on the device
4
5
1
23
10min
Isoler les deux sources
avant toute
intervention
Attention
Présence de deux sources
de tension
- Réseau de distribution
- Panneaux photovoltaïques
S/N: 746867XG001155550005
①Dangerous voltages can remain present on the compo-
nents up to 10 minutes after switching off the DC circuit
breaker and the line circuit breaker.
②Warning. There are 2 voltage sources present: power grid,
solar modules.
③Disconnect both voltage sources from the device before
working on the device: the solar modules via the DC cir-
cuit breaker and the power grid via the line circuit
breaker.
④Read and follow the instructions!
⑤Serial number as a barcode and in plain text
GB
747.431 | Z08 | 2014-01-31
80

2.2 Identification
Feature Description
Types
coolcept
(plastic casing): StecaGrid 1800, StecaGrid 2300,
StecaGrid 3000, StecaGrid 3010, StecaGrid 3600, StecaGrid 4200
coolcept-x
(stainless steel casing): StecaGrid 1800x,
StecaGrid 2300x, StecaGrid 3010x, StecaGrid 3600x,
StecaGrid 4200x
Issue version of the manual Z08
Manufacturer's address See
Ä Contact, p. 145
Certificates See Appendix ⇒ Certificates and
www.stecasolar.com
⇒ coolcept – coolcept-x
Optional accessories nExternal data loggers:
–
WEB‘log
from Meteocontrol
–
Solar-Log
from Solare Datensysteme
nOpposing connectors for
Multi-Contact MC4
DC connections:
– Plug: Steca order no. 719.621
– Socket: Steca order no. 719.622
nSafety sleeve for
Multi-Contact MC4
, Steca order no. 742.215
nTermination plug for RS485 bus
Type plate
1
7
2
3
4
5
6
8
Manufacturer:
DC Input: AC Output:
Voltage: 125 - 600V
MPP Voltage: 270 - 500V
Current: max. 11,5A
Voltage: 230V, 50/60Hz
Power Factor: 0,95 - 1,0
Current: max. 14A
Power: max. 3000W
Model: StecaGrid 3010x
Art. number: 746.866
IP classification: IP 65
Overvoltage category: III
According to:
VDE 0126-1-1:A1,
VDE AR N 4105
Made in Germany
①Barcode for internal use
②Technical data of the DC input
③Item number and product designation
④Manufacturer
⑤
Protection Class II
and CE symbols
⑥Country of manufacture
⑦Technical data of the AC output
⑧Degree of protection and grid-monitoring
standard used
Notice
–
For Australia only: Mask off the Protection Class II symbol on the type plate, as described on
Ä p. 104.
–
For the serial number, see Ä p. 80
–
For the position of the type plate, see Ä 3.1, p. 86f.
GB
747.431 | Z08 | 2014-01-31 81

Display
The correct version of the instructions matching the software is shown under the Information ▶
System info menu item in the display.
EU declaration of conformity
The products described in this document comply with the applicable European directives. Certifi-
cates for the products are available on
www.stecasolar.com
⇒ PV GRID CONNECTED ⇒ Grid inverters
2.3 Scope of delivery
nInverter ①, coolcept type (plastic casing) or coolcept-x type (stainless steel casing, IP65)
nMounting plate ② for coolcept or coolcept-x
nAC plug ③
n1 pair of SunClix plug connectors ④ (coolcept-x only)
n3 sealing caps (for RJ45 sockets; coolcept-x only) ⑤
nInstallation and operating instructions ⑥
①
②
③
④⑤
⑥
coolcept coolcept-x
Installation and operating instructions
xxx.xxx | Z07 | 2013-06-06
2.4 Proper usage
nThe inverter may only be used in grid-connected photovoltaic systems. The inverter is suitable
for use with all solar modules whose connections do not need to be grounded.
nIn the installation solar modules that have an IEC 61730 Class A rating are required as the
inverter is non-isolated.
nIf the maximum AC mains operating voltage is higher than the photovoltaic array maximum
system voltage then solar modules that have a maximum system voltage rating based upon the
AC mains voltage are required.
Note
An overview of suitable solar modules is available at www.stecasolar.com/matrix.
Potential curves of the plus (+) and minus (–) DC connections with respect to PE
UPV = Potential between the plus (+) and minus (–) DC connections
StecaGrid 1800/2300/3010
and
1800x/2300x/3010x
GB
747.431 | Z08 | 2014-01-31
82

125 V
−160 V
DC (+)
DC (−)
U
t
0 V
−320 V
UPV = 125 V
180 V
−180 V
−250 V
250 V
320 V
0 V
−320 V
U
t
UPV = 500 V
DC (+)
DC (−)
Fig. 1: Potential curves of UPV at 125 V (left) and 500 V (right)
StecaGrid 3000/3600/4200
and
3600x/4200x
175 V
−175 V
−275 V
275 V
320 V
U
t
0 V
−320 V
UPV = 350 V
DC (+)
DC (−)
175 V
−175 V
−275 V
275 V
320 V
0 V
−320 V
U
t
UPV = 550 V
DC (+)
DC (−)
Fig. 2: Potential curves of UPV at 350 V (left) and 550 V (right)
2.5 About this manual
2.5.1 Contents
These instructions describe the type coolcept and coolcept-x inverters. The differences between the
types are marked in the text.
These instructions contain all information required by a technical professional for setting up and
operating the inverters. Follow the instructions of the respective manufacturers when installing
other components (e.g. solar modules, cables).
2.5.2 Target audience
Unless otherwise indicated, the target audiences of this manual are technical professionals and
system operators. Technical professionals are, for example:
GB
747.431 | Z08 | 2014-01-31 83

nPersons who have the knowledge of terminology and the skills necessary for setting up and
operating photovoltaic systems.
nPersons who have the necessary training, knowledge and experience, and knowledge of the
applicable regulations in order to evaluate and recognise the dangers inherent in the following
work:
– Installation of electrical equipment
– Production and connection of data communication cables
– Production and connection of mains grid power supply cables
2.5.3 Markings
Symbols
The following table contains the symbols used in this manual and on the device.
Symbol Description Location
general danger warning manual
danger from electricity manual
device
Read the manual before using the product. device
Keywords
Keywords used in conjunction with the symbols described above:
Keyword Description
DANGER Immediate danger of death or serious bodily injury
WARNING Possible danger of death or serious bodily injury
CAUTION Possible danger of light or medium bodily injury
ATTENTION Possible damage to property
NOTE Note on operation or use of the instructions
GB
747.431 | Z08 | 2014-01-31
84

Abbreviations
Abbreviation Description
Derating Derating
DHCP The use of DHCP allows automatic integration of the device into an
existing network (Dynamic Host Configuration Protocol)
MSD Internal grid monitoring of the inverter (Mains monitoring with allocated
Switching Devices).
MPP Working point producing the most power (Maximum Power Point)
MPP tracker Controls the power of the connected module strings to match the MPP
SELV, TBTS, MBTS Safety Extra Low Voltage (DE : Schutzkleinspannung; FR: Très Basse
Tension de Sécurité; ES: Muy Baja Tensión de Seguridad)
VPV The generator voltage present at the DC connection (photovoltaic
voltage)
GB
747.431 | Z08 | 2014-01-31 85

3 Structure and function
3.1 Casing
3.1.1 coolcept
11
2
3
14
168 7
10 151
9
①Hood
②Display (monochrome, 128 x 64 pixels)
③Type plate, warning notices
④Operating buttons: ESC, r, s, SET (from left to
right)
⑤1x AC connection
⑥2x RJ45 sockets (RS485 bus)
⑦1x Minus DC connection (–) for solar modules
(Multi-Contact MC4 DC socket, contact proof)
⑧1x RJ45 socket (Ethernet)
⑨1x Plus DC connection (+) for solar modules
(Multi-Contact MC4 DC socket, contact proof)
⑩DC circuit breaker (interrupts the plus and minus
inputs simultaneously)
The casing components are described in detail below.
GB
747.431 | Z08 | 2014-01-31
86

3.1.2 coolcept-x
11
2
3
14
89 67
11 151
10
1213
①Hood
②Display (monochrome, 128 x 64 pixels)
③Type plate, warning notices
④Operating buttons: ESC, r, s, SET (from left to
right)
⑤1x AC connection
⑥Pressure equalisation membrane
⑦1x RJ45 socket (RS485 bus)
⑧1x Minus DC connection (–) for solar modules
(Phoenix Contact SUNCLIX, contact proof)
⑨1x RJ45 socket (RS485 bus)
⑩1x Plus DC connection (+) for solar modules
(Phoenix Contact SUNCLIX, contact proof)
⑪1x RJ45 socket (Ethernet)
⑫DC circuit breaker (interrupts the plus and minus
inputs simultaneously, can be secured with a pad-
lock)
⑬Hole for attaching an optional ground connection
or for mechanical attachment (safety chain)
The casing components are described in detail below.
GB
747.431 | Z08 | 2014-01-31 87

3.2 Operating buttons
The operating buttons (④ in
Ä 3.1, p. 86
) have the following functions:
Button Action Function
General Guided configuration process
‘ESC’
press briefly jumps up by one menu level navigates 1 step back
discards any changes
press longer
(≥ 1 second) jumps to status display jumps to the start of the guided
configuration process
rpress briefly nmoves the selection bar or the display content upwards
nwhen performing numerical settings, moves the selection 1 posi-
tion to the left
nincreases the setting value by 1 step
spress briefly nmoves the selection bar or the display content downwards
nwhen performing numerical settings, moves the selection 1 posi-
tion to the right
ndecreases the setting value by 1 step
‘SET’
press briefly jumps down by one menu level —
na selected numerical value starts flashing and can be changed
nadopts a change
nchanges the state of a control element (check box/radio button)
press longer
(≥ 1 second) answers a query dialog with
Yes
.navigates 1 step forward
3.3 Display
3.3.1 General information
For information shown in the display (② in
Ä 3.1, p. 86
) the following generally applies:
nSymbol : The inverter is processing large amounts of data and is not able to process any user
input at this time. The resulting waiting time is indicated by the animated sun symbol.
nErrors are indicated by a red flashing backlighting. An event message is also displayed at the
same time.
Note
The display reacts slower at very low temperatures. This is especially applicable to coolcept-x
devices that are used outdoors.
3.3.2 Information
The information shown on the display is described below using illustrative examples.
GB
747.431 | Z08 | 2014-01-31
88

Status display
The status display shows the following values:
34
2
2
7 8
9
5 6
1
F
①Measurement name
②Measurement with units
③Date
④Symbol
Non-confirmed event messages
; more information
on this is provided in Section
Ä 7, p. 128
.
⑤Animated
Connect
symbol with 2‑digit inverter address;
indicates data traffic on the RS485 bus.
⑥Symbol
Derating
⑦Symbol
Fixed voltage mode activated
⑧Time
⑨IP address of the device when a network connection has
been established, display alternates with ③ – ⑦
The following applies to the status display:
nThe measurements shown in the status display are defined
under Settings ▶ Meas. values. Some measurements are
always displayed (default setting).
nCurrent values are not displayed at night (solar irradiation too
low; example in Fig. left).
nThe CO2 saving shown in the status display are calculated
using the savings factor
508 g/kWh
.
Numeric yield (day, month, year)
Daily, monthly and annual yields can be displayed numerically in a list.
①Yield period (day/month/year)
②Individual yields with period and value (1 per row)
The yield periods contain the following numbers of individual
entries:
Day yield: Last 31 days1)
Monthly yield: Last 13 months1)
Annual yield: Last 30 years1)
1) A yield value of 0 is shown when the inverter was not yet
installed at that time.
GB
747.431 | Z08 | 2014-01-31 89

Graphical yield (day, month, year)
Daily, monthly and annual yields can be displayed graphically in a chart.
①Period for a single yield value (here: day yield)
②y-axis:
nYield in kWh
nWith an extra
M
: yield in MWh
nThe scaling changes depending on the maximum value.
③x-axis: time in hours/days/months/years
④Total of all individual yields shown in the diagram, in kWh
The graphical representation can show annual yields for the last 20
years.
Event messages
See
Ä 7, p. 128
.
Generator characteristic curve
①x-axis: input voltage in V
②y-axis: power in kW
③Peak = MPP
When the
‘Gen. Ch. Curve’
menu item is called, the inverter records
the generator characteristic curve of the inverter and then displays
it (Fig. upper left). The following applies:
nThe inverter traverses the input voltage range and records the
power generated over this range. Duration: a few seconds,
is displayed.
nThe MPP is the peak of the generator characteristic curve.
nThis peak and the generator characteristic curve change with
the level of solar irradiation.
nMultiple peaks are a sign of partial shadowing (Fig. left).
nIf the top of the curve is flat then the inverter can possibly no
longer feed power into the grid.
GB
747.431 | Z08 | 2014-01-31
90

Information
The menu item Information contains the following submenu
items.
nContact info
nSystem info (see Fig. left):
– Product designation
– Serial number of the inverter
– Information on the software and hardware versions of the
inverter (see example ① in Fig. left)
– Inverter address
– Version of the operating instructions for the inverter
nCountry setting: Country that is currently set and country-
specific grid parameters; see also
Ä 9.3, p. 141
.
nReact. pwr. char. curve: Reactive power characteristic
curve graph (only when prescribed for currently set country)
nNetwork: Network parameters, partially configurable under
Settings ▶ Network
–DHCP status: DHCP on/off
–Link status: Network connection state
–IP address: IP address of the inverter
–Subnet mask: Subnet mask of the inverter
–Gateway: IP address of the network gateway
–DNS-Adresse: IP address of the DNS server
–MAC address: Hardware address of the inverter
nResult of the last self test (only when the configured country is
Italy
)
3.3.3 Settings
Numerical settings
①Designation of the numerical setting
②Value to be set; the selected value to be set is highlighted in
black.
When performing numerical settings of remuneration and dates,
the following applies:
Remuneration
nPossible currencies: £ (Pounds), € (Euros), kr (Krones),
none
.
nThe maximum value that can be set for remuneration is limited
for technical reasons. The remuneration must be set using dif-
ferent units as required. Example: Dollars instead of Cents (set
a currency of
none
).
Date
When setting the month/year, a check is performed to ensure that
the selected day is valid. If not, then the day is automatically cor-
rected.
Example: 31.02.2011 is corrected to 28.02.2011.
GB
747.431 | Z08 | 2014-01-31 91

Selection of the measurements
Selection of the measurements to be shown in the status display.
The following measurements can be selected:
nOutput power: output power of the inverter 1)
nCurrent day yield: day yield since 0:00
nPV voltage: the voltage supplied by the solar modules
nPV current: the current supplied by the solar modules
nGrid voltage 1)
nGrid current: the current fed into the mains grid
nGrid frequency
nInternal temp.: the internal temperature of the inverter
nDerating: cause for derating 2)
nMax. daily power: the maximum power supplied in the cur-
rent day3)
nAbs. max. power: the maximum power ever fed into the
grid3)
nMax. daily yield: the maximum daily yield achieved3)
nOperating hours: The operating hours during which the
device has been connected to the grid (including nighttime
hours).
nTotal yield: yield since commissioning
nCO
2
saving: CO
2
savings achieved since commissioning
1) Measurement is always displayed (cannot be switched off)
2) Possible causes:
nInternal temperature too high
nUser default
Power limiter
nFrequency too high
nControlled by grid operator (feed-in management)
nDelayed increase in power after starting
3) Can be reset to 0 via Settings ▶ Reset max. vals.
Acoustic alarm
An acoustic alarm sounds (approx. 4.5 kHz) when an event message
is displayed.
n2 tones: warning
n3 tones: error
The acoustic alarm is switched off with the factory default settings.
GB
747.431 | Z08 | 2014-01-31
92

Backlighting
noff
nautomatic: switches on for 30 seconds when a button is
pushed
nGrid feed:
–
Not feeding
: switches on for 30 seconds when a button is
pushed; then switches off
–
Feeding
: switches on for 30 seconds when a button is
pushed; then dims
TCP/IP network
Notice
–
A prerequisite for this is that you know the parameters required for setting up the TCP/IP net-
work connection. Consult (further) technical professionals if required.
–
DHCP is activated in the device ex-works. This allows automatic integration of the device in
most networks.
Network settings, required for network communication, e. g. with
an Internet portal:
nDHCP: Switch DHCP on/off
nIP address: IP address of the inverter
nSubnet mask: Subnet mask of the inverter
nGateway: IP address of the network gateway
nDNS-Adresse: IP address of the DNS server
nConnection test: Tests the Internet connection and then
displays the result
3.3.4 Service menu
The following section describes the service menu items. Some items have password protection; see
also Fig. in
Ä 5.1, p. 115
. You can obtain the password from our technical support department;
see
Ä p. 145
.
ATTENTION!
Risk of reduced yields. Inverter and grid parameters can be changed in the service menu. The
service menu may only be used by technical professionals who can ensure that the changes do not
contravene the applicable regulations and standards.
GB
747.431 | Z08 | 2014-01-31 93

Power limiting
The inverter output power can be manually limited to a minimum of
500 W. When the power is manually limited, the
Derating
symbol is
shown in the status display and the
‘Derating’
/
‘Cause: User
default’
measurement is displayed.
Fixed voltage
The device can regulate the input voltage to a manually adjustable
value. This switches off the automatic setting of the MPP (MPP
tracking). The input voltage can be adjusted over a range between
the maximum and minimum input voltage.
Example of application: fuel cell
ATTENTION!
Before setting a fixed input voltage, make sure that the generator is suitable for this. Otherwise,
this may result in yield losses or damage to the system.
Delete country setting
After the country setting has been deleted the device restarts anew
and displays the guided initial commissioning menu.
Factory setting
Resetting the device to the factory setting deletes the following
data:
nYield data
nEvent messages
nDate and time
nCountry setting
nDisplay language
nNetwork settings
After the factory setting has been deleted, the device starts anew
and displays the guided initial commissioning menu.
GB
747.431 | Z08 | 2014-01-31
94
Other manuals for coolcept
1
This manual suits for next models
1
Table of contents
Other Steca Inverter manuals
Steca
Steca Fronius Solarix 400 I User manual
Steca
Steca coolcept StecaGrid 3000 User manual
Steca
Steca StecaGrid 1900 Series User manual
Steca
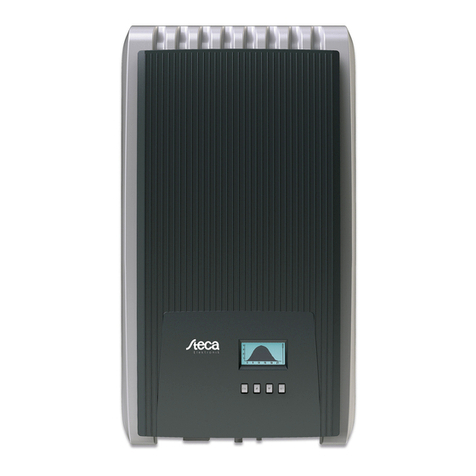
Steca coolcept StecaGrid 1500 User guide

Steca
Steca coolcept3 StecaGrid 3203 User manual
Steca
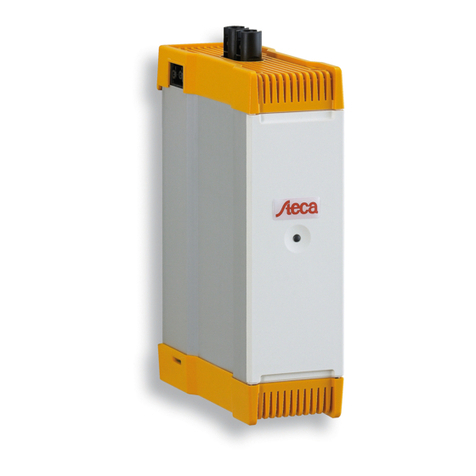
Steca stecagrid 300 User manual
Steca
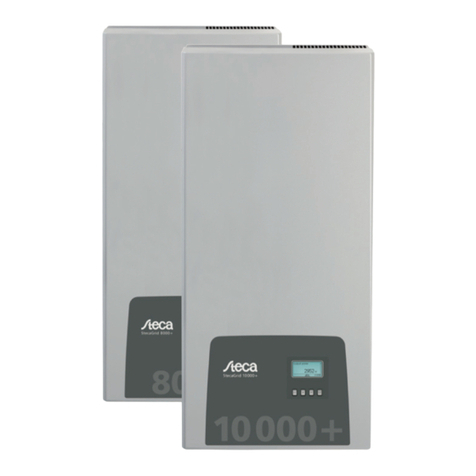
Steca StecaGrid 8 000+ 3ph User manual
Steca
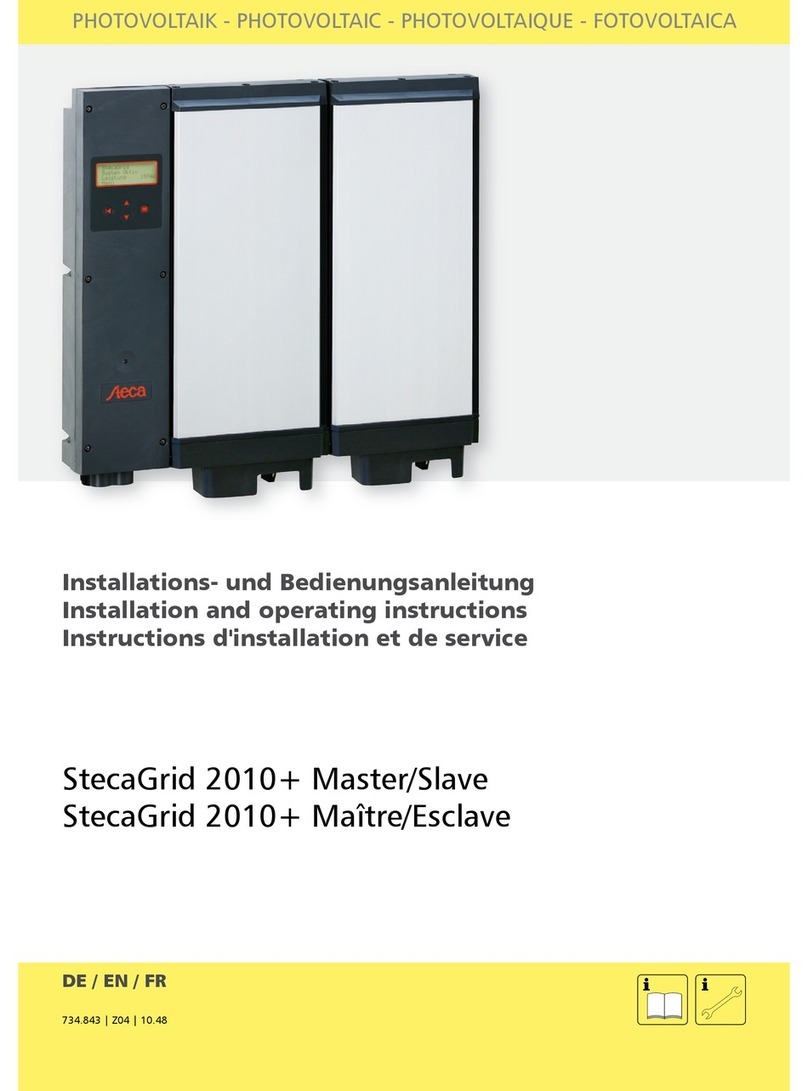
Steca StecaGrid 2010+ Slave User manual
Steca
Steca Solarix PI 550 User manual
Steca
Steca coolcept fleX Series Manual
