4 5
09.07.2019
3.2. VORBEREITUNG ZUM BETRIEB
Die Temperatur der Umgebung sollte nicht höher als 40°C
sein und die relative Luftfeuchtigkeit sollte 85% nicht
überschreiten. Stellen Sie das Gerät so auf, dass eine gute
Luftzirkulation gewährleistet ist. Es ist auf allen Seiten ein
Mindestabstand von wenigstens 10 cm einzuhalten. Halten
Sie das Gerät von allen heißen Flächen fern. Betreiben
Sie das Gerät stets auf einer ebenen, stabilen, sauberen,
feuerfesten und trockenen Fläche und außerhalb der
Reichweite von Kindern oder Personen mit geistigen
Behinderungen. Platzieren Sie das Gerät so, dass der
Netzstecker jederzeit zugänglich und nicht verdeckt ist.
Achten Sie darauf, dass die Stromversorgung des Gerätes
den Angaben auf dem Produktschild entspricht.
3.3. ARBEIT MIT DEM GERÄT
3.3.1. DC-/AC-SPANNUNG
• Wählen Sie den Bereich „V“ mit dem Drehschalter
und drücken Sie die Taste „FUNC“, um DCV und ACV
auszuwählen.
• Das Messgerät wählt automatisch den
Spannungsbereich aus.
• Stecken Sie das schwarze Kabel in die COM-Buchse.
• Stecken Sie das rote Kabel in die V-Ω-RPM-Buchse.
• Berühren Sie mit der schwarzen Sonde die Erdung
oder den negativen Stromkreis
• Berühren Sie mit der roten Sonde den
Stromquellenkreis
• Lesen Sie den Messwert auf der Anzeige ab.
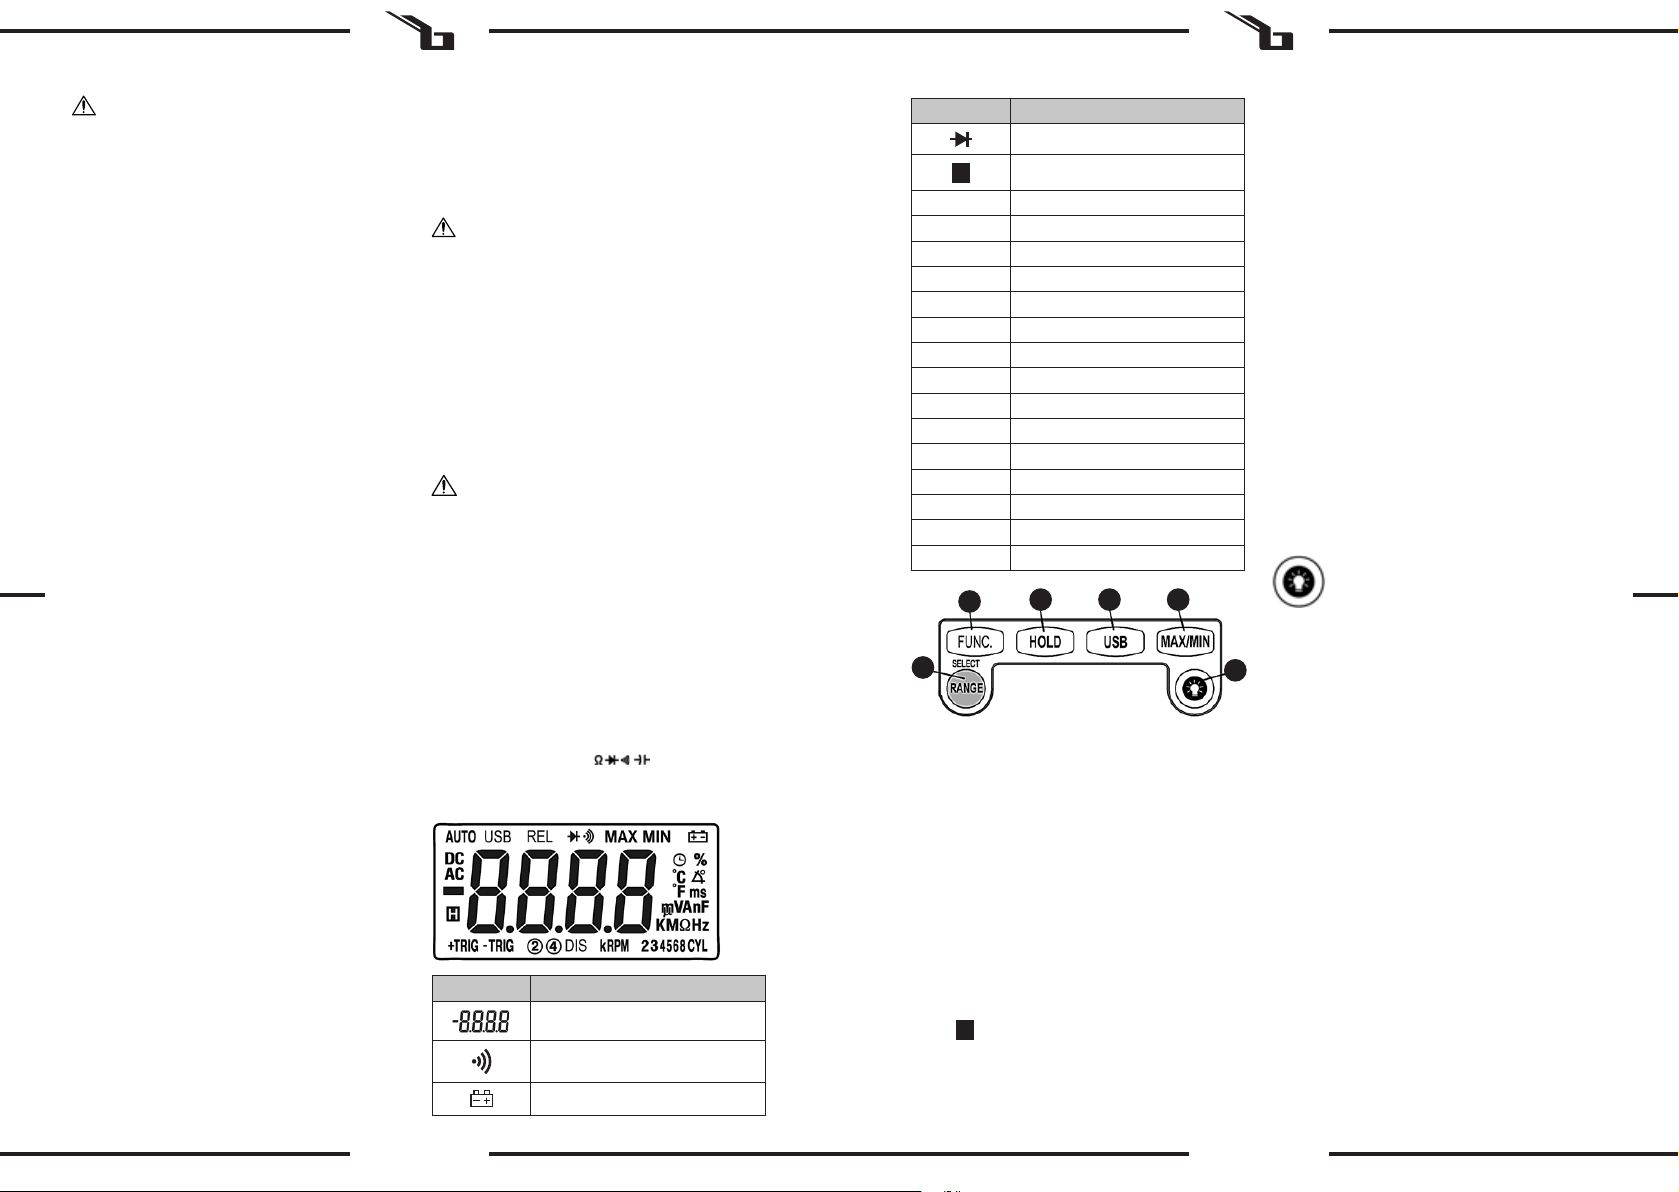
1. RANGE
Nach dem Start bleibt das Messgerät im automatischen
Schaltmodus. Drücken Sie die Taste „RANGE“, um in den
manuellen Schaltmodus zu gelangen. Informationen zum
„AUTO“-Modus werden deaktiviert. Bei jedem Drücken der
Taste „RANGE“ wird der mit Einheiten und Ziern markierte
Messbereich umgeschaltet. Wenn Sie die Taste „RANGE“
zwei Sekunden lang gedrückt halten, kehrt das Gerät in den
automatischen Schaltmodus zurück.
2. FUNC.
Drücken Sie die Taste „FUNC“. So wählen Sie die zweite
Funktion des blauen Symbols auf dem Bedienfeld des
Messgeräts
3. HOLD
Durch Drücken der Taste „HOLD“ kann der Benutzer den
Messwert als Referenzpunkt speichern.
Drücken Sie die Taste „HOLD“, um den vom Multimeter
erfassten Wert zu speichern; auf dem Display erscheint das
Symbol H. Drücken Sie „HOLD“ ein zweites Mal, um in den
Betriebszustand des Multimeters zurückzukehren.
4. USB
Die USB-Funktion ermöglicht die Übertragung der seriellen
Daten des Messgeräts an einen Computer.
DE
• Verbinden Sie den USB-Anschluss des Messgeräts
und den Computer mit einem USB-Kabel.
• Drücken Sie die Taste „USB“, um das Symbol „USB“
anzuzeigen.
• Starten Sie die PC-Software, klicken Sie auf das Menü
SET. Wählen Sie dann SET PART.
• Übernehmen Sie die Standard-Abtastfrequenz
oder wählen Sie die gewünschte Abtastfrequenz.
Drücken Sie die OK-Taste, um die Einstellungen
abzuschließen.
• Drücken Sie Start in PC-LINK SOFT, um synchrone
Daten oder Diagramme in der Softwareschnittstelle
zu messen und anzuzeigen.
• Um die serielle Datenausgabe zu deaktivieren,
drücken Sie die Taste „USB“ und das Symbol „USB“
erlischt..
5. MAX/MIN
Drücken Sie die Taste „MAX/MIN“, um in den MAX/MIN-
Aufnahmemodus zu gelangen. Das Symbol „MAX“ wird
angezeigt. Drücken Sie die Taste „MAX/MIN“ erneut,
das Symbol „MIN“ leuchtet auf. Das Messgerät geht
zur manuellen Entfernungseinstellung über, zeigt einen
Maximal- oder Minimalwert an und behält diesen bei.
Dieser Wert wird nur aktualisiert, wenn ein neuer Maximal-
oder Minimalwert erscheint.
Drücken Sie die Taste „MAX/MIN“ und das Symbol „MAX
MIN“ beginnt zu blinken. Das Messgerät zeigt den MAX-
MIN-Wert an. Halten Sie die Taste „MAX/MIN“ 2 Sekunden
lang gedrückt, um den MAX/MIN-Modus zu verlassen.
Drücken Sie BACKLIGHT, um die Hintergrundbeleuchtung
einzuschalten. Drücken Sie erneut auf BACKLIGHT, um die
Hintergrundbeleuchtung auszuschalten.
23 4 5
16
ACHTUNG! Obwohl das Gerät mit dem Gedanken an
die Sicherheit entworfen wurde, besitzt es bestimmte
Schutzmechanismen. Trotz der Verwendung
zusätzlicher Sicherheitselemente besteht bei der
Bedienung immer noch ein Verletzungsrisiko. Es wird
empfohlen, bei der Nutzung Vorsicht und Vernunft
walten zu lassen.
HINWEIS! Kinder und Unbeteiligte müssen bei der
Arbeit mit diesem Gerät gesichert werden.
3. NUTZUNGSBEDINGUNGEN
Das Gerät dient zur Messung von elektrischen Werten
sowie der Temperatur von ausgewählten Geräten und
Stromkreisen. Das Produkt ist nur für den Heimgebrauch
bestimmt!
Für alle Schäden bei nicht sachgemäßer Verwendung
haftet allein der Betreiber.
3.1. GERÄTEBESCHREIBUNG
ACHTUNG: Die Explosionszeichnungen von diesem
Produkt benden sich auf den letzten Seiten der
Bedienungsanleitung S. 44.
DE
1. USB Port
2. LCD Display.
3. Die USB Funktion macht es möglich, Reihendaten
des Messgeräts an den Computer zu übertragen.
4. Aktualisieren und Aufzeichnen des höchsten und
des niedrigsten registrierten Werts.
5. Ein- und Ausschalten der Beleuchtung des LCDs.
6. D.HOLD Taste zur Aufrechterhaltung des
Ergebnisses
7. Wahl der zweiten Funktion des blauen Symbols auf
der Systemsteuerung des Messgeräts.
8. Wechsel zum Modus der manuellen und der
automatischen Wahl der Bereiche.
9. Drehknopf: Ausschalten des Geräts / Wahl der
Funktionen und des Messbereichs
10. Eingangsbuchse: VHz /Temperatur „+”
11. Eingangsbuchse: COM und Temperatur „-”.
12. Eingangsbuchse: μAmA
13. Eingangsbuchse: 20A
2.3. PERSÖNLICHE SICHERHEIT
a) Es ist nicht gestattet, das Gerät im Zustand der
Ermüdung, Krankheit, unter Einuss von Alkohol,
Drogen oder Medikamenten zu betreiben,
wenn diese die Fähigkeit das Gerät zu bedienen,
einschränken.
b) Das Gerät ist nicht dazu bestimmt, durch Personen
(darunter Kinder) mit eingeschränkten physischen,
sensorischen und geistigen Fähigkeiten bzw. durch
Personen ohne entsprechende Erfahrung und/oder
entsprechendes Wissen bedient zu werden, es sei
denn es gibt eine für ihre Aufsicht und Sicherheit
zuständige Person bzw. sie haben von dieser Person
entsprechende Hinweise in Bezug auf die Bedienung
das Gerät erhalten.
c) Seien Sie aufmerksam und verwenden Sie Ihren
gesunden Menschenverstand beim Betreiben
des Gerätes. Ein Moment der Unaufmerksamkeit
während der Arbeit kann zu schweren Verletzungen
führen.
d) Um eine versehentliche Inbetriebnahme zu
vermeiden, vergewissern Sie sich, dass der
Schalter vor dem Anschließen an eine Stromquelle
ausgeschaltet ist.
e) Das Gerät ist kein Spielzeug. Kinder sollten unter
Aufsicht stehen, damit sie nicht mit dem Gerät
spielen.
2.4. SICHERE ANWENDUNG DES GERÄTS
a) Benutzen Sie das Gerät nicht, wenn der EIN-/AUS-
Schalter nicht ordnungsgemäß funktioniert. Geräte,
die per Schalter nicht gesteuert werden können sind
gefährlich und müssen repariert werden.
b) Nicht verwendete Werkzeuge sind außerhalb
der Reichweite von Kindern sowie von Personen
aufzubewahren, welche weder das Gerät selbst, noch
die entsprechende Anleitung kennen. In den Händen
unerfahrener Personen können derlei Geräte eine
Gefahr darstellen.
c) Halten Sie das Gerät im einwandfreien Zustand.
d) Halten Sie das Gerät außerhalb der Reichweite von
Kindern.
e) Reparatur und Wartung von Geräten dürfen nur
von qualiziertem Fachpersonal und mit Original-
Ersatzteilen durchgeführt werden. Dadurch wird die
Sicherheit bei der Nutzung gewährleistet.
f) Um die vorgesehene Betriebsintegrität des Gerätes
zu gewährleisten, dürfen die werksmäßig montierten
Abdeckungen oder Schrauben nicht entfernt werden.
g) Es ist verboten, das Gerät während der Arbeit zu
schieben, umzustellen oder umzudrehen.
h) Lassen Sie dieses Gerät nicht unbeaufsichtigt,
während es in Betrieb ist.
i) Das Gerät regelmäßig reinigen, damit sich kein
Schmutz auf Dauer festsetzen kann.
j) Das Gerät ist kein Spielzeug. Reinigung und Wartung
dürfen nicht von Kindern ausgeführt werden, wenn
diese nicht unter der Aufsicht von Erwachsenen
stehen.
k) Messen Sie niemals die Spannung, wenn die
Messleitungen an die Strommessbuchsen
angeschlossen sind.
l) Seien Sie vorsichtig, wenn Sie mit Spannungen über
DC 60 V oder AC 4 2V arbeiten.
m) Lassen Sie die Messleitungen oder Sonden während
der Messung hinter isolierten Teilen.
n) Wählen Sie die geeignete Funktion und den
geeigneten Messbereich für die Messung, um eine
Beschädigung des Messgeräts zu vermeiden.
o) Trennen Sie die Messleitungen von den Testpunkten,
bevor Sie zu einer anderen Funktion wechseln.
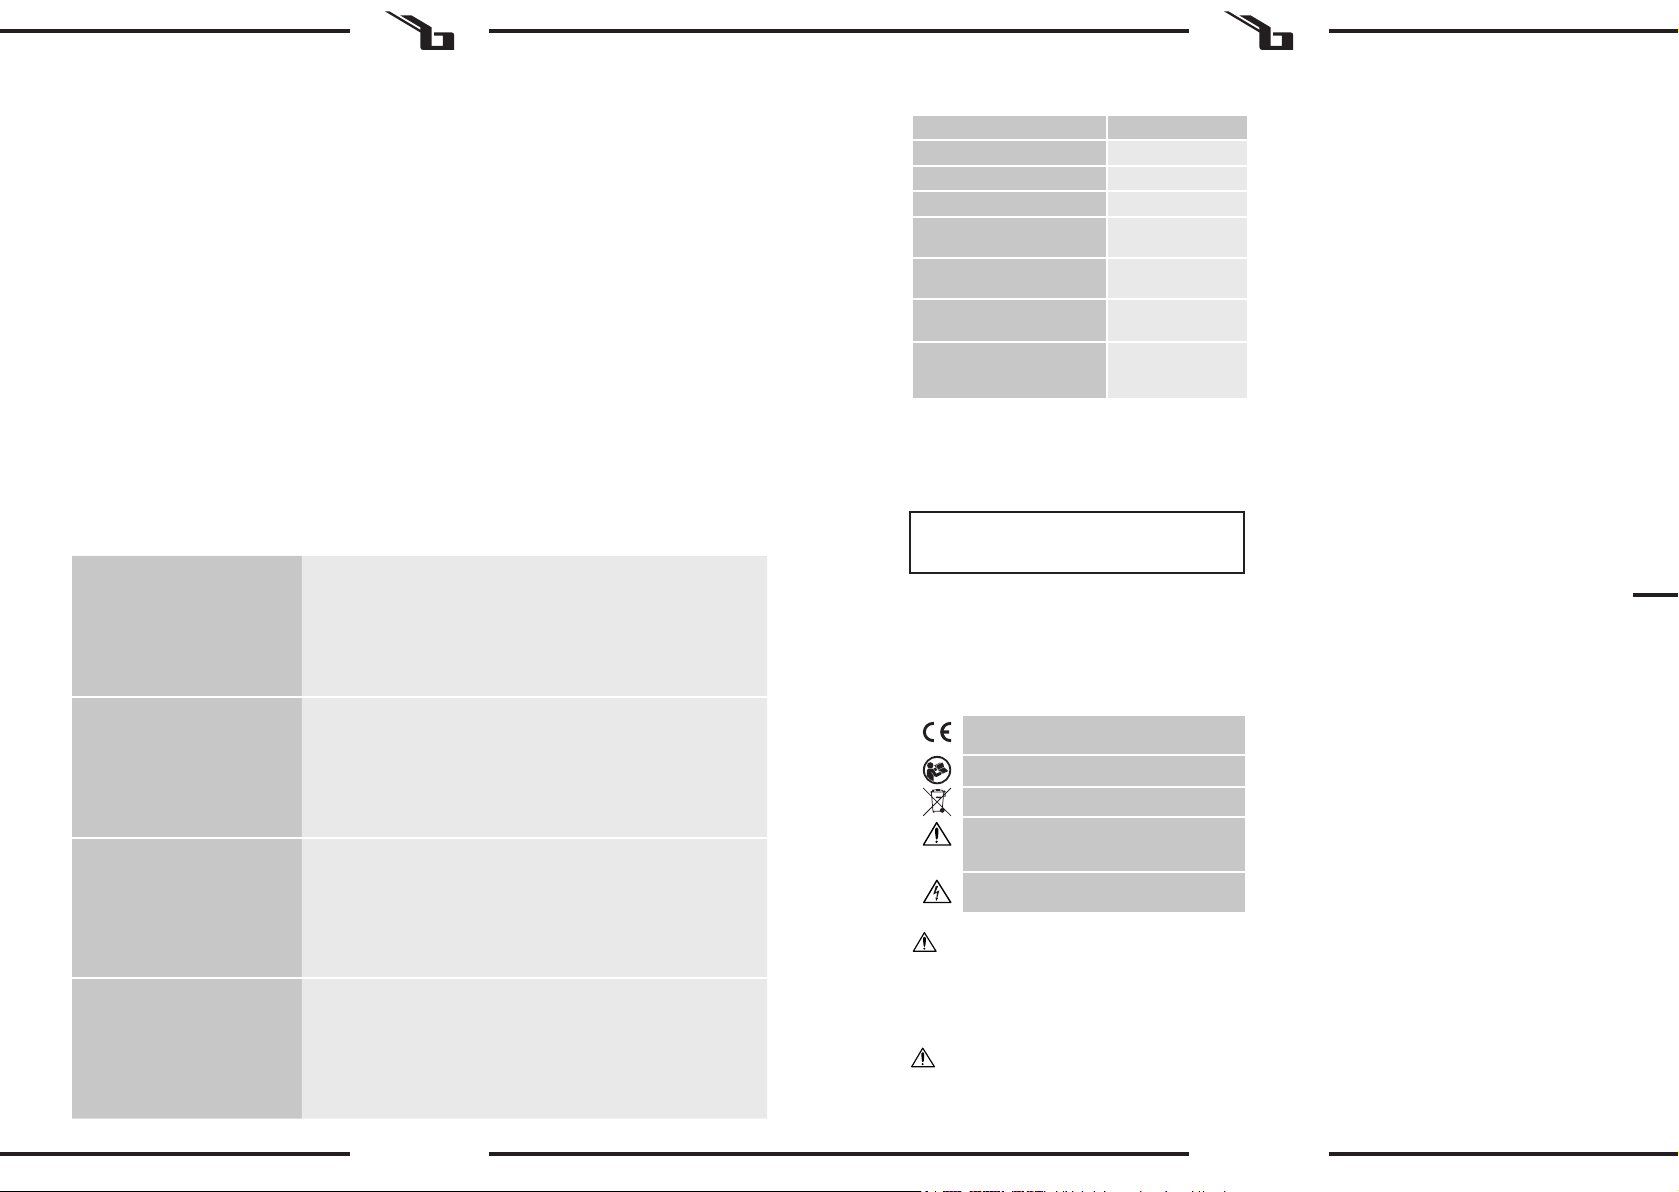
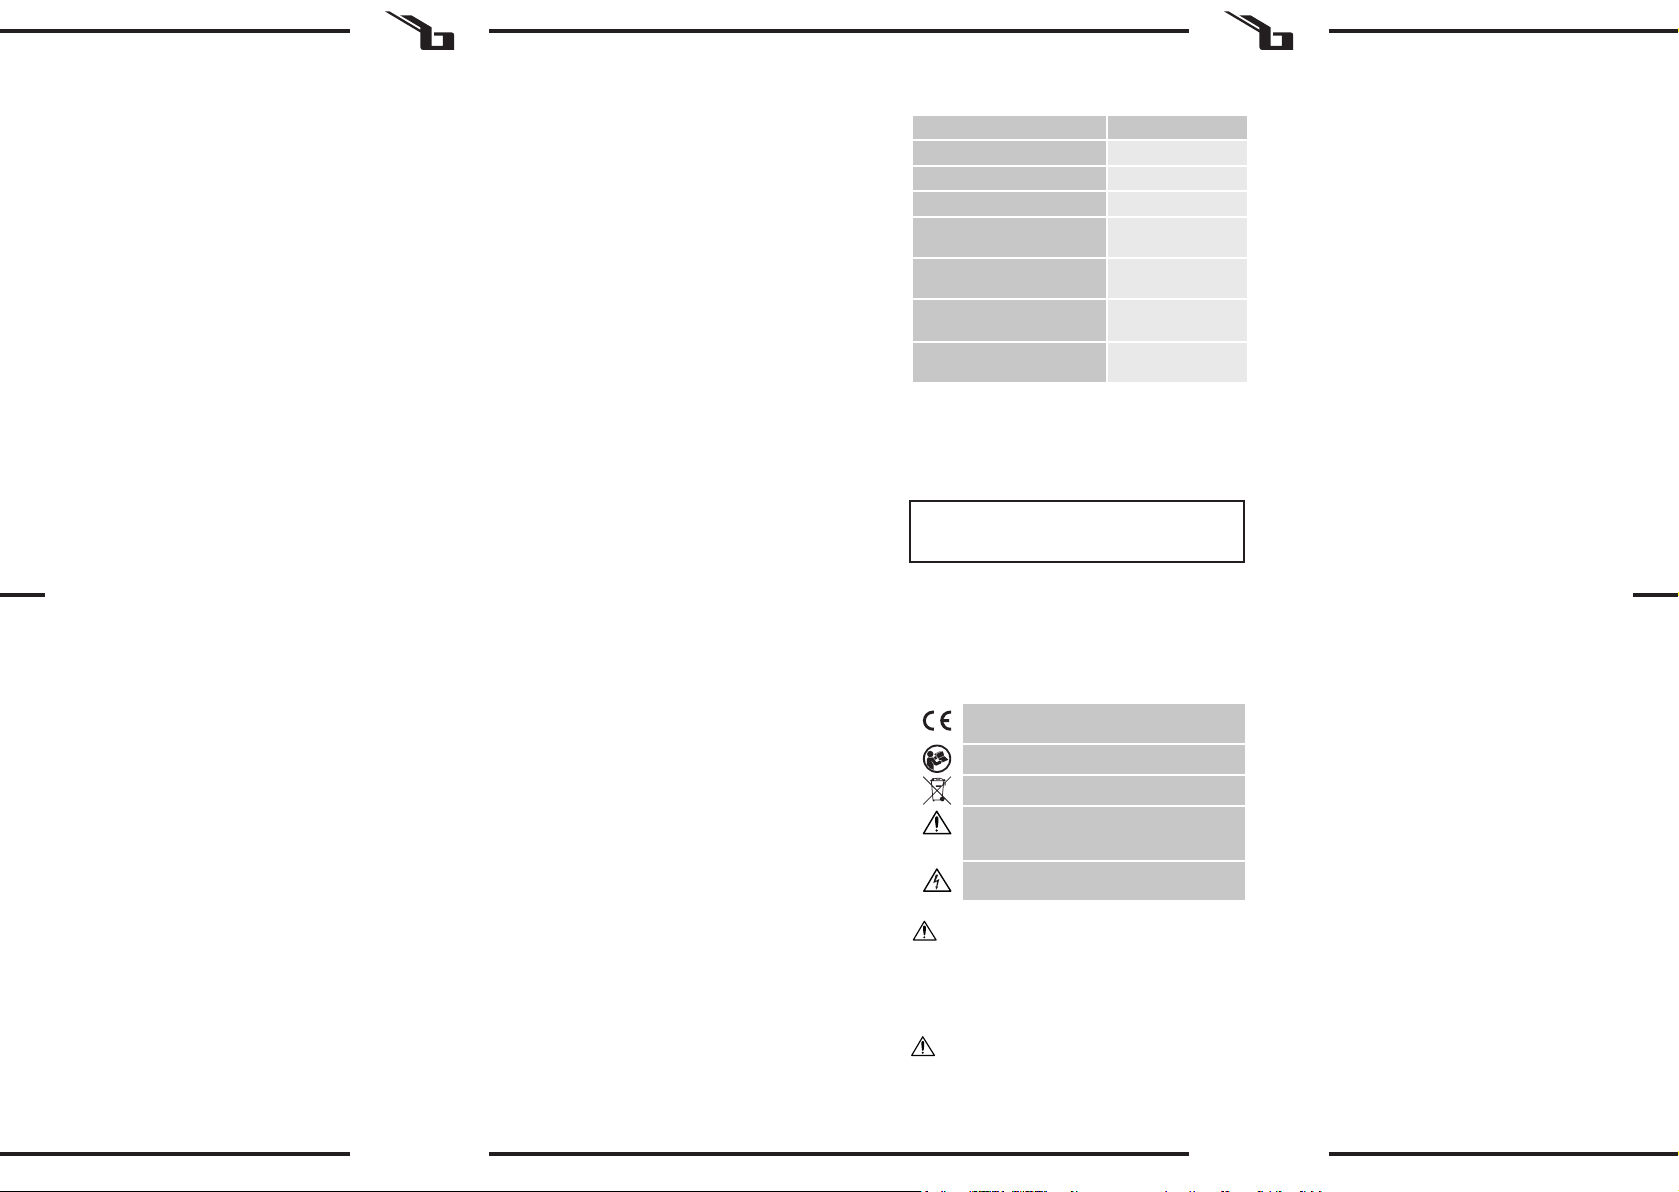
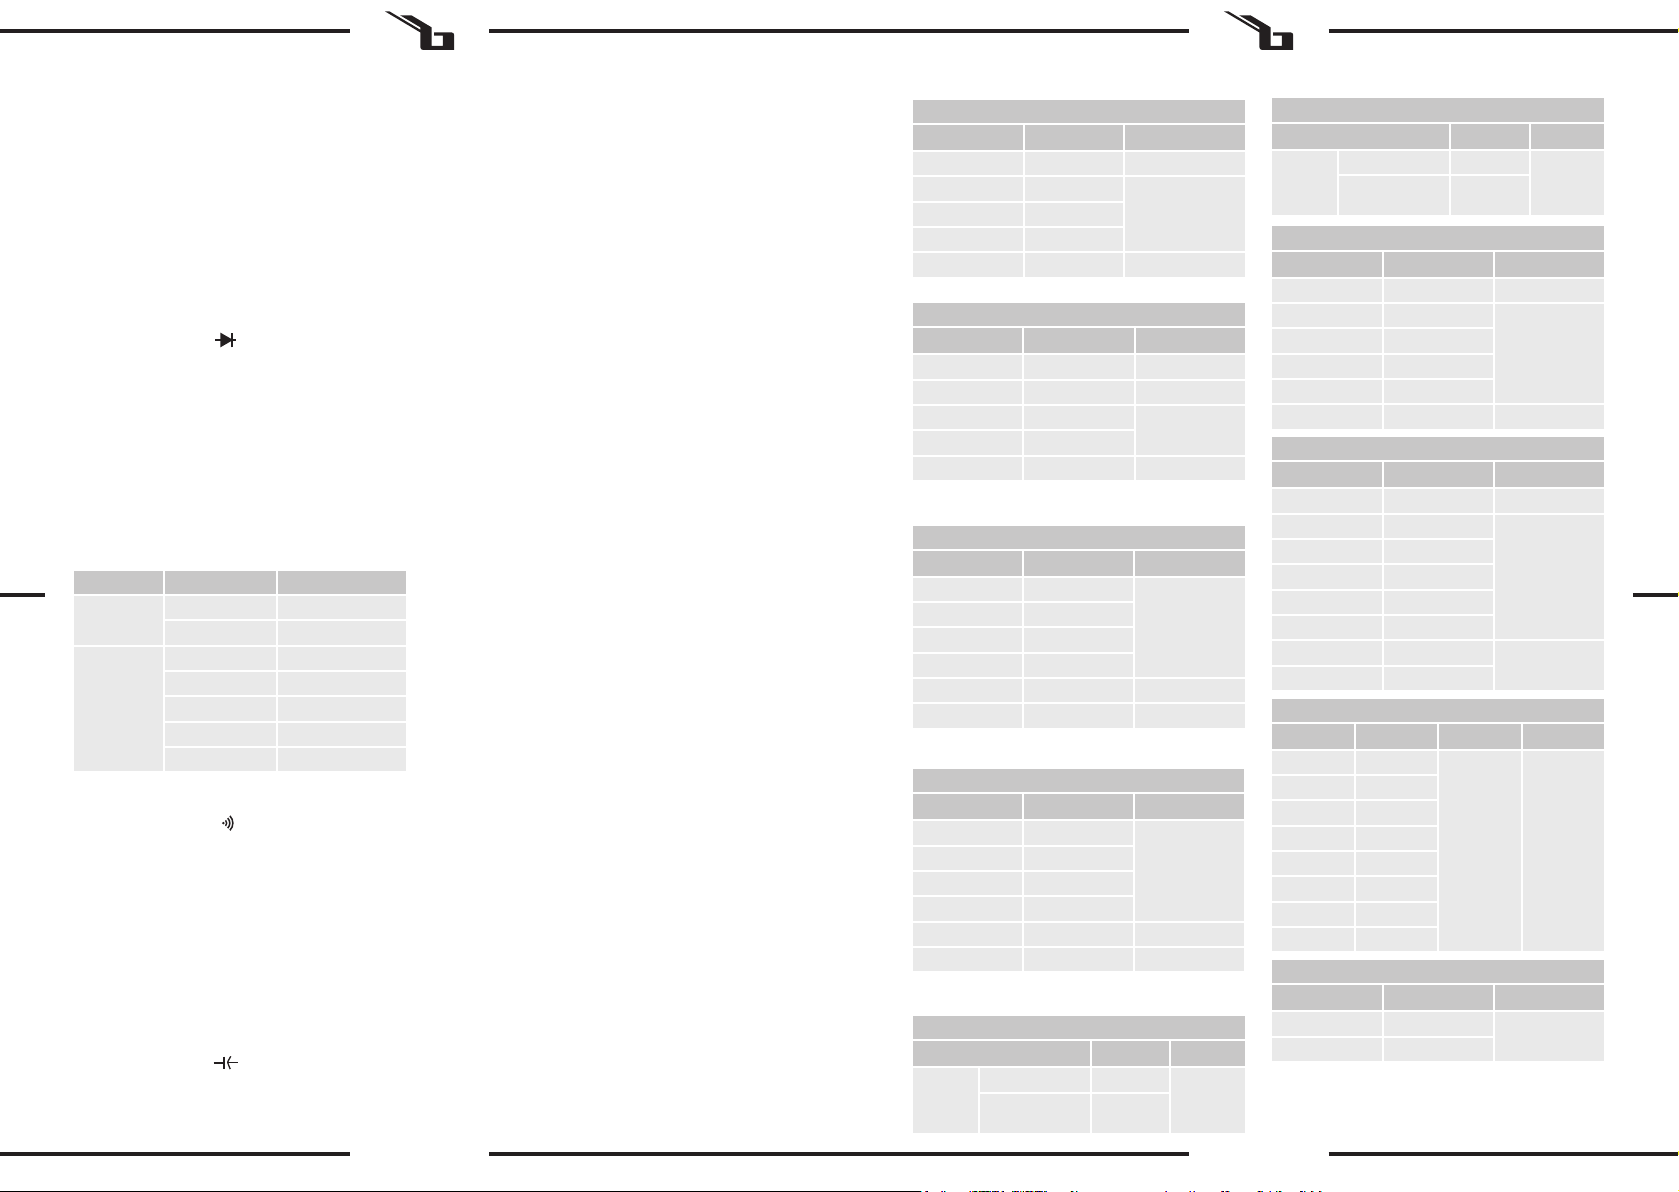
Symbol Beschreibung
Diode
HAufbewahrte Daten
AUTO Automatische Bereichseinstellung
°C Grad Celsius
V Spannung
ΩWiderstand
A Intensität
Hz Frequenz
°F Grad Fahrenheit
% Prozentsatz (Arbeitsverhältnis)
DC Gleichstrom oder Spannung
AC Wechselstrom oder Spannung
k Kilo
M Mega
m Milli
μMicro
n Nano
Symbol Beschreibung
LCD-Hauptanzeige
Messtonsignal
Anzeige für schwache Batterie