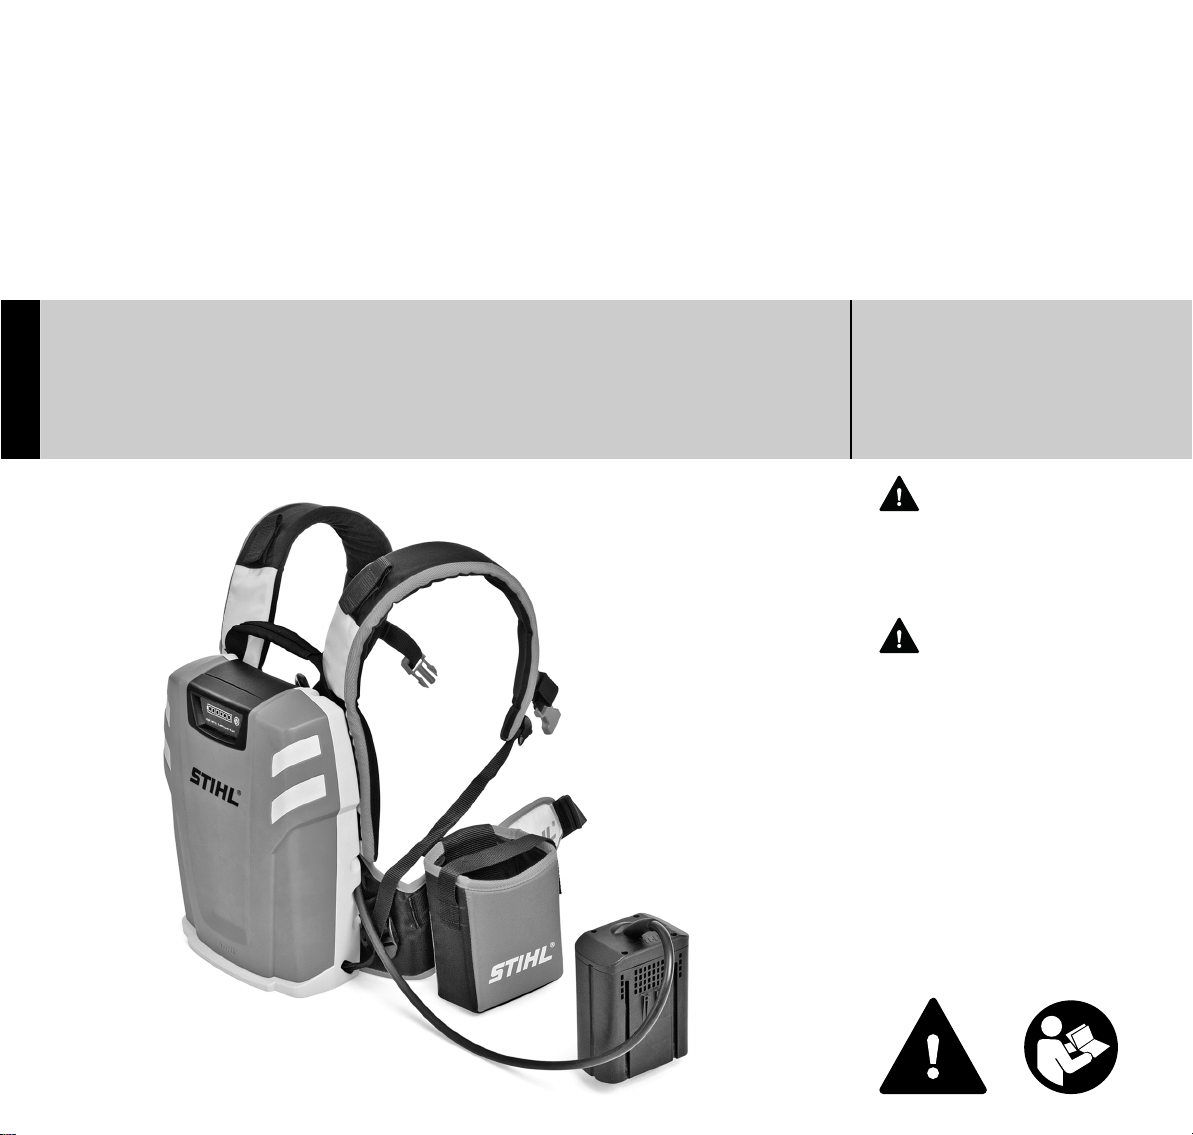
Stihl AR 900 User manual

{
STIHL AR 900
WARNING
Read Instruction Manual thoroughly
before use and follow all safety
precautions – improper use can
cause serious or fatal injury.
ADVERTENCIA
Antes de usar la máquina lea y siga
todas las precauciones de
seguridad dadas en el manual de
instrucciones – el uso incorrecto
puede causar lesiones graves o
mortales.
Instruction Manual
Manual de instrucciones

Instruction Manual
1 - 23
Manual de instrucciones
24 - 48

Original Instruction ManualPrinted on chlorine-free paper
Printing inks contain vegetable oils, paper can be recycled.
© ANDREAS STIHL AG & Co. KG, 2014
0458-420-8621-A. VA7.L14.
0000006357_004_GB
AR 900
English
1
{This instruction manual is protected by copyright. All rights reserved, especially the rights to reproduce, translate and process
with electronic systems.
Contents
Allow only persons who fully understand
this manual to operate your backpack
battery.
It is important that you read, understand
and follow the safety precautions and
the operating and maintenance
instructions in the chapter "Safety
Precautions and Working Techniques"
before using your battery. For further
information you can go to
www.stihlusa.com.
Contact your STIHL dealer or the STIHL
distributor for your area if you do not
understand any of the instructions in this
manual.
WARNING
Some special safety precautions must
be observed to reduce the risk of
personal injury. Careless or improper
use may cause serious or even fatal
injury.
Guide to Using this Manual 2
Safety Precautions and Working
Techniques 2
Assembling the Battery 6
Fitting the Harness 7
Acoustic Signal 9
Charging the Battery 9
LEDs on Battery 10
LED on Charger 12
Connecting Battery to Power Tool 12
Disconnecting Battery from Power
Tool 13
Maintenance and Care 14
Main Parts 15
Specifications 16
Troubleshooting 18
Maintenance and Repairs 21
Battery Recycling 21
Disposal 21
Trademarks 22
Addresses 23

AR 900
English
2
Pictograms
All the pictograms attached to or
embossed on the machine are shown
and explained in this manual.
Symbols in Text
Many operating and safety instructions
are supported by illustrations.
The individual steps or procedures
described in the manual may be marked
in different ways:
NA bullet marks a step or procedure.
A description of a step or procedure that
refers directly to an illustration may
contain item numbers that appear in the
illustration. Example:
NLoosen the screw (1).
NLever (2) ...
In addition to the operating instructions,
this manual may contain paragraphs
that require your special attention. Such
paragraphs are marked with the
following symbols and signal words:
DANGER
Indicates an imminent risk of severe or
fatal injury.
WARNING
Indicates a hazardous situation which, if
not avoided, could result in severe or
fatal injury.
NOTICE
Indicates a risk of property damage,
including damage to the machine or its
individual components.
Engineering Improvements
STIHL’s philosophy is to continually
improve all of its products. As a result,
engineering changes and improvements
are made from time to time. Therefore,
some changes, modifications and
improvements may not be covered in
this manual. If the operating
characteristics or the appearance of
your machine differs from those
described in this manual, please contact
your STIHL dealer or the STIHL
distributor for your area for assistance.
WARNING
Use the STIHL battery only with STIHL
power tools and recharge it only with
STIHL chargers. Do not use the battery
for any other purpose since it may result
in accidents and injuries.
The battery is recommended for use
with the following STIHL power tools and
STIHL chargers:
STIHL MSA 160 C, STIHL MSA 160 T,
STIHL MSA 200 C, STIHL HTA 85,
STIHL FSA 65, STIHL FSA 85
STIHL HSA 65, STIHL HSA 85,
STIHL HSA 66, STIHL HSA 86,
STIHL HLA 65, STIHL BGA 85
STIHLAL300, STIHLAL500
Guide to Using this Manual Safety Precautions and
Working Techniques
It is important that you
observe the following
information and
warnings.
It is important you read,
fully understand and
observe the following
safety precautions and
warnings. Read the
instruction manual and
safety precautions peri-
odically. Careless or
improper use may cause
serious or fatal injury.
Always read and observe
the instruction manual of
the STIHL tool powered
by this battery.

AR 900
English
3
WARNING
Have your STIHL dealer show you how
to operate your backpack battery.
Observe all apllicable local safety
regulations, standards and ordinances.
WARNING
Do not lend or rent your battery without
the instruction manual. Be sure that
anyone using it understands the
information contained in this manual.
WARNING
Do not use it for other purposes, since
misuse may result in personal injury or
property damage, including damage to
the battery.
WARNING
Minors should never be allowed to use
this backpack battery. Bystanders,
especially children, and animals should
not be allowed in the area where it is in
use.
Safe use of a battery involves
1. the battery
2. the use of the battery.
THE BATTERY
For illustrations and definitions of the
battery see the chapter on "Main Parts".
WARNING
Do not place the battery on or near fires,
stoves or in other high-temperature
locations. Do not place the battery in
direct sunlight when not in use or store it
inside a vehicle in hot weather. Doing so
may cause the battery to generate heat,
rupture or ignite. Using the battery in this
manner may also result in a loss of
performance and a shortened life.
In case of fire: stay clear of any vapors
or gases generated, taking wind
direction into account. If possible without
danger, remove battery from the vicinity
of the fire. In principle, cooling the
battery or extinguishing the fire with
water is possible. It is preferable to
extinguish the fire with a multipurpose
dry chemical fire extinguisher. As for any
fire, evacuate the area and fight the fire
from a safe distance. Once the fire has
been extinguished, the area should be
monitored (fire watch) in case of a flare-
up, until the battery has cooled
sufficiently. Contact the proper
authorities immediately for appropriate
handling and safe disposal. Restrict
access to the area until completion of
clean-up. Do not touch the burnt battery
or any spilled liquids. Use inert
absorbent to absorb spilled liquids.
Protect the battery from direct sunlight
when it is not in use.
Immediately discontinue use of the
battery if, while using, charging or
storing, it emits smoke, an unusual
smell, feels hot or appears abnormal in
any other way.
Charge the battery before use.
If four light emitting diodes on the battery
flash red (see "Light Emitting Diodes
(LEDs) on Battery") and a rapid
sucession of short beeps sound for
several seconds (see "Acoustic Signal"),
the battery is not functioning properly –
disconnect the battery from the power
tool, take it off your back, check its
condition and contact your STIHL
servicing dealer immediately.
WARNING
If the battery emits smoke, heats up,
smells, makes noises or shows signs of
deformation, disconnect it from the
power tool, take it off your back, put it
down and immediately move a safe
distance away. Keep children and
animals away from the work area. Keep
battery away from combustible
materials.
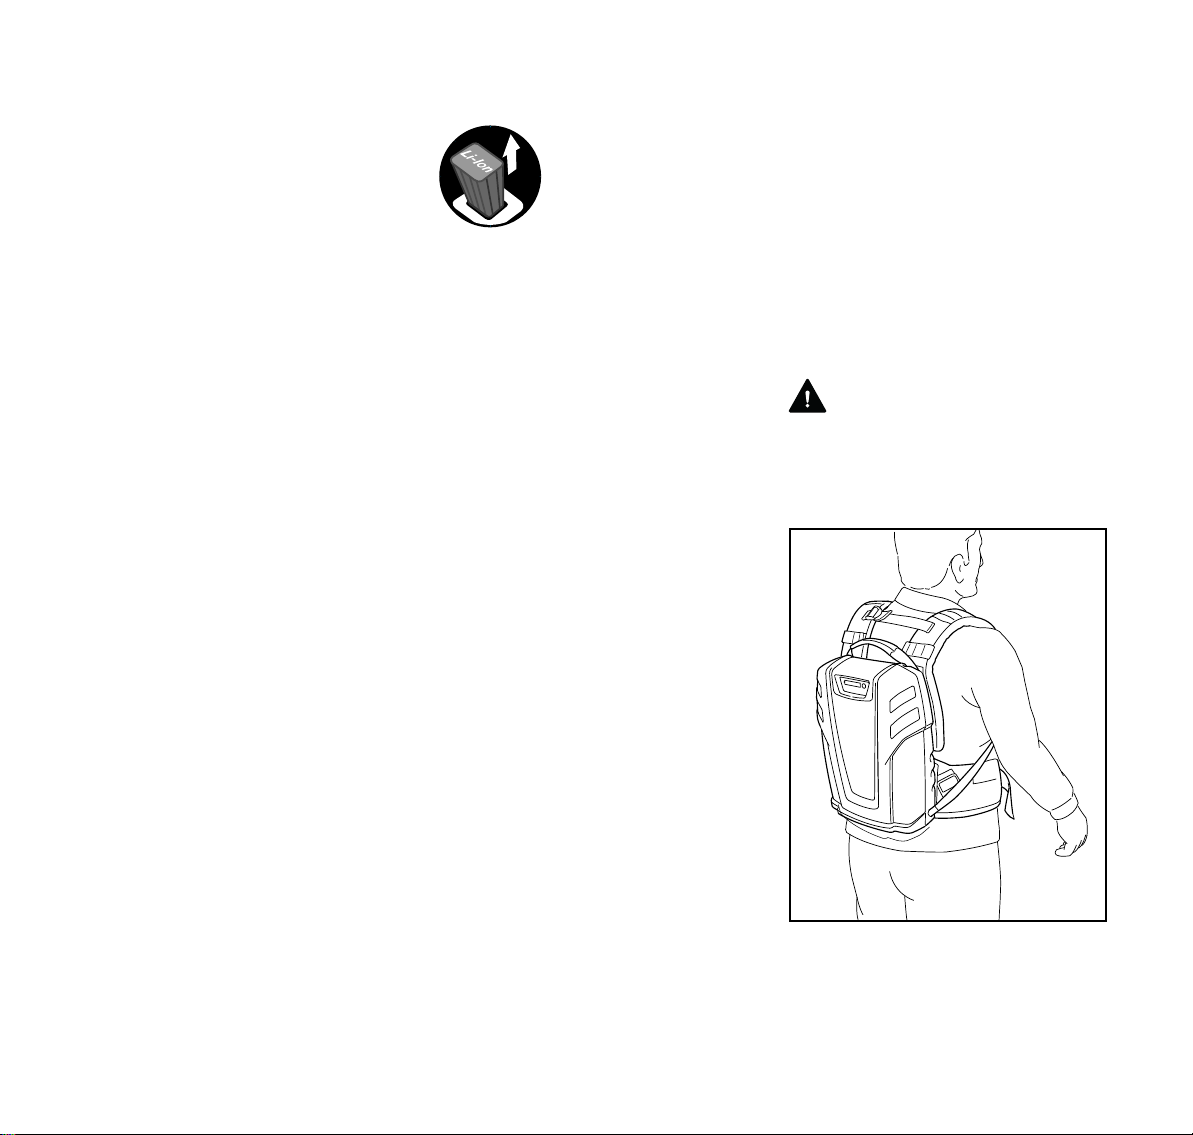
Use the battery only with the harness
supplied – it must not be combined with
any other carrying straps (e.g. shoulder
strap, full harness, etc.).
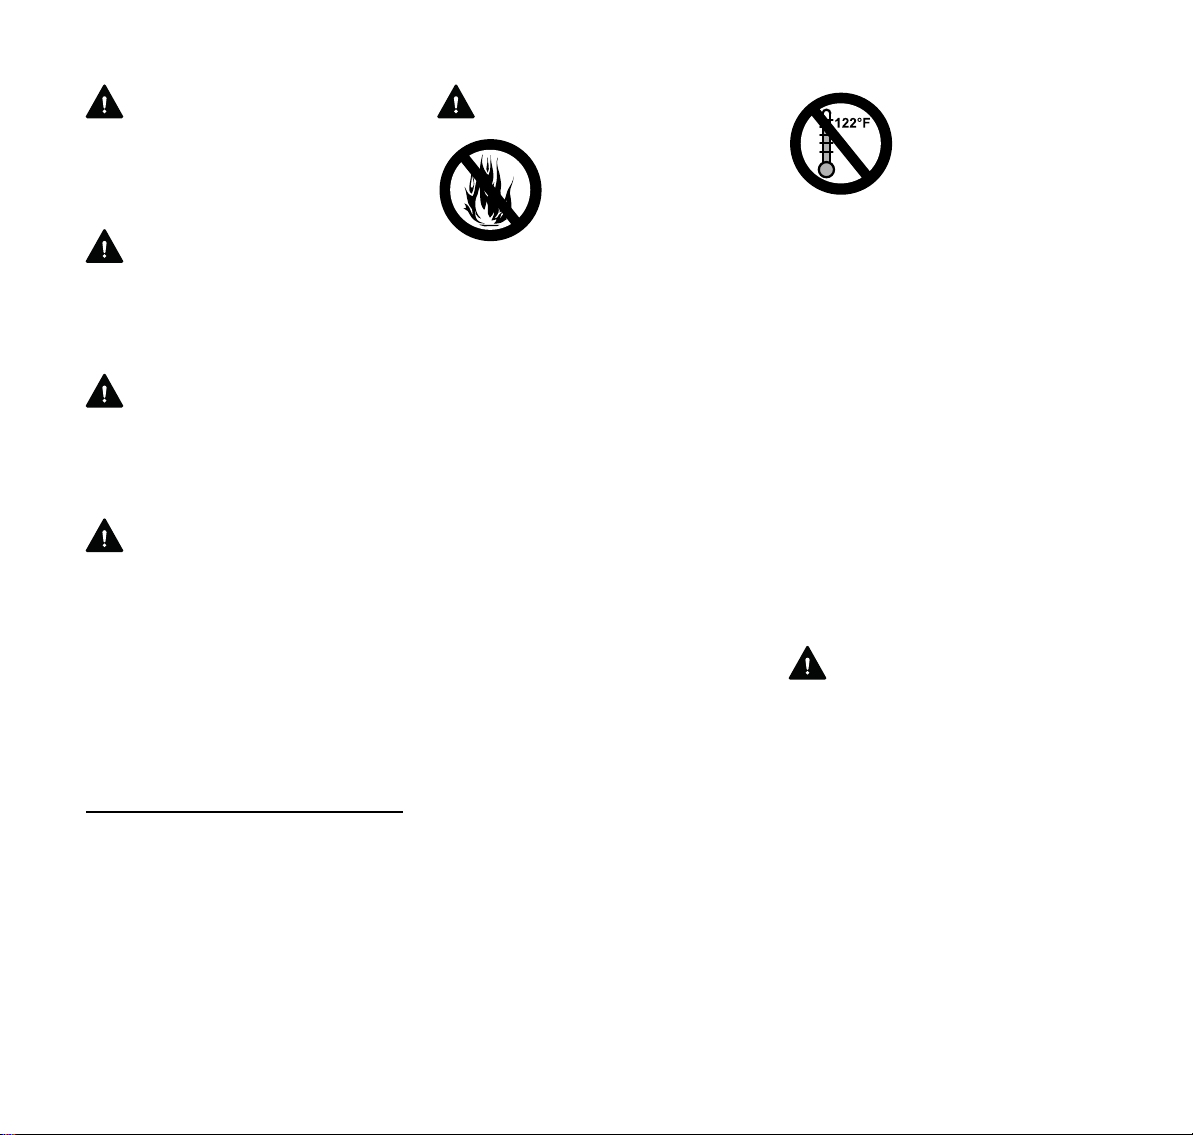
Risk of fire, explosion
and / or burns, including
chemical burns. Do not
disassemble, crush, heat
above 212 °F (100 °C),
expose to fire or inciner-
ate. Never expose the
battery to microwaves or
high pressures.
Use and store the bat-
tery only within a
temperature range from
14 °F (-10 °C) and no
more than 122 °F
(+ 50 °C).

AR 900
English
4
Do not place or hang the battery in an
elevated position (e.g. branches) – it
may fall down.
Never sit or stand on the battery. Never
place objects on the battery – do not
stack several batteries on top of one
another.
WARNING
Do not charge or use a defective,
damaged or deformed battery. Do not
open, drop, hit or damage battery. The
battery contains safety features and
devices, which, if, damaged, may cause
the battery to generate heat, rupture or
ignite.
Never insert objects into the cooling
slots of the adapter that connects the
battery to the power tool.
Inspect the adapter, the adapter's
contacts and the cable for damage at
regular intervals. If any damage is found,
contact your STIHL servicing dealer. Do
not continue using or charging a
malfunctioning, damaged, cracked or
deformed battery, cable or adapter.
Never bridge the adapter's contacts with
metallic objects (short circuit). The
battery may be damaged by a short
circuit. Keep a battery that is not in use
away from metal objects (e.g. nails,
coins, jewelry). Do not use metal
containers for transporting batteries.
WARNING
Fluid may leak from the battery if it is
damaged or is not used properly – avoid
contact with the skin! Leaking battery
fluid can cause skin irritation and
chemical burns. In the event of
accidental contact, wash affected areas
of skin with plenty of water and soap. If
battery fluid gets in the eye(s), do not rub
your eye(s) and rinse with plenty of
water for 15 minutes at least. Also seek
medical assistance.
Accessories and Spare Parts
Only use parts and accessories that are
explicity approved for this battery by
STIHL. If you have any questions in this
respect, consult your STIHL servicing
dealer.
STIHL recommends the use of genuine
STIHL replacement parts and
accessories. They are specifically
designed to match the product and meet
your performance requirements.
THE USE OF THE BATTERY
Transporting the Battery
Disconnect the battery from the power
tool – even when carrying it for short
distances. This avoids the risk of
accidental startup.
Carry the battery by the handle or on
your back.
In vehicles: Properly secure the battery
to prevent turnover and damage.
WARNING
Special precautions must be taken when
transporting a damaged or
malfunctioning battery. To reduce the
risk of accidents, always contact your
STIHL servicing dealer before
transporting such a battery.
Cleaning the Battery
Always clean dust and dirt off the battery
– do not use any grease solvents for this
purpose.
Clean plastic surfaces with a cloth. Do
not use aggressive detergents. They
may damage the plastic.
Do not spray the battery with water.
Do not use a pressure washer to clean
your battery. The solid jet of water may
damage parts of the battery and cause
malfunctions.
Storing the Battery
Disconnect the battery from the power
tool or charger.
Protect from rain – do not
immerse in fluids.
4865BA029 KN

AR 900
English
5
When the battery is not in use, put it in a
safe place it so that it does not endanger
others. Secure it against unauthorized
use.
Store the battery out of the reach of
children.
Store indoors in a dry and safe location.
Protect it from dirt and damage.
To ensure maximum battery life: Store
with a charge of about 30%.
Do not store spare batteries unused –
use in rotation.
Notes on Cable
Check the adapter and its cable and
plug for signs of damage. Never use a
damaged adapter, cable or plug.
Make sure the insulation of the cable
and plug is in good condition.
Straighten a twisted cable before use.
Position the cable so that it cannot be
reached or damaged by the cutting or
working attachment of the power tool
being used.
Do not chafe, squash, jerk or damage
the cable. Protect it from heat, oil and
sharp edges.
Do not use the cable for any other
purpose, e.g. for carrying or hanging up
the battery or power tool. Do not tug the
cable.
Position the cable so that it does not
endanger others – risk of tripping or
stumbling.
Notes on Operation
–when carrying out tests and
adjustments or cleaning
–before working on the power tool's
cutting or working attachment
–before leaving the machine
unattended
–when transporting
–storing the machine
–before performing repairs and
maintenance work
–in the event of a malfunction or in an
emergency
This avoids the risk of accidental startup.
Before Starting Work
Check that the battery is in good
condition – refer to appropriate chapters
in the instruction manual.
–Check condition of housing parts.
–Check condition of straps.
–Make sure cable, plug and adapter
are not damaged.
–Depress push button to activate the
LED display – see chapter "Light
Emitting Diodes (LED) on Battery".
–Acoustic signal should beep when
push button is released.
Do not continue using the battery if parts
of housing or straps are worn, cracked
or broken – contact STIHL servicing
dealer.
To reduce the risk of personal injury, use
the battery only if it is in good working
order.
Do not use the battery if any of its
components are damaged.
For emergencies: Practice quickly
opening the fastener on the waist belt,
loosening the shoulder straps and
setting down the battery. To avoid
damage, do not throw the battery to the
ground when practicing.
During Operation
WARNING
The battery is equipped with a visual and
acoustic signal. Your ability to hear the
acoustic signal may be reduced when
wearing hearing protection.
The battery is carried as a backpack.
Disconnect battery from
the power tool:
4865BA030 KN

AR 900
English
6
The battery is designed to be operated
by one person only. Do not allow other
persons in the work area.
Make sure you always have good
balance and secure footing.
Never work with the battery in trees, on
roofs or on a ladder or other insecure
support.
Make sure the cable cannot become
entangled or snag on objects – position
and secure the cable carefully before
starting work.
If the battery is subjected to unusually
high loads for which it was not designed
(e.g. heavy impact or a fall), always
check that it is in good condition before
continuing work – see also "Before
Starting Work". Do not continue
operating the battery if it is damaged. In
case of doubt, contact your STIHL
servicing dealer.
After Finishing Work
Clean the battery – see "Cleaning the
Battery".
Connecting the Adapter
NRemove the cover (1) – press the
tabs (arrows) inwards and push the
cover upwards.
NInsert the plug (2) in the socket (3) –
line up the lugs on the plug with the
slots in the socket.
NPush the plug into the socket as far
as stop, then turn it clockwise until
the plug's latch (4) engages audibly.
NFit cable (5) in the cable duct (6) in
the housing – see also "Positioning
the Cable".
NPush the cover (1) into place,
making sure the cable is properly
seated in the duct and not pinched.
Positioning the Cable
The cable can be fitted in different cable
ducts.
If the power tool being used with this
battery is:
Assembling the Battery
4865BA003 KN
2
3
4865BA004 KN
4
6
4865BA021 KN
5
4865BA023 KN

AR 900
English
7
Nnext to or behind your body – fit the
cable (1) in one of the lateral cable
ducts (2) and push it into place
Nin front of your body – fit the
cable (1) in one of the upper cable
ducts (2) and push it into place
Always use the cable outlets at the side
on which the power tool is held and
controlled.
WARNING
To reduce the risk of accidents, never
lay the cable diagonally – it may snag on
objects.
NIf the cable is too long, attach it to
the retainer on the bag.
Adjusting the Harness Straps
APull the ends of the straps
downward to tighten the harness.
BLift the tabs of the adjusters to
loosen the straps.
4865BA005 KN
22
1
1
2
4865BA022 KN
4865BA006 KN
Fitting the Harness
4865BA031 KN
AB

AR 900
English
8
CClose and lock the quick-release
fastener by pushing it together.
DSqueeze the hooks to open the
quick-release fastener.
Put on the shoulder strap.
NFasten and adjust the waist belt (1)
so that it rests comfortably on your
hips – thread the end of the belt
through the loop (2) – do not let in
hang down.
NAdjust the harness straps (3, 6) to
the correct length.
NAdjust chest strap (4) to correct
length and fasten it.
NIf you use the upper cable ducts –
see "Positioning the Cable" – thread
the cable through the hook and eye
fasteners (5).
The back padding must fit firmly and
securely against your back.
Removing Harness
NOpen the quick-release fasteners
on the waist belt and chest strap.
NLoosen the harness straps by lifting
the sliding adjusters and then take
off the battery.
Throwing Off the Machine
WARNING
The battery must be quickly thrown off in
the event of imminent danger. The waist
belt and chest strap must be opened
before throwing the battery to the
ground.
Pouch
Accommodates adapter during work
breaks and after finishing work.
Secure the pouch (1) to the waist belt
only in the positions shown.
C
D
4865BA027 KN
6
1
5
4
4865BA033 KN
33
5
55
2
4865BA010 KN
1

AR 900
English
9
NAttach pouch to waist belt.
NInsert the adapter (2).
NClose the hook and eye fastener (3)
– the adapter is held in the pouch.
WARNING
Never transport metallic, pointed or
sharp objects in the pouch. They may
bridge the contacts in the adapter and
cause a short circuit.
The battery emits acoustic signals as
well as optical signals – see "LEDs on
Battery".
A factory-new battery is not fully
charged.
Recommendation: Fully charge the
battery before using it with your power
tool for the first time.
NConnect the charger to the power
supply – mains voltage and
operating voltage of the charger
must be the same – see
"Connecting Charger to Power
Supply".
Operate the charger indoors only in dry
locations at an ambient temperature
between 41 °F (5 °C) and 104 °F
(40 °C).
NPush the adapter (1) into the
charger (2) until you feel noticeable
resistance – then push it as far as
stop.
3
4865BA011 KN
2
Acoustic Signal
A A short beep
This signal is activated by pressing
and releasing the button on the bat-
tery – see "Main Parts".
Meaning: Acoustic signal works as it
should.
B Four long beeps
One LED on battery flashes green.
Meaning: Battery's state of charge is
low – recharge the battery.
C Rapid succession of short beeps 1)
Four LEDs on battery flash red.
Meaning: Malfunction in battery –
see "Troubleshooting".
1) Signal stops automatically after a
few seconds.
4865BA024 KN
A
B
C.......
Charging the Battery
2
4865BA012 KN

AR 900
English
10
The light emitting diode (3) on the
charger comes on when the adapter is
inserted – see "Light Emitting Diode
(LED) on Charger".
Charging begins as soon as the light
emitting diodes (4) on the battery light
up green – see "Light Emitting Diodes
(LEDs) on Battery".
The charge time is dependent on a
number of factors, including battery
condition, ambient temperature, etc.,
and may therefore vary from the charge
time in the "Specifications".
The battery warms up during operation.
If a warm battery is inserted in the
charger, it may be necessary to cool it
down before charging. The charging
process begins only after the battery has
cooled down. The time required for
cooling may prolong the charge time.
AL 300, AL 500 charger
The charger is equipped with a fan.
End of Charge
The charger switches itself off
automatically when the battery is fully
charged:
–Light emitting diodes on the battery
go off
–The light emitting diode on the
charger goes off
–The charger's fan is switched off.
Remove the adapter from the charger.
The LEDs show the battery's state of
charge and any problems with the
battery or the power tool being used.
NPress button (1) to activate the
LEDs – the display goes off
automatically after 5 seconds.
–The acoustic signal must sound
briefly when the button is released
(to confirm function) – see also
"Acoustic Signal".
The LEDs can glow or flash green or
red.
4
3
4865BA013 KN
LEDs on Battery
LED glows continuously green.
LED flashes green.
LED glows continuously red.
LED flashes red.
4865BA025 KN
1
AR 900 Lithium-Ion

AR 900
English
11
During Charging Process
The LEDs glow continuously or flash to
indicate the progress of charge.
A green flashing LED indicates the
capacity that is currently being charged.
The LEDs on the battery go off
automatically when the charge process
is completed.
If the LEDs on the battery flash or glow
red – see "If the red LEDs glow
continuously / flash".
During Operation
The green LEDs glow continuously or
flash to indicate the state of charge.
If the battery is almost completely
discharged and the last LED begins to
flash, four long signals sound – see
"Acoustic Signal".
If the LEDs on the battery flash or glow
red – see "If the red LEDs glow
continuously / flash".
If the red LEDs glow continuously / flash
4865BA015 KN
0 %
100 %
100 %
4865BA028 KN
0 %
A1 LED glows
continuously
red:
Battery is too
hot1) 2)/cold1)
1) When charging: Charge process
starts automatically after the battery
has cooled down / warmed up.
2) During operation: Power tool
switches itself off – allow battery to
cool down for a while.
B4 LEDs flash
red
Malfunction in
battery 3)
C3 LEDs glow
continuously
red:
Power tool is too
hot – allow it to
cool down.
D3 LEDs flash
red
Malfunction in
power tool 4)
4865BA025 KN
A
B
C
D

AR 900
English
12
The LED (1) on the charger may glow
continuously green or flash red.
Green continuous light ...
... may indicate the following:
The battery
–is being charged
–is too hot and must cool down
before charging
See also "LEDs on battery".
The green LED on the charger goes off
as soon as the battery is fully charged.
Red flashing light ...
... may indicate the following:
–No electrical contact between
battery and charger – remove and
refit the adapter
–Malfunction in battery – see also
"LEDs on Battery".
–Malfunction in charger – have
charger checked by dealer – STIHL
recommends an authorized STIHL
servicing dealer.
A factory-new battery is not fully
charged.
Recommendation: Fully charge the
battery before using it for the first time.
NIf necessary, remove the cover from
the power tool's battery
compartment before fitting the
adapter, i.e. depress both locking
levers to unlock and remove the
cover.
Insert adapter
NInsert the adapter (1) in the power
tool – the adapter slides into the
compartment – press it down
carefully until it snaps into position –
the adapter must be flush with the
top of the housing.
3) Electromagnetic interference or
fault. Acoustic signal can be heard
as a rapid series of beeps lasting
several seconds – see also
"Acoustic Signal". Disconnect
battery from power tool, take it off
your back, observe battery and
contact your STIHL servicing dealer
immediately – see also
"Troubleshooting".
4) Electromagnetic interference or
fault. Take the adapter out of the
power tool and refit it. Switch on the
power tool – if the LEDs still flash,
the power tool is not operating
properly and must be checked by a
STIHL servicing dealer.
LED on Charger
1
3901BA019 KN
Connecting Battery to Power
Tool
4865BA018 KN

AR 900
English
13
The battery and power tool are now
connected together.
For further information on switching on
and operating the power tool: see the
instruction manual of the power tool
being operated with this battery.
NSwitch off the power tool – see also
instruction manual of the power tool
being used.
NDepress both locking levers (1) at
the same time to unlock the adapter.
NTake the adapter (2) out of the
power tool.
The battery and power tool are now
disconnected.
Disconnecting Battery from
Power Tool
1
1
4865BA019 KN
2

AR 900
English
14
Maintenance and Care
The following intervals apply to normal operating conditions only. If your daily work-
ing time is longer or operating conditions are difficult (very dusty work area, etc.),
shorten the specified intervals accordingly.
Always disconnect the battery from the power tool before performing any work on the
battery.
before starting work
after finishing work or daily
weekly
monthly
every 12 months
if problem
if damaged
if required
Battery Visual inspection X XXX
Clean X
Light emitting diodes (LEDs) Check operation – LED display must be
activated when button is pressed XX
Acoustic signal Check operation – brief signal must
sound when button is released XX
Adapter and cable Visual inspection XXX
Safety labels Replace X

AR 900
English
15
1Battery
2Light Emitting Diodes (LEDs) on
Battery
3Push Button
4Cover
5Carrying Handle
6Shoulder Straps
7Velcro Fasteners
8Chest Strap
9Hip/Waist Belt
10 Pouch
11 Cable
12 Adapter
#Serial number
Main Parts
8
7
7
7
#
4865BA032 KN
1
2
3
4
9
5
10
6
6
12
11
7

AR 900
English
16
Defintions
1. Battery
Supplies the motor of the power tool
(used with this battery) with
electrical power.
2. Light Emitting Diodes (LEDs) on
Battery
Indicate the state of charge and
operating condition of the battery.
3. Push Button
For activating light emitting diodes
(LEDs) on battery and for checking
operation of acoustic signal.
4. Cover
Covers and protects the plug
connection for the adapter.
5. Carrying Handle
For transporting the battery.
6. Shoulder Straps
Carry the battery comfortably on
back and shoulders.
7. Velcro Fasteners
For fitting the cable by using the
upper cable ducts.
8. Chest Strap
Ensures a more secure hold in the
chest area.
9. Hip/Waist Belt
Carries the battery comfortably on
hip / around the waist.
10. Pouch
Accommodates adapter during
work breaks and after finishing
work.
11. Cable
Supplies electric current from the
battery to the adapter.
12. Adapter
Supplies electric current to the
power tool.
Running time of the power tool is
dependent on the energy content of the
battery.
Charge Times
Transporting batteries
STIHL batteries comply with the
requirements set forth in UN-Manual
ST/SG/AC.10/11/Rev.5/Part III,
Subsection 38.3.
Specifications
Type: Lithium-ion
Number of cells and
energy content accord-
ing to cell manufacturer's
specification.
Number of cells: 110
Energy content: 891 Wh
Capacity to
IEC EN 61960: 23.7 Ah
Weight: 15.7 lbs
(7.1 kg)
AL 300
– up to 80 % capacity: 190 min
– up to 100 % capacity: 250 min
AL 500
– up to 80 % capacity: 100 min
– up to 100 % capacity: 130 min

AR 900
English
17
Commercial air, vessel and ground
transportation of lithium ion cells and
batteries is regulated. The battery is
classified as a UN3091, Class 9,
packaging group 2 product. Shipping it,
either as a complete tool or the battery,
requires compliance with all applicable
shipping regulations. Check with the
ground, vessel, air cargo or passenger
airline to determine if transport is
prohibited or subject to restrictions or
exemptions prior to shipping or travel.
Normally, no further conditions have to
be fulfilled by the user to transport
STIHL batteries by road to the power
tool’s operating site. Check and comply
with any special regulations that may
apply to your situation.

AR 900
English
18
Troubleshooting
Always disconnect the battery from the power tool before performing any maintenance work.
Condition Cause Remedy
Power tool does not start after switch-on
No electrical contact between power
tool and battery
Remove adapter, check contacts and refit
adapter
Battery has low charge
(1 LED on battery flashes green and
four long beeps sound)
Charge the battery
Battery too hot / too cold
(1 LED on battery glows red)
Allow battery to cool down / at temperatures
of about 60°F - 70°F (15°C - 20°C), allow
battery to warm up slowly
Malfunction in battery
(4 LEDs on battery flash red and a
rapid succession of beeps sound for
several seconds)
Disconnect battery from power tool, take it
off your back, observe battery and contact
your STIHL servicing dealer immediately.
If the battery emits fumes, heats up, smells,
makes noises or shows signs of deforma-
tion, disconnect it from the power tool, take
it off your back, put it down and immediately
move a safe distance away. Keep children
and animals away from the work area. Keep
battery away from combustible materials.
Power tool too hot
(3 LEDs on battery glow red)
Allow power tool to cool down
Electromagnetic problem or malfunc-
tion in machine
(3 LEDs on battery flash red)
Take the adapter out of the power tool and
refit it. Switch on the power tool – if the LEDs
still flash, the power tool has a malfunction
and must be checked by a STIHL servicing
dealer.
Moisture in power tool and/or battery Allow power tool / battery to dry
Other manuals for AR 900
3
Table of contents
Other Stihl Lawn And Garden Equipment manuals
Popular Lawn And Garden Equipment manuals by other brands

Yazoo/Kees
Yazoo/Kees Z9 Commercial Collection System Z9A Operator's & parts manual

Craftsman
Craftsman Incredi-Pull 316.725860 Operator's manual

CleanCraft
CleanCraft GPI 5548 operating manual

GreenWorks
GreenWorks GC40L00 owner's manual

EINHELL
EINHELL GE-CG 18/100 Li operating instructions

Mosquito Magnet
Mosquito Magnet Commander Operation manual

Scheppach
Scheppach DC100 Translation of original instruction manual

Vitavia
Vitavia Basic 858 Assembly instructions

TRAXX
TRAXX MC8 Operation manual

Simplicity
Simplicity 1690821 Operator's manual

FRAME IT ALL
FRAME IT ALL Colosseum 800002109 installation instructions

Cub Cadet
Cub Cadet 49A70001100 Operator's manual