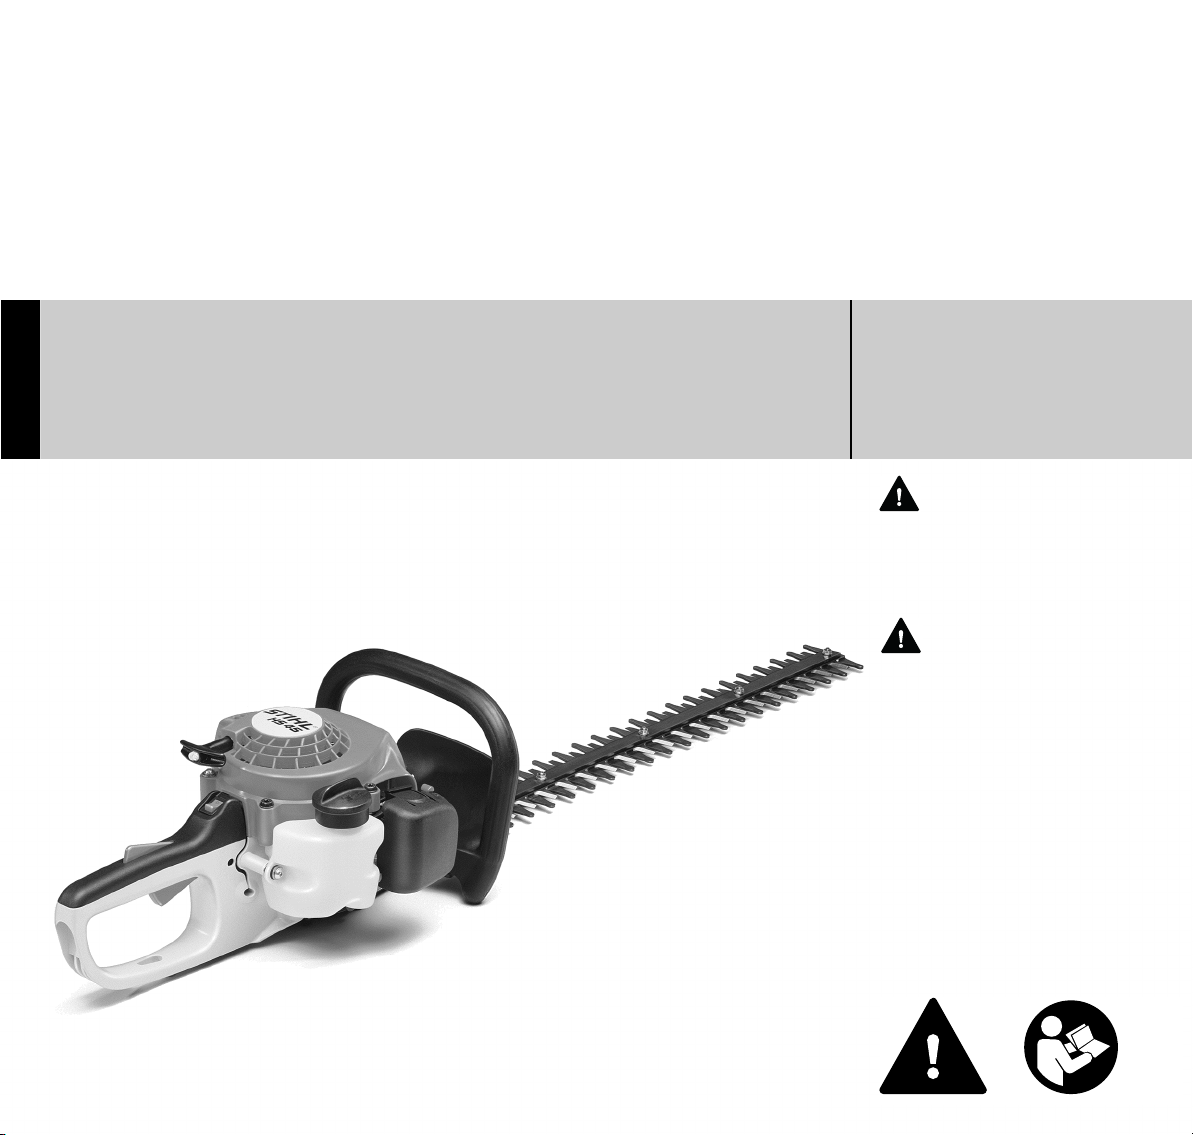
HS 45
English
7
Before Starting
WARNING
Always check your power tool for proper
condition and operation before starting,
particularly the throttle trigger, throttle
trigger lockout, stop switch and cutting
tool. The throttle trigger (if applicable)
must move freely and always spring
back to the idle position. Never attempt
to modify the controls or safety devices.
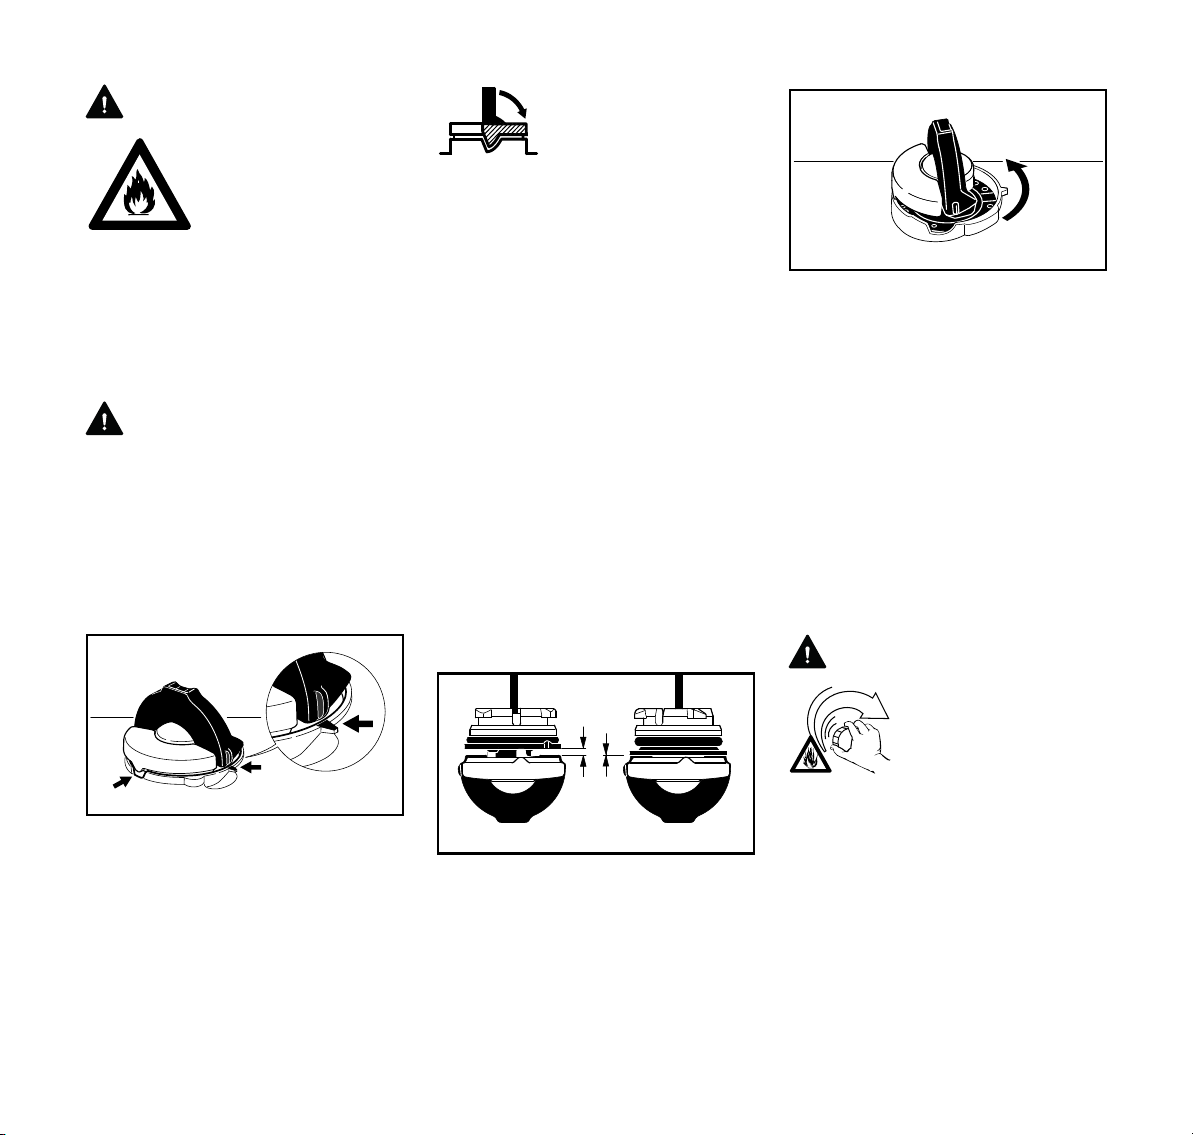
WARNING
Check fuel system for leaks, especially
the visible parts, e.g., filler cap, hose
connections, manual fuel pump (only for
power tools equipped with a manual fuel
pump). Do not start the engine if there
are leaks or damage – risk of fire! Have
the machine repaired by a servicing
dealer before using it.
WARNING
Never use a power tool that is damaged
or not properly maintained.
WARNING
Check that the spark plug boot is
securely mounted on the spark plug – a
loose boot may cause arcing that could
ignite combustible fumes and cause a
fire.
Keep the handles clean and dry at all
times; it is particularly important to keep
them free of moisture, pitch, oil, fuel mix,
grease or resin in order for you to
maintain a firm grip and properly control
your power tool.
WARNING
The cutting tool must be properly
tightened and in safe operating
condition. Inspect for loose parts (nuts,
screws, etc.) and for cracked, bent,
warped or damaged blades. Regularly
check the condition and tightness of the
cutter blades – with the engine stopped!
Replace damaged cutter blades before
using the power tool. Always keep
blades sharp.
STIHL recommends that you always
spray the cutter blades with STIHL resin
solvent before starting work – with the
engine stopped! You can obtain this
protective spray from your dealer. Apply
generously.
Starting
Start the engine at least 10 feet (3 m)
from the fueling spot, outdoors only.
For specific starting instructions, see the
appropriate section of your manual.
Place the power tool on firm ground or
other solid surface in an open area.
Maintain good balance and secure
footing.
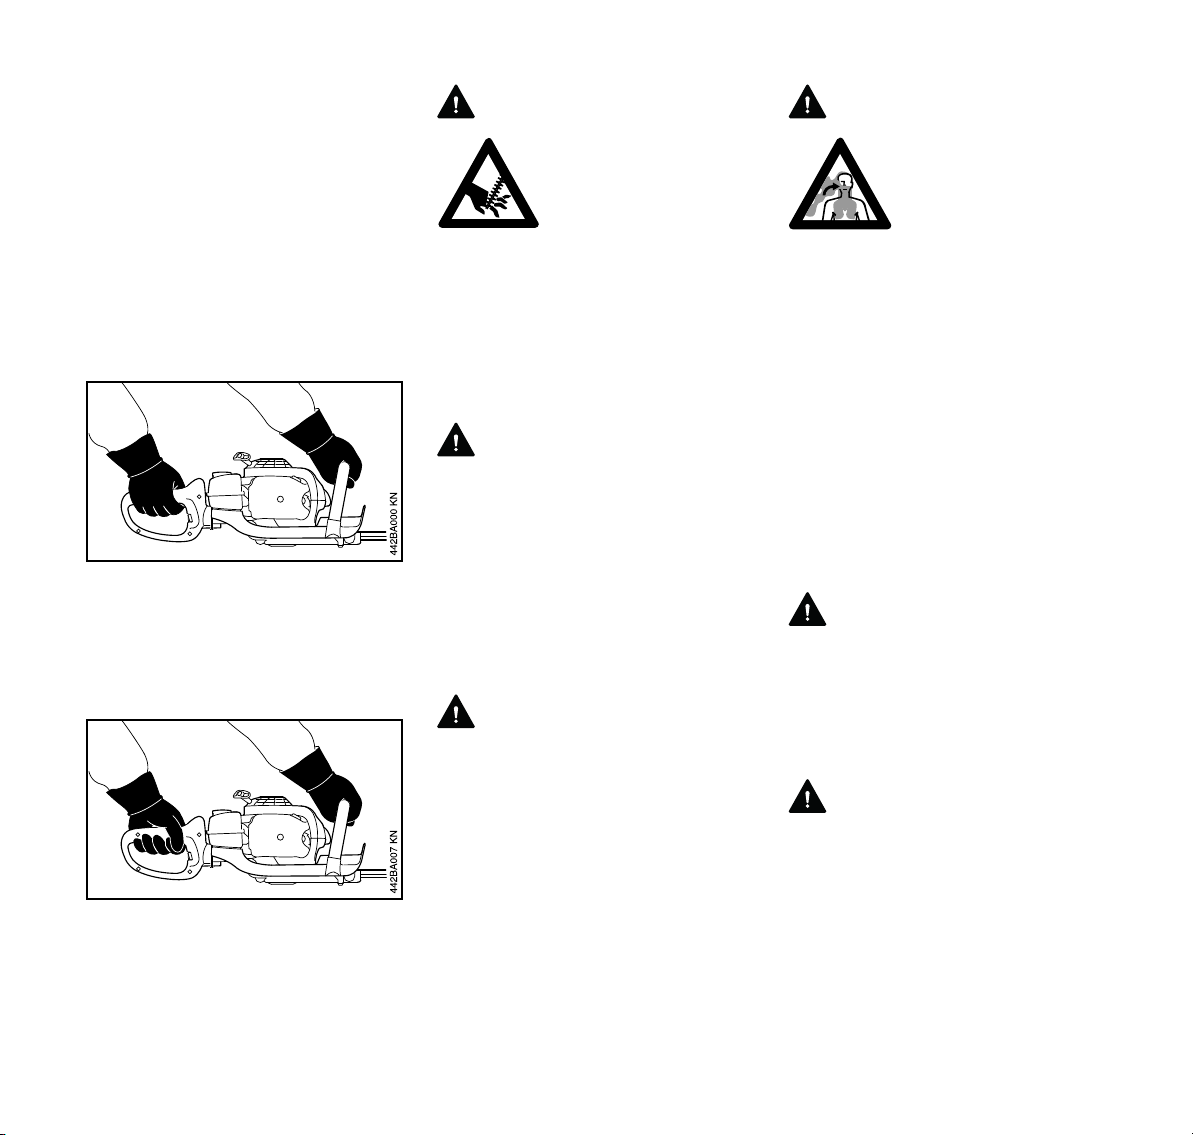
WARNING
To reduce the risk of injury from blade
contact, be absolutely sure that the
cutting tool is clear of you and all other
obstructions and objects, including the
ground, because when the engine starts
at starting-throttle, engine speed will be
fast enough for the clutch to engage and
move the blades on the cutting tool.
Once the engine has started,
immediately blip the throttle trigger,
which should release the starting throttle
and allow the engine to slow down to
idle.
WARNING
Your power tool is a one-person
machine. Do not allow other persons in
the general work area, even when
starting.
WARNING
To reduce the risk of injury from loss of
control, do not attempt to "drop start"
your power tool.
WARNING
When you pull the starter grip, do not
wrap the starter rope around your hand.
Do not let the grip snap back, but guide
the starter rope to rewind it properly.
Failure to follow this procedure may
result in injury to your hand or fingers
and may damage the starter
mechanism.
Important Adjustments
WARNING
To reduce the risk of personal injury
from loss of control or contact with the
running cutting tool, do not use your unit
with incorrect idle adjustment. At correct
idle speed, the cutting tool should not
move. For directions on how to adjust
idle speed, see the appropriate section
of your instruction manual.