manuals.online logo
Brands
  1. Home
  2. •
  3. Brands
  4. •
  5. STM
  6. •
  7. Industrial Equipment
  8. •
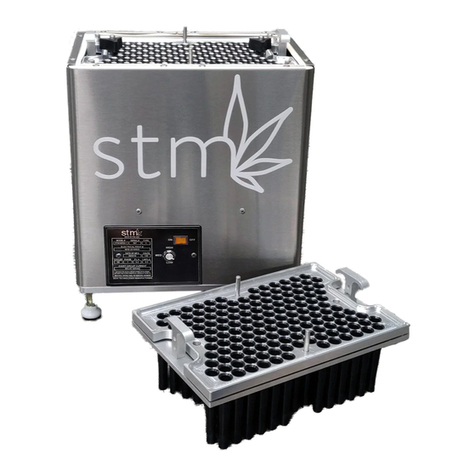
  9. STM ATOMIC CLOSER User manual

STM ATOMIC CLOSER User manual

( 5 0 9 ) 2 0 4 - 3 1 4 8 ( C A L L O R T E X T ) | S T M C A N N A . C O M | S A L E S @ S T M C A N N A . C O M
POWER
Standard 120V, 60 Hertz
5.1 Full Load Amps
5-1/2 ft. Cord Length
SOFTWARE &
UPGRADES
HD 7" Responsive Touch Control Panel
CM22021410_IDEC
CYCLE
CUSTOMIZATION
Single Cycle Operation with
Customizable Run Settings
VOLUME
CAPACITY 72 Per Cycle
MATERIALS Encased in Powder-Coated Aluminum
Aluminum & Other Food Grade Components
WEIGHT &
DIMENSIONS
Approximately 100 lbs
Machine Dimensions 32" L x 33" H x 18" W
PAPER
COMPATIBILITY Compatible with 70, 84, 98, and 109 mm cones
COMPLIANCE
OSHA Compliant
UL-Listed Components
100% Food-Grade
Sesh Technologies Manufacturing, Inc.
5517 Trent Ave, Spokane, WA 99207
Phone: (509) 204-3164 | Web: www.stmcanna.com
ATOMIC
CLOSER
USER MANUAL V1.0
Table of Contents .......................................... 1
Components ................................................... 2
Start-Up Operation ....................................... 3
Touch Screen ................................................. 4
1
TABLE OF CONTENTS
Helpful Tips .................................................. 5
Cleaning & Maintenance ............................ 6
Troubleshooting .......................................... 7
Terms of Business ...................................... 8
2
COMPONENTS
7" Touch Screen
Rubber Feet
Motor
Tray Cart
Motor
Motor
Cone Chute
Power Button
Plastic Casing
Lift Plate
Cart Guide Rod
3
START-UP OPERATION
Located on the top left corner of the
touch screen when powered on.
Machine will automatically adjust height
of bottom tray based on your selection.
There is also a custom option in which
you can set the height of the plate.
Step 1: Turn the machine on using the on
off switch on the side of the machine.
Step 2: Select cone size:
Step 3: Ensure all facets of the machine
are in their home position by pressing the
reset button. If reset is not on the screen
press the “stop” button and it will appear.
Watch cones on sides to make sure they all get
set on bottom tray.
Be sure to place the bottom tray straight down
onto the cart so as to not bend or break any
joints against the cart itself.
Mate the tray to the cart using the guide pins
located on the top surface of the cart in order
to ensure proper placement.
Step 4: Load tray into the cart located just behind
the touch screen.
Step 5: Secure tray using the finger bolts provided.
These go through the tray and thread into the top
of the cart at the top right and bottom left.
Continued on Next Page >
4
START-UP OPERATION
Inform RB operator of any problems (too
high, low, uneven).
Step 6: Fix nicked/crushed cones using the
chopstick or pen. Ensure that the top of the
joint is not crushed or bent from use in the
Rocketbox.
Step 7: Check fill line is low enough so that
there is .250-.300” of non filled paper at the
top of the joint. Failure to do so will result
in no pinch prior to ejection of the joint.
Step 8: Check how far paper is sticking out above
the tray. You will want .250-.300” coming out of
the top of the cone holders in order to get a good
pinch.
Step 9: Press the start button on the touch
screen.
Step 10: Diagnose run to determine if any
changes need to be made to next run.
Step 11: Adjust the lift plate, if necessary.
Always tighten locking knobs before use.
Keep hands clear of cart during operation.
Do not put hands in plastic guard while machine is in operation.
5
TOUCH SCREEN
Home Screen
This is the main screen for Operating the Closer. You can Start,
Stop and Reset the machine from this screen.
Machine Status
Checks status of machine - If any FAULT buttons light up bright red,
that indicates there's an issue. In this case, please call Client Services at
(509) 204-3164
Pre-Roll Selection Dropdown
Choose the correct pre-roll size of your tray. This will raise or lower
the Lift Table to work properly with your tray size.
Custom Settings
The "Custom" option lets you adjust the table manually in
incremental steps using the up and down arrow, with the ability
to enter a value based on the lift plate home position.
7
CLEANING & MAINTENANCE
Remove trays from machine.
Power-off machine completely.
Blow out loose material with can of air.
Carefully, wipe down tray cart, lift table, rods, pincher jaws, and outside of
machine with isopropyl alcohol on a microfiber cloth.
Home the machine and run through a cycle.
Daily Maintenance
1.
2.
3.
4.
5.
Follow daily maintenance steps.
Remove plastic paneling by removing the (6) external screws.
Tighten chains if needed (loosen the four motor bolts at the top of the
machine and tighten tension bolts).
Lubricate chain, cart guide rods, and cart ball screws with graphite lubricant.
Monthly Maintenance
1.
2.
3.
4.
8
TROUBLESHOOTING
Check bottom of joints not poking up - Might have been crushed, bent on the bottom half.
Load more carefully - Put tray in at angle, setting joints on left or right side JUST on the edge of
the bottom tray, then slowly drop other side. Double check to make sure all joints on the sides
are resting on lift plate.
1. Bottom tray with joints is full, but not all of them are poking up out of tray when I load it into box:
Push down with end of ball point pen, OR
Dump material out and blow material out of top of joints with air compressor.
Let RB operator know fill line is too high.
2. Fill line is too high:
Manually raise the bottom tray using the custom section of the joint selection.
3. Paper isn’t sticking far enough up out of box:
Mist with water/alcohol solution
Make sure to let joints rest a few minutes when done, before packaging
4. Paper isn’t clamping, or clamps and opens back up before it can get pinched:
9
TROUBLESHOOTING
If there is not a "Start" button on the touch screen control panel, select the "Reset" button to
reset the machine. This only takes a few seconds, then the "Start" button will be available and
machine ready for use.
If there is not a "Reset" button, select the "Stop" button, followed by the "Reset" button to reset
the machine.
If the Atomic Closer is making a loud noise during operation or something that does not sound
correct. Press the stop button and power down machine with power button at rear of machine.
Wait 30 seconds, then press power button and try again. If machine is still not functioning
properly, reach out to Client Services at (509) 204-3164 or email: [email protected]
10
HELPFUL TIPS
It is very important to fill and pack joints properly for the best success with closes. Review training
documentation and videos on how to operate the RocketBox or Mini-RocketBox prior to using the
Atomic Closer. Contact Client services at clientservices@stmcanna.com or call (509) 204-3164 to
schedule video training.
If pre-rolls are not closing properly, you can use a light solution of alcohol/water in a spray bottle
and lightly mist tray before pressing start button. The alcohol solution will evaporate by the time the
joints close and the close will be tighter. NOTE: Only a very light mist. DO NOT over spray.
Make sure you follow proper cleaning and maintenance schedule.
For any questions or issues please reach out to Client Services at [email protected] or
call (509) 204-3164.
PURCHASING TERMS & CONDITIONS
All products are first-come-first-serve and that receipt of payment is required in order to receive a confirmed shipping date in the queue. Due to
high demands, certain items may have a lead time of 4-8 weeks or more from payment date, unless otherwise stated. Following the receipt of
an invoice, STM Canna must receive payment within a maximum of 7 days before the invoice expires – leaving lead times, quoted prices, specials
and discounts on all items subject to change. If a deposit is applicable for any special reason, my deposit is non-refundable. Purchaser agrees to
adhere to the Customer Awareness Program and Terms of Business herein.
CUSTOMER AWARENESS PROGRAM (C.A.P.)
STM takes pride in the products we make and the services we offer. To ensure our customers fully understand the services we provide, along
with the capabilities and expectations of our products, we have executed and outlined the Customer Awareness Program contents below: A 24-
month warranty with the Atomic Closer that is applicable with regards to manufacturer’s defects, including parts and labor. STM Client Services
department is dedicated to ensuring the success and satisfaction of all STM clients. As such, product on-boarding programs are provided to
familiarize our clients with their new equipment. STM Tech department provides our clients with all software updates, phone support and onsite
support, as needed. Training with our technicians to train your staff on best practices to accomplish your desired results for a quality finished
product. An easy-to-use client portal with tools such as product F.A.Q.’s and Best Practices, along with an extensive video library to help guide
you towards success with your STM equipment.
EXPECTATIONS AND CAPABILITIES OF YOUR STM EQUIPMENT: STM ATOMIC CLOSER
With training from our on technical training staff, you can expect to receive a complete and comprehensive training program to educate your
team on best practices, as well as the cleaning and maintenance of your machine and accessories. By following the guidelines provided to you
via the user manual and training, you will be able to produce a quality and consistent product that will be easily repeatable.
11
TERMS OF BUSINESS
WHO IS COVERED?
With step-by-step training videos and resources, you will receive access to best practices, of running the equipment, as well as guidance on the
cleaning and maintenance of your machine and accessories. By following the guidelines provided to you via the user manual and training videos,
you will be able to produce a quality and consistent product that will be easily repeatable. The lift table within the machine contains an area
where material may escape during operation. STM advises against re-purposing this excess waste due to potential metal contaminants residing
in the lift table from regular usage. Results are not guaranteed and can greatly vary from operation to operation.
EXTENT OF WARRANTY
There are no warranties on paper products. Machines come with a 1-year parts and labor warranty. See Returns below.
Reference your instruction sheet and double-check all instructions.
Always take time to examine problems in detail.
When all else fails, please call the STM technical support line at (509) 204-3164 or email us at [email protected].
TROUBLESHOOTING
The technical line is open 8:00am – 4:00pm Monday through Friday, Pacific Time. Please have the following information handy: Name of
Company the purchase was made under, Date of Purchase, and Serial number.
TERMS
All orders must be paid in full before the order is placed. Order quotes expire within 10 days. STM Canna & STM Supply reserve the right to specify
collection by certified check, money order, or company check. Personal checks are not accepted.
12
TERMS OF BUSINESS
RETURNS
No Refunds/Exchanges: We do not accept returns or exchanges unless the item purchased is defective. No item will be accepted for return
without prior approval. All approved returns must be accompanied with a return authorization (RA) number and must be in new and unused
condition. All RA numbers must be clearly displayed on the outside of the box. All returns are subject to restocking fees, not to exceed 20%
unless damaged. Refunds are issued in the form of like payment. All refused shipments are subject to a 20% restock fee and all applicable
freight charges. All items that we ship are insured; if an item comes that is damaged from shipping, we will work closely with you to get you
replacement parts as soon as possible. We may also request pictures or other identifying information to establish that damage was caused by
the shipping carrier.
If you receive an item you believe is defective, please contact us with details of the product at (509) 204-3164 or email us at
[email protected].
We may ask you for pictures, video, descriptions, and other identifying information to make a determination. If you are unable to provide
adequate documentation requested, your return request will be denied. If your item is deemed defective, which is solely at STM’s discretion, we
will issue you an RMA # which you will need to place in and on the package. After receiving your RMA #, you may send the item to:
STM Canna
5517 E Trent Ave.
Spokane, WA 99217
Upon receipt of the returned product, we will fully examine it and notify you via e-mail, within a reasonable period of time, whether you are
entitled to replacement as a result of the defect. If you are entitled to a replacement, we will replace the product at no additional cost to you.
13
TERMS OF BUSINESS
SHIPPING
All orders must be paid in full before the order is shipped. Order quotes expire within 10 days. Orders received will fall in line and be serviced
accordingly where the shipment date may be sooner than originally quoted. We will ship by the most reasonable means based on the volume of
the order, unless otherwise specified.
SPECIAL ORDERS
All special-order items must be paid in full before the order is placed. These items are non-returnable and no refund will be given. All special-
order items will also take a longer period of time for the customer to receive, which will be quoted at the time of payment.
LIABILITY
The purchaser of any products releases the manufacturer of those parts and STM Canna from all liabilities pertaining to use of the products.
CLAIMS
Since ownership of product transfers at the FOB point, claims for damaged, lost, or short shipments must be made at the time of receipt.
TECHNICAL QUESTIONS
Since ownership of product transfers at the FOB point, claims for damaged, lost, or short shipments must be made at the time of receipt.
14
TERMS OF BUSINESS

Other STM Industrial Equipment manuals

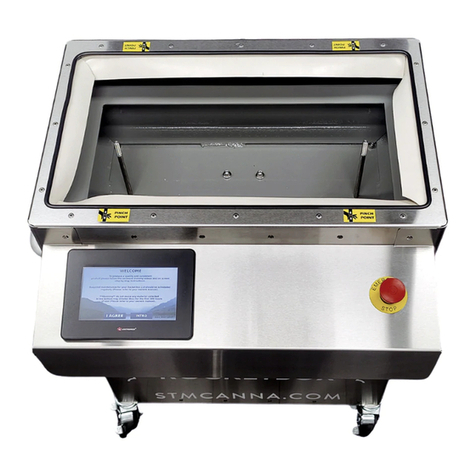
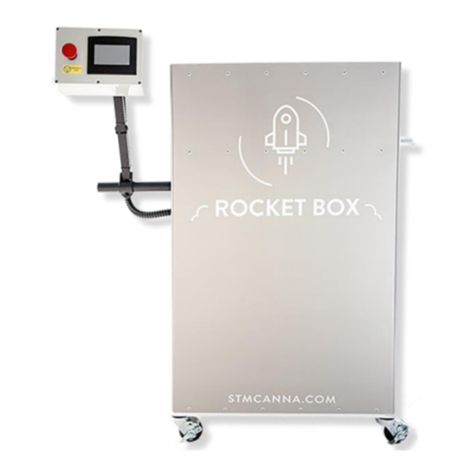
STM ROCKETBOX 2.0 User manual

STM

STM ROCKETBOX 2.0 User manual

STM MINI-ROCKETBOX PLUS+ User manual

STM

STM MINI-ROCKETBOX PLUS+ User manual

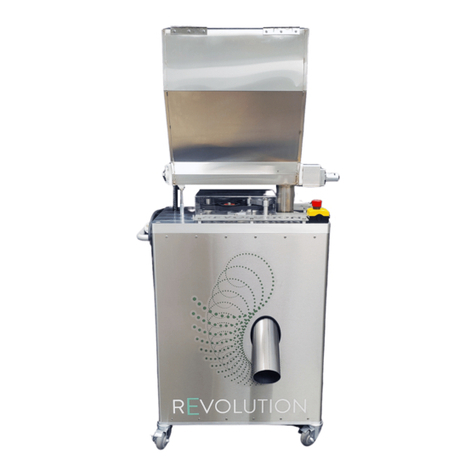
STM REVOLUTION 2.0 User manual

STM

STM REVOLUTION 2.0 User manual

STM RFA Series Instruction Manual

STM

STM RFA Series Instruction Manual

STM RX Series Instruction Manual

STM

STM RX Series Instruction Manual

STM ROCKETBOX User manual

STM

STM ROCKETBOX User manual

STM NGN-8100 User manual

STM

STM NGN-8100 User manual

STM MINI-ROCKETBOX CANNA User manual

STM

STM MINI-ROCKETBOX CANNA User manual

STM ROCKETBOX Installation guide

STM

STM ROCKETBOX Installation guide

Popular Industrial Equipment manuals by other brands

Comelit Serial Bridge 20003101 Technical manual

Comelit

Comelit Serial Bridge 20003101 Technical manual

ermengineering APTM-600 Use and maintenance manual

ermengineering

ermengineering APTM-600 Use and maintenance manual

Panasonic ERA V Series manual

Panasonic

Panasonic ERA V Series manual

ABB XAC24958 Operation manual

ABB

ABB XAC24958 Operation manual

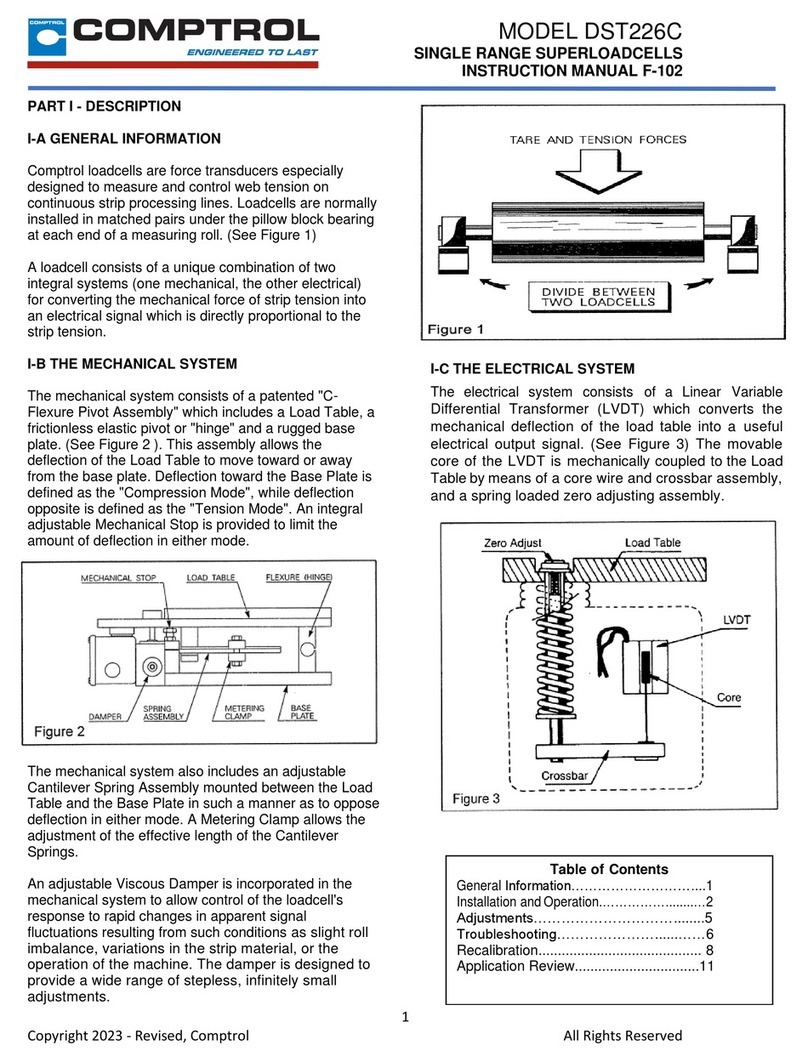
COMPTROL DST226C instruction manual

COMPTROL

COMPTROL DST226C instruction manual

Siemens SIMATIC NET SCALANCE M826 operating instructions

Siemens

Siemens SIMATIC NET SCALANCE M826 operating instructions

Kitagawa BS300 instruction manual

Kitagawa

Kitagawa BS300 instruction manual

Magnum Industrial MI-94300 operating manual

Magnum Industrial

Magnum Industrial MI-94300 operating manual

Nidec Unidrive M400 series Step-by-step guide

Nidec

Nidec Unidrive M400 series Step-by-step guide

Bilanciai D400 quick start

Bilanciai

Bilanciai D400 quick start

Vaughan ROTAMIX SYSTEM Installation, operation & maintenance instructions

Vaughan

Vaughan ROTAMIX SYSTEM Installation, operation & maintenance instructions

Bend-Tech DRAGON A150 Original instructions

Bend-Tech

Bend-Tech DRAGON A150 Original instructions

LFA HSP20B user manual

LFA

LFA HSP20B user manual

ABB ACS280 Quick installation and start-up guide

ABB

ABB ACS280 Quick installation and start-up guide

Klimawent RAK-1000 Use and maintenance manual

Klimawent

Klimawent RAK-1000 Use and maintenance manual

Manntek DCC operating manual

Manntek

Manntek DCC operating manual

Schmalz FX-SW 120x60-SEA operating manual

Schmalz

Schmalz FX-SW 120x60-SEA operating manual

Allied Systems LONG REACH CCHA Installation maintenance and service manual

Allied Systems

Allied Systems LONG REACH CCHA Installation maintenance and service manual

manuals.online logo
manuals.online logoBrands
  • About & Mission
  • Contact us
  • Privacy Policy
  • Terms and Conditions

Copyright 2025 Manuals.Online. All Rights Reserved.