STM REVOLUTION 2.0 User manual


MATERIALS
ASSEMBLY
POWER
MOTOR
WEIGHT &
DIMENSIONS
HOPPER
THROUGHPUT
DUAL-BLADE SYSTEM
Encased in 100% Food-Grade Material
SAE 304/316, Dent-Resistant Stainless Steel
Handle & Heavy Duty Castor Wheels for Easy Mobility
Designed, Manufactured, & Assembled in the USA
Standard 220V | 17.1 Load Amps
Single Phase | 5-1/2 ft. Cord Length
Requires L6-30 Plug
Seek Certified Electrician for Installation Needs
3HP |UL Listed | Long Life Cycle
Small Footprint
Approx. 220 lbs
30" L x 65" H x 22-1/4" W
Holds 21 Liquid Gallons
(Four 5-Gallon Buckets of Material)
Up to 50 lbs +/- Hourly
Up to 400 lbs +/- Daily
Varies with Different Material Types
Custom-made Stainless Steel Serrated Blades
Proprietary Angle for Optimized Cutting of Material
REVOLUTION 2.0™
USER MANUAL

CHUTE &
CHAMBER
SOFTWARE &
UPGRADES
TOUCH
SCREEN
COMPLIANCE
CLEANING
LIFE CYCLE &
WARRANTY
SAFETY
FEATURES
Chute with Vibrating Agitator (non-stick, food-grade)
Blade Area Chamber (food-grade)
Revolution OS V1.2
Upgradable System Software Included for
Lifetime of the Machine
Manual and Automatic Operation
Ergonomic 3.5" Resistive Touch Control Panel
Low, Med, High Speed | Start/Stop
Auger On/Off Time Delay
Pop-Up Error Messages
Standard Service Data for Clogs or E-Stop Conditions
OSHA Compliant
Sliding Back Door for Easy Access
Quick Release Bolts | Dishwasher Friendly
1-Year Parts and Labor Warranty
Motor 10-Year LIfe Cycle
Machine is Fully Enclosed
2 Quick Access Emergency Stop Buttons
Lock-Out Tag-Out Power Switch
Multiple Automatic Internal Safety Limit Switches
PARTICLE SCREENS Fine Particle Screen (food grade, stainless material)
Coarse Particle Screen (food grade, stainless material)

1
TABLE OF CONTENTS
Components ....................................................... 2
Getting Started ................................................... 4
Best Practices & Tips ......................................... 5
Emergency Procedures ..................................... 6
Quick Start Guide ............................................... 7
Touch Screen Operation ....................................... 8
Powering Down ...................................................... 9
Preventative Maintenance .................................. 10
Troubleshooting ................................................. 15
Terms of Business ................................................ 23

2
5. Auger Motor
7. Chute
Hopper1.
1. Hopper - The area your material is
stored as it feed into your
2. Auger Bearing - Provides smooth
rotation as it feeds material into the throat
3. Belt Drive- provides the momentum
and power that spins the blades.
4. Casters- Swiveling caster wheels for
easy mobility.
5. Auger Motor - Powers the auger
6. E-Stop Button- Turns the machine
off in case of an emergency.
7. Chute- After the grinding process
exits out of the machine here.
2. Auger Bearings
COMPONENTS
6. E-Stop Button
4. Casters
3. Belt Drive
Revolution Grinder Components - bit.ly/revolution-components
FRONT
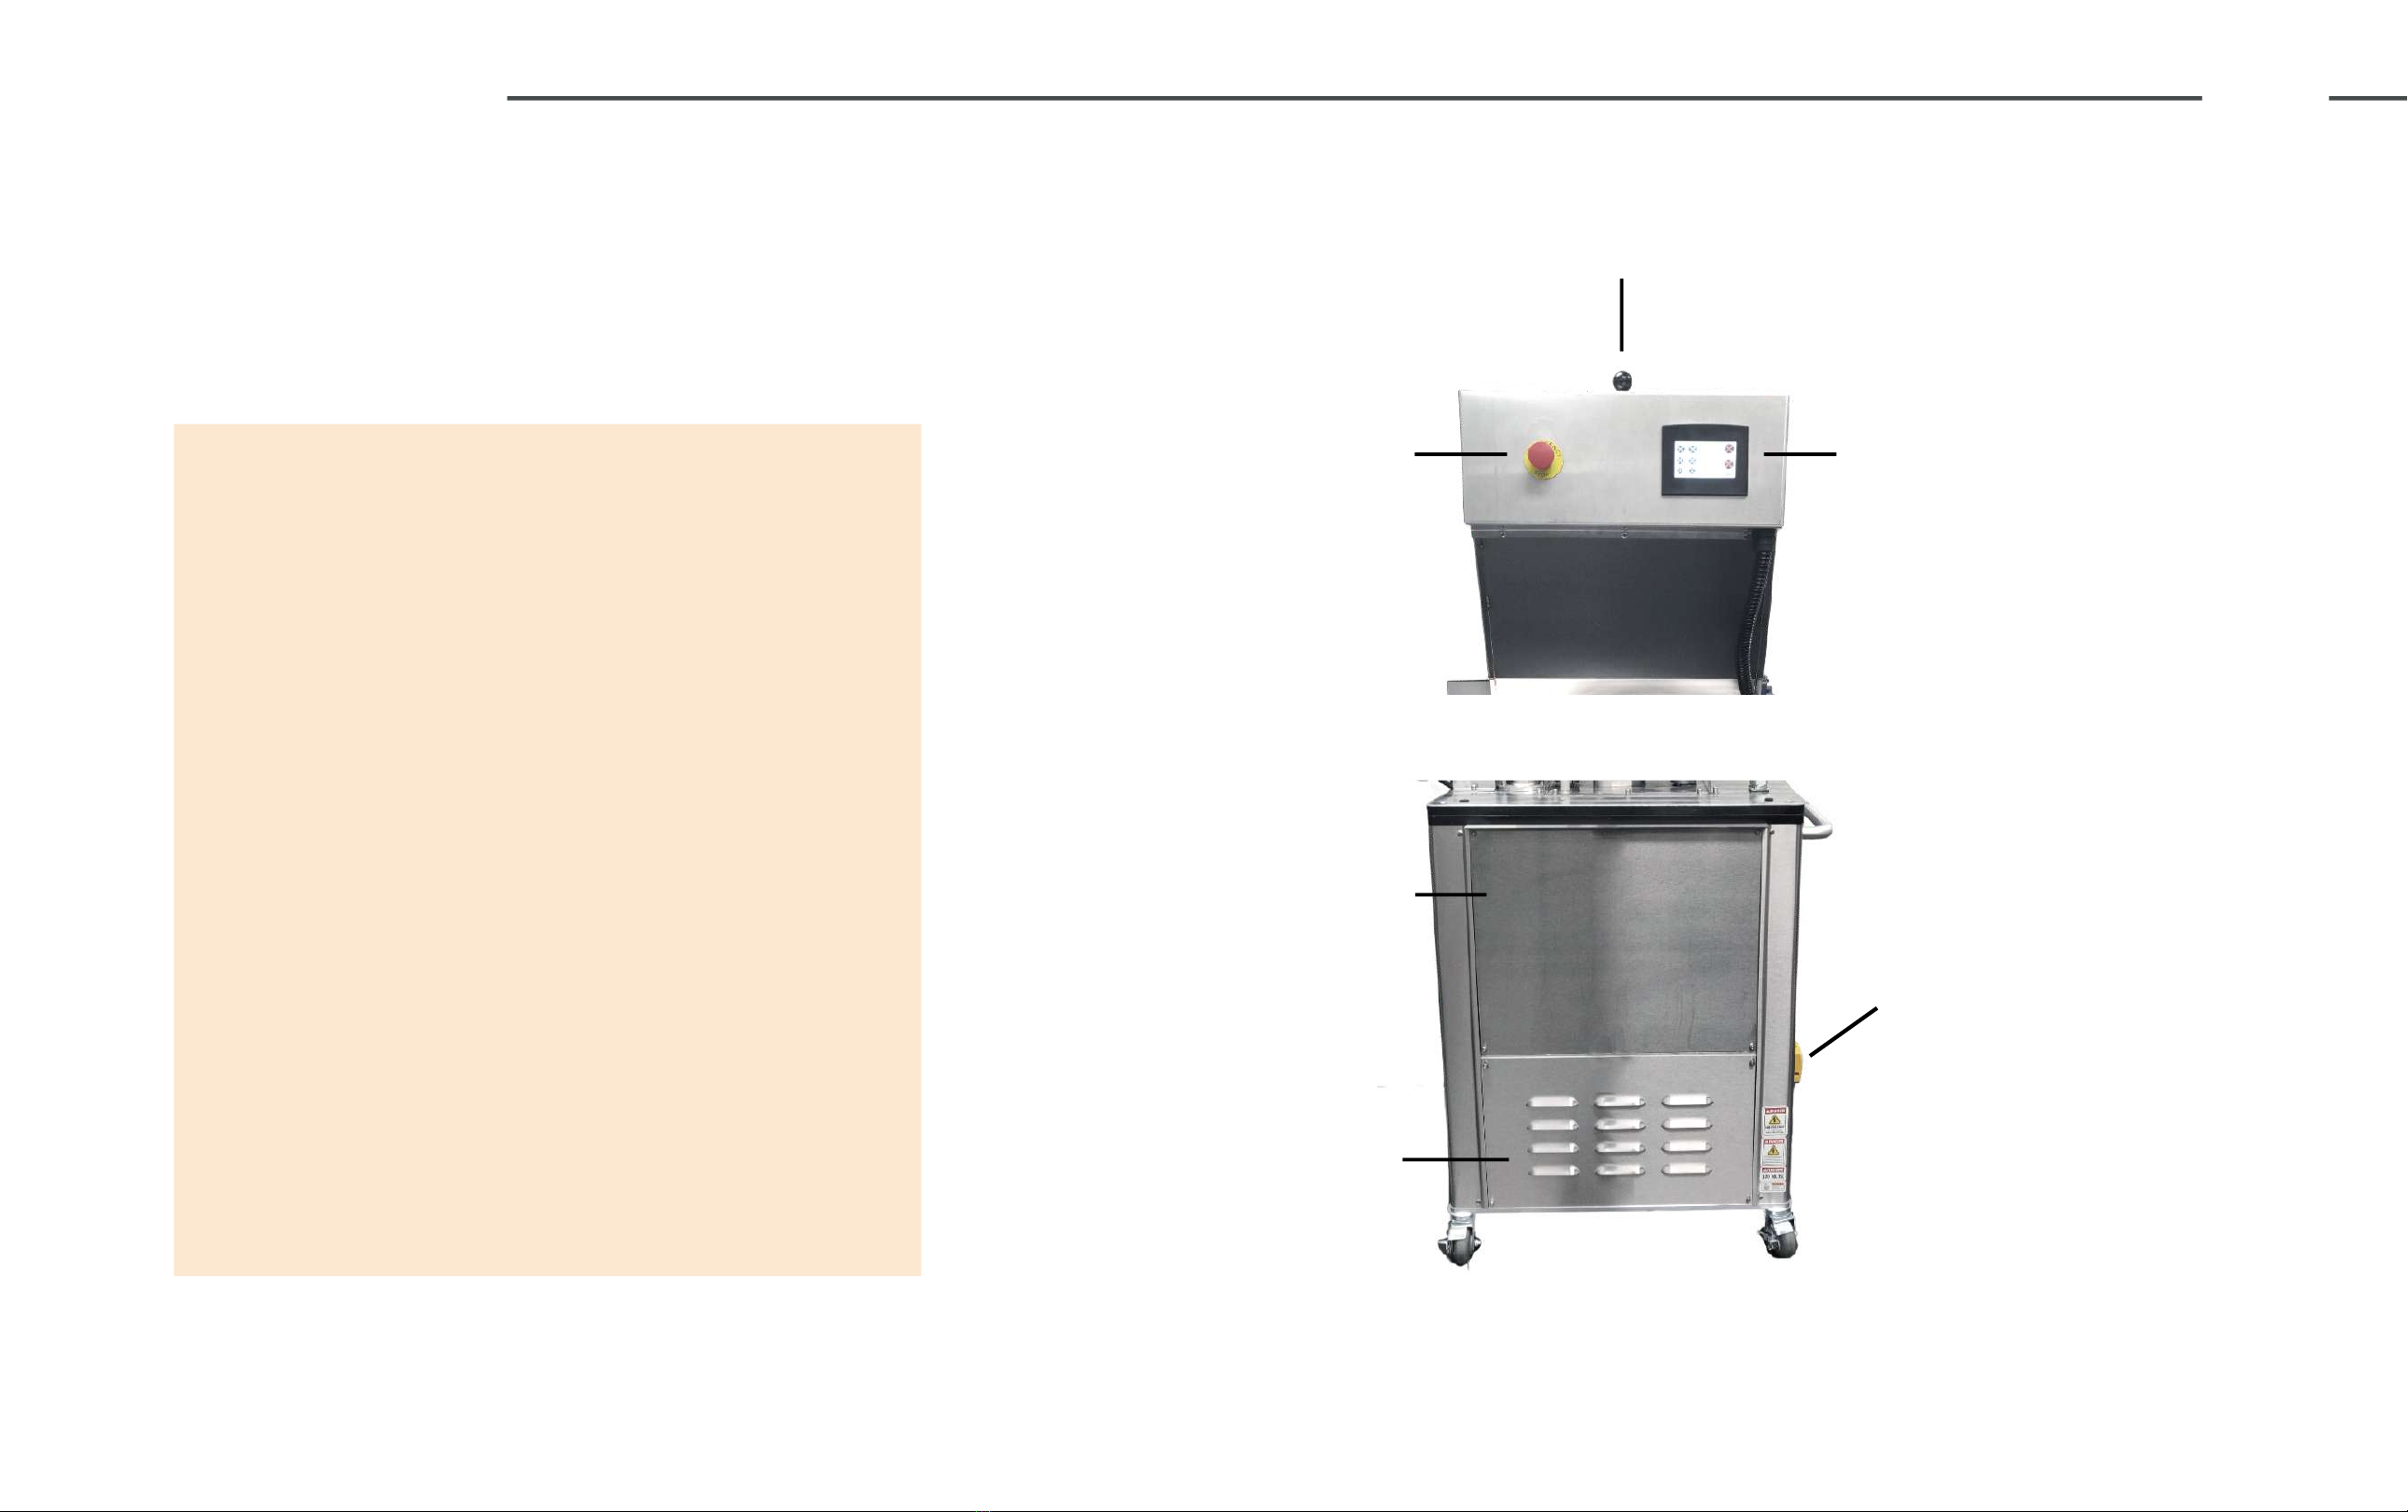
13. Power/Lockout Button
3
8. Lid
12. Touch Screen Control
9. E-Stop Button
10. Top of Back Door Panel
11. Lower Back Door Panel
8. Lid - Open to introduce material into
the hopper
9. E-Stop Button - Turns the machine off
in case of an emergency.
10. Top of Back Door Panel - Easy access
to your blade chamber and chute
11. Lower Back Door Panel - Contains
your electrical components. DO NOT
access this portion as it will VOID your
warranty.
12. Touch Screen Control - Used for
the operation of machine.
13. Power/Lockout Button - Turns on
the power and locks machine.
COMPONENTS
BACK

4
GETTING STARTED
UNPACKING YOUR MACHINE
Carefully unpack your machine and inspect it to
ensure it has not been damaged during shipping.
Make sure all the correct parts are included and
match your invoice. Please contact us if you have
missing or damaged items.
Revolution Grinder Machine
(1) Screen for 3/16" (4.76mm) particles (pre-installed)
(1) Screen for 5/32" (3.96mm) particles
(1) Set of Dual Stainless Steel Blades (pre-installed)
Extra Screens and Blade Sets Available for Additional Cost
IMPORTANT! Always wear cut-proof gloves when handling anything inside the blade chamber.
INCLUDED ITEMS
3/16th Coarse 5/32nd Extraction
Floater Blade
4 Arm Blade
PARTICLE SCREENS
(coarse screen is pre-installed on your machine)
STAINLESS STEEL DUAL BLADE SYSTEM
(both blades are pre-installed in your machine)

5
BEST PRACTICES & TIPS
Inspect your material prior to grinding
Optimal moisture can range between 7-10%
Lab certified optimal moisture is 8.8%
Do not overfill hopper
The Revolution grinder can
handle up to 10% moisture.
IMPORTANT! Always turn off and unplug machine before cleaning or servicing.
Always start motor on the
highest speed setting speed
Auger on 3-seconds run time and 3-seconds
off time to prevent clogging. If material is too
dry, auger can run for longer, but can remain
at 3-seconds of run time.
If product bends without a snap, it's too moist.
It product snaps and keif falls, it's too dry.
Optimal product will bend, then snap.
Preventative Maintenance on Page 10
6
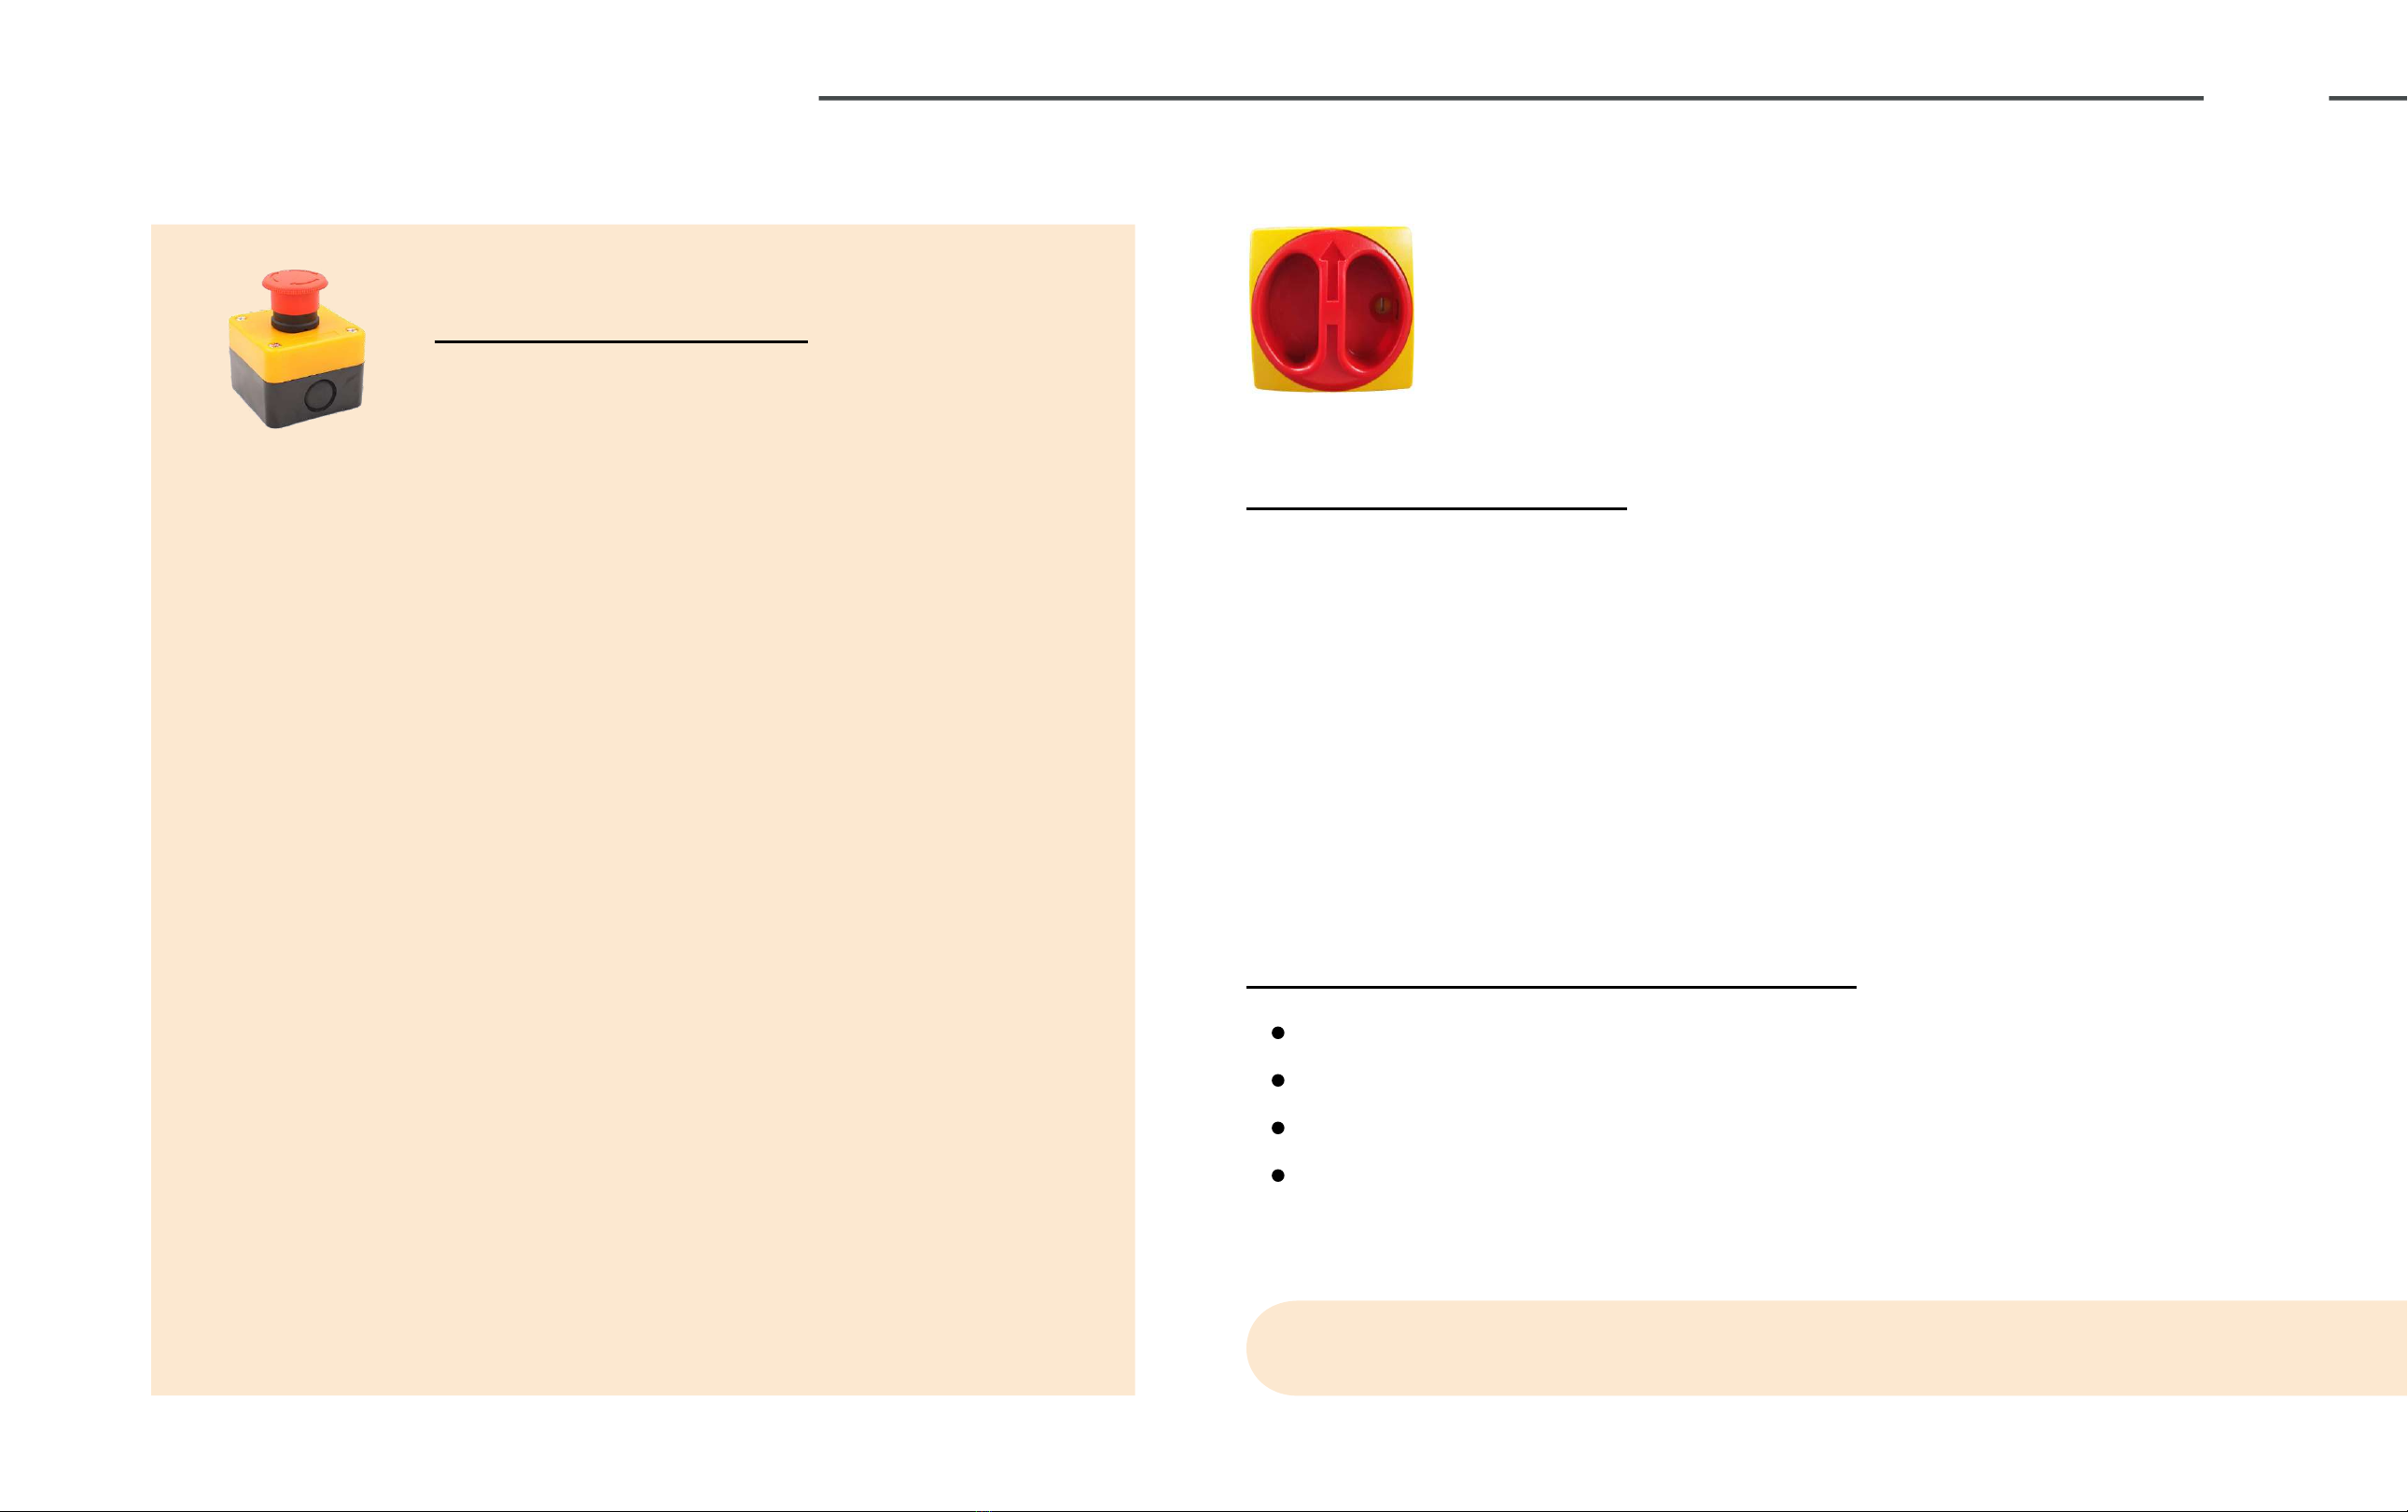
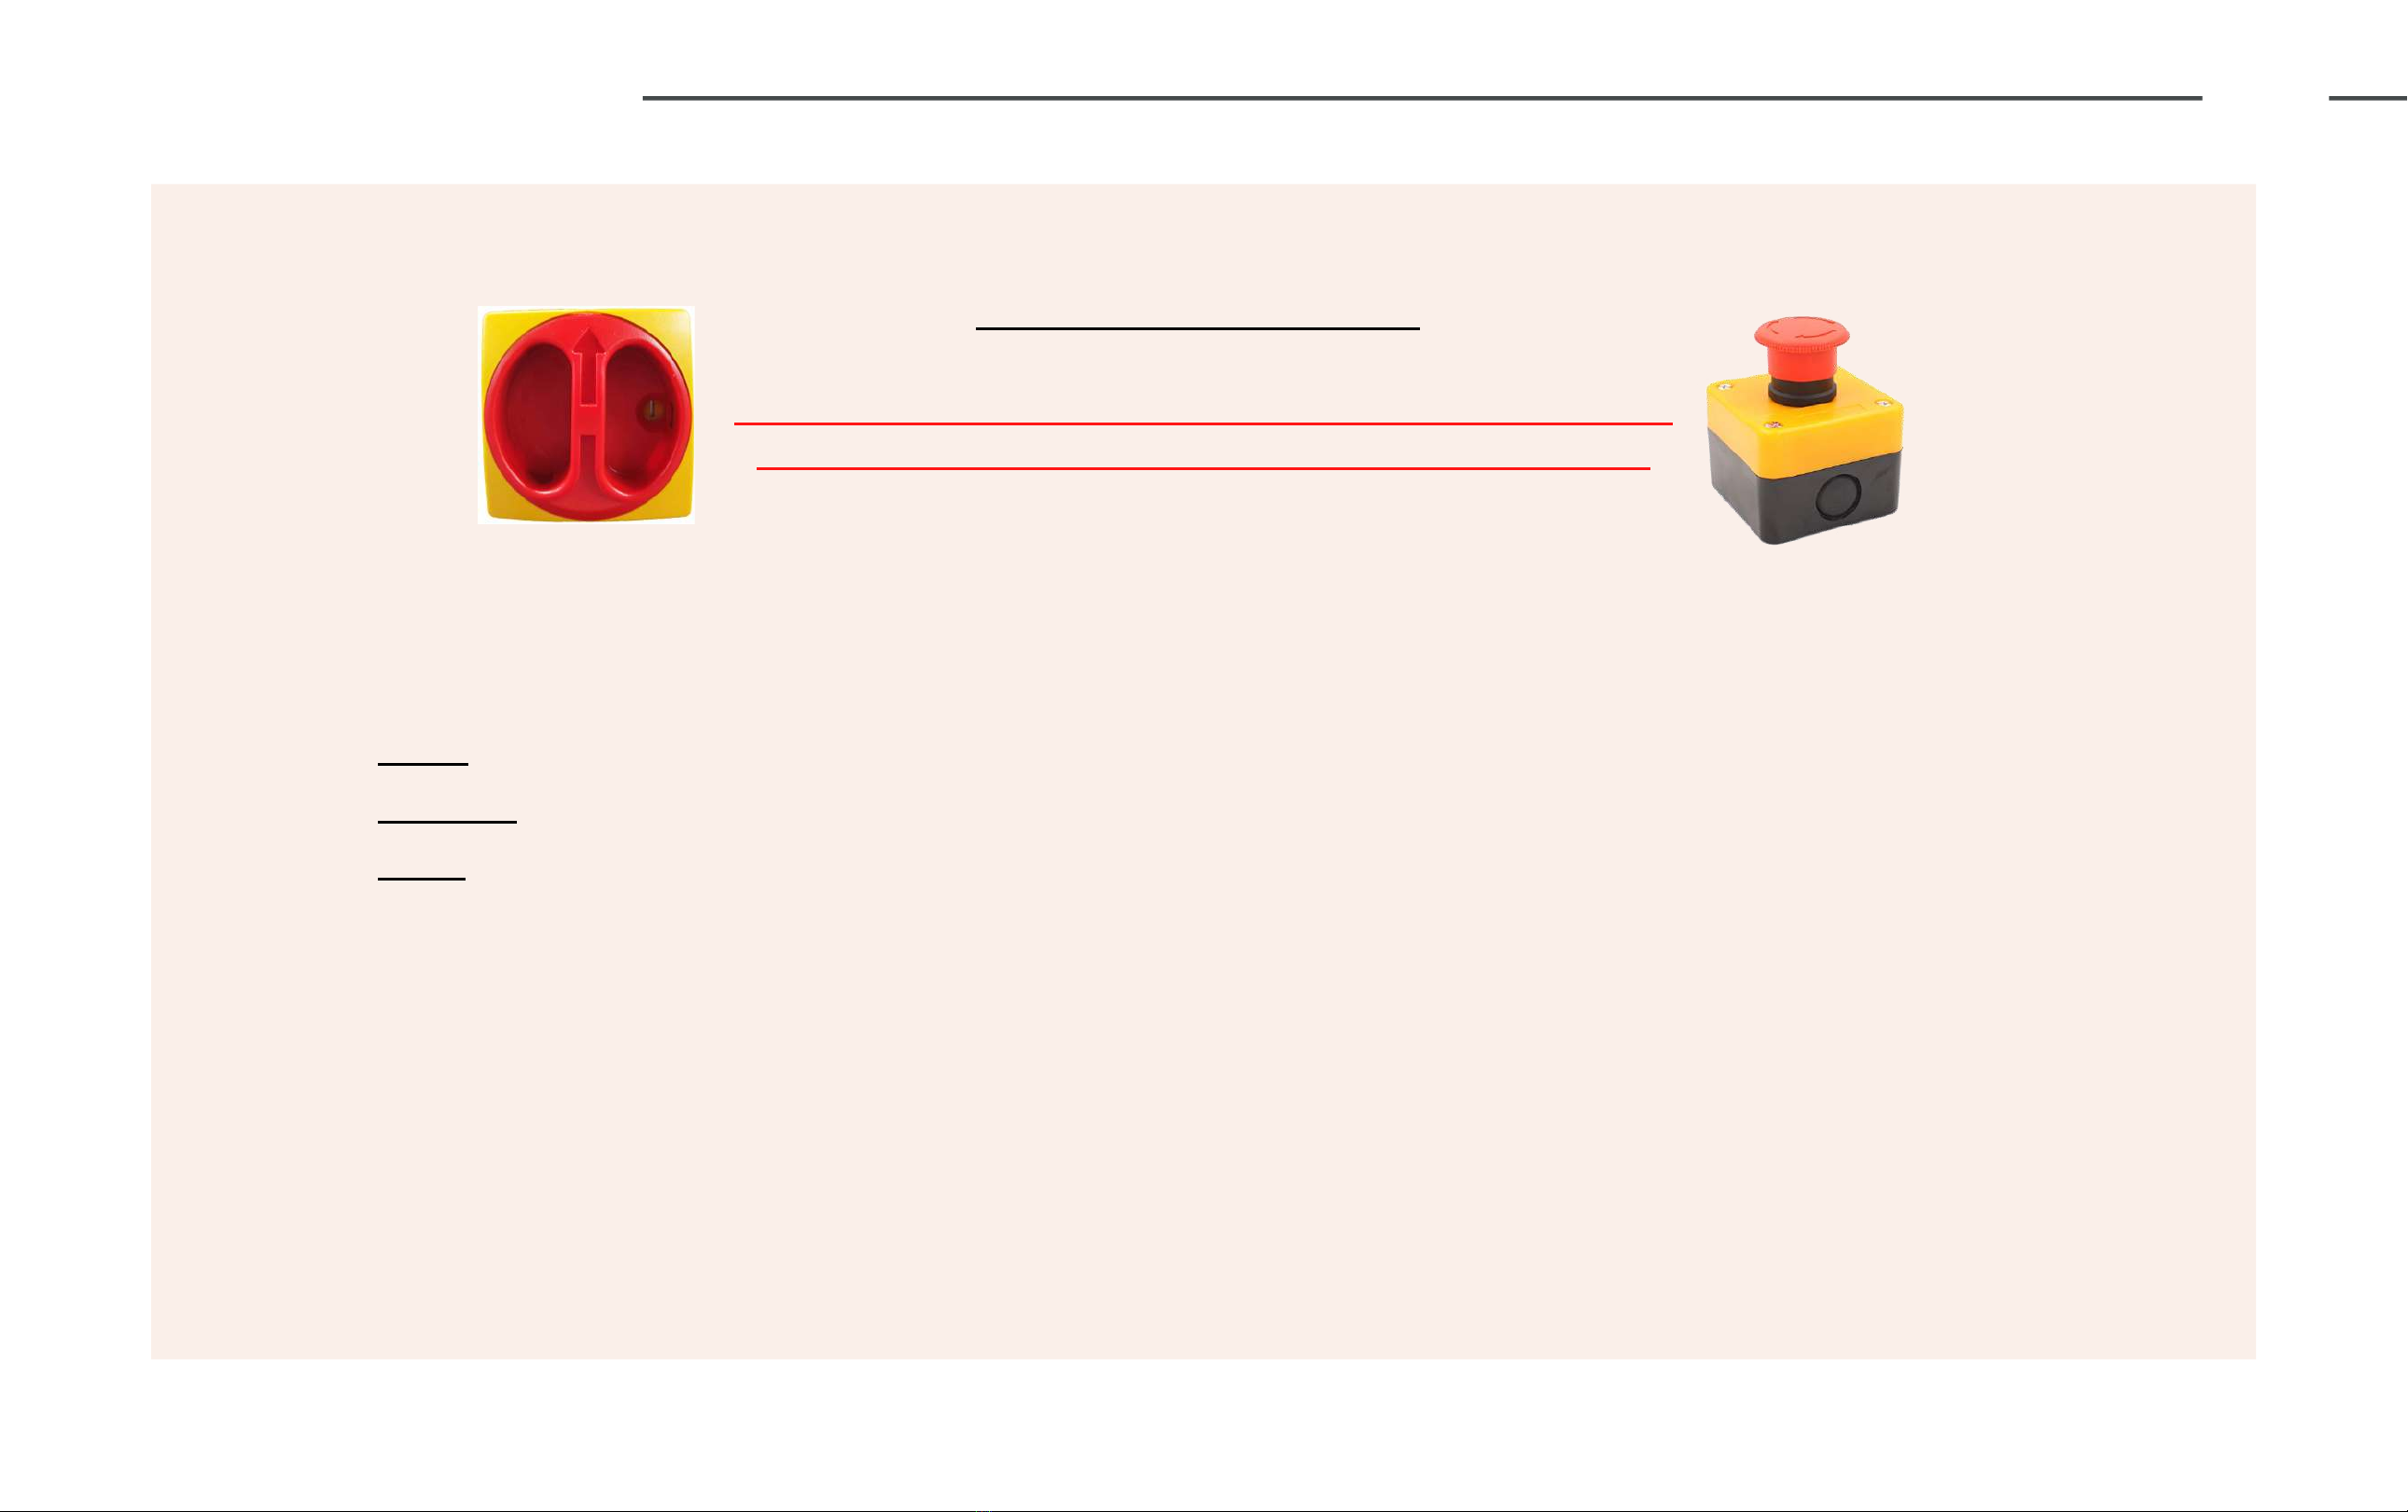
E-STOP BUTTON
LIMIT SWITCHES
EMERGENCY PROCEDURES
If there is a sudden emergency or need to shut off
the machine quickly, press either of the two E-STOP
buttons.
One is located on top of the plate on the rear side
of the machine. The other is located just to the left
of the touch screen.
"Emergency Stop" will display on the touch screen.
NOTE: the machine will not operate in this mode.
To clear the "Emergency Stop", pull the red E-STOP
near the touch screen ensuring the yellow ring
under the bottom is exposed.
If the "Emergency Stop" message is still displayed
and both E-STOP buttons are not pressed, it is likely
a trigger of the limit safety switch. (refer to page 20)
Press in case of an emergency
There are four safety switches located
in the machine that will display the
emergency stop as well. The screen will
tell you which e-stop or limit switch is
tripped. These switches will prevent
the machine from running if not
depressed properly.
Hopper Lid - Under Handle
Behind the Drop Down Chute - Back Left Corner
Slide Panel Door - Top Right Corner
Components Slide Panel Door - Top Right Corner
LIMIT SWITCH LOCATIONS
IMPORTANT! Do not alter limit switches in any way.

8
TOUCH SCREEN OPERATION
START/STOP
Pressthe START button to start
the operation and STOP to stop
the operation of the grinder.
HIGH: 100% of motor speed (1750RPM)
MEDIUM: 50% of full power (875RPM)
LOW: 10% of full power (175RPM)
The Revolution has three speeds for operation.
High, Medium, and Low, indicated by the largest
to smallest icons on the touch screen:
1.
2.
3.
MOTOR SPEEDS The amp meter is located in the lower right corner.
When in higher amperage, the machine will read that
and delay the auger. This allows for the blade chamber
to clear before introducing more material. If the meter
remains high, you may have a clog that needs clearing.
AMP METER
The Revolution has one auger speed that comes pre-set
into the machine. The auger comes pre-set with ON
times and OFF times. This prevents the clogging of
materials and overfeeding the blade. These times may
be changed, but we do not recommend going below 3
seconds off or more than 15 seconds on. If you wish to
alter this please contact Client Services.
AUGER SPEEDS

7
QUICKSTART GUIDE
Prepare your material. This prevents clogs
and potential damage to your grinder.
Buck and clean off big fan leaves and large
stems. Remove as many seeds and remaining
bud stems as possible to ensure an even grind.
Plug in your machine. Insert the three-prong
L6-30 plug into a standard 220v/30 amp
single-phase wall outlet.
If it does not turn on, check the power
connection.
If “Emergency Stop” is displayed on the
screen, check the emergency procedures on
the previous page.
Power on your machine. Turn the red lock-out
power switch to the vertical position on the
right side of the machine for ON. Turn
horizontal for OFF.
Open the hopper. With the machine on the
highest speed setting open the hopper to
reveal the Auger and throat to the grinder.
Begin loading your material. Load material
starting at the end opposite the throat. This
allows the Auger to pull the material into the
throat and prevents clogging.
Collect your material. The material will run
from the throat of the hopper down into the
blade chamber and ground material will
move down the chute to vibrate out of the
grinder.

9
POWERING DOWN
Ensure all material has been run through the machine.
Never leave material in your machine overnight. Your
material can dry out, reducing your final product quality.
Clean the machine entirely to prevent any material built
up from the previous run from drying onto your machine
causing buildup and possibly degrading your equipment
over time.
Turn your red lockout power switch to the horizontal
position - OFF

10
Lube the auger bearing once a month by using any
food-grade bearing grease.
Cure and prep your material properly.
Clean your inside blade chamber regularly
between runs and the hopper area as needed.
Keeping your machine clean and maintained will
guarantee longevity and optimal operating conditions.
The key things to note are:
PREVENTATIVE MAINTENANCE
Run all material through the Revolution to ensure it is empty.
Turn the Power/Lockout button to the OFF position and unplug the power.
ALWAYS work with diamond cut-proof gloves when handling anything in
the blade chamber
BEFORE CLEANING

11
Remove the Auger
On side of the hopper without the motor, loosen Auger Shaft Bolts that are around the Auger Drive Shaft with
⅛” Allen Wrench.
Slide-out the now loosened Auger Drive Shaft from the center of the bearing. Located right below the Auger
Shaft Bolt that has now been loosened.
Inside the Hopper, the (2) sections of Auger may now be removed. Remove the first section of Auger that is
located next to Auger Drive Shaft that was just removed.
Remove the Backing Trough Plate
Using isopropyl alcohol to spray and wipe off material from the Auger
Use a soft-bristle paintbrush/nylon brush to move all dry material down to the 2 ½" drop tube to the blade
chamber.
Spray down the inside of the hopper with isopropyl alcohol once the chute has been removed and all material
has been removed and collected. Wipe down the inside of the Hopper with paper towels or microfiber rags
1.
a.
b.
c.
2.
3.
4.
5.
PREVENTATIVE MAINTENANCE
HOPPER & AUGER - CLEANING

12
Place the bottom hopper base back in the hopper.
Attach the short piece of flighting with the open end on the Hex rod.
Put the long piece of flighting with the cut out onto the short piece of flighting.
Slide the 16" piece of Hex Rod back into the flighting through the outside of the Hopper.
Secure the 2 Allen set screws located on the bearing, opposite of the chain guard side (using a 1/8" Allen wrench)
Replace the removable baffle above the throat leading into the grinder.
Close the lid.
Plug the Revolution back in (Revolution is clean and ready for the next use!)
1.
2.
3.
4.
5.
6.
7.
8.
PREVENTATIVE MAINTENANCE
REASSEMBLY OF THE AUGER
ALWAYS UNPLUG MACHINE PRIOR TO ANY MAINTENANCE.
Video: Removing & Reinstalling Auger - bit.ly/removing-auger

13
Remove the upper back panel by removing the four Allen head screws using a 3/16" Allen wrench.
Slide the back door straight up to expose the upper inside of the Revolution.
First, release the quick-clamp from the top of the black elbow and drop the output tube onto the midplate
Second, remove the hitch pins from the buckle latches and then open the buckles and the chute will then pull
out.
Do this in reverse order to get the unit put back together
After the chute has been lowered, loosen the 4 tabs with the 5/16" Allen.
Swing the tabs away from the surface to allow the screen to drop.
Replace screen and reverse steps above to secure screen.
Reverse sections 1 and 2, ensuring all quick-release tabs and bolts are secure.
Use isopropyl alcohol to clean the inside of the chute, particle screen, and blade chamber. Do not scrape, this
may cause damage.
Reverse sections 1 and 2, ensuring all quick-release tabs and bolts are secure.
Remove the Back Panel
1.
2.
Drop the Chute
1.
2.
3.
Changing the Particle Screen
1.
2.
3.
4.
5.
6.
PREVENTATIVE MAINTENANCE
CHANGING & CLEANING THE PARTICLE SCREEN
Video: Changing Particle Screensbit.ly/particle-screens

14
First, remove the cotter pin from the bottom of the shaft where it goes through the castle nut
Second use a screwdriver to hold the blades from spinning while you a 9/16 open-end wrench to remove the
castle nut being careful as the blades will fall at this point.
The hat washer goes in between the two blades.
When putting the S blade the bearing is pressed flush on one side of the S blade. This is the side that goes up
toward the 4 arm blade.
Ensure the blades have been put back on and secured into place.
Replace the screen.
Replace the chute and plug back in the small internal motor that is attached to the chute (if removed)
Slide the back panel in place and secure it with the 4 screws.
Replacing the Blades
1.
2.
3.
4.
Putting the Machine Back Together
1.
2.
3.
4.
PREVENTATIVE MAINTENANCE
CHANGING THE BLADES
Video: Changing the Blades - bit.ly/changing-blades
Please watch our how-to video for this crucial step
in maintaining your grinder.
15
Prepare your material before introducing it into your grinder
BUCK your buds completely off of the main stem
REMOVE all big stems and fan leaves
CURE your material! This is one of the most important steps. Our lab-tested and certified results state 8.8% is
the optimal moisture content for most cannabis and hemp plants. Ultimately you will need to work with your
material to lock in the perfect cure for your company. This moisture content can be between 7% - 10%
Load the hopper from the end opposite the throat of your grinder. This allows the auger to pull material into the
throat at the set speed
Adding material directly over the throat can potentially clog it
Preparing Your Material Properly
1.
a.
b.
c.
2.
a.
TROUBLESHOOTING
CLOG PREVENTION
ALWAYS UNPLUG MACHINE PRIOR TO ANY MAINTENANCE.
USE CUT-PROOF GLOVES WHEN CHANGING THE BLADES.

16
Have a lab test your moisture content
Test the moisture content yourself with a reliable moisture reader.
Cure your material in an open bin for a few hours. If your material bends without a snap - TOO MOIST! If your material
snaps and kief is seen falling after the snap - TOO DRY!
Cure your material in an open bin overnight if high moisture content is present.
Honing in your material's moisture content is the only way to resolve this issue. As with grinding material in a hand
grinder. The more live and wet your bud is the harder it is to twist and grind that material. The same goes for your
industrial grinder. Wet material naturally sticks and stacks causing buildup and potentially clogging or damage to your
grinder.
MOISTURE CONTENT IS TOO HIGHT - The most common cause of clogs
Our lab-certified results state the optimal moisture level is 8.8% but please note your material may require slightly different
moisture levels. Stay within 7% - 10% range. Anything higher will result in possible damage to your machine by gunking up
and clogging the blade chamber. This can result in blade breakage or burning out the motor.
TO TEST THIS
TO RESOLVE THIS
TROUBLESHOOTING
WHAT CAUSES CLOGS?
ALWAYS UNPLUG MACHINE PRIOR TO ANY MAINTENANCE. USE CUT-PROOF GLOVES WHEN CHANGING THE BLADES.
17
You loaded too much material into the hopper
You loaded material into the machine directly over the throat.
Please see the "HOPPER & AUGER - CLEANING" section to access the throat to clear debris.
You loaded material with a moisture content higher than recommended.
CURE your material longer
These clogs can occur when the material is either introduced into your machine incorrectly:
TROUBLESHOOTING
HOPPE & THROAT CLOGS
ALWAYS UNPLUG MACHINE PRIOR TO ANY MAINTENANCE.
USE CUT-PROOF GLOVES WHEN CHANGING THE BLADES.
Table of contents
Other STM Industrial Equipment manuals

STM
STM ROCKETBOX User manual

STM
STM ROCKETBOX 2.0 User manual

STM
STM NGN-8100 User manual

STM
STM RX Series Instruction Manual

STM
STM ROCKETBOX Installation guide

STM
STM ATOMIC CLOSER User manual

STM
STM MINI-ROCKETBOX CANNA User manual

STM
STM MINI-ROCKETBOX PLUS+ User manual

STM
STM RFA Series Instruction Manual


