76
S I C H E R H E IT S H I N W E I S E
Safety instructions!
In order to avoid injuries to
persons and damage to the
equipment, it is mandatory to
observe instructions marked
with this symbol.
Note/Tip!
This symbol always gives you
technical information or useful
tips regarding the VOLCANO
vaporization system.
Read the following safety
information carefully and
completely before operating
the device!
This operating manual is a signifi-
cant part of the vaporizer and must
be provided to the user.
The instructions given in this ope-
rating manual must be strictly ob-
served as they are extremely im-
portant to ensure safety during
installation, use and maintenance
of the vaporizer.
S A F E T Y I N S T R U C T I O N S
�The packing material (plastic bags,
styrofoam material, boxes etc.) must
be kept out of the reach of children
as it is a potential source of danger.
�Before connecting the vaporizer,
make sure that the information gi-
ven on the type plate on the under-
side of the device corresponds to
the supply mains at the place of
installation.
�If there are any problems during
operation, immediately pull out the
main plug from the socket.
�The power cord must be unwound
over its entire length (avoid rolling
up the cable and looping it). It must
not be exposed to any shocks and
must be kept out of the reach of
children. Also, it must not be kept
near liquids or sources of heat and
must not be damaged. Do not pull
the mains cable over sharp edges
and never crush or bend it. If the
cable is damaged, contact our cus-
tomer service department to have
it replaced.
�The use of multiple sockets and/or
extension cables is not recommen-
ded. However, if this is absolutely
necessary, only products with a
quality certificate (such as UL, IMQ,
VDE, +S etc.) may be used, pro-
vided the specified power exceeds
the power required (A = Ampere)
by the devices that are connected.
�If you have any doubts, ask a spe-
cialist to check whether the electri-
cal system is in accordance with
the local safety regulations.
�Install the vaporizer on a stable and
dry surface at a sufficient distance
from sources of heat (oven, stove,
fireplace etc.) and in a place where
the ambient temperature cannot
drop below 5°C (41°F).The vapori-
zer must be stored in a protected
and dry place and must not be in-
stalled in damp rooms (such as
bathrooms etc.).
S A F E T Y I N S T R U C T I O N S
�The hot air generator may only be
repaired by our Customer Service.
Incorrectly performed repairs with-
out the use of original spare parts
can prove dangerous to the user.
�Danger to life when opening the
vaporizer as live components and
connections are exposed.
�The vaporizer must never be re-
paired or transported when the
main plug is plugged in.
�To pull the plug from the socket,
pull the plug directly, never pull the
main cable.
�The vaporizer must never be ope-
rated when the main cable is de-
fective.
�Do not put any objects into the ope-
nings of the device.
�Do not leave the vaporizer unatten-
ded while it is being operated. After
use, switch off the heater and the
air pump.
�The ventilation slots as well as the
exhaust vent of the vaporizer must
not be closed, caped or obstructed
when the device is being operated
or is cooling down.
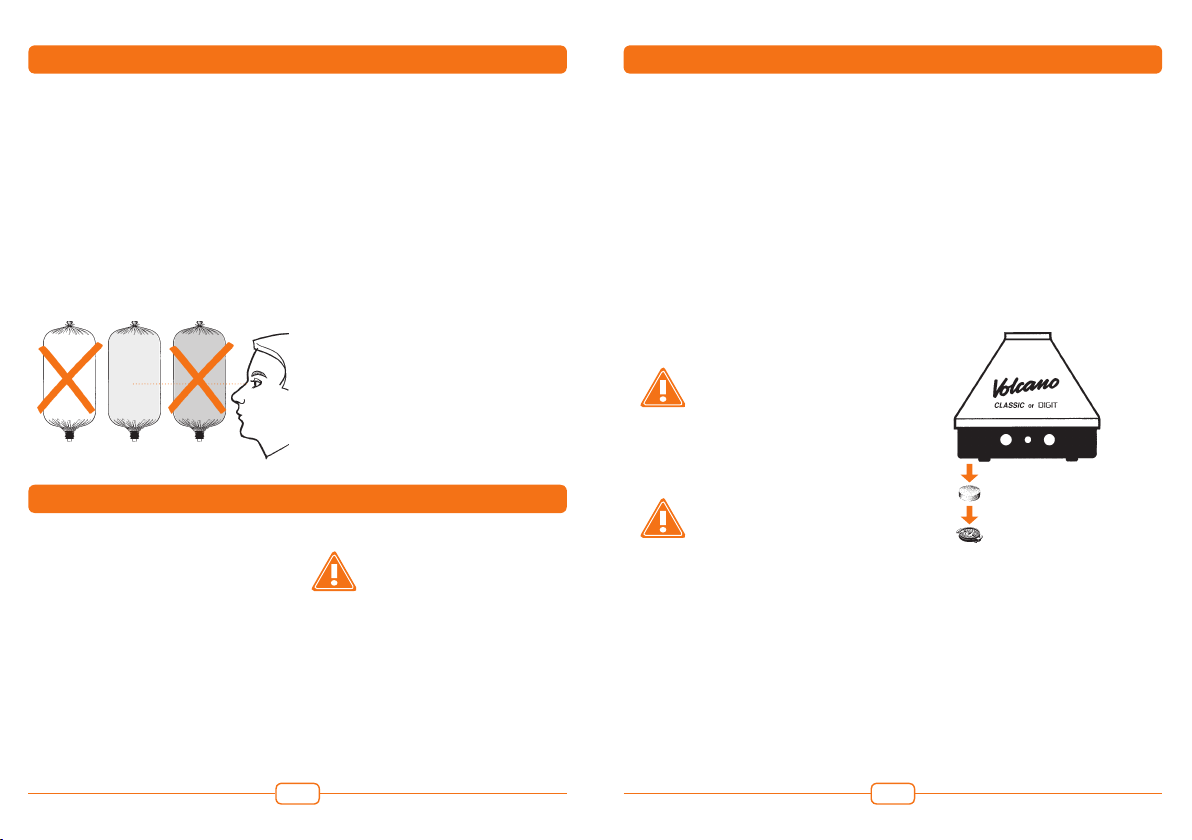
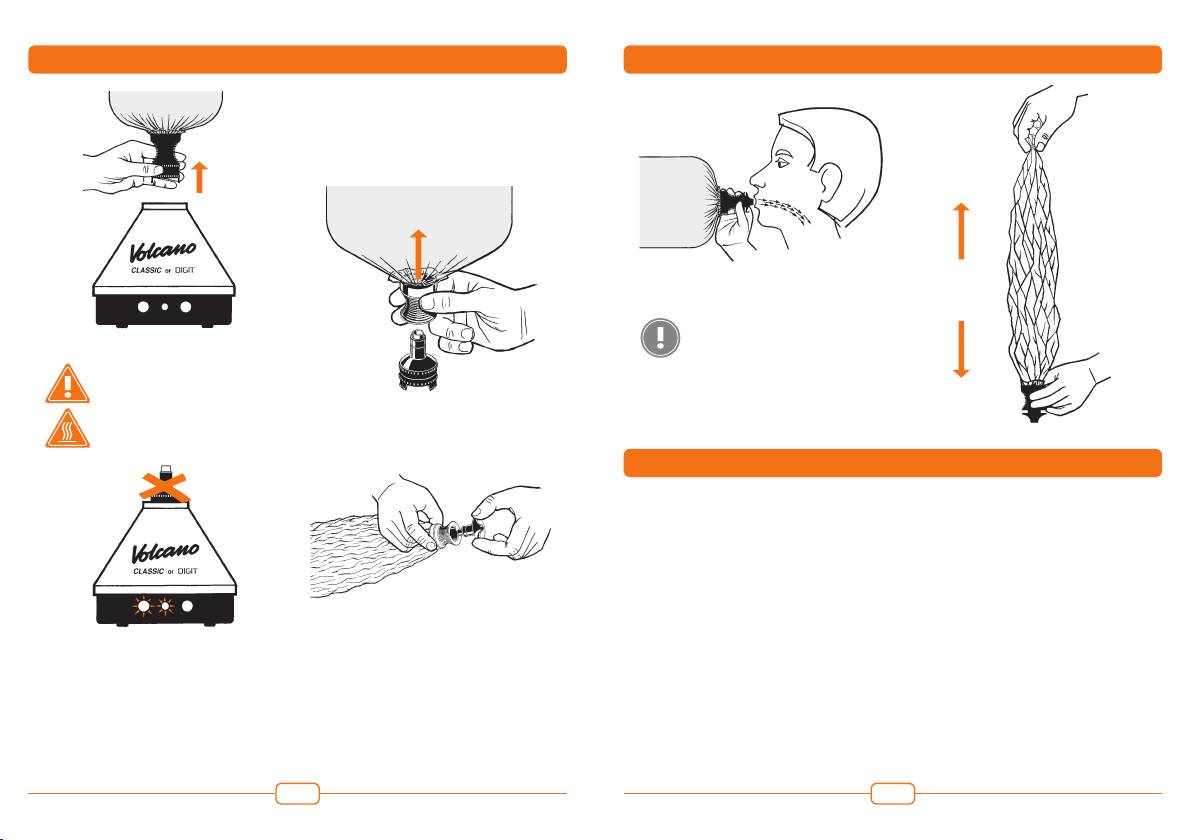
Danger of burning!
�Do not touch the exhaust vent and
the filling chamber when they are
hot.
�The filling chamber may only be
placed on the exhaust vent while
filling the balloon. After filling the
balloon, the filling chamber must
be removed from the hot air gene-
rator in order to avoid overheating
of the filling chamber (danger of
burning).
�Do not put any body parts or ob-
jects in the hot air jet.
�The vaporizer must only be clean-
ed with a dry cloth. If need be, use
a damp cloth for cleaning. Before
cleaning, pull out the main cable
from the socket. Never immerse
the vaporizer in water or in other
liquids or clean it with a direct wa-
ter or steam jet.
�The vaporizer must not be used in
damp or wet conditions.
�Do not expose the vaporizer to rain.
Do not use in the bathroom or over
water.
�Never touch the vaporizer with wet
or damp body parts.
�Never put containers containing
liquids on the vaporizer.
�Never operate the vaporizer when
it is wet or damp. If the vaporizer
becomes wet, it must be checked
by our Customer Service for dama-
ge to electrical components.
�Do not use in an atmosphere with
risk of explosion or ignition.
�Never allow the vaporizer to be
used by children or unqualified
persons.
�Only use original Storz & Bickel
accessories and spare parts.
Please keep this brochure in a safe
place for future reference.
The manufacturer is not re-
sponsible for any damage
or personal injury caused
by inappropriate, incorrect
or irresponsible use.