Sun-Tech CT40 User manual

80-0067-00-MO-RevF 2017-10-03 SunTech CT40 User Manual | 1
Spot-check Vital Signs Device
User Manual

80-0067-00-MO-RevF 2017-10-03 SunTech CT40 User Manual | 2
Changes
This manual is identified as Part number: 80-0067-00. The most recent is available for download from the SunTech
Medical website. Should you notice errors or omissions in this manual, please notify us at:
SunTech Medical, Inc.
507 Airport Boulevard, Suite 117
Morrisville, NC 27560 USA
Tel: 800.421.8626
919.654.2300
Fax: 919.654.2301
Email: [email protected]
Web: SunTechMed.com
Copyright Information
All content in this manual is the proprietary of SunTech Medical and is provided solely for purposes of operation,
maintenance or service of the SunTech CT40. This manual and the SunTech CT40 described herein are protected
under copyright law under which states they may not be copied, in whole or in part, without written consent of
SunTech Medical.
The information in this manual is furnished for guidance only, is subject to change without notice, and should not be
construed as a commitment by SunTech Medical. SunTech Medical assumes no liability for errors or inaccuracies
that may appear in this manual.
© 2017 SunTech Medical. All rights reserved.
SunTech Medical, Inc.
507 Airport Blvd, #117
Morrisville, NC 27560-8200
Phone: 1-919-654-2300
1-800-421-8626
Fax: 1-919-654-2301
SunTech Medical, Ltd.
Oakfield Industrial Estate
Stanton Harcourt Road
Eynsham, Oxfordshire OX29 4TS
England
Phone: + 44 (0) 1865-884-234
Fax: + 44 (0) 1865-884-235
SunTech Medical (Shenzhen) Co., Ltd.
105 HuanGuan South Road, Suite 15 2~3/F
DaHe Community Guanlan,
LongHua District, Shenzhen
GuangDong PRC 518110
Tel: + 86-755-29588810
+ 86-755-29588986 (Sales)
+ 86-755-29588665 (Service)
Fax: + 86-755-29588829

80-0067-00-MO-RevF 2017-10-03 SunTech CT40 User Manual | 3
Welcome to the SunTech CT40
Thank you for choosing the SunTech CT40 for accurate spot-checking of vital signs.
The SunTech CT40 is designed to be simple and efficient to use and the CT40 features:
•mobility for improved and compact efficiency in a cost-effective package
•automatic BP checks
•averaging of multiple BP readings
•optional use of stethoscope for traditional auscultatory BP measurement
•robust memory
•connection to EMR system
•multiple options for pulse oximetry and temperature measurement
SunTech CT40 Description and Operation
The CT40 vital signs device can perform automatic blood pressure, pulse oximetry and body temperature
measurements for clinical professionals. For measuring blood pressure, a blood pressure cuff is placed around the
patient’s non-dominant upper arm. The cuff is inflated automatically and blood pressure is determined by the
oscillometric method—which senses pressure waves in the artery when occluded by pressure in the cuff.
Measurement of the frequency of the pressure waves enables heart rate to also be measured. The pulse oximetry
function non-invasively measures the patient’s percent oxygen saturation of arterial hemoglobin using principles of
plethysmography via a SpO2sensor placed on the patient’s finger. Temperature can be measured using one of two
different kinds of temperature probes. The oral/axillary/rectal temperature probe contains a thermistor that
generates a voltage based on changes in temperature, and these voltages are recorded by the temperature circuitry.
The touchless infrared temperature probe detects radiated infrared energy from the temporal artery. The CT40 is a
portable device, approximately 205 x 190 x 140 mm in size and weighs approximately 1440 g without battery. Control
buttons allow the user to stop/start a BP measurement, save a set of measurements to memory, change between BP
modes, and return to the home screen. There is also a selection knob that is used to scroll and select different device
options. The backlit LCD display shows the user device status and measurement information. The device uses a
microprocessor with software, which is not accessible to the user. The unit is powered by a single rechargeable
lithium-ion battery at the rear of the device. Two USB-A port connections can be used to connect, an optional printer,
barcode scanner or Wi-Fi dongle. There is also RJ11 Ethernet port for network connectivity, and a mini-USB port used
to connect the device to a PC or laptop for advanced device configuration.
Note: For purposes of this manual, the SunTech CT40 (Model 260) may be referred to as “the SunTech CT40,” “the
CT40” or “the device”.

80-0067-00-MO-RevF 2017-10-03 SunTech CT40 User Manual | 4
Table of Contents
Changes.................................................................... 2
Copyright Information.............................................. 2
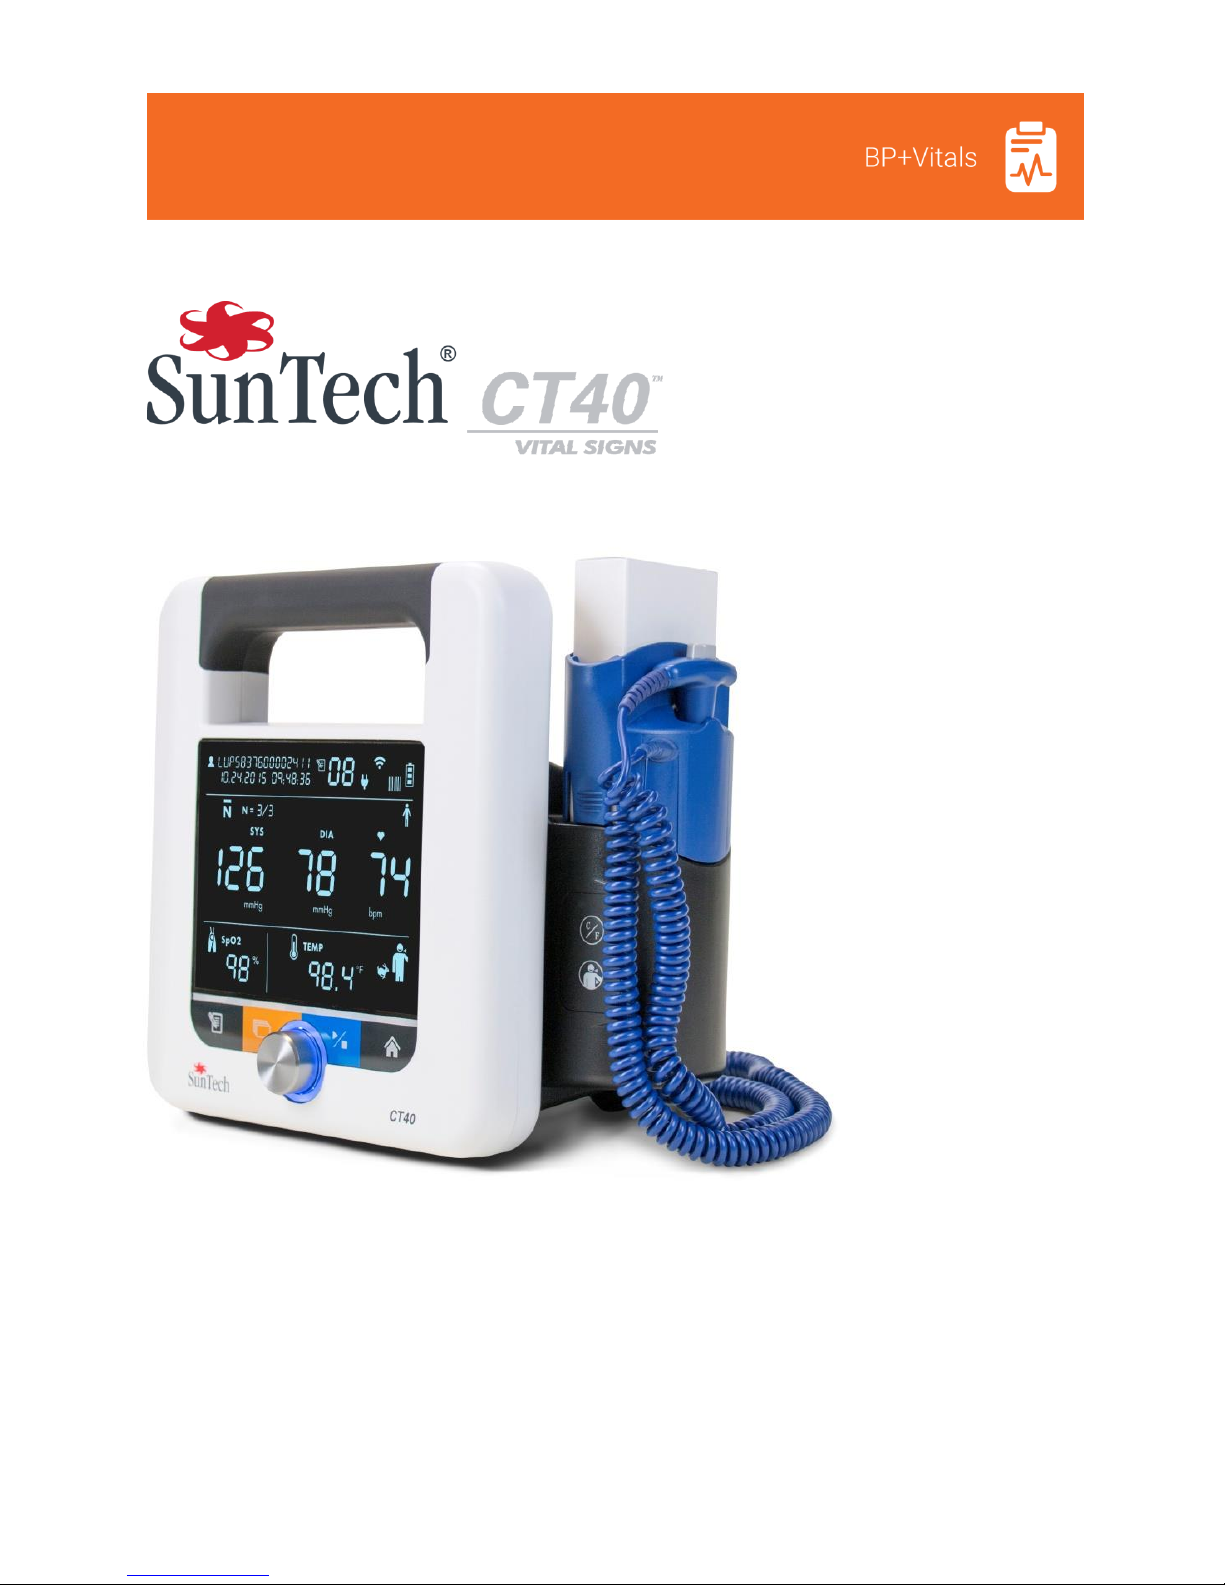
Welcome to the SunTech CT40............................... 3
SunTech CT40 Description and Operation.............. 3
1. Safety Considerations ....................................... 5
Intended Use ............................................................ 5
Indications for Use ................................................... 5
User Responsibility................................................... 5
Possible Adverse Reactions.................................... 6
Warnings and Cautions............................................ 6
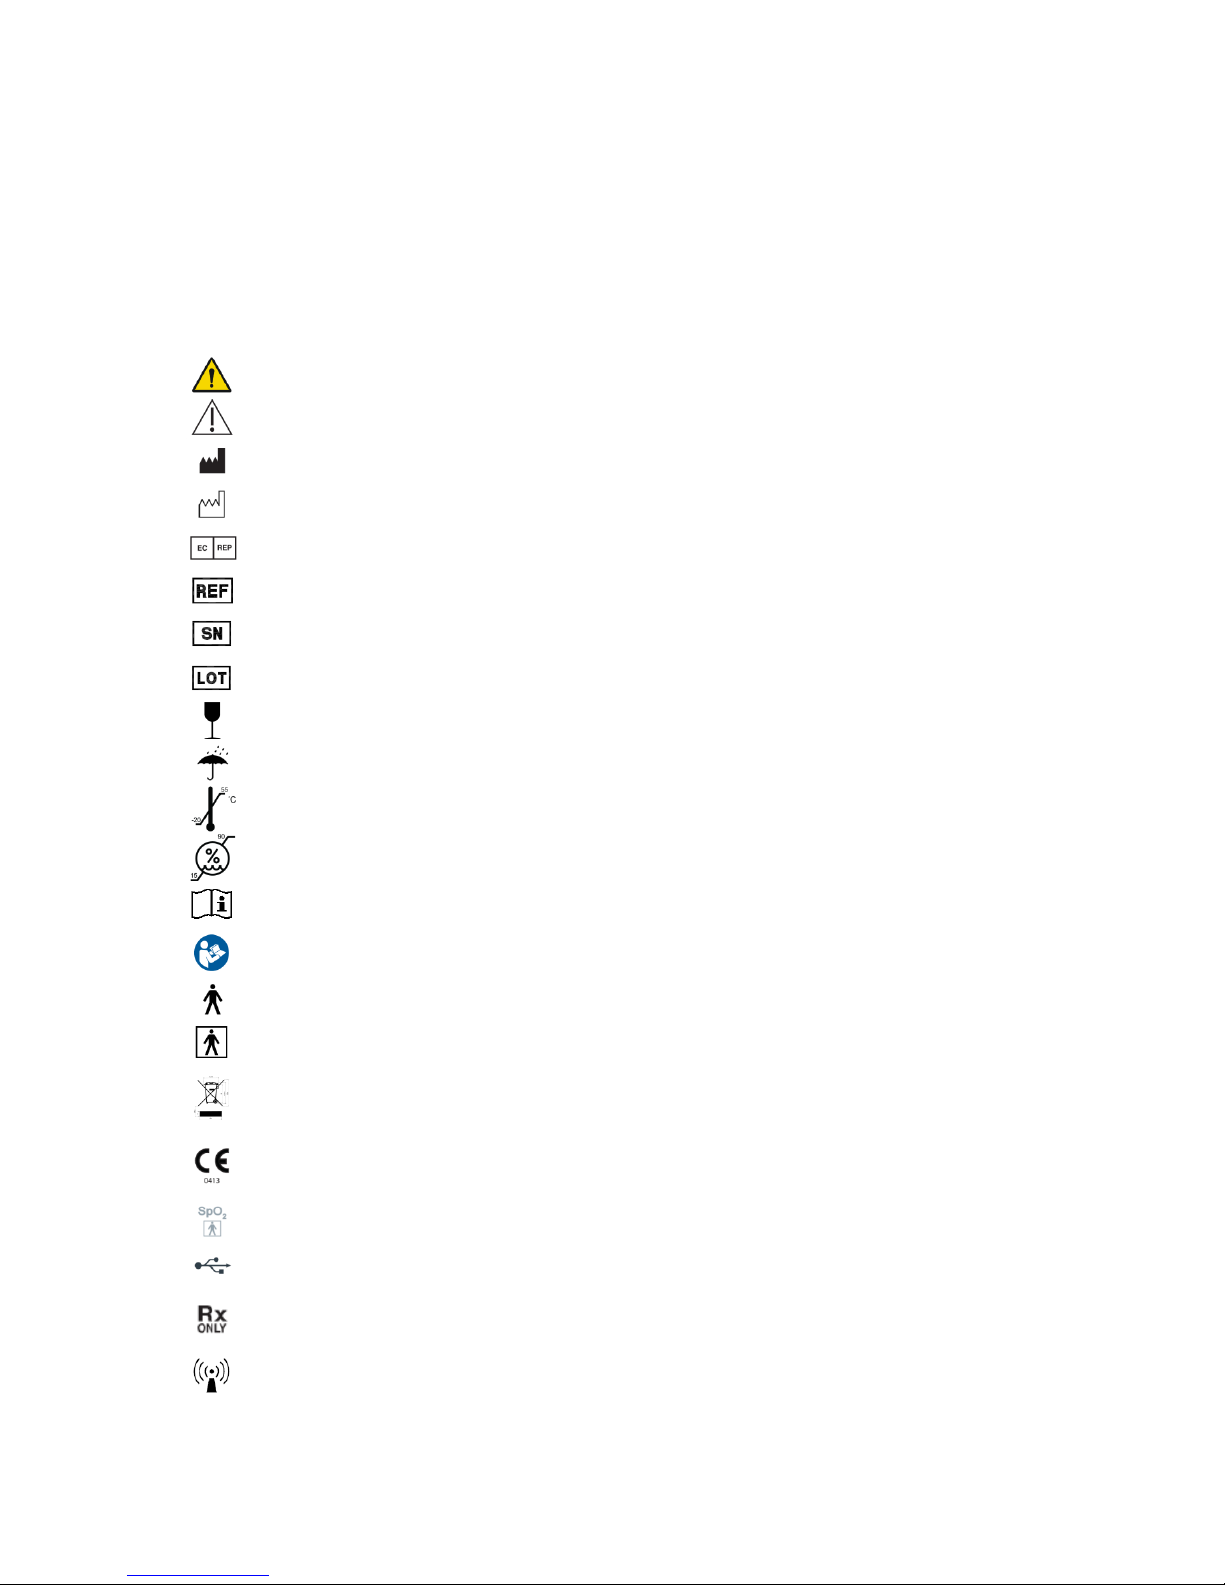
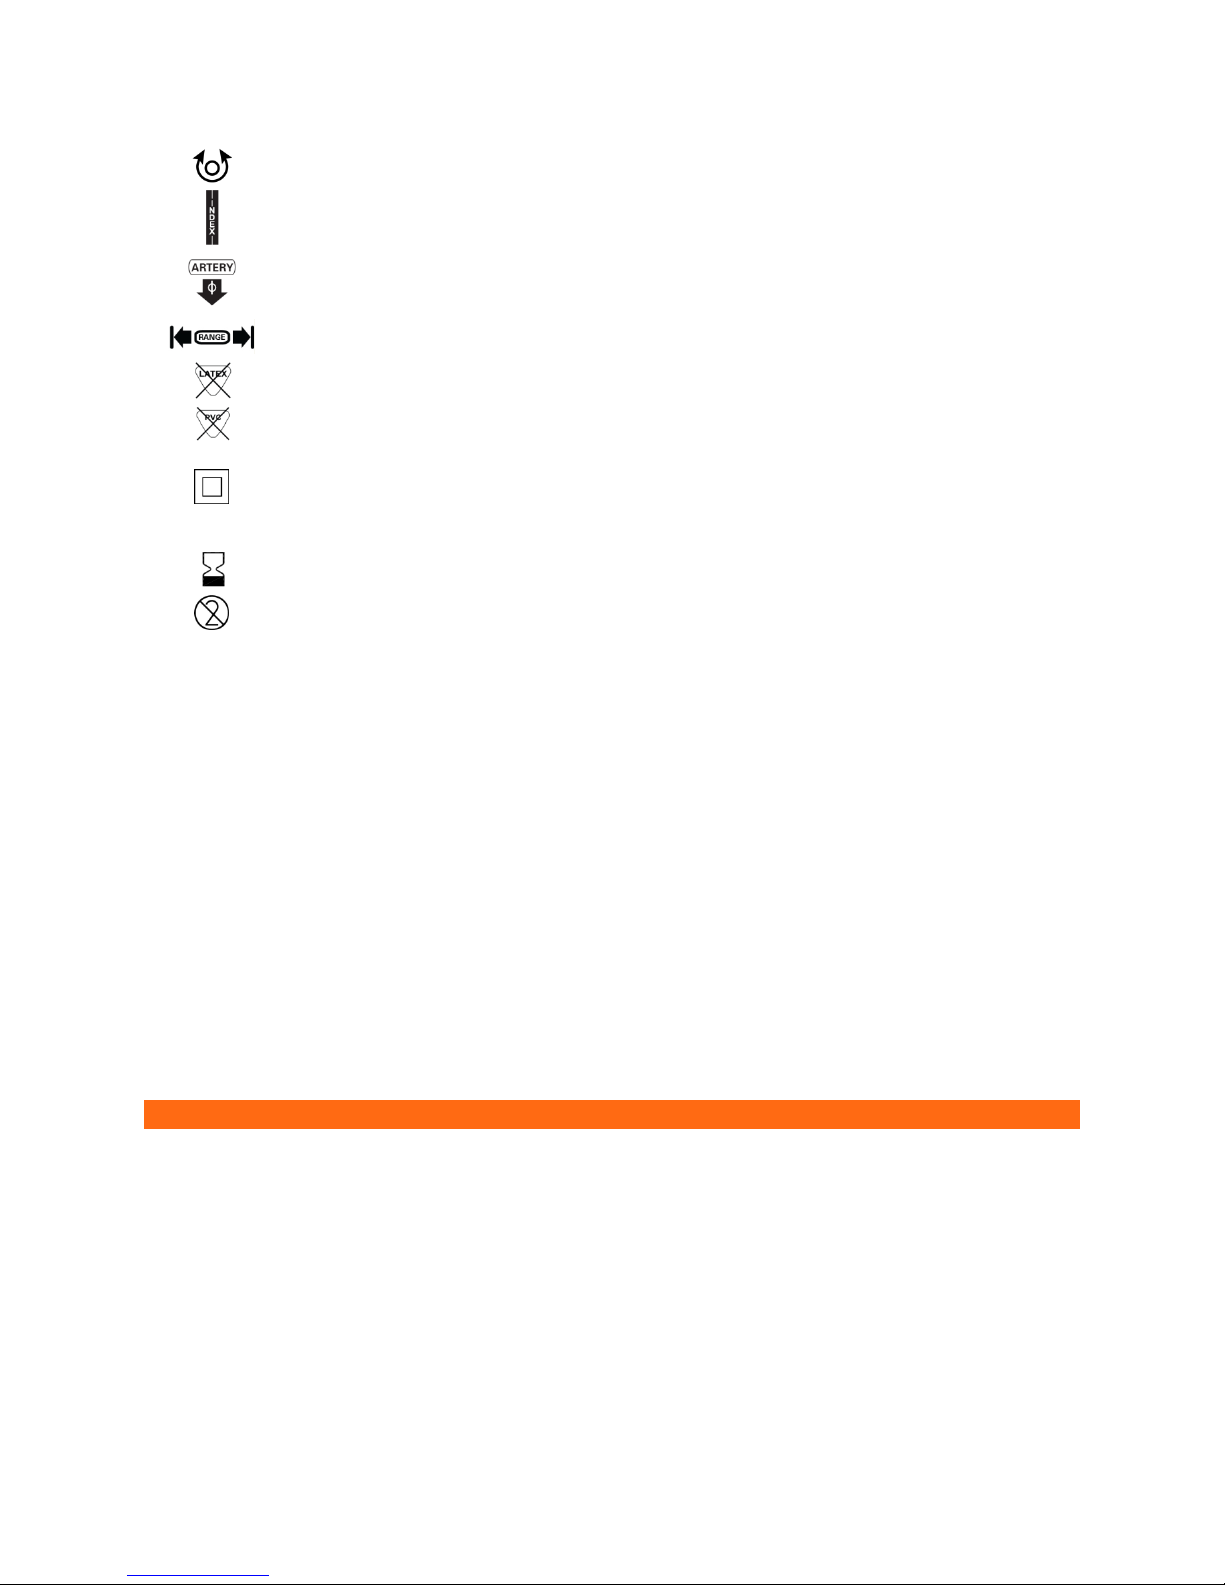
Icons, Symbols and Abbreviations .......................... 8
Commonly Used Abbreviations ............................... 9
2. Setting Up the SunTech CT40 ............................. 9
Unpacking the Monitor............................................. 9
Rear Panel Configuration....................................... 10
Side/Temperature Panel Configuration ................ 10
Side/SpO2Panel Configuration ............................. 11
Install Batteries ...................................................... 12
Battery Disposal ..................................................... 12
Attach Connections to the Device ......................... 12
Mounting Options................................................... 13
System Configuration ............................................ 13
3. Getting to Know the SunTech CT40....................13
Measurement Display ............................................ 13
Control Panel.......................................................... 16
Monitor Setup......................................................... 16
Visual Alarms ......................................................... 17
4. Good to Know Before You Begin.........................17
Power Modes ......................................................... 17
Documenting Measurements ................................ 17
Printing ................................................................... 18
Saving Measurements ........................................... 18
5. Using SunTech CT40 for BP Measurement........19
Step 1: Preparing the Patient................................. 19
Step 2: Select Between Adult Vs Pediatric Mode . 20
Step 3: Select Measurement Mode ....................... 20
Step 4: How to Measure BP in Each Mode ........... 22
Step 5: Record Results........................................... 23
Step 6: Prepare for New Patient ............................ 23
6. Using SunTech CT40 for Heart Rate Measurement
…………………………………………………………………………..24
BP Heart Rate Measurement................................. 24
SpO2Heart Rate Measurement ............................. 24
7. Using SunTech CT40 for Pulse Oximetry............24
General Principle of Operation:.............................. 24
System Description: ............................................... 26
Taking SpO2Measurements:................................. 26
Special Notes for Masimo®SET SpO2module: .... 26
Special Notes for ChipOx SpO2module: ............... 28
8. Using SunTech CT40 for Temperature
Measurement ........................................................29
Covidien®FILAC®3000 Thermometry Module..... 29
Oral Temperature Taking....................................... 30
Axillary Temperature Taking.................................. 30
Rectal Temperature Taking ................................... 30
Other FILAC®3000 Temperature Settings............ 31
Touchless Thermometry Module*......................... 31
9. Using SunTech CT40 EMR and Memory Functions
…………………………………………………………………………..32
Memory Mode ........................................................ 32
EMR Transmissions ............................................... 33
10. Taking Care of SunTech CT40 ......................... 34
Cleaning.................................................................. 34
Preventative Maintenance ..................................... 35
Replacing and Disposal of the Battery .................. 35
Battery Disposal ..................................................... 35
Product Disposal.................................................... 35
Cuff Disposal.......................................................... 35
Routine Calibration................................................. 35
11. Accessories & Replacement Parts ................... 36
Main Unit ................................................................ 36
Masimo®SET SpO2Module................................... 37
ChipOx (Nellcor®Compatible) SpO2Module ........ 37
Covidien®FILAC®3000 Temperature Module...... 37
Touchless IR Temperature Module ....................... 37
Stands/Printer/Scanner......................................... 37
12. Status Messages & Alarms.............................. 38
Status Messages ................................................... 38
Out of Range Measurements................................. 40
Service Centers ...................................................... 41
13. Frequently Asked Questions ............................ 41
14. Technical Information ..................................... 42
EMC Statement ...................................................... 42
Specifications, General .......................................... 46
Specifications, Blood Pressure Measurement...... 46
Notes on Blood Pressure Data .............................. 47
SP02Sensor Specifications ................................... 47
Temperature Sensor Specifications...................... 47
Limited Warranty.................................................... 48
Conflict Minerals .................................................... 48

80-0067-00-MO-RevF 2017-10-03 SunTech CT40 User Manual | 5
1. Safety Considerations
Intended Use
The SunTech CT40 is a clinical grade, automated blood pressure measurement device with optional
temperature and pulse oximetry modules for spot-check vital sign measurements in physician offices, long-
term care facilities, and low-acuity areas in hospitals. The CT40 can be used in combination with a clinical IT
network to transfer and store patient measurement data on an EMR system.
Indications for Use
The SunTech CT40 is a non-invasive oscillometric spot-check vital signs device. The CT40 is capable of measuring
and displaying brachial systolic and diastolic blood pressure, heart rate, percent oxygenated hemoglobin (SpO2) and
body temperature on children 3 years of age to adults. This device is intended for use by a qualified clinician when it
is necessary to take a single or a series of vital signs measurements on a patient. The CT40 is only for measurement,
recording and display. It makes no specific diagnoses.
The SunTech CT40 is intended to be used on adult and pediatric patients using appropriately-sized SunTech One-
piece Durable (OPD) BP cuffs.
User Responsibility
Your SunTech CT40 is designed to perform in conformity with the description thereof contained in this operation
manual and accompanying labels and inserts, when assembled, operated, maintained and repaired in accordance
with the instructions provided.
Further, the user of this device bears sole responsibility for any malfunction that results from improper use, faulty
maintenance, improper repair, damage or alteration by anyone other than SunTech Medical or authorized service
personnel.
Use of SunTech CT40
Use only One-piece Durable (OPD) BP cuffs supplied by SunTech Medical.
Observe the patient carefully during the measurement. Ensure pressure compatibility to all patients. If any
abnormality occurs, either in the unit or the patient, suspend the operation immediately and disconnect the BP cuff,
SpO2sensor and thermometer (if applicable) from the patient.
Accuracy of any BP reading or oxygen saturation measurement may be affected by the position of the patient, their
physical condition and use outside of the operating instructions detailed in this guide. The interpretation of BP and
oxygen saturation measurements should only be made by a physician.
Safety and effectiveness when used with pregnant women, children under 3 years of age and neonates have not been
established.
Pulse Oximetry (SpO2)
ChipOx SpO2Module: Use only pulse oximeter (SpO2) sensors supplied by SunTech Medical or original Nellcor®pulse
oximeter (SpO2) sensors supplied by Covidien®(except for forehead reflectance sensors).
Masimo®SpO2Module: Use only original Masimo®pulse oximeter (SpO2) sensors and cables.

80-0067-00-MO-RevF 2017-10-03 SunTech CT40 User Manual | 6
Check the application site of the SpO2sensor frequently to confirm proper positioning of the sensor and to check the
circulation and skin sensitivity of the patient.
Wireless Networking
When connecting this device to a wireless network, it is important to use only the hardware specified by SunTech
Medical (see Accessories section for details). Unsupported USB accessories, including unsupported Wireless
adapters, have been intentionally disabled and will not function with this device.
Possible Adverse Reactions
In the area of the BP cuff or SpO2sensor, allergic exanthema (symptomatic eruption) may result, including the
formation of urticaria (allergic reaction including raised edematous patches of skin or mucous membrane and
intense itching) caused by the fabric material of the cuff or sensor.
Following the application of the BP cuff, petechia formation (a minute reddish or purplish spot containing blood that
appears in the skin) or Rumpel-Leede phenomenon (multiple petechia) may appear on the arm, which may lead to
idiopathic-thrombocytopenia (spontaneous persistent decrease in the number of platelets, associated with
hemorrhagic conditions) or phlebitis (inflammation of a vein).
Warnings and Cautions
WARNING: Do not attach the cuff to a limb being used for IV infusions or any other intravascular access, therapy or
an arteriovenous (A-V) shunt. The cuff inflation can temporarily block blood flow, potentially causing harm to the
patient.
WARNING: Pressurization of the cuff can temporarily cause loss of functionality of SpO2if simultaneously using
device on the same limb.
WARNING: Not designed for neonates.
WARNING: Do not apply the BP cuff to a limb being used for IV infusions as the cuff inflation can temporarily block
the infusion, causing harm to the patient.
WARNING: Check frequently by observing the limb that operation of the AUTOMATED SPHYGMOMANOMETER does
not result in prolonged impairment of the circulation of the patient.
WARNING: The cuff should not be applied over a wound as this can cause further injury.
WARNING: The cuff should not be placed on the arm on the side of a mastectomy. In the case of a double
mastectomy use the side of the least dominant arm.
WARNING: The CT40 is NOT defibrillator protected.
WARNING: Do not use in the presence of flammable anesthetics or other flammable substances in combination with
air, oxygen-enriched environments, or nitrous oxide.
WARNING: Do not use the device if it has failed its diagnostics self test, or if it displays a greater than zero pressure
with no BP cuff attached or a value of oxygen saturation with no SpO2sensor attached.
WARNING: Do not use if device is dropped and/or damaged. Have a qualified service representative check the unit
before using again.
WARNING: Do not remove unit covers. Doing so may cause electrical shock to the user. The device does not contain
any user serviceable components.
WARNING: Do not immerse the device in any fluid, place fluids on top, or attempt to clean the unit with any liquid
detergents, cleaning agents, or solvents. This may cause an electrical hazard. Refer to the cleaning section of this
guide for instructions on cleaning. If any of these situations apply, please contact SunTech Medical.

80-0067-00-MO-RevF 2017-10-03 SunTech CT40 User Manual | 7
WARNING: Remove power before servicing device. Failure to remove power could cause electrical shock or death.
WARNING: A pulse oximeter should NOT be used as an apnea monitor.
WARNING: Pulse rate measurement is based on the optical detection of a peripheral flow pulse and therefore may
not detect certain arrhythmias. The pulse oximeter should not be used as a replacement or substitute for ECG based
arrhythmia analysis.
WARNING: Do not use the device or any of its accessories during magnetic resonance imaging (MRI) scanning.
Induced current could potentially cause burns.
WARNING: Tissue damage can be caused by incorrect application or use of an SpO2sensor, for example by wrapping
the sensor too tightly. Inspect the sensor site as directed in the sensor Directions for Use to ensure skin integrity and
correct positioning and adhesion of the sensor.
WARNING: Do not use high frequency surgical equipment with the CT40 as this may cause loss of stored data
WARNING: No modification of this equipment is allowed.
WARNING: Federal (U.S.) law restricts this device to sale by or on the order of a physician.
CAUTION: A compressed or kinked connection hose may cause continuous cuff pressure resulting in blood flow
interference and potentially harmful injury to the patient.
CAUTION:
Check calibration of this device annually.
CAUTION: Calibration should be done by a biomedical technician or other authorized personnel.
CAUTION: Never knowingly use a defective device.
CAUTION: Immediately replace parts that are broken, worn, missing, incomplete, damaged or contaminated.
CAUTION: Contact the nearest SunTech approved service center should repair or replacement become necessary. A
list of approved service centers appears in the guide or on our website at www.SunTechMed.com.
CAUTION: The reliability of the device depends upon conformance with the operation and service instructions, as
detailed in this manual.
CAUTION: Only replace battery with same type and model number.
CAUTION: To avoid the risk of electrical shock, this equipment must be only connected to supply mains with
protective earth.
CAUTION: Do not connect the device to equipment that does not meet EN60601-1. When the device is attached to a
patient, the device’s communication ports must only be connected to equipment that meets EN60601-1 standard.
CAUTION: Use only SunTech branded cuffs approved for use on the CT40 device.
CAUTION: Use only Masimo®oximetry sensors for SpO2measurements with the Masimo®SpO2module. Other
oxygen transducers (sensors) may cause improper performance.
CAUTION: Do not use damaged SpO2 or temperature sensors. Do not use a SpO2sensor with exposed optical
components.
CAUTION: Do not immerse the SpO2or temperature sensors in water, solvents, or cleaning solutions (the sensors and
connectors are not waterproof). Do not sterilize by irradiation, steam, or ethylene oxide. See the cleaning instructions
in the Sensor Directions for Use.
CAUTION: Do not use damaged patient cables. Do not immerse the patient cables in water, solvents, or cleaning
solutions (the patient cable connectors are not waterproof). Do not sterilize by irradiation, steam, or ethylene oxide.
See the cleaning instructions in the patient cable directions for use.

80-0067-00-MO-RevF 2017-10-03 SunTech CT40 User Manual | 8
CAUTION: Do not position the device so that it is difficult to access and remove the power cord from the electrical
supply. The AC power cord is the means of disconnection to the supply mains.
Icons, Symbols and Abbreviations
Icons and Symbols
The following icons and symbols are used in this guide, on the SunTech CT40 equipment and packaging.
Warning message
Caution message
Manufacturer
Manufacture Date
Authorized representative in the European Community
Catalog Number
Serial Number
Batch or Lot Code
Fragile, handle with care
Keep dry
Temperature limit
Humidity limitation
Consult instructions for use
Refer to instruction manual/booklet
Type B
Type BF Applied Part. Part is isolated from earth ground.
Indicates that the device contains materials which may be
hazardous to human health.
CE Mark: Product meets the Medical Device Directive and is CE
marked to indicate conformance
SpO2Sensor. Type BF Applied Part
USB-A or USB-B
Warning: Federal (U.S.A.) law restricts this device to sale by or on
the order of a licensed health care practitioner.
Device includes RF transmitter.

80-0067-00-MO-RevF 2017-10-03 SunTech CT40 User Manual | 9
Indicates the arm circumference which is appropriate for the cuff
Cuff index marker, OPD
Artery marker indicating proper placement –Arrow and symbol
should be placed over the brachial artery.
Cuff range indication
Device is not made with natural rubber latex
Device is not made with PVC
Class II Equipment
IPX1
Protection against vertically falling drops of water
Expiration Date
Single Use Only
Commonly Used Abbreviations
BP Blood Pressure
BPM Beats Per Minute
EMR Electronic Medical Record system
K-sounds Korotkoff sounds
MAP Mean Arterial Pressure (Not available in the U.S.)
DIA Diastolic BP
NIBP Non-Invasive Blood Pressure
OPD One-piece Durable
SpO2Percent Oxygen Saturation of Arterial Blood (hemoglobin)
SYS Systolic BP
2. Setting Up the SunTech CT40
Unpacking the Monitor
As you unpack your SunTech CT40, check to make sure you have all the proper components.
Refer to the separate packing label stating which components you received based on the options you ordered with
your device.

80-0067-00-MO-RevF 2017-10-03 SunTech CT40 User Manual | 10
Rear Panel Configuration
SunTech CT40 connections on the back of the device:
Connect AC power cord
Wi-Fi USB dongle (optional)
Printer or barcode scanner USB cable (optional)
Ethernet cable (optional)
Mini USB cable to connect to PC or laptop
Side/Temperature Panel Configuration
If no temperature module will be added, then attach the right panel of the CT40, using the included Phillips-head
screwdriver. This panel will be on the right side, when the screen is facing the user.

80-0067-00-MO-RevF 2017-10-03 SunTech CT40 User Manual | 11
To add a temperature module, attach the module on the right side of the main unit. Fasten with the included Phillips-
head screwdriver.
For FILAC®:
Temperature unit connector: Insert the probe/well-assembly into the top of the FILAC®module.
For Touchless:
Plug in the touchless thermometer cable connector into the already inserted module.
Side/SpO2Panel Configuration
Remove the left panel of the CT40, using a Phillips head screw driver. This panel will be on the left side, when the
screen is facing the user.
To add an SpO2module, attach the module on the left side of the main unit. Fasten with the included Phillips-head
screwdriver.
For Masimo®:

80-0067-00-MO-RevF 2017-10-03 SunTech CT40 User Manual | 12
Attach the Masimo®extension cable to the connector on the module, making sure that the connectors lock together.
Then, attach the Masimo®SpO2sensor to the other end of the extension cable making sure that the retaining clip is in
place.
For ChipOx:
Attach the ChipOx SpO2sensor to the connector on the module while the retention clip is held upwards. Once the
sensor/cable connector is inserted, push the clip downward over the connector to hold it securely in the module. For
easy insertion, ensure module is parallel to the device.
Install Batteries
Install the rechargeable battery into the battery bay. Please read the battery instructions and the label on its surface
before use. Allow 8 to 12 hours for charging. All segments of the Battery Symbol will be lit when the device is fully
charged.
CAUTION: Fire, explosion and severe burn hazard. Replace only with SunTech part number: 98-0900-00.
If not installed in the device, the battery shall be kept away from heat, fire or other high temperature environments.
Keep the battery in a dry place stored at room temperature.
Do not disassemble, attempt to repair or use the battery for any other device or for any other purpose.
Do not place near any metal or use metal to shield the battery from physical damage as this may cause battery
overheating and/or a fire risk.
Do not short across the contacts of the battery or attempt to discharge the battery by shorting as a risk of fire or
explosion may result.
Do not expose or immerse the battery in water or attempt to clean with any cleaning agents. Only wipe battery with a
damp cloth if necessary.
Wash the affected area if electrolyte spills on skin or clothes. Leaking electrolyte may cause discomfort to the skin. If
it gets into the eyes, do not rob the eyes. Flush eyes immediately with water, and seek medical attention.
Battery Disposal
The SunTech CT40 device contains a lithium ion battery that contains materials which may be hazardous to
human health. Do NOT dispose of battery in domestic waste! Instead, please dispose of in an environmentally
responsible way, or return the battery to SunTech Medical. A prepaid return label can be obtained. Please see our
website for more information about our environmental policy at http://www.suntechmed.com/about-
suntech/environmental-policy.
Attach Connections to the Device
After connecting the Power Cable, plug into an available AC power outlet to charge batteries.
Connect the BP cable, SpO2sensor cable, and temperature sensor (if option is included) to the device.
Connect the barcode scanner and/or printer to the device if these options are included.
Use the Power Button on the left side of the SunTech CT40 to turn it on.
NOTE: The blue LED around the Selection Knob will be lit whenever the device is powered on.

80-0067-00-MO-RevF 2017-10-03 SunTech CT40 User Manual | 13
Mounting Options
The SunTech CT40 is designed to be used on a tabletop or mounted to a wall or mobile stand. Your device may be
delivered with the appropriate mounting kit, depending on the configuration your facility ordered. Please see the
separate mounting hardware instructions.
System Configuration
The SunTech CT40 can be used out of the box with the factory settings. Any changes desired to the factory settings
can be made using the Advanced Configuration Application. The Advanced Configuration Application can be
accessed when the device is connected to a Windows device. Advanced configuration, such as connecting to a
network or EMR system, should be done by a qualified technician. See Advanced Configuration Application Guide
(SunTech document 80-0072-00-MO) for details.
Advanced device configuration, such as choosing either BP or SpO2as the pulse rate source, or activating MAP
measurement (not available in the U.S.), is also done using the Advanced Configuration Application.
3. Getting to Know the SunTech CT40
Measurement Display

80-0067-00-MO-RevF 2017-10-03 SunTech CT40 User Manual | 14
Patient Identification and Date/Time Stamp
Patient ID
Memory Mode Information
Memory icon
Memory Delete icon
Connections to Ancillary Devices and Networks
: Wi-Fi radio on (segments will illuminate in series)
Wi-Fi radio connected (segments will be illuminated continuously)
AC power connected
Printer connected and powered on
Barcode scanner connected and powered on
Error Alert Symbol
WARNING: User must take immediate action (see additional information in Section 12)
Battery Level Indicator
Battery symbol (All bars illuminated indicate a full charge)
Blood Pressure Measurement Mode Selection Icons
: Auscultatory Sphygmomanometer Mode
: Averaging mode
: Number of measurements taken in averaging mode
: Maximum pressure setting for Auscultatory Sphyg Mode
: Time before first measurement in minutes (Illuminates when Averaging Mode is selected)
: Time between measurements in seconds (Illuminates when Averaging Mode is selected)
Blood Pressure Results (DIA and SYS)
DIA and mmHg: Diastolic blood pressure
SYS and mmHg: Systolic blood pressure
EMR Transmission Icons
: EMR icon prompts the user to confirm whether or not to send measurement data as message to EMR
system. (Only shown if EMR connectivity has been set up via Configuration Application.)
: Message icon (Indicates if EMR messaging is successful)

80-0067-00-MO-RevF 2017-10-03 SunTech CT40 User Manual | 15
If successful, the icon will flash on and off with check mark.
If not successful, it will flash on and off with X.
Adult or Child Patient Selection
Press and hold toggle button for 4 seconds, until selection knob starts flashing. Release toggle button, and use the
selection knob to select the icon needed. Selected icon will blink after 1 second. Press the selection knob to confirm
the selection.
: Adult BP Mode icon. This icon is illuminated when the Adult BP mode is selected.
: Pediatric BP Mode icon. This icon is illuminated when the Pediatric BP mode is selected. The CT40 will remain in
the selected patient mode until a new mode is selected.
Heart Rate and MAP Measurements
♥: Measured in BPM (Beats per minute), is illuminated when a heart rate is shown in the heart rate display.
MAP: Measured in mmHg is illuminated when a MAP value is shown (only if MAP functionality is enabled). NOTE:
This is a factory setting. MAP is not available in the U.S.
Pulse Oximetry Measurement Display
: Expressed in % of arterial oxyhemoglobin
Temperature Measurement Settings and Results Display
: Body temperature in either Fahrenheit or Celsius (user selectable)
: Cold Pre-heat mode
: Predictive mode
: Direct mode
: Human thermometry mode. Temporal (arrow on left side of head), Oral (arrow on right side of head), Axillary
(arrow under arm), or Rectal (arrow pointing to rectum).
: Object thermometry mode. Illuminates when object thermometry mode has been selected.
: Apply temp probe cover

80-0067-00-MO-RevF 2017-10-03 SunTech CT40 User Manual | 16
Control Panel
Memory Button
Press this button to enter Memory Mode and to store, view or delete saved measurements.
Save Current Reading: A quick press gives the user an option to save the patients reading, suggested to be done after
each reading.
Access Previous Reading: A long press (holding the button down for 4 seconds) gives the user the option to access
the bank of prior readings. Please see Section 4 to read more about the saving and accessing saved readings.
Toggle Mode Button
Press this button to toggle between three different BP measurement modes: Single Measurement, Averaging
Measurement and Auscultatory SphygMode.
A quick press gives the user an option to switch between BP measurements modes.
A long press (holding the button down for four seconds) gives the user the option to switch between pediatric or
adult mode. More information on switching from adult to pediatric mode can be found in Section 5.
Selection Knob
This round knob rotates clockwise and counterclockwise and can be pressed in to select different options on the
SunTech CT40. This button can be used to change parameters and to set the intended parameter.
Start/Stop Button
Press this button to start or stop a BP measurement.
Home Button
Pressing this button returns you to the single measurement mode.
Monitor Setup
Press the power button to start Initial Power-up. The display will gradually illuminate over a 3-second period. If this is
the first time the device has been turned on since it left the factory or since the device was set to factory defaults, the
user will be prompted to set the time and date in the following format: MM.DD.YYYY HH:MM:SS. The “MM” portion
of the field will flash first, prompting you to set the month. Turn the Select Knob to select the appropriate month and
press the Selection Knob. Then the next field, “DD” will flash, prompting you to select the day, and so on and so forth,
until you have set “SS” for seconds.
After setting the date and time, the device is ready to use! It is possible to make additional configuration changes to
the SunTech CT40 using the Advanced Configuration Application.

80-0067-00-MO-RevF 2017-10-03 SunTech CT40 User Manual | 17
Visual Alarms
When an error occurs, the Warning icon will blink, in addition to the relevant parameter experiencing the error.
Blood pressure error is displaced in the BP heart rate field.
Temperature error will displace in the lower right hand.
SpO2error will displace in lower left side of the screen.
Battery symbol will flash if error is related to battery.
Depending on the out-of-range value, the display will indicate whether the value is out-of-range (hi) or out-of-range
(lo). If the out-of-range parameter is the systolic or diastolic pressure (or both), and MAP is enabled, MAP is not
displayed for that measurement. NOTE: MAP is not available in the U.S.
See Section 12, “Status Messages and Alarms,” for more details.
4. Good to Know Before You Begin
Power Modes
Initial Power-up occurs the first time the device is turned on after being received from the factory, after the device
has been reset to factory defaults or after the battery has been changed. See “Monitor Setup” for information about
Initial Power-up.
Nominal Power-up refers to every time the device is turned on after Initial Power-up. Simply press the power button
and the display will illuminate.
NOTE: The blue LED around the Selection Knob will be lit whenever the device is powered on.
Power-down occurs when you press the power button when the device is powered up. During power-down, all LCD
segments and icons illuminate for 1 second and then the entire display gradually darkens from normal brightness to
black and then one beep sounds. At this point, the device enters Sleep Mode, a low-power state, and is considered
off.
Automatic Power-down occurs when the device has not been used (i.e., no measurements taken or buttons pressed)
for 1 hour. The device will automatically execute the Power-down sequence and enter Sleep Mode.
Your SunTech CT40 offers flexibility to function in ways that best meet your work setting.
Documenting Measurements
Before you start taking measurements, it’s important to document the patient ID per your facility’s procedures. In
order to do so, the barcode scanner must be used to enter the patient ID into the CT40.
With a Barcode Scanner
If your SunTech CT40 is connected to a barcode scanner, you can scan your patient’s barcode ID and it will show at
the top left of your screen. Then, the patient ID will remain attached to all measurements taken, saved in memory,
and/or sent to your facility’s EMR.

80-0067-00-MO-RevF 2017-10-03 SunTech CT40 User Manual | 18
Without a Barcode Scanner
If you don’t require a barcode scanner, all measurement results will be displayed on the main screen and can be
saved to the device’s memory, written down in a chart, printed out (with optional thermal printer) or captured in
another way that meets your facility’s documentation procedures.
Printing
The SunTech CT40 can be connected to an optional SunTech thermal printer to easily print out measurement results.
See Section 11 for ordering information.
After connecting the optional CT40 thermal printer (see Section 2 and Section 3), ensure that the green LED on the
top of the printer is lit and unblinking before printing.
Reset Print
To print the information currently displayed on the CT40 screen, press the print button on the top of the printer (see
diagram above).
Saving Measurements
With EMR Connectivity
Technicians may have already connected the SunTech CT40 to your facility’s EMR system. If so, you can easily send
measurements directly to the EMR.
With the patient’s current measurements displayed on the screen, press the Memory button . The EMR icon
and Check Mark icon will begin flashing.
Press the Selection Knob to send the data to the EMR. If the measurements are delivered to the EMR successfully,
you will see the EMR Message icon and the Check Mark icon blink four times.
To store the displayed measurements in the device memory without sending to the EMR:
Press the Memory Button ,
While the EMR and Check Icons are flashing, turn the Selection Knob until the X icon is displayed and then press
the Selection Knob. The measurements will be saved to the device memory only.
Without EMR
The SunTech CT40 does not have to be connected to an EMR system to save measurements. You can save them to
the device’s own memory. With the patient’s current measurements displayed on the screen:
Press the Memory button .
All of the measurement values on the screen, the Check icon and the Memory icon will flash on and off 2
times.

80-0067-00-MO-RevF 2017-10-03 SunTech CT40 User Manual | 19
The display will then return to a blank screen/shows null values, but the Check Mark icon will flash 2 more times,
this verifies the measurements are successfully stored to the device’s memory.
Note: The CT40 does not autosave. The user must save the reading to memory after every reading.
To view results stored in memory, press the Memory Button for more than four seconds. You will see the
most recently saved measurements displayed on the screen, and can turn the Selection Knob counterclockwise to
see older measurements and then clockwise to see newer measurements.
TIP: When you send results to memory, make note of the “Memory Location” number to keep track of an individual
patient’s measurements. Then later on, you can match the Memory Locator number with a patient’s name if you pull
up or print out results for documentation.
The memory will hold up to 99 records. At 100 readings the device will continue to save, but will save by overwriting
the oldest records.
5. Using SunTech CT40 for BP Measurement
The SunTech CT40 provides flexibility to allow you to measure BP using several different modes, depending on your
facility’s preferred procedure, the patient’s condition or other care considerations.
Step 1: Preparing the Patient
Patient Position
According to AHA guidelines, the patient should be seated for at least five minutes before taking a blood pressure
reading. The patient should be seated with feet flat on the floor and back supported. The patient’s upper arm should
be fully supported and resting at heart level. Encourage the patient to relax, and to be still and quiet.
Select and position BP cuff
Selecting the wrong size cuff will produce an inaccurate blood pressure measurement. When wrapped around the
patient’s arm, the Cuff Index Line should fall within the Range Markers printed on the cuff. If not, select a larger or
smaller cuff to ensure optimal BP measurement accuracy. The Artery Marker printed on the cuff must point to the
brachial artery, located inside the patient’s upper arm, between bicep and tricep. Wrap the cuff snugly around the
patient’s upper arm, so that the bottom edge of the cuff is approximately 1 inch above elbow joint.

80-0067-00-MO-RevF 2017-10-03 SunTech CT40 User Manual | 20
Step 2: Select Between Adult Vs Pediatric Mode
The SunTech CT40 offers two different measurement modes for two very different types of patients: Adults and
Pediatric patients (children between the ages of 3 and 12).
To switch between Adult and Pediatric modes:
: Adult BP Mode icon : Pediatric BP Mode icon
Hold the Toggle Mode button down for 4 seconds until the adult and pediatric icons start blinking.
Turn the Selection Knob in either direction to select the desired icon
After making your selection, wait 2 seconds. The selected icon will be the one flashing.
Once you have selected the intended mode, press the Selection Knob to finalize this selection.
Note: Adult and Pediatric mode can be used in conjunction with any type of measurement mode.
Step 3: Select Measurement Mode
The SunTech CT40 offers three different ways to measure BP.
Automatic Single BP: You can take a single, automatic measurement (Single Measurement Mode).
Averaged BP : Automatically take and average up to 5 multiple BP measurements (Averaging Measurement Mode).
Auscultatory/ Sphyg mode. Allows you to verify an automated oscillometric BP reading with a manual auscultatory
measurement (Auscultatory SphygMode).
Note: Use of Auscultatory SphygMode may be required to meet certain clinical trial protocols. It also can be used to
verify a BP reading if the automated BP results diverge significantly from a patient’s prior history, or if you as the
clinician deem it necessary. Auscultatory SphygMode mimics a traditional sphygmomanometer and does not measure
Systolic or Diastolic blood pressure.
Note: Averaging Measurement Mode can only be used for Automatic BP Measurements. It cannot be used to
automatically average measurements taken in Auscultatory SphygMode.
Single Measurement Mode
This is the device’s default mode. The SunTech CT40 will be in this mode each time it is powered up
Pressing the Home button will revert to single measurement mode.
Example of center display when Single Measurement Mode is selected
Other manuals for CT40
2
Table of contents
Other Sun-Tech Medical Equipment manuals
Popular Medical Equipment manuals by other brands

MEDIAID
MEDIAID 3X Series user manual

CMC
CMC Patient Tie-In System Important information

Cincinnati Sub-Zero
Cincinnati Sub-Zero WarmAir 135 Operation & technical manual

Dräger Medical
Dräger Medical Evita 4 DC ADDENDUM TO OPERATING INSTRUCTIONS

VISIOMED
VISIOMED ZAP'X VM-X100 user manual

AKRUS
AKRUS SC 5010 HS user manual

Transcend
Transcend 2 troubleshooting guide

Richard Wolf
Richard Wolf 2303 instruction manual

Acutus Medical
Acutus Medical AcQMap 900100 Operator's manual

Acelity
Acelity V.A.C. Ulta Therapy System Safety Information And Instructions

OPTIKON
OPTIKON HiScan Installation and operation manual

ResMed
ResMed AirFit N20 user guide