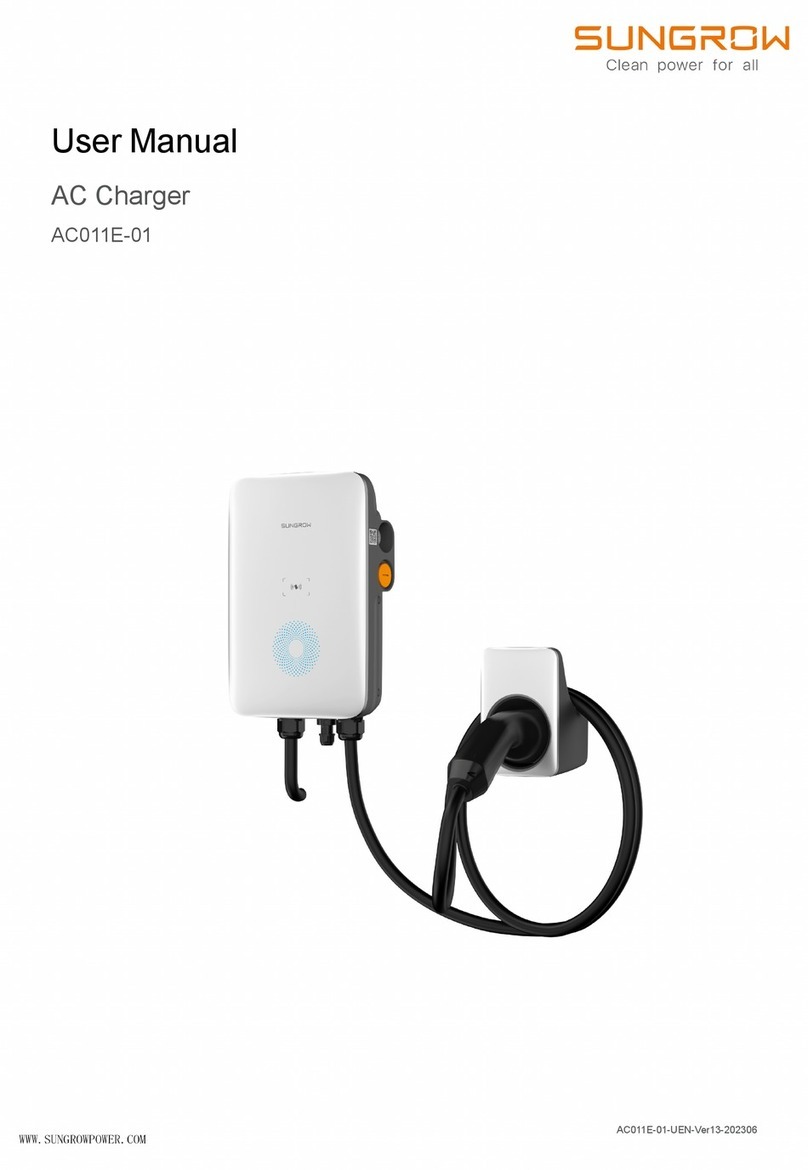
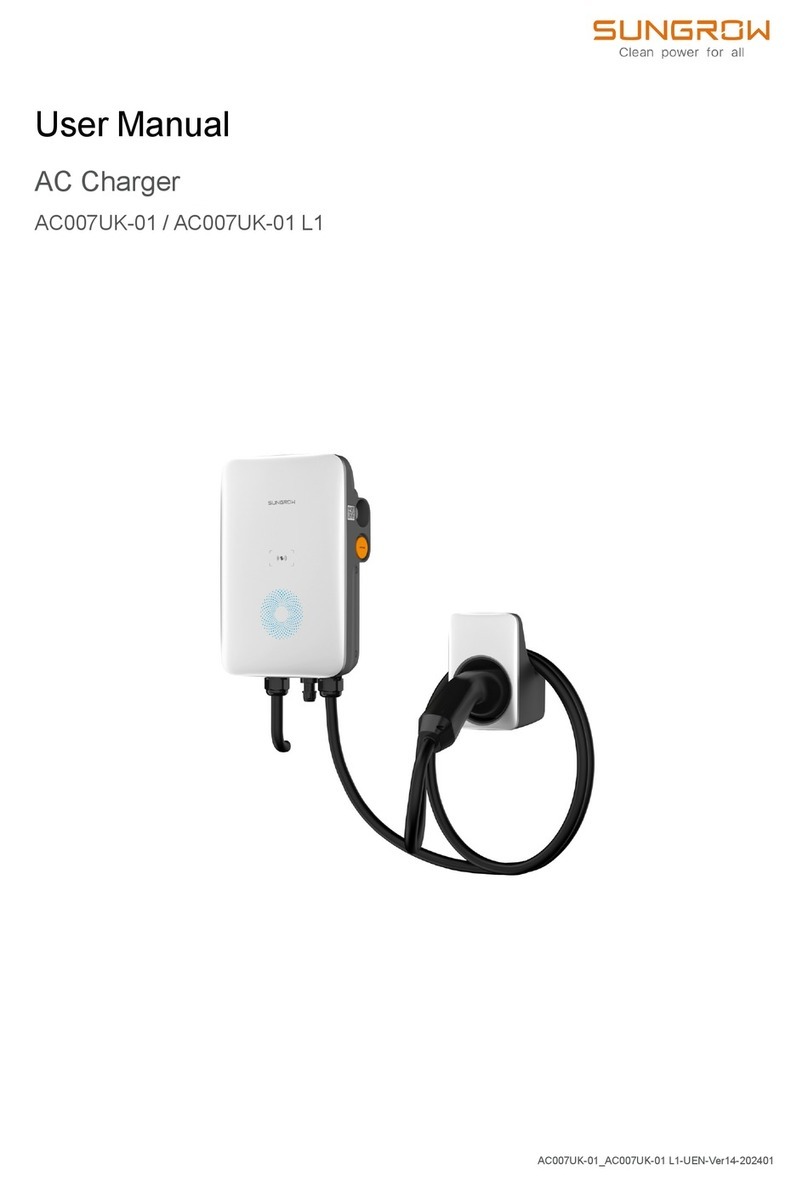
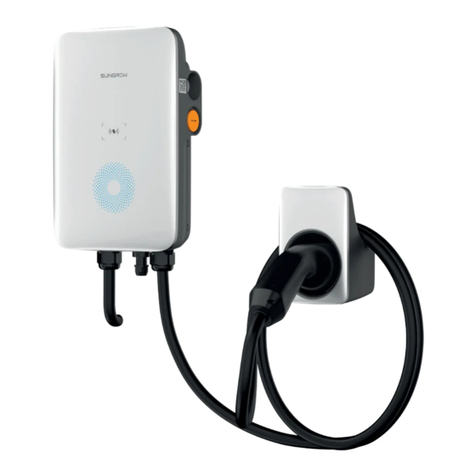
Sungrow AC011E-01 User manual

AC011E-01AC
ChargerUser ManualAC011E-01-
UCN-Ver11-202203
AC Charger
User Manual
AC011E-01
AC011E-01-UCN-Ver11-202203


I
All Rights Reserved
All Rights Reserved
No part of this document can be reproduced in any form or by any means without the prior
written permission of Sungrow Power Supply Co., Ltd (hereinafter "SUNGROW").
Trademarks
and other Sungrow trademarks used in this manual are owned by
SUNGROW.
All other trademarks or registered trademarks mentioned in this manual are owned by their
respective owners.
Software Licenses
• It is prohibited to use data contained in firmware or software developed by SUNGROW,
in part or in full, for commercial purposes by any means.
• It is prohibited to perform reverse engineering, cracking, or any other operations that
compromise the original program design of the software developed by SUNGROW.
Privacy Protection
• Information contained in this manual is the private property of Sungrow Power Supply
Co., Ltd. No part of this manual may be transmitted in any form without the prior written
permission of Sunlight Power Co., Ltd. Internal reproduction is allowed only for product
evaluation or other appropriate purposes.
• We declare that the network account and password data stored in the equipment system
are only used for remote control and monitoring of the equipment and will not be trans-
mitted to any third-party data platform without user's permission.
Disposal
After the service life of the charger ends, please dispose of it in accordance with the applic-
able electrical waste disposal act at the installation location. It can also be returned to Sun-
grow Power Supply Co., Ltd., but the relevant expenses shall be borne by your party.

II
About This Manual
The manual mainly contains the product information, as well as guidelines for installation,
operation, and maintenance.
Target Group
This manual is intended for professional technicians who are responsible for installation, op-
eration, and maintenance of charger, and users who need to check charger parameters.
The charger must only be installed by professional technicians. The professional technician
is required to meet the following requirements:
• Know electronic, electrical wiring and mechanical expertise, and be familiar with electri-
cal and mechanical schematics.
• Have received professional training related to the installation and commissioning of elec-
trical equipment.
• Be able to quickly respond to hazards or emergencies that occur during installation and
commissioning.
• Be familiar with local standards and relevant safety regulations of electrical systems.
• Read this manual thoroughly and understand the safety instructions related to
operations.
EMC
In some cases, even if the equipment is in accordance with the standard emission limits, it
can have an impact in certain application areas (some sensitive equipment is placed in the
same location; the equipment is installed is close proximity to a radio or TV receiver), and
the operator is obliged to take appropriate action to correct this situation.
How to Use This Manual
Please read this manual carefully before using the product and keep it properly at a place
for easy access.
All contents, pictures, marks, and symbols in this manual are owned by SUNGROW. No part
of this document may be reprinted by the non-internal staff of SUNGROW without written
authorization.
Contents of this manual may be periodically updated or revised, and the actual product pur-
chased shall prevail. Users can obtain the latest manual from support.sungrowpower.com
or sales channels.
Symbols
This manual contains important safety instructions, which are highlighted with the following
symbols, to ensure personal and property safety during usage, or to help optimize the pro-
duct performance in an efficient way.
Please carefully understand the meaning of these warning symbols to better use the manual.
III
Indicates high-risk potential hazards that, if not avoided, may lead to death or ser-
ious injury.
Indicates moderate-risk potential hazards that, if not avoided, may lead to death or
serious injury.
Indicates low-risk potential hazards that, if not avoided, may lead to minor or mod-
erate injury.
Indicates potential risks that, if not avoided, may lead to device malfunctions or fi-
nancial losses.
“NOTE” indicates additional information, emphasized contents or tips that may be
helpful, e.g., to help you solve problems or save time.


V
Contents
All Rights Reserved .....................................................................................................I
About This Manual......................................................................................................II
1 Introduction .......................................................................................................1
1.1 Introduction....................................................................................................1
1.2 Model and Nameplate.....................................................................................1
1.3 Scope of Delivery ...........................................................................................1
1.4 Appearance and Dimensions...........................................................................2
1.5 RFID card ......................................................................................................2
1.6 Indicator ........................................................................................................3
1.7 Port ...............................................................................................................3
1.8 System Topology............................................................................................4
2 Installation .........................................................................................................5
2.1 Installation Requirements................................................................................5
2.2 Unpacking and Inspection ...............................................................................7
2.3 Installation Tools.............................................................................................8
2.4 Cable Connection...........................................................................................8
2.4.1 Communication terminal ......................................................................12
2.5 Wall-mounted Installation ..............................................................................12
2.6 Pile Installation .............................................................................................16
3 Charging Operation ........................................................................................21
4 Power-on Checking .......................................................................................22
5 Faults and troubleshooting ...........................................................................23
6 Appendix ..........................................................................................................27
6.1 System Parameters ......................................................................................27
6.2 Quality Assurance ........................................................................................28
6.3 EU Declaration of Conformity ........................................................................29
6.4 Contact Information ......................................................................................29


1
1Introduction
1.1 Introduction
The three phase AC charger is used for electric vehicle’s AC charging, with the function
of charging by scanning the RFID card. The RFID card is a key component to start or stop
the charging session.
The LED indicator on the front panel helps you understand what is happening with the
charger by indicating different colors. The protection grade of the charger is high as IP65,
with the excellent capacity of water and rust proof, assuring the safe outdoor operation and
maintenance.
The floor-stand installation is optional by ordering an additional pillar. Designed according to
Electric Vehicle Charging System Standard EN IEC-61851-1-2017, the charger is compliant
with the industrial standards and safe for usage.
With internet connection through WiFi, users are able to monitor and manage the charger
operation from the mobile APP.
1.2 Model and Nameplate
Model Nameplate
1.3 Scope of Delivery
1 Euro-standard charging socket-outlet

2
2 Wall-mounted bracket assembly with packaging material
3 R-50 desiccant
4 Warranty Card & Certificate of Conformity
5 User Manual
6 L-shaped wrench
7 M1 card × 2
1.4 Appearance and Dimensions
figure 1-1 Appearance and dimensions
1.5 RFID card
One card only for one pile, off line card, swiping the card to start and stop, no billing function
Each charger has 2 cards
Parameter
1 Dimensions: 85.6× 54 mm
2 Material: PVC
Card standard: conform to ISO/IEC 14443A/B
1 Introduction User Manual

3
1.6 Indicator
table 1-1 Indicator Status
Charging Station Status Indicator Effect Remarks
Standby Blue indicator flashes slowly, on for 1s and
off for 4s; circulating
Normal
Charging (S2 is closed and
current is normal)
Blue indicator breathes, on for 1s and off for
1s; circulating Normal
Charging stops Blue indicator is steady on Normal
Detecting plug Blue indicator flashes quickly, on for 0.5s and
off for 0.5s; circulating Normal
Power-on self-test Blue indicator is on for 1s and red indicator is
on for 1s Normal
Charger software upgrading Blue indicator flashes quickly Normal
1.7 Port
figure 1-2 Port diagram
table 1-2 Label explanation
Label Explanation
A Power input Interface
B RS485 external communication interface
C Charging gun output interface
User Manual 1 Introduction

5
2Installation
Respect all local standards and requirements during mechanical installation.
2.1 Installation Requirements
Location Requirements
Select an optimal mounting location for safe operation, long service life and expected
performance.
• The charger with protect IP65 can be installed both indoors and outdoors.
• Install the charger at a place convenient for electrical connection, operation, and
maintenance.
Environment Requirements
• The installation environment must be free of inflammable or explosive materials.
• The location should be not accessible to children.
• The ambient temperature and relative humidity must meet the following requirements.
• Avoid direct exposure to sun,rain,and snow.
• The charger should be well ventilated. Ensure air circulation.
• Never install the charger in living areas.The charger will generate noise during operation
affecting daily life.

6
Carrier Requirements
The concrete wall should be capable of withstanding a force of four times the weight of the
charger and be suitable for the dimensions of the charger.
The installation carrier should meet the following requirements:
Angle Requirements
Install the charger vertically. Never install the charger horizontally,or at forward/backward ti-
tled,or upside down.
2 Installation User Manual

7
2.2 Unpacking and Inspection
table 2-1 Label Descriptions
Item Name Quantity
A Charger 1
B Socket-outlet 1
C Back plate 1
D Upper hanging plate 1
E Lower hanging plate 2
F Pile (optional) 1
G Combination screw, expansion screw 4, 7 (wall-mounted); 11, 0 (pile-
mounted)
H L-shaped spanner 1
User Manual 2 Installation

8
2.3 Installation Tools
table 2-2 Label Descriptions
Item Name Specification
A Marker pen -
B Wire stripper -
C Cable drilling tool Ø6, Ø12
D Cross screwdriver M3, M4
E Hydraulic clamp 2.5-6mm2
F Hot air gun -
G Crystal crimping pliers -
H Adjustable spanner -
2.4 Cable Connection
Circuit diagram
2 Installation User Manual

9
figure 2-1 Circuit diagram
table 2-3 Label Descriptions
Label Description
A LED indicator board, showing the status of the charger
B RS485, reserved for external communication
C ESP32 module for Bluetooth/Wifi communication
D CT for leakage current detection
E Charging gun output (connected to target EV)
F CCU internal relay
G 25A/400V 30mA A RCD input cable 2.5mm2
H The charger equipment is in the dotted box.
Steps
step 1 Place the back of the charger up on foam or other objects that are difficult to scratch the sur-
face of the charger, and remove the back cover plate with a screwdriver. Use M3 screws,
recommended torque: 0.5±0.1N · m.
step 2 Insert the cable into the charger from the port of power supply at the leftmost.
User Manual 2 Installation

10
The recommended cable specifications: 5×2.5 mm2.
step 3 Adjust the cable to a suitable length, peel off the outermost insulation skin of the cable, and
make the cable connection terminal.
1 Remove the insulation skin at the end of each sub-cable;
2 Insert the copper core of the stripped end of the cable into the cable hole of the copper
lug;
3 Use a hydraulic clamp to tighten the copper lug;
4 Choose a heat-shrink tubing that matches the size of the cable. The length of the tubing
should be about 2cm longer than the length of copper lug’s wire tube.
5 Place the heat-shrink tubing on the copper lug so that it completely covers the copper
lug's wire hole;
6 Use a heat gun to shrink the heat-shrink tubing.
Brown (L1), black (L2), gray (L3), blue (N), yellow-green (PE)
2 Installation User Manual

12
2.4.1 Communication terminal
figure 2-2 RJ45 terminal components
step 1 Crimp communication terminal port.
step 2 Connect to an inverter or other communication device.
- - End
Crimp the blue wire and the blue-white wire to the crystal head.
The blue line(PIN4) connects to 485B, and the blue-white line(PIN5) connects to
485A.
2.5 Wall-mounted Installation
Install the charger on the wall using the provided wall-mounting bracket and expansion plug
sets.
The expansion plug set shown below is recommended for the installation.
2 Installation User Manual
Other manuals for AC011E-01
5
Table of contents
Other Sungrow Batteries Charger manuals

Sungrow
Sungrow AC011E-01 User manual

Sungrow
Sungrow IDC30E User manual

Sungrow
Sungrow AC011E-01 User manual

Sungrow
Sungrow AC011E-01 User manual

Sungrow
Sungrow IDC30E User manual

Sungrow
Sungrow AC007UK-01 User manual

Sungrow
Sungrow AC011E-01 User manual

Sungrow
Sungrow AC011E-01 User manual

Sungrow
Sungrow AC007UK-01 L1 User manual

Sungrow
Sungrow AC007E-01 User manual