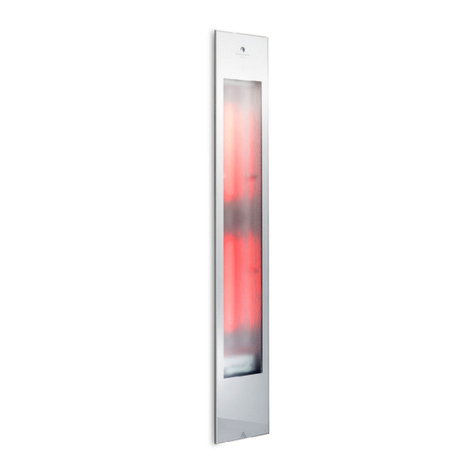
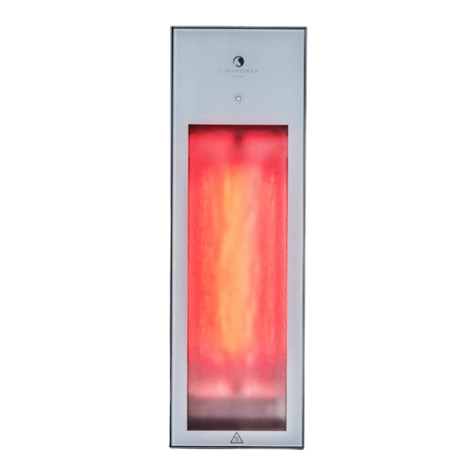
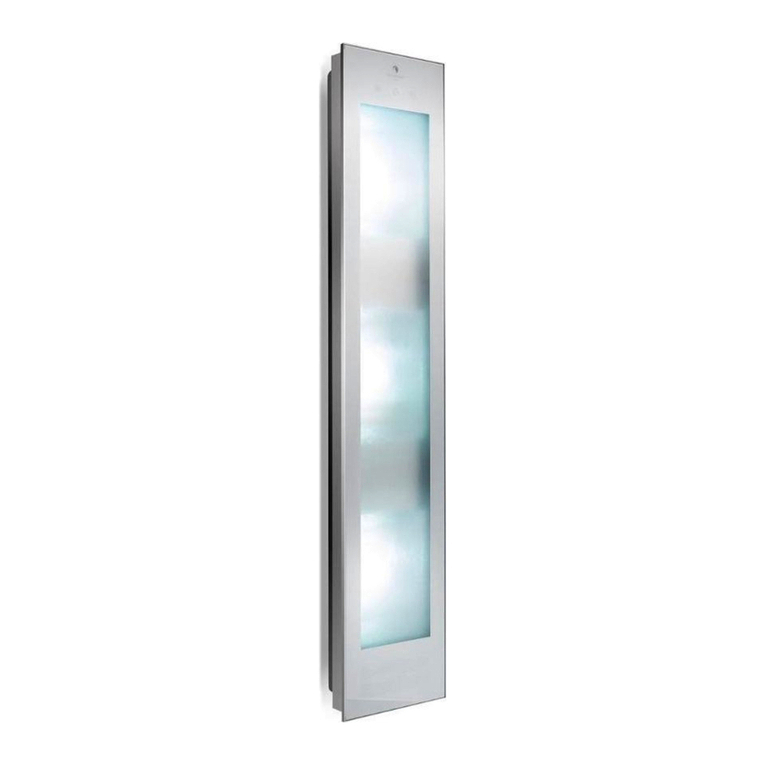
Sunshower DELUX User manual

2
DELUXE
WHITE / BLACK
ARTICLE NO.
80015 (WHITE)
80016 (BLACK)
INSTALLATION GUIDE
PART II - FINAL ASSEMBLY

3
INSTALLATION MANUAL DELUXE | PART II | P5043 REV A
GENERAL INSTRUCTIONS
Sunshower B.V.
Hoogoorddreef 63-65
1101 BB Amsterdam
The Netherlands
T +31 (0)20 462 14 60
www.sunshower.nl
info@sunshower.nl
!
!
BE SURE TO READ THIS INSTRUCTION CAREFULLY
BEFORE INSTALLATION. INSTALLATION ONLY CAN
ONLY BE CARRIED OUT BY QUALIFIED INSTALLERS.
THE ELECTRICAL CONNECTION OF SUNSHOWER
COMPONENTS CAN ONLY BE CARRIED OUT BY QUALIFIED
ELECTRICIANS. SUNSHOWER IS NOT LIABLE FOR DAMAGE
CAUSED BY INCORRECT INSTALLATION.
GENERAL
!
!
THE ELECTRICAL CONNECTION OF SUNSHOWER
COMPONENTS MAY ONLY BE CARRIED OUT BY A
QUALIFIED ELECTRICIAN. THE INSTALLATION AND
ELECTRICAL CONNECTION OF THE SUNSHOWER
INSTALLATION MUST BE CARRIED OUT IN ACCORDANCE
WITH THE APPLICABLE INTERNATIONAL AND NATIONAL
STANDARDS AND GUIDELINES. THE SUNSHOWER MUST
BE PROTECTED BY A SEPARATE EARTH LEAKAGE CIRCUIT
BREAKER (RCD) (SEE ELECTRICAL CONNECTION).
ELECTRICITY

4
Sunshower B.V., Hoogoorddreef 63-65, 1101 BB Amsterdam, The Netherlands
hereby declares that:
• These Sunshower products are IPX5 approved and specially designed for use
and installation in zone 1.
• The notified body DARE!! Measurements, an ISO17025 accredited institution for
performing product certifications with registration number C447.
• These products are in conformity with the Low-Voltage Directive 2014/35/EU
and the Directive 2014/30/EU for Electromagnetic compatibility of the European
Parliament.
• These products are tested and meet the following norms/directives for CE
markings:
• EN60335-1:2012 + A11:2014 + A13:2017
• EN60335-2-27:2013
• EN61000-6-3:2007 + A1:2011 + AC:2012
• EN61000-6-1:2007
• EN61000-3-3:2013
• EN61000-3-2:2014
The Netherlands, Amsterdam, 1 jan 2020
M. Wegdam, Technical Director
INSTALLATION MANUAL DELUXE | PART II | P5043 REV A
Sunshower B.V.
Hoogoorddreef 63-65
1101 BB Amsterdam
The Netherlands
T +31 (0)20 462 14 60
www.sunshower.nl
info@sunshower.nl
CERTIFICATE OF CONFORMITY

5
NOT INCLUDED
INSTALLATION MANUAL DELUXE | PART II | P5043 REV A
PREPARATION
BOX CONTENT
□Screwdriver ( - )
□Screwdriver ( + )
□Suction cap
GLASS PANEL INNER UNIT WALL FRAME GUSSET PLATES +
CONNECTION SLEEVES
2x
2x
2x
IN THE BOX
□Installation bag
□Gusset plates
□Connection sleeves
□Glasses

6
INSTALLATION
REMOVE WALL BRACKET
INSTRUCTIONS
REQUIRED TOOLS
Wait 24 hours after completing
installation according to
Installation Manual Part I.
Remove the wall bracket from the
middle of the frame.
INSTALLATION MANUAL DELUXE | PART II | P5043 REV A
□Screwdriver ( + )

7
INSTALLATION
INNER UNIT
INSTRUCTIONS
REQUIRED TOOLS
Mount the inner unit using the four
screws provided.
INSTALLATION MANUAL DELUXE | PART II | P5043 REV A
□Screwdriver ( + )
□Screws4x

8
N L
INSTALLATION
ELECTRICAL CONNECTION
INSTRUCTIONS
REQUIRED TOOLS
Connect the Sunshower to the
power cable and the equipotential
bonding cable.
INSTALLATION MANUAL DELUXE | PART II | P5043 REV A
□Screwdriver ( - )
N = blue
= yellow/green
L = brown
!
!
ALL ELECTRICAL WORK MUST BE
CARRIED OUT BY A QUALIFIED
ELECTRICIAN IN ACCORDANCE
WITH THE APPLICABLE GUIDELINES
(HD 60364-7-701 AND SUCH) AND
NATIONAL REGULATIONS.
A SEPARATE POWER CONNECTION
WITH A SEPARATE FUSE AND A
SEPARATE EARTH LEAKAGE CIRCUIT
BREAKER (RCD) MUST BE PROVIDED.

9
INSTALLATION
GLASS PANEL
INSTRUCTIONS
Connect the connector to the
circuit board and use a suction
cup to place the glass panel in the
frame.
Make sure that the cable runs
inside the unit as far as possible
and does not hang in front of the
lamps when the glass panel is in
the frame.
INSTALLATION MANUAL DELUXE | PART II | P5043 REV A
!
!
CAUTION:
Never touch the window at
the back of the glass panel.
This can cause stains.
REQUIRED TOOLS
□Suction cap

10
INSTALLATION
FINISH INSTALLATION
INSTRUCTIONS
Switch on the circuit or residual
current circuit breaker.
The on/off button on the
Sunshower will flash briefly (do
not touch the on/off button when
it flashes; the Sunshower is
calibrating).
If the power button does not
flash, check that the connector is
correctly fitted.
Check whether the Sunshower
switches on: press the left button
once, the infrared lamps will light
up. Press the middle button once
and the Sunshower will cool for
four minutes.
Check if the UV lamps work: put
on UV glasses and press the right
button once. The UV lamps start
up. Press the middle button once
and the Sunshower will cool for
four minutes.
The Sunshower is ready for use!
INSTALLATION MANUAL DELUXE | PART II | P5043 REV A

11
DELUXE
WHITE / BLACK
ARTIKELNR.
80015 (WIT)
80016 (ZWART)
INSTALLATIEHANDLEIDING
DEEL II - EINDINSTALLATIE

12
INSTALLATIEHANDLEIDING DELUXE | DEEL II | P5043 REV A
ALGEMENE INSTRUCTIES
Sunshower B.V.
Hoogoorddreef 63-65
1101 BB Amsterdam
Nederland
T +31 (0)20 462 14 60
www.sunshower.nl
info@sunshower.nl
!
!
!
!
LEES DEZE INSTRUCTIES ZORGVULDIG DOOR VOORDAT
U MET DE INSTALLATIE BEGINT. INSTALLATIE DIENT
ENKEL UITGEVOERD TE WORDEN DOOR GESCHOOLD EN
ERKEND VAKPERSONEEL. DE ELEKTRISCHE AANSLUITING
VAN SUNSHOWER-COMPONENTEN MAG ALLEEN DOOR
EEN ERKEND ELEKTRICIEN WORDEN UITGEVOERD.
SUNSHOWER IS NIET AANSPRAKELIJK VOOR SCHADE
VEROORZAAKT DOOR ONJUISTE INSTALLATIE.
DE ELEKTRISCHE AANSLUITING VAN SUNSHOWER-
COMPONENTEN MAG ALLEEN DOOR EEN ERKEND
ELEKTRICIEN WORDEN UITGEVOERD. DE MONTAGE EN
ELEKTRISCHE AANSLUITING VAN DE SUNSHOWER-
INSTALLATIE MOET WORDEN UITGEVOERD
IN OVEREENSTEMMING MET DE GELDENDE
INTERNATIONALE EN NATIONALE NORMEN EN
RICHTLIJNEN (BIJVOORBEELD VOOR NEDERLAND: NEN
1010 – 701). DE SUNSHOWER MOET WORDEN BEVEILIGD
DOOR EEN APARTE AARDLEKSCHAKELAAR (RCD) (ZIE
ELEKTRISCHE AANSLUITING).
ALGEMEEN ELEKTRA

13
Sunshower B.V., Hoogoorddreef 63-65, 1101 BB Amsterdam, Nederland verklaart
hierbij dat:
• Dit Sunshower product IPX5 gekeurd en speciaal ontwikkeld is voor gebruik en
installatie in de douche (zone 1)
• Dit product is getest is door DARE!! Measurements: een ISO17025
geaccrediteerd testhuis voor het uitvoeren van productcertificaties onder het
registratie nummer C447
• Dit product is gefabriceerd volgens Directive 2014/30/EU van de Europese
Gemeentschap en de Low-Voltage Directive 2014/35/EU van de Europese
Gemeentschap
• Dit product is gekeurd en voldoet aan onderstaande normen/richtlijnen voor CE
markering:
• EN60335-1:2012 + A11:2014 + A13:2017
• EN60335-2-27:2013
• EN61000-6-3:2007 + A1:2011 + AC:2012
• EN61000-6-1:2007
• EN61000-3-3:2013
• EN61000-3-2:2014
Nederland, Amsterdam, 1 jan 2020
M. Wegdam, Technisch Directeur
INSTALLATIEHANDLEIDING DELUXE | DEEL II | P5043 REV A
Sunshower B.V.
Hoogoorddreef 63-65
1101 BB Amsterdam
Nederland
T +31 (0)20 462 14 60
www.sunshower.nl
info@sunshower.nl
CONFORMITEITSVERKLARING

14
NIET MEEGELEVERD
INSTALLATIEHANDLEIDING DELUXE | DEEL II | P5043 REV A
VOORBEREIDING
ONDERDELEN DOOS
□Schroevendraaier ( - )
□Schroevendraaier ( + )
□Zuignap
GLASPLAAT BINNENWERK WANDFRAME SCHETSPLATEN +
AANSLUITMOFFEN
2x
2x
2x
IN DE DOOS
□Installatiezakje
□Schetsplaten
□Aansluitmoffen
□Brillen

15
INSTALLATIE
VERWIJDEREN STEUN
INSTRUCTIES
BENODIGDHEDEN
Wacht 24 uur na het voltooien van
Installatiehandleiding Deel I.
Verwijder de wandframe steun uit
het midden van het frame.
INSTALLATIEHANDLEIDING DELUXE | DEEL II | P5043 REV A
□Schroevendraaier ( + )

16
INSTALLATIE
INSTALLEREN BINNENWERK
INSTRUCTIES
BENODIGDHEDEN
Monteer het binnenwerk met de
vier bijgeleverde schroeven.
INSTALLATIEHANDLEIDING DELUXE | DEEL II | P5043 REV A
□Schroevendraaier ( + )
□Schroeven4x

17
N L
INSTALLATIE
ELEKTRISCHE AANSLUITING
INSTRUCTIES
BENODIGDHEDEN
Sluit de Sunshower aan
op de stroomkabel en de
potentiaalvereffeningskabel.
INSTALLATIEHANDLEIDING DELUXE | DEEL II | P5043 REV A
□Schroevendraaier ( - )
N = blauw
= geel/groen
L = bruin
!
!
ALLE ELEKTRISCHE WERKZAAMHEDEN
MOETEN WORDEN UITGEVOERD
DOOR EEN ERKEND ELEKTRICIEN
IN OVEREENSTEMMING MET DE
GELDENDE RICHTLIJNEN (HD
60364-7-701 E.D.) EN DE NATIONALE
VOORSCHRIFTEN (BV. VOOR
NEDERLAND NEN 1010 - 701). ER MOET
EEN APARTE STROOMAANSLUITING
MET APARTE ZEKERING EN APARTE
AARDLEKSCHAKELAAR WORDEN
VOORZIEN.

18
INSTALLATIE
MONTEREN GLASPLAAT
INSTRUCTIES
Sluit de connector aan op de
printplaat en plaats de glasplaat
met een zuignap in het frame.
Zorg dat de kabel zoveel mogelijk
bovenin het apparaat valt, zodat
deze niet voor de lampen hangt
wanneer de glasplaat in het frame
zit.
INSTALLATIEHANDLEIDING DELUXE | DEEL II | P5043 REV A
!
!
LET OP:
Raak nooit het venster
aan de achterkant van de
glasplaat aan. Dit kan leiden
tot vlekken.
BENODIGDHEDEN
□Zuignap

19
INSTALLATIE
AFRONDEN INSTALLATIE
INSTRUCTIES
Schakel de groep of
aardlekschakelaar in.
De aan/uitknop op de Sunshower
zal even knipperen (raak tijdens
het knipperen de aan/uitknop niet
aan, de Sunshower is aan het
kalibreren).
Indien de aan/uitknop niet
knippert, controleer dan of de
connector goed is gemonteerd.
Wanneer de aan/uitknop stopt met
knipperen is de Sunshower klaar
voor gebruik.
Controleer of de Sunshower aan
gaat: druk eenmaal op de linker
toets, de infrarood lampen zullen
gaan branden. Druk eenmaal op de
middelste toets en de Sunshower
zal vier minuten nakoelen.
Controleer of de UV lampen
werken: zet een UV bril op en
druk eenmaal op de rechter toets.
De UV lampen starten op. Druk
eenmaal op de middelste toets en
de Sunshower zal vier minuten
nakoelen.
De Sunshower is gereed voor
gebruik!
INSTALLATIEHANDLEIDING DELUXE | DEEL II | P5043 REV A

20
DELUXE
WHITE / BLACK
ARTIKELNUMMER
80015 (WEISS)
80016 (SCHWARZ)
INSTALLATIONSHANDBUCH
TEIL II - ENDMONTAGE
Table of contents
Languages:
Other Sunshower Heater manuals

Sunshower
Sunshower PURE p893 User manual

Sunshower
Sunshower COMBI WHITE User manual

Sunshower
Sunshower PURE XL User manual

Sunshower
Sunshower PURE XL User manual

Sunshower
Sunshower SOLO User manual

Sunshower
Sunshower DELUXE WHITE User manual

Sunshower
Sunshower DELUXE HEALTH User manual

Sunshower
Sunshower P1220 User manual

Popular Heater manuals by other brands

flowair
flowair LEO FS Series Operation manual

Rowi
Rowi HGF 425/1 Eco operating instructions

Flowpro
Flowpro 84636 instruction manual

Stelpro
Stelpro SDHR Series Installation and user guide

Munters
Munters GRY-I 40 WU Operating, installation and service instructions

EINHELL
EINHELL MR 715/2 Original operating instructions