2010 03 01 01:53:40
H.264
VGA(640x480)
Surveon CAM3260
When entering the Live section View of the camera’s web-based interface, you will be prompted to install
ActiveX control components. Click on the message prompt to install. If IE blocks the installation, you will
need to open the following options to continue with installation:
On your IE browser, access Tools -> Internet Options -> Security -> Custom Levels. Enable “Download
Signed ActiveX controls” and click ok to save this setting.
When ActiveX control components are installed, access Tools -> Internet Options ->Security ->
Trusted Sites ->Sites on your browser. Enter the IP configured for the camera and click OK
to complete the process.
http://172.16.80.4
http://effice.infortrend.com
Security level for this zone
Custom Level Default Level
For details about accessing camera video using QuickTime or Realplayer over RTSP and
3GPP, please refer to your user guide. The user guide is provided in your product DVD.
3
Front View & LED Definitions
2
© by Surveon Technology, Inc. All rights reserved.
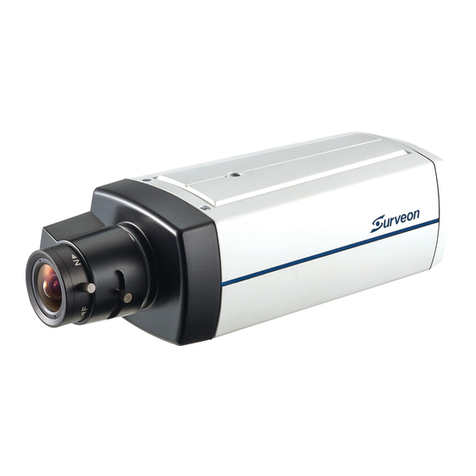
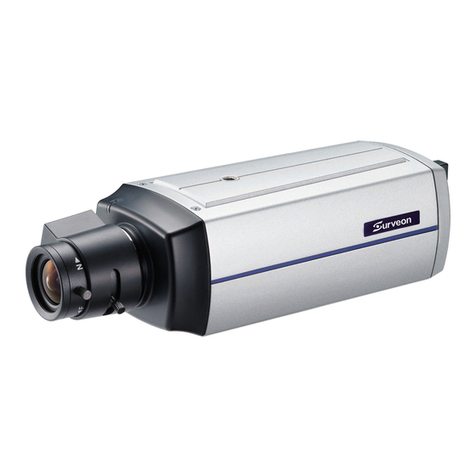
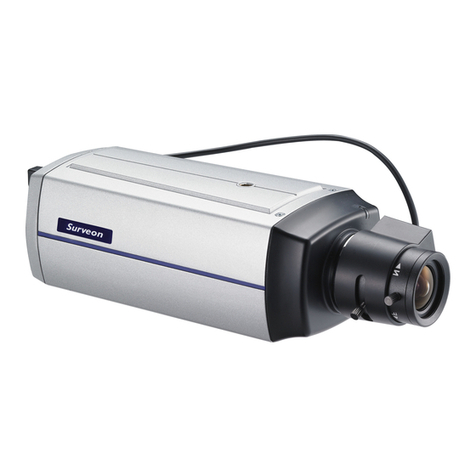
Box Network Camera
Hardware Installation
Trusted Megapixel IP Video Solutions
Warning!
Only qualified service personnel should install
and service this product in order to avoid risk
of injury from electrical shock and energy
hazards.
Rear View and Installation
1
DC12V
RESETPOWER
AUDIO IN AUDIO OUT
GND
AUX PW
DO
RS- 485A
RS- 485B
DI 1
DI 2
DC-IRIS
microSDHC 1microSDHC 2
1.
Fasten screws to secure
camera stand to the ceiling or
a flat surface.
2.
Loosen the lock ring to adjust the
desired angle of the camera.
Retighten the lock ring after desired
angle is achieved.
NOTE:
Cameras are for
indoor use only.
(
Certain models only)
DC IRIS
Caution!
Observe all ESD (Electro-static
procedures during installation to avoid damage
to the system and other components.
Discharge)
Phillips
Screwdriver Anti-static
Wrist Strap
Accessories
Power Requirements
Using the included power adapter:
Input: 100-240 VAC 50/60Hz 0.4A
Output: 12VDC, 1.5A
Tools required
1x Product DVD
3x Mounting Screws
1x Camera Stand
1x Quick Installation Guide
1x RoHs compliance
1x Hexagonal wrench
CS-ring
Lens (Option)
●
●
●
●
●
●
●
●1x 12V 1.5A PowerAdapter (Optional)
●
* A DC IRIS-equipped camera is shown below.
microphone
LED DC IRIS Cable(Certain models only)
LED
Off
Static Green
Flashing Green
Steady Amber
Flashing Amber - ON: 0.2 sec, OFF: 0.2 sec
Flashing Amber - ON: 0.2 sec, OFF: 0.5 sec
Definitions
Power Off
Status Normal
Video traffic
Initial startup
Restored to factory defaults
Restoring defaults; Upgrading firmware;
Upgrade failure
Zoom & Focus Adjust. Bars
2
Software Installation
Network Configuration
1
1. Use the default IP to access the camera: 192.168.88.10 or
level2 or level3 network, locate or set up a static IP for your camera
2. Using the device utility in your product CD, which discovers cameras, DVRs, or NVRs within the same
172. . .18816 80
255. . .0255 255
172.16.80.1
172.16.80.100
119.6 . 6 .6
Speaker
Internet
NAS FTP Email server
Amplifier-enabled
Microphone
Router
Router
Client Client
MicroSD
To Reset:
Press and hold the button down
for 3 seconds when powering on
to restore factory defaults.
In addition to power adapter,
PoE (802.11AF compliant) is
also supported.
PTZ controller *
Alarm *Sensor *
* Supports boot
from SD
on SDHC1
DC12V
RESETPOWER
AUDIO IN AUDIO OUT
GND
AUX P W
DO
RS- 485 A
RS- 485 B
DI 1
DI 2
DC-IRIS
microSDHC 1microSDHC 2
DC IRIS*
Camera Deployment
3
3. With a valid IP, access the camera’s web-based configuration utility by opening an IE browser.
Key in http://<IP address> on the URL field.
http://172.16.80.4/index.cgi
MPEG4
QVGA(320x240)
Key in the default user name and password to login.
The defaults are: admin / admin
User Name:
Password:
admin
admin Once successfully logged in, live video displays in the center of your
browser.
SXGA(1280x1024)
The camera will attempt to obtain an IP via DHCP, but will use the default IP if DHCP service is
not found. To re-enable DHCP IP assignment, reset the camera.
Note :
You will be prompted
to change your password Configure Admin Password
User Name:
Old Password:
New
Password:
Confirm Password:
admin
Trusted sites
* Note: CAM23xx doesn’t have LED and Microphone
*Certain models only
QUICK INSTALLATION GUIDE
