manuals.online logo
Brands
  1. Home
  2. •
  3. Brands
  4. •
  5. System Build
  6. •
  7. Indoor Furnishing
  8. •
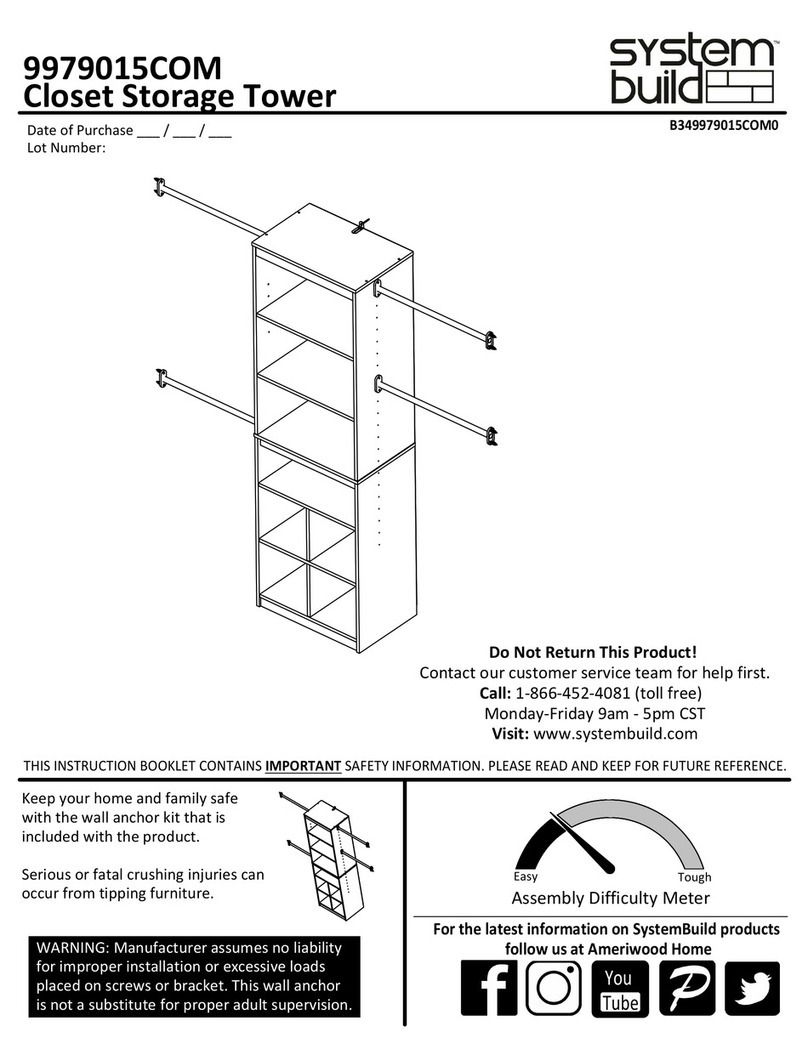
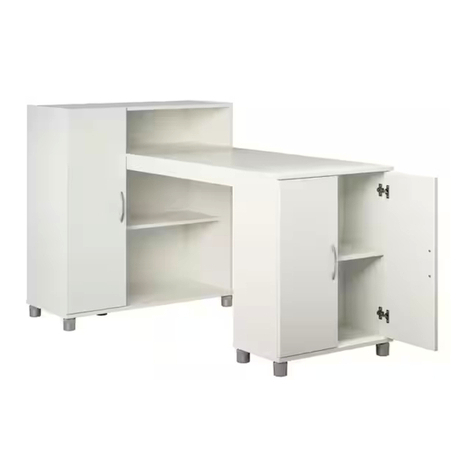
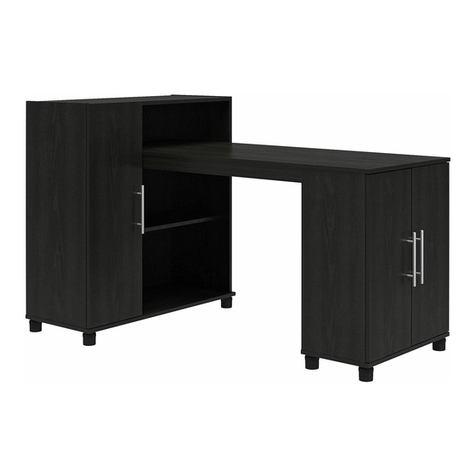
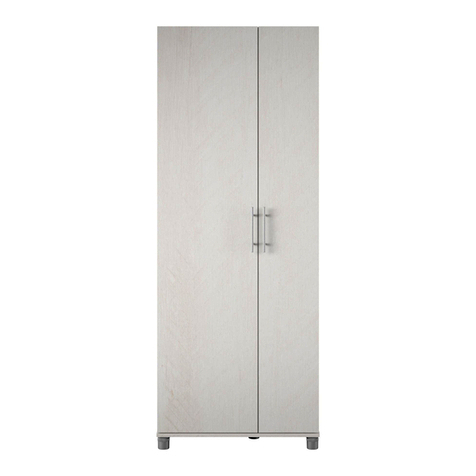
  9. System Build 7240025P User manual

System Build 7240025P User manual

STOP
WWW.AMERIWOOD.COM/PARTS
B347240025P00
7240025P
-GUARDAR PARA REFERENCIA--KEEP FOR REFERENCE-
Anchor unit to stud or wall. Ne laissez PAS les enfants grimper sur le meuble
L'unité peut basculer et causer des
blessures graves ou la mort.
Fixez l'unité au mur ou à un montant.
Déposez les pièces lourdes sur les tablettes ou tiroirs
du bas.
Lire et suivre toutes les instructions d'assemblage.
AVERTISSEMENT
-GARDEZ POUR RÉFÉRENCE-
WARNING
Read and follow all assembly instructions.
Unit can tip over causing severe injury
or death.
DO NOT allow children to climb on unit.
Put heavy items on lower shelves or drawers. Poner los articulos mas pesados en los tableros o cajones inferiores.
Leer y sequir todos de los instucciones para el montaje.
NO dejar que los niños suben por encima del mueble.
Anolar el mueble a un espárrago muro.
Este mueble puede caerse por encima
causando daño serio o la muerte
ADVERTENCIA
Individual stores do not stock parts.
DO NOT RETURN PRODUCT TO THE STORE
NO REGRESAS ESTA PRODUCTO A LA TIENDA
Las tiendas no tiene partes.
NE RETOURNEZ PAS LE PRODUIT AU MAGASIN
Les magasins individuels ne gardent pas de pièces.
If a part is missing or damaged, please visit our website or call our toll-free customer
service line. We will gladly ship your replacement parts FREE of charge.
Si las partes están perdidas o dañadas Por favor visite nuestra página de Internet o
llame a nuestra línea de teléfono gratis de Servicio al Cliente. Nosotros le enviaremos
sus repuestos sin cargo adicional, serán totalmente gratis.
Si une pièce est manquante ou endommagée, veuillez visiter notre site web ou appelez
sans frais notre Service à la clientèle. Nous expédierons avec plaisir vos pièces de
rechange GRATUITEMENT.
o llame a nuestra línea gratis:
or call toll free:
ou appelez sans frais: 1-800-489-3351
For prompt, reliable service; please have your assembly manual ready.
Para servicio mas rapido y reliable por favor tenga esta manual listo.
Pour un service rapide et fiable, s'il vous plaît ayez votre livret d'assembage en
main.
Need Parts or
Assistance? Nesacitas partes o
Asistancia? Besoin de Pièces ou
d'assistance?
ALTO
ARRÊT
Please Recycle
Recicle Por Favor
Réutilisez SVP
B347240025P00
3 /16
?? www.systembuild.com ??
PARTS - PIEZAS - PIÈCES
left panel
panel izquierdo
panneau gauche
37240025010
right panel
panel derecho
panneau droit
37240025020
top
cima
dessus
37240025030
kick panel
panel de soport
panneau de support
37240025060
back panel
panel trasero
panneau arrière
K724002500
fixed shelf
estante fijo
tablette fixe
37240025050
2 doors
2 puertas
2 portes
37240025070
bottom
fondo
fond
37240025040
ABCD
EF
G
x
11
#A84050
safety bracket kit
estuche de seguridad
ensemble de sécurité
1a1b 1c 1d
x
22
#A52395
handle
puno
poignée
x
36
#A65615
hinge
bisagra
penture
x
42
#A82020
rod bracket
soporte para barra
support pour barre
metal rod
barra de metal
barre de métal
I20480
B347240025P00
4 /16
?? www.systembuild.com ??
PARTS - PIEZAS - PIÈCES
x
58
#A22500
cam lock
serrure de came
cerradura de leva
x
72
#A21520
compression dowel
goujon de compression
clavija de compression
x81
#A53600
angle bracket
équerre
soporte angulo
x
9
2
#A12210
1/2" pan head
tête ronde 1/2"
cabeza redondo1/2"
x
6
8
cam bolt
#A22510
boulon de came
perno de leva
x
15 40
#A21110
nail
clou
clavo
1 3/4" flat head
x
#A13410
10 4
tête plate 1 3/4"
cabeza plano 1 3/4"
x2
#A11080
11
7/16" flat head
x
cabeza plano 7/16"
tête plate 7/16"
x
12 4
#A17300
3/4" bolt
perno 3/4"
boulon 3/4"
x
13 2
#A89020
plastic bumper
tope de plástico
arrêt en plastique
x
14 2
#A11195
5/8" pan head
cabeza redondo 5/8"
tête ronde 5/8"
x
16 2
#A89210
bumper
parachoque
parechoc
2
3½ turn to fully
lock.
½ se vuelven a
totalmente
cerradura.
½ tour pour
verrouiller
complètement.
4
Tighten to fully seat. Do not over tighten.
Apriétese a totalmente asiento. No haga
encima de apriétese.
Serrez pour mettre le siège bien en
place. Ne pas trop serrer.
Proper orientation of cam.
La orientación apropiada de leva.
Bonne orientation de la came.
1
This illustration shows how the cam fastening system works.
Esta ilustración muestra el sistema de fijación de leva y como funciona.
Cette illustration montre le système de fixation de came et son fonctionnement.
Lock
Apretar
Serrer
1
B347240025P00
5 /16
?? www.systembuild.com ??
x
54
x
11
1a 1b
1a
1b
C
E
proper orientation of cam lock
orientación apropiada de la leva
bonne orientation de la came
5
5
proper orientation of cam lock
orientación apropiada de la leva
bonne orientation de la came
RAW SURFACE
SUPERFICIE CRUDO
SURFACE CRUE
2
B347240025P00
6 /16
?? www.systembuild.com ??
Approx.
7/16"
7
x
72
81x
9
2x
x
54
7
D
8
9
9
F
5
5
proper orientation of cam lock
orientación apropiada de la leva
bonne orientation de la came
proper orientation of cam lock
orientación apropiada de la leva
bonne orientation de la came
FINISHED EDGE
BORDE ACABADO
BORD FINI
3
B347240025P00
7 /16
?? www.systembuild.com ??
A
B
3
3
loosen this screw, separate the hinge from the plate
aflojar este tornillo, separar la bisagra de la placa
déserrez cette vis, séparez la penture de la plaque
x6 3
FINISHED EDGE
BORDE ACABADO
BORD FINI
FINISHED EDGE
BORDE ACABADO
BORD FINI
4
B347240025P00
8 /16
?? www.systembuild.com ??
x
11 x2
x
42
x
6
8
A
B
6
6
4
4
11
11
5
B347240025P00
9 /16
?? www.systembuild.com ??
lock
cerrar
serrer
x4
A
D
ERAW SURFACE
SUPERFICIE CRUDO
SURFACE CRUE
all finished edges are facing upwards
todos los bordes acabados estén mirando hacia arriba
tous les bords finis font face vers le haut
6
B347240025P00
10 /16
?? www.systembuild.com ??
lock
cerrar
serrer
A
B
D
E
x4
all finished edges are facing upwards
todos los bordes acabados estén mirando hacia arriba
tous les bords finis font face vers le haut
7
B347240025P00
11 /16
?? www.systembuild.com ??
A
B
C
10
13
13
14
14
10
x
4
x
13 2
x
14 2
all finished edges are facing upwards
todos los bordes acabados estén mirando hacia arriba
tous les bords finis font face vers le haut
FINISHED SURFACE
SUPERFICIE ACABADO
SURFACE FINIE
8
B347240025P00
12 /16
?? www.systembuild.com ??
15 x 40
15
Back Panel
Panel Trasero
Panneau Arrière
RAW SURFACE
SUPERFICIE CRUDO
SURFACE CRUE
Carefully place the unit on its front
Con cuidado, coloque la unidad sobre su parte frontal
Placez soigneusement le meuble sur son devant
Assure that the unit is square.
Distance from corner to corner must be equal as shown.
Asegura que el unidad es cuadrada.
Distancia de esquina a esquina debe ser igual como se muestra por favor.
Assurez-vous que le meuble est à égalité.
La distance de coin en coin doit être égale comme montré.
9
B347240025P00
13 /16
?? www.systembuild.com ??
x2
x
22
x
12
4
G
3
12
2
10
B347240025P00
14 /16
?? www.systembuild.com ??
A
B
C
metal rod
barra de metal
barre de métal
Peel and stick the bumper to the corner of the door where
the door meets the bottom shelf.
Pelar y pegar el parachoques a la esquina de la puerta
donde la puerta se encuentra con el estante inferior.
Peler et coller le pare-chocs dans le coin de la porte,
ou elle rencontre la tablette inférieure.
x
16 2
16
Loosen screw C
Adjust door
Tighten screw C
*side view
Suelte el tornillo C
Ajuste la puerta
Apretar el tornillo C
*la vista lateral
Défaites la vis C
Ajustez la porte
Serrez la vis C
*vue de côté
Loosen screw C
Turn screw B to
move door
Tighten screw C
Suelte el tornillo C
Dévuelta el tornillo B
para mover la puerta.
Apretar el tornillo C
Défaites la vis C
Tournez la vis B pour
déplacer la porte
Serrez la vis C
Loosen screw A
Adjust door
Tighten screw A
Suelte el tornillo A
Ajuste la puerta
Apretar el tornillo A
Défaites la vis A
Ajustez la porte
Serrez la vis A
Slide hinge arm onto hinge plate and tighten screw “C”.
Deslícese el brazo de bisagra hacia el plato de la bisagra y
aprieta el tornillo "C".
Glissez le bras de charnière sur la plaque de charnière et
serrez la vis “C”.
G
11
B347240025P00
15 /16
?? www.systembuild.com ??
x
11
1c 1d 1c 1d
option 1
opcion 1
option 2
opcion 2
Option 1:
Securely screw (1c) into solid area of the wall as shown.
Opción 1:
Atornille firmemente el tornillo (1c) en el área sólida de la pared como mostrado.
L'option 1:
Vissez solidement la vis (1c) dans une région solide du mur comme montré.
Option 2:
Drill a 3/16" diameter hole (5mm) in the wallboard. Tap the wall anchor (1d) into
the hole until it is flush. Fasten the wall bracket (1a) to the wall anchor (1d) with
the screw (1c).
Opcion 2:
Taladre un agujero de 3/16" de diámetro (5mm) en la pared. Golpea la ancla de
pared (1d) en el agujero hasta que sea parejo. Abroche la escuadra de pared
(1a) al la ancla de la pared (1d) con el tornillo (1c).
Option 2:
Percez un trou de 3/16" de diamètre (5 mm) dans le mur. Enfoncez l'ancrage
mural (1d) dans le trou jusqu'à ce qu'il soit à égalité avec le mur. Fixez le support
mural (1a) à l'ancrage mural (1d) avec la vis (1c).
stud
montante
planche
wallboard
muro
mur
hole
agujero
trou
1a
B347240025P00
16 /16
?? www.systembuild.com ??
0 lbs.
0 kg.
25 lbs.
11.3 kg.
35 lbs.
15.9 kg.
50 lbs.
22.7 kg.
This unit has been designed to
support the maximum loads shown.
Exceeding these load limits could
cause sagging, instability, product
collapse, and/or serious injury.
Esta unidad ha sido diseñada para
soportar la carga máxima anotada.
El exceder estos límites puede
causar inestabilidad, colapsarse y/o
causar serias lesiones.
Ce meuble a été conçu pour
supporter les charges maximales
indiquées. En excédant ces limites
de charge, le meuble pourrait devenir
instable, s’effondrer, et/ou causer des
blessures graves.
MAXIMUM LOADS
CARGA MAXIMA
CHARGES MAXIMALES

Other System Build Indoor Furnishing manuals
System Build 2041335COM User manual

System Build

System Build 2041335COM User manual
System Build 4954015COM User manual

System Build

System Build 4954015COM User manual

System Build 1452015COM User manual

System Build

System Build 1452015COM User manual

System Build 7373401PCOM User manual

System Build

System Build 7373401PCOM User manual

System Build 9668015 User manual

System Build

System Build 9668015 User manual

System Build EVOLUTION 7531396COM User manual

System Build

System Build EVOLUTION 7531396COM User manual

System Build 6451335COM User manual

System Build

System Build 6451335COM User manual

System Build 7014500COM User manual

System Build

System Build 7014500COM User manual

System Build 6004015COM User manual

System Build

System Build 6004015COM User manual

System Build 7467056 User manual

System Build

System Build 7467056 User manual

System Build 7366401PCOM User manual

System Build

System Build 7366401PCOM User manual

System Build 9860333 User manual

System Build

System Build 9860333 User manual

System Build 7360401PCOM User manual

System Build

System Build 7360401PCOM User manual

System Build 3402408COM User manual

System Build

System Build 3402408COM User manual
System Build 7074015COM User manual

System Build

System Build 7074015COM User manual

System Build 7157401PCOM User manual

System Build

System Build 7157401PCOM User manual

System Build 9961015COM User manual

System Build

System Build 9961015COM User manual

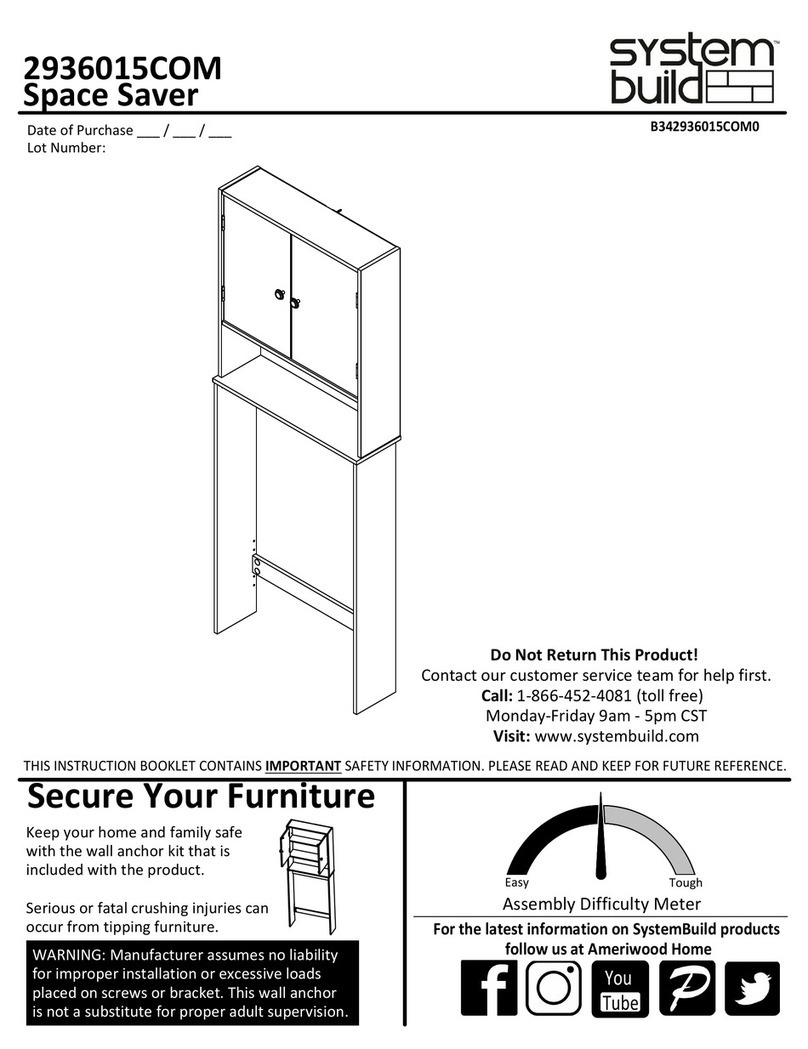
System Build Space Saver 2936015COM User manual
System Build

System Build Space Saver 2936015COM User manual

System Build 7922414COM User manual

System Build

System Build 7922414COM User manual

System Build 3720335COM User manual

System Build

System Build 3720335COM User manual

System Build 348487341COM9 User manual

System Build

System Build 348487341COM9 User manual

System Build 7368401PCOM User manual

System Build

System Build 7368401PCOM User manual

System Build 3402335COM User manual

System Build

System Build 3402335COM User manual

System Build 7367401PCOM User manual

System Build

System Build 7367401PCOM User manual

Popular Indoor Furnishing manuals by other brands

Victor DC300 Assembly instructions

Victor

Victor DC300 Assembly instructions

JWA GERTRUDE 70481 Assembly instruction

JWA

JWA GERTRUDE 70481 Assembly instruction

Markant Matrix Click manual

Markant

Markant Matrix Click manual

TIMBER ART DESIGN S 1005 Assembly instructions

TIMBER ART DESIGN

TIMBER ART DESIGN S 1005 Assembly instructions

Safavieh Furniture Edgefield ACC7004 manual

Safavieh Furniture

Safavieh Furniture Edgefield ACC7004 manual

Forte Jupiter JPTS86T Assembling Instruction

Forte

Forte Jupiter JPTS86T Assembling Instruction

IKEA TROFAST Assebly instructions

IKEA

IKEA TROFAST Assebly instructions

Exclusive Heritage CL-10136S-WMCG installation guide

Exclusive Heritage

Exclusive Heritage CL-10136S-WMCG installation guide

Permobil ROHO DRY FLOATATION Mattress Overlay Operation manual

Permobil

Permobil ROHO DRY FLOATATION Mattress Overlay Operation manual

Frederick York DREXEL FRYDX36NVBG installation guide

Frederick York

Frederick York DREXEL FRYDX36NVBG installation guide

DURAVIT Vitrium VT 7651 Mounting instructions

DURAVIT

DURAVIT Vitrium VT 7651 Mounting instructions

Coaster Jakob 115132 Assembly instructions

Coaster

Coaster Jakob 115132 Assembly instructions

Next FLORENCE 317096 Assembly instructions

Next

Next FLORENCE 317096 Assembly instructions

Next OHARA 349268 Assembly instructions

Next

Next OHARA 349268 Assembly instructions

FURNITUREBOX KYLO CONSOLE TABLE Assembly guide

FURNITUREBOX

FURNITUREBOX KYLO CONSOLE TABLE Assembly guide

Diphano SELECTA instructions

Diphano

Diphano SELECTA instructions

Birlea KINGSTON Assembly instructions

Birlea

Birlea KINGSTON Assembly instructions

Clou hammock CL/07.66.209.50 installation instructions

Clou

Clou hammock CL/07.66.209.50 installation instructions

manuals.online logo
manuals.online logoBrands
  • About & Mission
  • Contact us
  • Privacy Policy
  • Terms and Conditions

Copyright 2025 Manuals.Online. All Rights Reserved.