●
●
●
●
●
●
●
●
●
●
●
●
●
●
●
●
●
●
●
●
●
●
●
●
●
●
●
●
●
●
●
●
●
●
●
●
●
●
●
●
●
●
●
●
●
●
●
●
●
●
●
●
●
●
●
●
7.
To reduce the risk of serious injury during use, follow these procedures for proper assembly.
FOR/OFF/REV switch should be OFF and machine unplugged before assembly.
1)
2)
3)
4)
8.
●
●
●
●
AUTOFEED Cable Feed Operation
1)
2)
3)
4)
If the cable or cutter gets stuck or begins to twist, buckle or kink. Do not allow the cable to twist,
kink,and buckle, become overstressed or stuck. If the cable begins to get stuck or buckle/twist,
immediately remove your foot from the foot switch while firmly holding the cable with both hands.
Allow the machine to come to a complete stop and the tension to release from the cable. Turn the
machine off and immediately manually rotate the cable in the opposite direction until the twist or
buckle has been removed. If the cutter is stuck in the clog, turn the machine into the OFF position,
then to REV and slowly press the foot switch. Let the machine run slowly in reverse, stopping the
motor often to checking if the cutter has become released, by manually retrieving the cable into the
machine. Move the switch to the REV position to ensure that the drum is rotating clockwise, repeat-
ing the previous steps to ensure that the machine is working properly. If the rotation is not correct,
do not operate this machine.
AUTOFEED ASSEMBLY
Remove thumbscrew(11) from autofeed assembly.
Insert cable go though autofeed assembly.
Put the two socket head cap screw(13) into the middle two screw bosses of autofeed assembly, and
install the autofeed assembly on frame(8).
Install thumbscrew(11) on autofeed assembly.
OPERATING INSTRUCTIONS
If your machine is not properly operating, do not use it until the machine is properly repaired.
Do not allow the cable to twist, kink, buckle, become overstressed or stuck. If the cable begins to
get stuck or buckle/twist, immediately remove your foot from the foot switch while firmly holding the
cable with both hands. Allow the machine to come to a complete stop and the tension to release
from the cable. Turn the machine off and immediately manually rotate the cable in the opposite
direction until the twist or buckle has been removed.
If the cutter is stuck in the clog, turn the machine into the OFF position, then to REV and slowly in
reverse, stopping the motor often to checking if the cutter has become released, by manually
retrieving the cable has become caught. If the cable begins to get stuck or buckle/kink/twist,
immediately remove your foot from the foot switch while firmly holding the cable with both hands.
Allow the machine to come to a complete stop and the tension to release from the cable. Turn the
machine off and immediately manually rotate the cable in the opposite direction until the twist or
buckle has been removed.
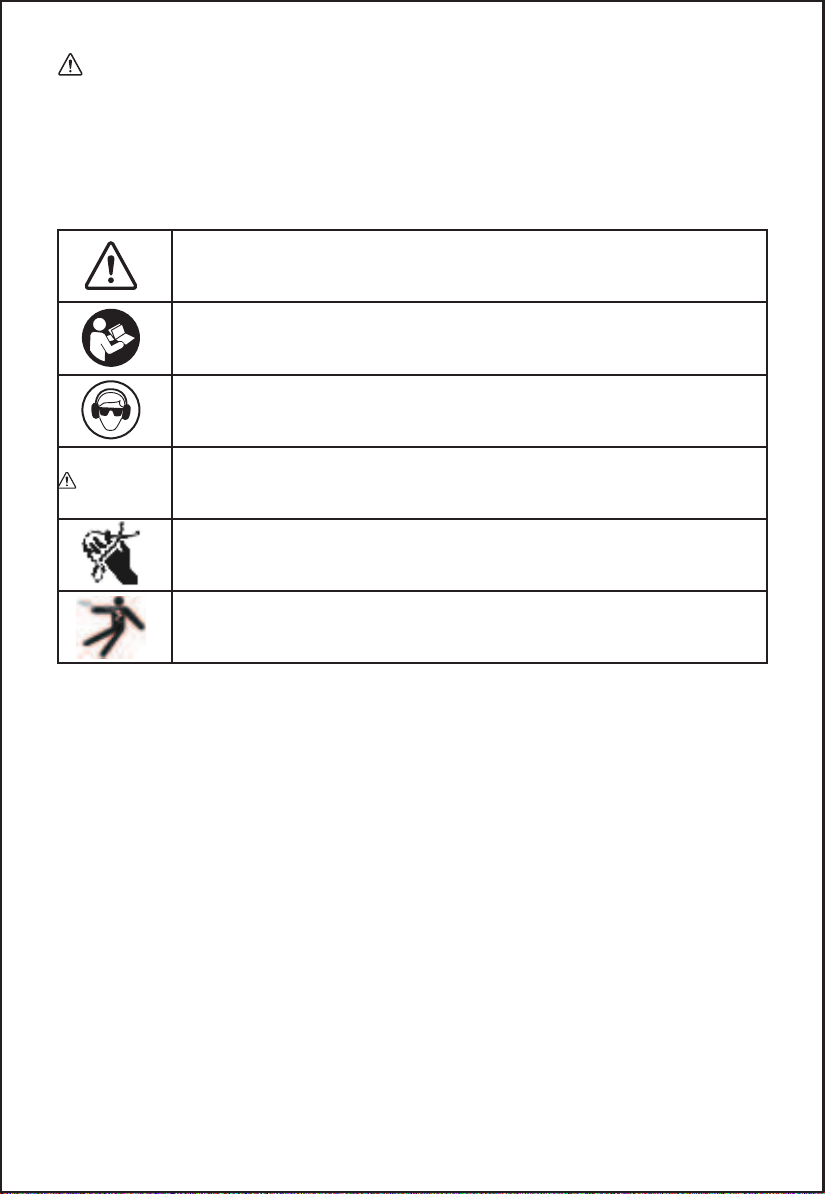
Fingers or other body parts can be caught in rotating parts and crush. Do not wear loose clothing,
neck ties, unbuttoned jackets, rings, watches or jewelry and always tie back long hair. This will
prevent the risk of entanglement with moving parts.
Confirm that at least one foot (0.3m) of cable is in the drain.
Grasp near the center of the exposed length of cable with a gloved hand. Gloved hand must be on
the cable to control and support the cable. Improper cable support can allow the cable to kink or
twist and can damage the cable or injure the operator. Make sure that the cable outlet of the drain
cleaner is within 2' (0.6m) of the drain opening. Place the other hand on the cable feed handle.
Handle should be in neutral (Vertical) position.
Depress the foot switch to start the machine. The person controlling the cable must also control the
foot switch. Do not operate the drain cleaner with one person controlling the cable and another
person controlling the foot switch. This can lead to twisting, kinking and breaking of the cable.
With the cable rotating in the FOR (FORWARD) direction, move the AUTOFEED control handle to
the F position until it engages and advances the cable. The rotating cable will work into the drain as
you control the cable with your gloved hand. Do not allow the cable to build up outside the drain,
bow or curve. This can allow the cable to twist, kink or break.
●
●
●
●
●
- 05 -