Tait 5011 User manual

CANADA
Toll Free: 1-800-890 TAIT (8248)
E-mail: [email protected]
USA
Toll Free: 1-800-890 TAIT (8248)
E-mail: [email protected]
LATIN AMERICA
E-mail: [email protected]
AUSTRALIA
E-mail: [email protected]
NEW ZEALAND
E-mail: [email protected]
EUROPE
E-mail: [email protected]
HONG KONG
E-mail: [email protected]
BEIJING
E-mail: [email protected]
SINGAPORE
E-mail: [email protected]
THAILAND
E-mail: [email protected]
CORPORATE HEAD OFFICE
NEW ZEALAND
Tait Electronics Ltd
P O Box 1645, Christchurch
E-mail: [email protected]

1
1
Important Charging
Information
■Turn your radio off before charging.
■New batteries must be long conditioned
before first use.
■Replace or recharge your battery as soon as
the radio indicates the battery is low.
For More Information . . .
Complete information on batteries and battery chargers
is provided in the following guides supplied with your
battery and battery charger:
■“Battery Care Guide” (MBAT2-03-051), supplied
with your battery.
■“Battery Charger User Guide” (MBAT1-03-052),
supplied with your charger.
Tait Electronics Ltd has made every effort to ensure the accuracy
of the information in this manual. However, Tait Electronics Ltd
reserves the right to update the radio and/or this manual
without notice.
© Copyright Tait Electronics Limited November 2004. All rights
reserved.
All information contained in this manual is the property of Tait
Electronics Ltd. All rights are reserved. This manual may not, in
whole or in part, be copied, photocopied, reproduced, trans-
lated, stored, or reduced to any electronic medium or machine-
readable form, without prior written permission from Tait
Electronics Ltd. All trade names referenced are the service mark,
trademark or registered trademark of the respective manufac-
turers.

2
2
Safety Warnings
■When transmitting, do not hold the radio
with its antenna close to or touching any
part of your body, especially your face and
eyes.
■Turn the radio off at petrol filling stations.
■Turn the radio off in the vicinity of
explosive devices, such as at a quarry that
uses blasting techniques.
■Do not use a handheld microphone or radio
while driving or operating machinery.
■Use only Tait Orca battery chargers to
charge your radio battery.
■Avoid using unnecessarily high volume
levels if using the radio with an earphone or
headset.
■Do not transmit within the frequency band
406 to 406.1 MHz. This band is reserved for
use by distress beacons.
■Do not immerse your Tait Orca radio in
water.

3
3
Contents
Important Charging Information ............................................. 1
Safety Warnings ...................................................................... 2
Getting Started ........................................................................ 5
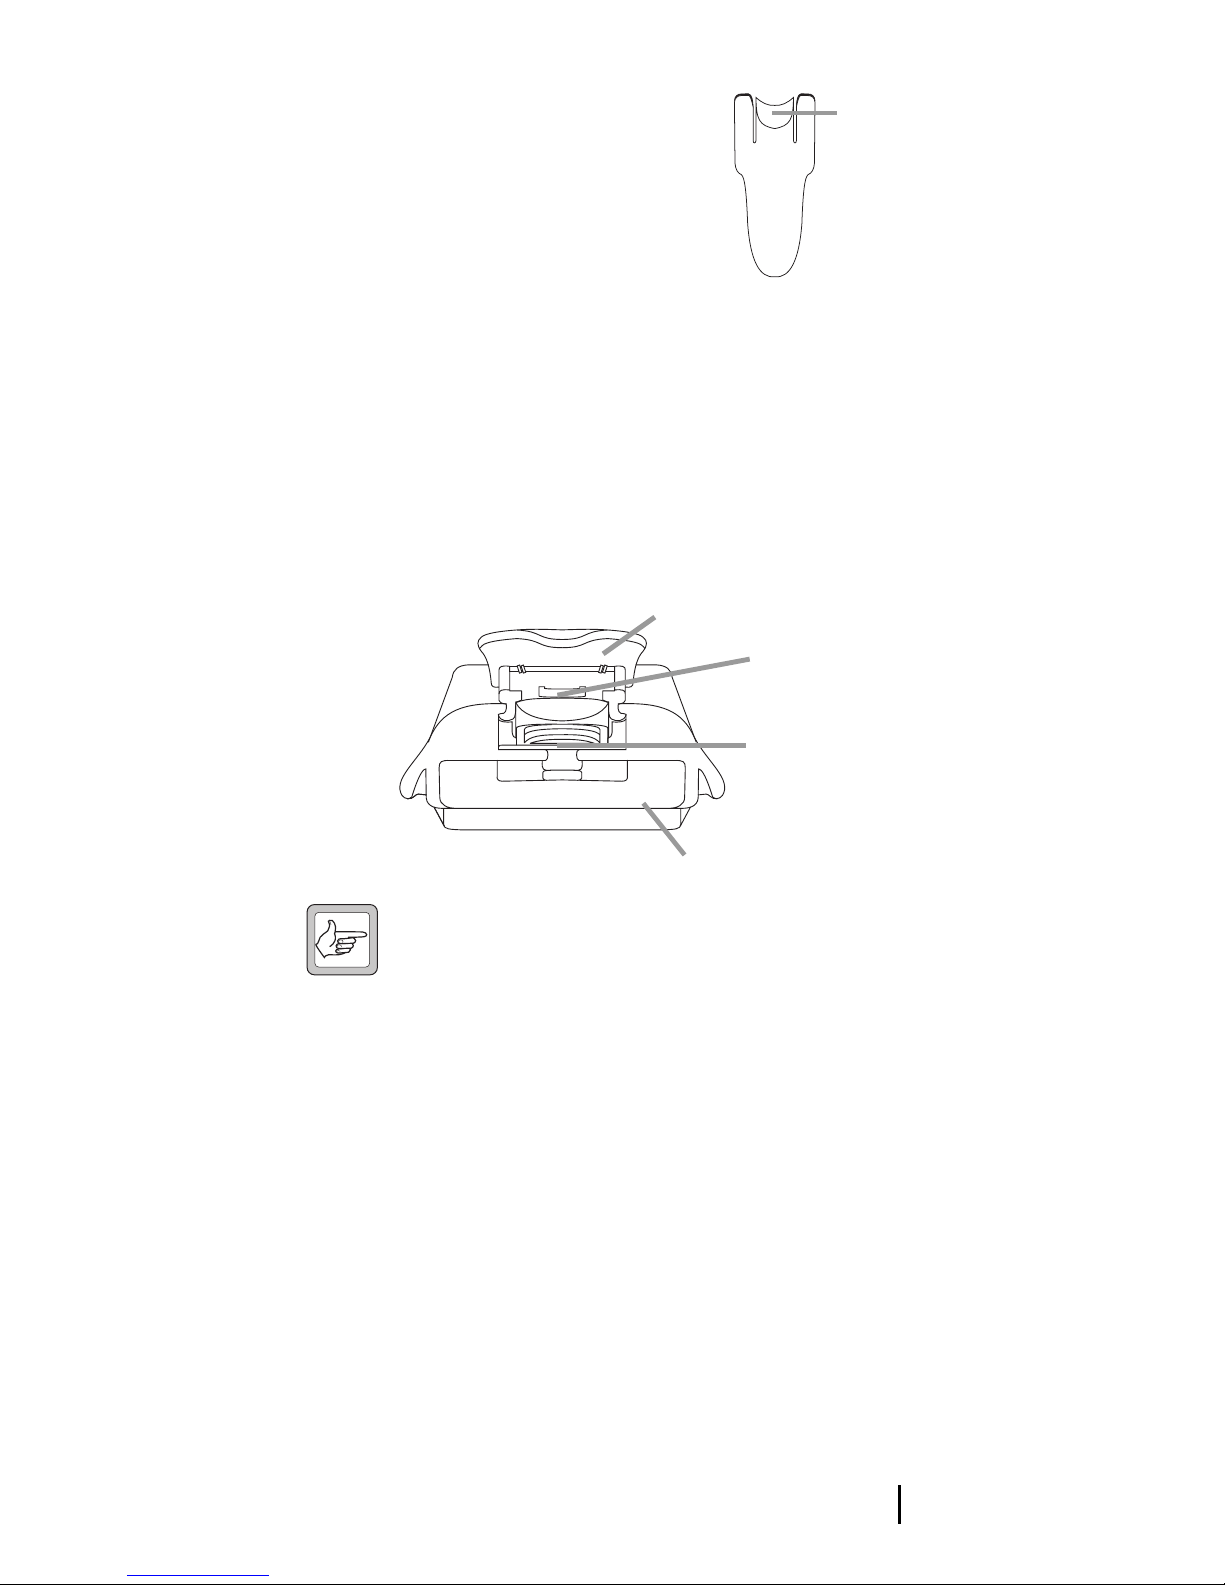
Installing the Antenna............................................................. 5
First Use of Battery .................................................................. 5
Installing and Removing the Battery Pack............................... 6
Installing a Belt Clip ................................................................ 6
Removing a Belt Clip ............................................................... 6
Radio Controls and Indicators ................................................ 8
On/Off/Volume Control......................................................... 8
16-Way Selector ...................................................................... 8
Short and Long Key Presses..................................................... 8
Double Key Presses.......................................................... 8
PTT (press-to-talk) Key ........................................................... 9
Function Keys.......................................................................... 9
Radio Indicators...................................................................... 9
LED Indicators................................................................. 9
Audible Indicators......................................................... 10
Programmable Function Key Settings................................... 11
Basic Operation .................................................................... 1
Turning the Radio On and Off and Adjusting Volume.......... 13
Selecting a Channel ............................................................... 13
Receiving a Call ..................................................................... 13
Making a Call ........................................................................ 14
Transmit Timer..................................................................... 14
What You Hear On a Channel............................................... 14
CTCSS and DCS............................................................. 15
5-Tone ........................................................................... 15
2-Tone ........................................................................... 15
Monitor ......................................................................... 15
Squelch Override ........................................................... 16
Scanning and Voting Groups ................................................ 16
Voting............................................................................ 17
Flexiscan ........................................................................ 17
Nuisance Delete............................................................. 17
5-Tone Signaling ................................................................... 18
Receiving a 5-Tone Call ......................................................... 18
Making a Preset 5-Tone Call.................................................. 18
One-Touch Preset Calls.................................................. 18
Emergency Call...................................................................... 19
Sending a 5-Tone Emergency Call ................................. 19
Other 5-Tone Features........................................................... 19

4
4
Deferred Calling ............................................................ 19
No Acknowledgment Retries......................................... 20
G-STAR ID Signaling .............................................................. 21
G-STAR Emergency Signaling............................................... 21
Stealth Emergency Mode....................................................... 21
Emergency Cycling ................................................................ 22
2-Tone Decoding ................................................................... 2
Receiving a 2-Tone Call ......................................................... 23
DTMF Calls ............................................................................ 24
Preset DTMF Calls ................................................................ 24
One-Touch Preset Calls.................................................. 24
Other Features ...................................................................... 25
Economy Mode ..................................................................... 25
Handset Operation................................................................ 25
Turning On and Off....................................................... 26
Volume Override................................................................... 26
Low Power Transmit ............................................................. 26
Turning On and Off....................................................... 26
Repeater Talkaround............................................................. 26
Turning On and Off....................................................... 27
Basic Maintenance ............................................................... 28
General Care.......................................................................... 28
Charging and Caring for Batteries ......................................... 28
Warning: Disposing of Used NiCd Batteries ......................... 28
Troubleshooting.................................................................... 29
Options and Accessories ....................................................... 0
Removing the Accessory Cover ............................................. 30
D-Clip and Accessory Connectors ......................................... 31
Specifications ........................................................................ 2

5
5
Getting Started
Your Tait Orca portable radio is programmed to suit
your communication needs. If you are unsure which
features described in this manual are available on your
radio, consult your system manager or the person who
programmed your radio.
The custom features programmed for your radio can be
listed on the “Custom Settings” page on the inside back
cover of this manual.
When you receive your Tait Orca radio, make sure all
items you ordered are included. Typically, you should
receive the following:
■Tait Orca radio.
■Battery pack.
■Antenna.
■Operator’s Manual (this document).
■Compliance Information (separate document).
Your Orca may also be supplied with accessory compo-
nents (see “Options and Accessories” on page 30).
If any parts are damaged or missing, report this to your
system manager or local dealer immediately.
Installing the Antenna
Before using the radio, connect the antenna to the
socket at the top of the radio.
First Use of Battery
Caution: The battery must be long condi-
tioned, which includes a full-charge before
first use of the radio, to maximize the battery’s
initial capacity.

6
6
Refer to the documents supplied with your battery and
charger for battery care and charging information.
Installing and Removing the Battery
Pack
To fit the battery to the radio:
1Insert the bottom edge of the battery into the two
slots at the back of the radio.
2Push the battery towards the radio. It should snap
into place.
To remove the battery pack, push the battery catch
down, and from the sides, pull the battery away from the
radio.
Installing a Belt Clip
Most Tait Orca batteries are designed to be fitted with
belt clips. Two types of belt clip are available:
■38 mm belt clip.
■55 mm spring-loaded belt clip.
For both types of belt clip, slide the belt clip into the two
slots on the top of the battery. Push down until the clip
snaps into place.
Removing a Belt Clip
Both belt clips have been designed to avoid accidental
removal. However, they can be replaced if required.
Battery Clip
Belt Clip
Battery
Slot
Slot

7
7
To remove the 38 mm belt clip:
1Insert the end of a flat-blade
screwdriver under the edge of
the release tab (right) without
forcing it.
2Gently lift the release tab up,
then slide the belt clip away from the battery.
To remove the 55 mm belt clip:
1Lie the battery on a flat surface.
2Insert the end of a flat-blade screwdriver under the
release tab (shown below) and lift.
3Slide the belt clip away from the battery.
Note: Should the small battery clip come loose
while removing either belt clip, it can easily be
refitted by sliding it into the slot at the top of
the battery until it snaps into place.
Release
Tab
Belt Clip
Release Tab
Battery Clip
Battery

8
8
Radio Controls and Indicators
Your Tait Orca radio controls and indicators include the
on/off/volume control, the 16-way selector, function
keys, and various radio indicators.
On/Off/Volume Control
Rotating the on/off/volume control clockwise turns on
the radio and increases volume. Rotating the control
counter-clockwise decreases volume and turns off the
radio. This also controls the volume level of indicators
and confidence tones.
16-Way Selector
Each position on the 16-way selector can be
programmed for a channel or group of channels. See
“Selecting a Channel” on page 13 for more information.
Short and Long Key Presses
Some keys have two functions assigned, which can be
accessed by a short or long key press. A short key press
is defined as less than 1 second. You may need to exper-
iment to become familiar with the duration of short and
long key presses.
Double Key Presses
Function keys can be preprogrammed to perform the 5-
tone emergency call function (see “Function Keys” on
page 9). The emergency function may be combined
with a Double Key Press Activation option. This feature
helps to avoid accidental use of the emergency function.
If the emergency call is assigned to a short key press, the
two key presses must be made within 3 seconds. If the
emergency call is assigned to a long key press, the two
key presses must come within 5 seconds.

9
9
PTT (press-to-talk) Key
The PTT (press-to-talk key) is located on the side panel.
Press this key to transmit each time you talk.
Function Keys
The function keys provide access to preprogrammed
functions (see “Programmable Function Key Settings”
on page 11 for more information on the options that can
be assigned to the function keys).
There are four programmable function keys:
■Function keys 1 and 2, located on the side panel.
■External keys 1 and 2, located on the external
microphone.
Each function key can have a function assigned to a short
and long press. Use the panel provided in the back of this
manual to record the function that has been assigned to
each key press on your radio.
Radio Indicators
The radio’s LED indicator and audible signals provide
you with information on the state of your radio.
Radio indicators are summarized on the “Radio
Indicators” page on the inside back cover of this manual.
LED Indicators
The radio’s LED is the main indicator for displaying the
state the radio is in. Audible indicators provide
additional information, intended to supplement that
provided by the LED.
In this manual, one flash every 2 seconds is referred to as
“slow flash rate”, one flash every second as “medium
flash rate”, and four flashes every second as “fast flash
rate”.
Color Flash Rate Meaning
Red Steady Transmitting.

10
10
Audible Indicators
Your radio may be programmed so that whenever you
press a key, the radio beeps to indicate whether or not
the action you wish to carry out is permitted:
Red Slow Battery low. Radio will also
emit low-pitched beeps.
Recharge or replace as soon
as possible.
Red Medium Low power transmit mode
active.
Red Fast Radio is stunned. Radio will
also emit very high-pitched
beeps. Contact your
despatcher.
Red Two fast flashes The power-up sequence is
complete. Radio will also
emit two medium-pitched
beeps.
Green Steady Channel busy.
Green Slow Economy mode active.
Green Medium Monitor or squelch override
active.
Amber Steady Radio is scanning or voting a
group of channels for
activity or greatest signal
strength.
Amber Slow Repeater talkaround active.
Amber Medium Activity detected on one of a
group of channels being
scanned.
Amber Fast A Selcall call has been
received.
Red/
Green Slow Handset mode active.
Red/
Green Fast Radio programmed incor-
rectly or faulty. Contact your
Tait dealer.
Color Flash Rate Meaning

11
11
■Permitted: Short, medium-pitched beep.
■Not permitted: Long, low-pitched beep.
The most common audible indicators are summarized
on the “Radio Indicators” page on the inside back cover
of this manual.
Note: Audible indicators may have been disa-
bled when your radio was programmed, and a
function key assigned to turn audible signals
on and off.
Programmable Function Key Settings
Functions marked * are described more fully in “Other
Features” on page 25. Some functions are not permitted
in some countries.
Function Description
Audible Indicators Turns audible indicators on and off.
Channel’s DTMF
Preset
Sends the DTMF preset call assigned to
the current channel.
Disable Monitor Turns off the monitor facility, if it is
active.
Economy Mode* Turns economy mode on and off.
Emergency Activates emergency mode.
Handset Mode* Turns handset mode on and off.
Low Power
Transmit*
Changes the transmit power from
medium or high to low. Pressing the key
again returns the transmit power to the
programmed level. Channels can also
be programmed for low power.
Nuisance Delete Temporarily deletes the current channel
from the scanning regime.
One Touch Sends a preset 5-tone call or DTMF call,
or selects a channel.
Preset Call Sends the preset 5-tone call assigned to
the current channel.
Repeater Access
Tone
Sends the repeater access tone to key
up the transmitter.

12
12
Repeater Talkaround Allows you to bypass normal repeater
operation and communicate directly
with another radio. Pressing the key
again or changing to another channel
turns off repeater talkaround.
Squelch Override Turns the squelch override on and off so
the user can hear all activity on a
channel, including noise.
Toggle Flexiscan Turns Flexiscan on and off. Your radio
may be programmed so that Flexiscan is
turned off when the PTT key is released
after making a call when Flexiscan is
active.
Toggle Monitor Turns monitor on and off so the user
can hear all traffic on a channel.
Toggle 2-Tone
Decoder
Turns 2-tone decoding on and off.
Volume Control Controls volume in handset mode.
Function Description

13
13
Basic Operation
This section describes the basic operation of your radio,
including turning the radio on and off, adjusting
volume, selecting channels, and making and receiving
calls.
Turning the Radio On and Off and
Adjusting Volume
Rotating the on/off/volume control clockwise turns on
the radio and increases volume. Rotating the control
counter-clockwise decreases volume and turns off the
radio.
To preserve battery life, it is recommended that you turn
off the radio when it is not in use.
Once the power-up sequence is complete, the LED
flashes red twice and the radio gives two short, medium-
pitched beeps.
Selecting a Channel
Each position on the 16-way selector denotes a channel
or group of channels. If the radio gives two short, high-
pitched beeps when you select a channel, then that
channel was the last one activity was found on during
scanning. See “Scanning and Voting Groups” on
page 16 for more information on groups of channels.
If the channel selected is busy, the LED glows green.
Wait until the channel is free before transmitting.
Note: You cannot change channels while trans-
mitting.
Receiving a Call
Your radio remains quiet until there is valid activity on
the channel your radio is currently on (see “What You
Hear On a Channel” on page 14). When you hear your

14
14
own call sign, respond promptly by pressing the PTT
key and replying.
Making a Call
Select the desired channel as described in “Selecting a
Channel” above.
If the channel is busy, you are not normally able to
transmit. If you try to transmit, the radio sounds a low-
pitched warning beep. You may not be able to hear the
activity, but the LED glows green. You can activate the
monitor function to listen to channel activity.
To make a call:
When the channel is clear, hold down the PTT key and
speak clearly into the radio. Identify yourself and the
party you are calling using the call signs you have been
assigned. Release the PTT key when you have finished
talking.
While you are transmitting, the LED glows red. While
the other party is transmitting, the LED glows green.
If selective call mute is programmed for a particular
channel, you are only able to make 5-tone calls on that
channel when the monitor function is activated and the
channel is clear (see “Monitor” on page 15).
Transmit Timer
Your radio is programmed with a transmit timer that
limits the amount of time you can transmit continu-
ously. If the radio gives three medium-pitched beeps,
the transmit timer is about to expire. Ten seconds later,
the radio automatically stops transmitting. You have to
release the PTT before you can transmit again. The
radio may be programmed to prevent transmission for a
period after the transmit timer has expired.
What You Hear On a Channel
What traffic you hear on a channel depends on how
your radio was programmed. A channel can be

15
15
programmed so that you hear all conversations on a
channel (no signaling), or your user group may be segre-
gated from others using various types of signaling
(CTCSS, DCS, 5-tone or 2-tone).
When special signaling is active, you are not able to hear
other groups talking on the current channel unless the
monitor function is active (see below). If the channel is
busy, the LED glows green.
CTCSS and DCS
CTCSS (continuous tone controlled subaudible
signaling) and DCS (digitally coded squelch) signaling
use subaudible tones to isolate your calls so you only
hear activity for your group.
5-Tone
5-tone signaling uses audible tones to isolate your calls
and direct calls to specific individuals within a group.
You may hear the 5-tone tones at the beginning of a
transmission.
2-Tone
2-tone decoding means that you will only hear calls from
individual radios or groups of radios programmed with
the same two-tone sequence that is programmed into
your radio.
Monitor
Monitor lets you hear all conversations on a channel,
including those outside your group.
Your radio may be programmed so that monitor is
activated when you:
■Turn on the radio.
■Send specific types of calls.
■Press a function key (if assigned).
While monitor is active, the LED flashes green at
medium flash rate.

16
16
The monitor may be deactivated by:
■Your despatcher.
■Receiving specific types of calls.
■Pressing a function key (if assigned).
■Automatically turning off after a preprogrammed
deactivation period.
The monitor function can be programmed to override
all signaling (CTCSS, DCS, 5-tone and 2-tone) or only
5-tone and 2-tone signaling (selective call mute).
Note: If a particular channel is programmed
with selective call mute, you are only able to
hear traffic that matches your 5-tone or 2-tone
identity and you are only able to make 5-tone
calls. Turn on monitor to hear all traffic and
make calls other than 5-tone calls.
Squelch Override
The radio’s squelch allows reception of a signal only
when it is above a factory-set threshold so that only
intelligible signals are made audible. Activating squelch
override can sometimes improve reception of a signal in
marginal signal strength areas.
If programmed, toggle squelch override on and off using
the assigned function key. While squelch override is
active, the LED flashes green at medium flash rate.
Note: Squelch override cannot be activated
when a scan group is selected, and is automat-
ically turned off when you change to a scan
group.
Scanning and Voting Groups
A series of channels may be grouped together so that the
radio can scan through them looking for activity.
Groups are selected the same way as channels. When a
scanning or voting group is selected, the LED glows
amber.

17
17
When a busy channel is detected and the signaling is
valid (see “What You Hear On a Channel” on page 14),
the LED flashes amber and the radio stops on that
channel. Scanning resumes when the channel is no
longer busy or the signaling is no longer valid.
One or two priority channels may also be set. These
channels are scanned more often than other channels and
are scanned periodically when a non-priority channel is
busy.
Voting
Voting works the same way as scanning, except the
group’s member channels carry the same traffic, and the
radio searches for, and stops on, the channel with the
strongest signal.
Flexiscan
Your radio may be programmed with one Flexiscan scan
group, containing up to 16 member channels. When
Flexiscan scanning is turned on, you are able to commu-
nicate on an unrelated channel, while a group of
channels in a programmed Flexiscan scan group is
scanned for valid activity.
To activate Flexiscan, press the assigned function key
(see “Toggle Flexiscan” on page 12).
Nuisance Delete
If a channel is busy for a long time and you do not wish
to hear the conversation, you can temporarily delete it
from the scanning regime if one of the function key
settings is programmed for nuisance delete. Pressing the
assigned function key deletes the currently held channel
from the regime. When the scan group is next selected,
the deleted channel is again part of the group.

18
18
5-Tone Signaling
5-tone signaling segregates a group of users from others
on a channel using a set of audible tones. Because each
radio has a unique identity, you can direct calls to
individuals or groups of individuals within your own
group. An emergency call may also been prepro-
grammed.
The Orca 5011 is able to make preset 5-tone calls only.
Receiving a 5-Tone Call
When a call is received that contains your radio’s
identity, the radio gives a ringing tone and the LED
indicator flashes amber. The ringing tone is prepro-
grammed, and the radio gives different ringing tones
when different types of calls are received.
To accept the call, press the PTT key and begin
speaking. If the call is a group call, there is usually no
need to respond.
Making a Preset 5-Tone Call
Two preset 5-tone calls can be assigned to each channel
that has 5-tone calling. If programmed, these calls are
assigned to a function key, and each channel that has 5-
tone may have different preset calls.
To make this call:
1Change to the desired channel.
2Press the assigned function key.
One-Touch Preset Calls
A single one-touch 5-tone call may also be assigned to
one of the function keys. It is not necessary to change
channels to send this call – simply press the assigned
function key.

19
19
When the called party responds, proceed with your
conversation.
Emergency Call
One of the preset 5-tone calls programmed for your
radio may be an emergency call.
Sending a 5-Tone Emergency Call
Pressing the function key sends an emergency sequence
to a programmed party, usually your dispatcher.
Note: It is not necessary to change channels to
send the emergency call.
When in emergency mode, the radio cycles between
receiving and transmitting so that your dispatcher can
hear activity near the radio and so decide how to
respond. All radio indicators remain unchanged.
The radio can be reset to normal operation, either:
■By your dispatcher.
OR
■By turning the radio off, and then on again.
Other 5-Tone Features
Other 5-tone features that may be programmed are:
■Deferred calling.
■No acknowledgement retries.
Deferred Calling
If the channel you are making a call on is busy, the radio
may be programmed to store the call and send it again
once the channel is free. The radio gives a low-pitched
beep if the channel is busy, and then gives two long,
medium-pitched beeps at regular intervals until the
channel is free and the call can be sent.
To cancel a call that is being resent, press any key.
Table of contents
Other Tait Portable Radio manuals