then the amplifier repeatedly play the recording content. If there is no
operation after 15 minutes. Mode button LED change from keeping lighting
up to flashing slowly. This means the amplifier is in the standby status now.
Press the mode button to wake up the standby status.
③ “ ”
Play/pause button: In Bluetooth and TF card mode, press this button
to control play and pause, and in audio source input mode, press this button
to mute. When playing in Bluetooth mode, keep pressing this key to
disconnect the Bluetooth connection, and voice prompt "Bluetooth is
disconnected", then keep pressing this key to reconnect the Bluetooth signal
again, and voice prompt "Bluetooth is connected". When playing music in TF
card mode, keep pressing this key to enter the single song repeat playing
status, and voice prompt "single song repeat". Press this key again for a long
time to exit the single song repeat playing, and there is a voice prompt "Close
the single song repeat";
④“ ”
The previous song key: In Bluetooth and TF card mode, press this
button for previous song.
⑤“ ”The next key: In Bluetooth and TF card mode, press this button for
next song.
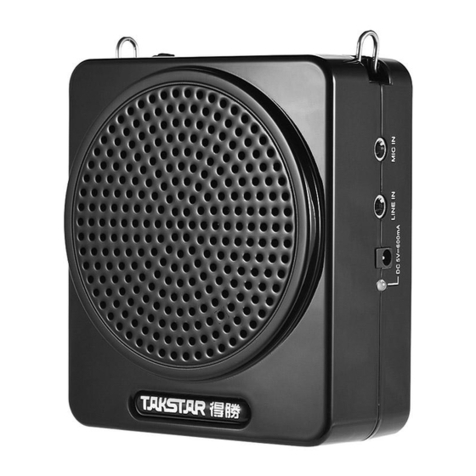
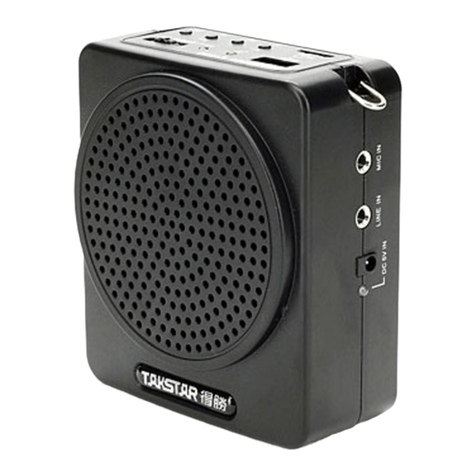
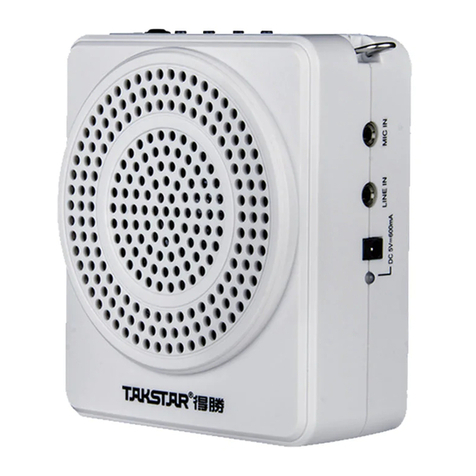
⑥“ ” MIC input connector: connect the microphone with this connector
to enter into vocal reinforcement status.
⑦“ ”AUX input connector: it connects with playing equipments, e.g. cell
phone, PAD, MP3 via Ø3.5mm audio cable. The amplifier can be used as active
speaker cabinet.
⑧ “ ”TF card port: insert the TF card according to the indicated direction.
When there is the sound Da, the means the card in inserted fully. Press the
card to release the card.
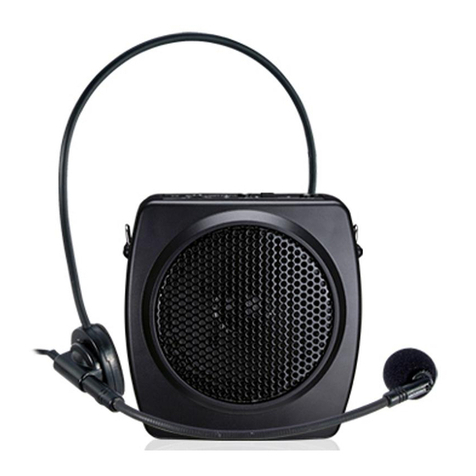
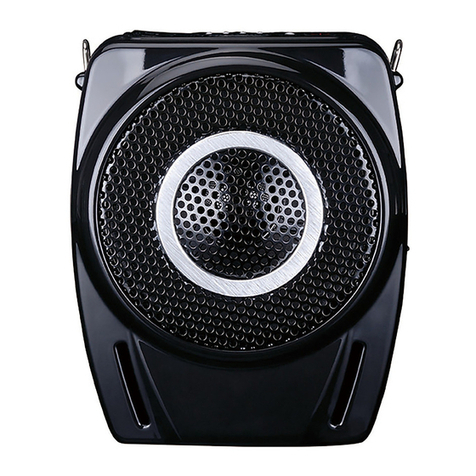
E150 Portable Amplifier
Preface
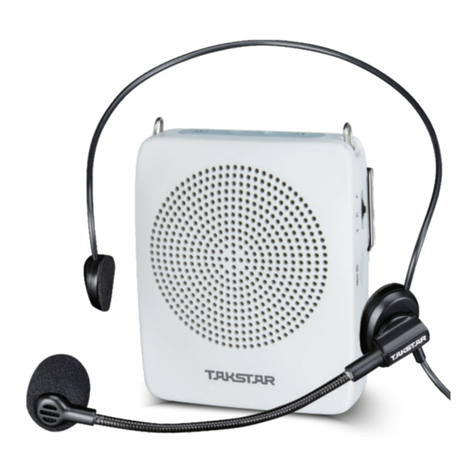
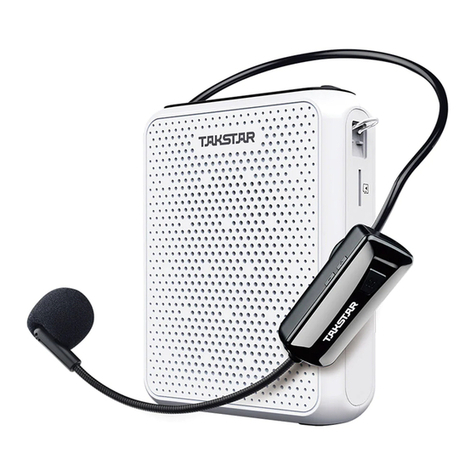
1.The portable amplifier with playing function to suit for teaching, tour guide
and promotion
2.Class F power amplifier chip, up to 12W peak output power
3.Rear earth material speaker, light weight, wonderful sound, high volume
4.Wireless playing function to link with cell phone/PC/PAD to play music
5.TF car to audio playing in MP3/WAV format
6.Recording function to record audio file in WAV format
7.High capacity Li-ion battery, 4 h charging lasts for more than 15h operation
Features
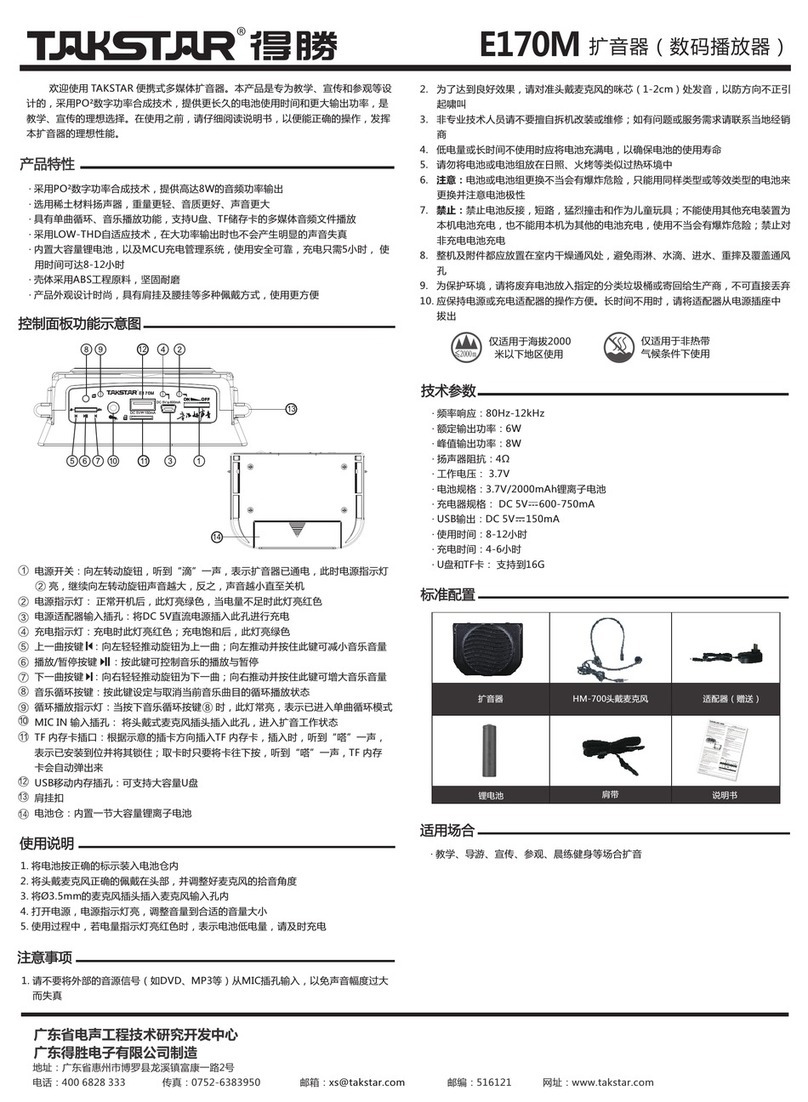
Amplifier............................................................................................................1
pc
Headworn microphone....................................................................................1
pc
Power adptor....................................................................................................1
pc
Waist strap........................................................................................................1
pc
Shoulder strap..................................................................................................1
pc
User manual......................................................................................
...............1pc
Product Content
E150 Portable Amplifier
Application
Teaching, tour guide, training, promotion, propaganda, morning exercise,
entertainment
Frequency Response:150Hz-12kHz
Peak Power:12W
Speaker Impedance:4Ω
Media Playing:TF card, mas 64G
Media Format:MP3, WAV, WMA
Battery Type:Li-ion battery
Battery Specification:3.7V/2000mAh
Charging:DC 5V/600mA
Charging Time: approximate 4h
Operation Time:more than 15h
Standby Time:approximate 96h
Net Weight:approximate 230g
Dimension:92*91*43mm
Amplifier:
Headworn Microphone:
Cartridge:electret cartridge
Polar Pattern:unidirectional
Note: The above data are tested by the Takstar laboratory and Takstar has
the right of final interpretation.
Frequency Response:50Hz-15kHz
Sensitivity:-44 to -47dB
(0dB=1V/Pa/m at 1kHz)
Specification
E150 Portable Amplifier
E150 Portable Amplifier
Function
Bluetooth Matching
E150 Portable Amplifier
E150 Portable Amplifier
Charging
7
8
9
10
11
12
①
⑨
⑥
⑪
⑦
⑧
②⑩ ③④ ⑤
Caution
E150 Portable Amplifier
Applicable to the altitude
below 2000m only
Applicable to the non-tropical
climate condition only
13
Amplifier Power adaptor
Micro USB cable
①Power switch: turn the power switch to ON direction. It sounds Da and the
mode button LED flashes green slowly. This means the amplifier is turned on
and enters into vocal reinforcement status. Turn the power switch to ON
continuously to increase volume. Turn the power switch to OFF continuously
to decrease volume. When it sounds Da, the amplifier is turned off.
②The mode button switching and power supply: totally three operation
modes: Bluetooth mode, TF card mode, audio input mode. After turning on
the amplifier, press this button to switch the operation mode and there is
relative sound prompt. When connecting with AUX audio source or inserting
TF card, the audio source input mode and TF card mode have the priority.
When disconnecting with AUX audio source or taking out TF card, it goes to
the next operation mode. When inserting TF card or connecting with
microphone, press this button for 3 seconds and the amplifier goes into
recording mode, and there is RECORDING MODE sound. After recording, keep
pressing this button or disconnect the microphone connector to exit and save
the recording content, meanwhile there is EXIT RECORDING MODE sound,
1.It is recommended that the standard power adapter be used to charge the
amplifier, or power bank, PC USB or other power adapter for charging.
Note: power adapter specification: DC 5V/600mA,5V/1A,5V/1.5A,5V/2A;
2.After turning on the amplifier, M button LED does not light up. This means
the battery power is used up. If the LED keeps lighting up red, this means the
low battery power.
3.Charge the amplifier during operation, red and green LEDs keep lighting up.
In standby status, the red LED keeps lighting up, and the green LED flashes
slowly. In turning off status. Charge the amplifier in turning off status, the red
LED keeps lighting up. After being charged fully, the green LED keeps lighting
up. Use the standard adapter to charge the amplifier. 4h to charge fully. After
charge the amplifier fully, please stop charging to avoid battery damaged.
Note: for the first time operation, it is suggested that the battery should be
charged first. If it will not be used for a long time, it should be charged once
every six months to avoid battery overdischarge, which will affect battery
performance.
Note: please make sure the media in TF card is MP3 or WAV format, otherwise
the media can not be read or even it destroys the amplifier. Before copy the
songs into TF card, format the card in FAT16 or FAT32 way. The other format,
e.g. exFAT or NTFS will lead to that the recording can not be saved or the
saved songs can not be played.
⑨Charging port: charging the amplifier via Micro USB cable.
⑩Shoulder strap buckle: it is used to assemble the shoulder strap to wear the
amplifier on shoulder.
⑪Waist strap clip: it is used to assemble the waist strap to wear the amplifier
on waist.
To avoid electric shock, over temperature, catching fire, explosion, mechanical
risk and hurt or property loss caused by improper use, please read the following
items carefully before operation:
1.Before operation please make sure the amplifier power matches with that
of the connected equipment. Adjust the volume to proper level during
operation. Do not operate at high volume level to avoid hearing loss.
2.If abnormal phenomenon (smoke, abnormal smell) happens, please turn
off the power switch and disconnect the power plug with power socket, and
send the product to local dealer for maintenance.
3.The product and accessories should be put in dry and ventilated place
rather than humid or dusty environment. Prevent the product from liquid,
rain, water, over-colliding, throwing, vibrating, vent hole covered to avoid
function destroyed.
4.When the product needs to be installed on wall or ceiling, please fix it tightly
to avoid dropping risk.
5.Please abide by safety rules during operation. Do not use the product in the
place prohibited by regulation or law to avoid accident.
6.Do not disassemble or repair the product by yourself to avoid hurt. If you
have question or need service, please contact the local dealer.
7.The applicable altitude and climate condition of this product is subject to
the power adaptor, the meaning of the power adaptor icons is as below:
For the first time operation, you need to match the bluetooth of cell phone or
other equipment according to the steps below:
1.Turn on the power switch of the amplifier and press the M button. When the
M button LED flashes green quickly and the sound prompts "Bluetooth
mode". This means the Bluetooth matching status.
2.
Enter into the cell phone setting menu and turn on the Bluetooth function, and
then search TAKSTAR E150. Click TAKSTAR E150 for connection. The sound
prompts Bluetooth Connected. This means the Bluetooth is connected
successfully. The LED changes from flashing blue quickly to keeping lighting up.
3.When turning on the amplifier next time and select Bluetooth mode, it
automatically links with the last connected Bluetooth equipment, and it
sounds Bluetooth Connected.
Dear Customer,
Thank you for purchasing Takstar E150 portable amplifier. Please read the
user manual carefully before operation and keep it for reference in future. If
you have any question or suggestion, please contact our local dealer.
