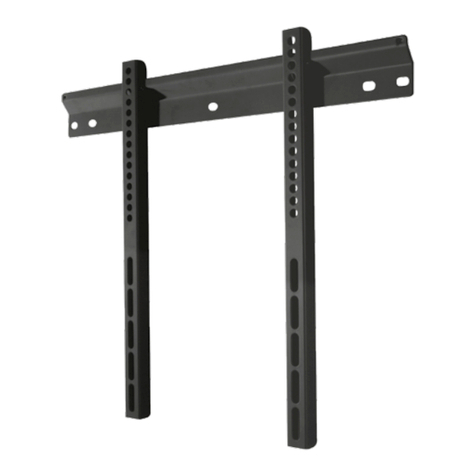
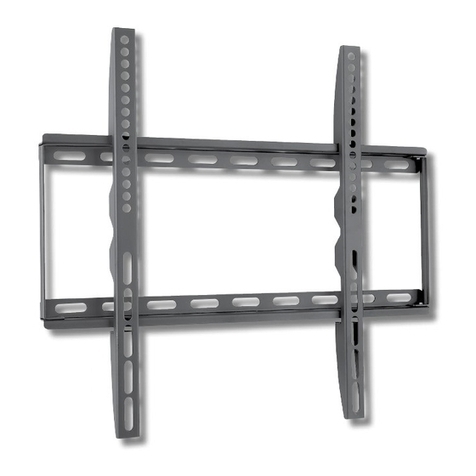
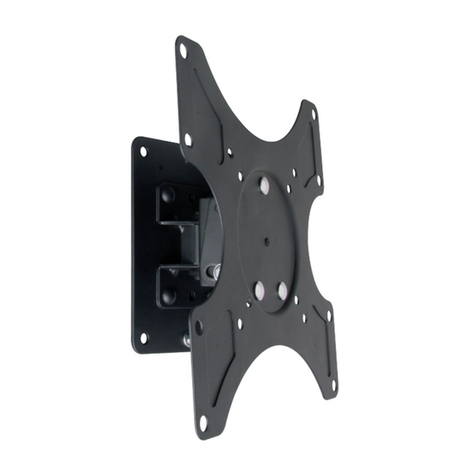
Techly ICA-PLB 132 User manual

www.techly.it
Istruzioni installazione
Installation Instruction
LED LCD TV Fixed Wall Mount
ICA-PLB 132
www.techly.it

LED LCD TV Fixed Wall Mount
Gentile Cliente,
grazie per aver scelto un prodotto Techly.
Dear Customer,
thanks for choosing a Techly product. Enjoy the using.
Istruzioni disimballaggio
•Aprireilcartoneconcura,rimuovereilcontenutoedistenderlosu
uncartoneoaltromaterialeprotettivoperevitaredanni.
• Vericare che il contenuto della confezione corrisponda alla li-
stadellepartinellapaginasuccessivaperassicurarsichetuttii
componentisianopresentienonsianodanneggiati.Nonutilizzare
partidifettoseodanneggiate.
•Leggereattentamenteleistruzioniriportatenelpresentemanuale
primadiprocedereall’installazione.
•Teneresemprequestomanualeperfutureconsultazioni.
Importanti informazioni sulla sicurezza
Installareeutilizzarequestoprodottoconcura.
Leggerecortesemente le istruzioni prima di cominciare l’installa-
zioneeseguirescrupolosamentetutteleindicazionicontenutequi.
Utilizzareadeguatidispositividisicurezzadurantel’intallazione.
Contattaredelpersonalequalicatopereffettuarel’installazione:
•Senonavetecompresoleindicazionicontenuteinquestomanua-
leoavetedeidubbiinmeritoallasicurezzadell’installazione;
•Senonsietesicuricircalatipologiadelmurodoveeffettuarel’in-
stallazionedelsupporto;
Nonutilizzateilprodottoperunoscopooinunacongurazionenon
espressamentespecicatainquesteistruzioni.Sideclinaqualsiasi
responsabilitàperdanniderivantidaunerratoassemblaggio,errato
montaggioousononcorrettodelprodotto.
Alterminedelleoperazionidimontaggioassicurarsicheiltuttosia
statoeffettuatoaregolad'arte.
Unpacking Instructions
•Carefully open the carton, remove contents and lay out on
cardboardorotherprotectivesurfacetoavoiddamage.
•CheckpackagecontentsagainsttheSuppliedPartsListinthenext
pagetoassurethatallcomponentswerereceivedundamaged.
Donotusedamagedordefectiveparts.
•Carefullyreadallinstructionsbeforeattemptinginstallation.
•Pleasekeeptheinstructionmanualfornextconsultations.
Important Safety Information
Installandoperatethisdevicewithcare.
Pleasereadthisinstructionbeforebeginningtheinstallation, and
carefullyfollowallinstructionscontainedherein.
Usepropersafetyequipmentduringinstallation.
Pleasecallaqualiedinstallationcontractorforhelpifyou:
•Ifyoudon'tunderstandthesedirectionsorhaveanydoubtsabout
thesafetyoftheinstallation.
•If you are uncertain about the nature of your wall, consult a
qualiedinstallationcontractor.
Donotusethisproductforanypurposeorinanycongurationnot
explicitlyspeciedinthisinstruction.Weherebydisclaimsanyand
all liability for injury or damage arising from incorrect assembly,
incorrectmounting,orincorrectuseofthisproduct.
At the end of the xing care that the support is installed in the
correctway.
ATTENZIONE:QuestastaffaperlaTVdeveessere
ssataallapareteinmodosicuro.
Se il montaggio non è stato effettuato in modo
correttoestabile,ciòpotrebbecausarelacaduta
dellastaffa,determinandolesioniodanniacoseepersone.
CAUTION: This TV mount must be securely
attachedtotheverticalwall.
Ifthemountisnotproperly installeditmayfall,
resultinginpossibleinjuryand/ordamage.
ATTREZZATURA RICHIESTA:
-Puntadeltrapanoda4mm(5/32)
-CacciavitePhilips
-Puntadamuroda10mm(3/8")
-Livella
-Strumentoperindividuarel’intelaiaturadelmuro
-Chiaveingleseosetcompletodichiavi
Nota: i componenti e il materiale di ssaggio forniti in questa
confezione non sono indicati per le installazioni su muri con
intelaiaturainacciaioosumuriconmattonidicemento.
Se il materiale di ssaggio di cui avete bisogno non è incluso,
consultatela vostraferramentalocaleperindividuareilmateriale
dimontaggioindicatoperlavostraapplicazione.Ilproduttorenon
siassumealcunaresponsabilitàincasodiancoraggiononcorretto.
Assicurarsidell'integritàdelmuroprimadiprocedereall'installazione.
Rispettare tassativamente il peso massimo dell'apparecchiatura
supportataindicatonellaconfezione.
TOOLS REQUIRED:
-5/32"(4mm)DrillBit
-PhillipsScrewdriver
-3/8"(10mm)MasonryBit
-StudFinder
-WrenchorSocketSet
-Carpenter'sLevel
Note: The mounting components and hardware supplied in this
packagearenotdesignedforinstallationstowallswithsteelstuds
ortocinderblockwalls.
Ifthehardwareyouneedforyourinstallationisnotincluded,please
consultyourlocalhardwarestoreforpropermountinghardwarefor
theapplication.
Pleasepaycarefulattentiontowherethismountislocated,some
wallsarenotsuitableforinstallation.Respectthemaximumweight
limitationprintedonthebox.

LISTA DELLE PARTI FORNITE | SUPPLIED PARTS LIST
(1)Placcaamuro-a
(1)WallPlate-a
(1)Staffamonitorsinistra-b
(1)LeftMonitorBracket-b
(1)Staffamonitordestra-c
(1)RightMonitorBracket-c
(4)M4x12viti-d
(4)M4x12Bolt-e
(4)M5x12viti-e
(4)M5x12Bolt-f
(4)M6x12viti-f
(4)M6x12Bolt-g
(4)M8x16viti-g
(4)M8x16Bolt-h
(4)M4x30viti-h
(4)M4x30Bolt-i
(4)M5x30viti–i
(4)M5x30Bolt-j
(4)M6x35viti-j
(4)M6x35Bolt-k
(4)M8x40viti-k
(4)M8x40Bolt-l
(4)M4rondelledentellate-l
(4)M4LockWasher-m
(4)M5rondelledentellate-m
(4)M5LockWasher-n
(4)M6rondelledetellate-n
(4)M6LockWasher-o
(4)M8rondelledentellate-o
(4)M8LockWasher-p
(4)M4/M5distanziatori-p
(4)M4/M5Space-q
(4)M6/M8distanziatori-q
(4)M6/M8Space-r
(8)M4/M5rondella-r
(8)M4/M5Washer-s
(4)M6/M8rondella-s
(4)M6/M8Washer-t
(6)Vitepertassello-t
(6)LagBolt-t
(6)Rondellapertassello-u
(6)LagBoltWasher-u
(6)Tassello-v
(6)ConcreteAnchor-v
LED LCD TV Fixed Wall Mount

STEP 1A Montaggio della staffa per il monitor a una TV con retro piatto
Mounting the Monitor Brackets to a TV with Flat Back
STEP 1B Montaggio della staffa per il monitor a una TV con retro curvo
Mounting the Monitor Brackets to a TV with Curved Back
Prima di tutto, vericate il diametro delle viti (d, e, f, g) richieste dalla vostra TV.
Appenaavetedeterminatoildiametrocorretto,visionateloschemasottoriportato.
Dovetequindiinlarelevitinelretrodellatelevisioneutilizzandolecorretterondelle
dentellate(l,m,n,o)erondellepiane(r,s).Assicuratevichelestaffedisupportodel
monitorsianocentrateverticalmenteeallostessolivello.
Firstofall,makesurethediameteroftheBolt(d,e,f,g)yourTVrequires.
Onceyouhavedeterminedthecorrectdiameter,pleaseseetherelativediagramas
below.YouwillthreadtheBoltintotheTVusingthecorrectLockWasher(l,m,n,o)and
Washer(r,s).PleasemakesuretheMonitorBracketsareverticallycenteredandlevel
witheachother.
Primaditutto,vericateildiametrodelleviti(h,i,j,k,)richiestedallavostraTV.Ap-
pena avete determinato il diametro corretto, visionate lo schema sotto riportato.
Dovetequindiinlarelevitinelretrodellatelevisioneutilizzandolecorretterondelle
dentellate(l,m,n,o),lerondellepiane(r,s)eidistanziatori(p,q).Perleviticondia-
metroM4/M5,avretebisognodiunaltrarondellaM4/M5tralastaffaperilmonitor
eil distanziatore.Assicuratevi chelestaffedi supporto delmonitorsianocentrate
verticalmenteeallostessolivello.
Firstofall,makesurethediameteroftheBolt(h,i,j,k)yourTVrequires.
Onceyouhavedeterminedthecorrectdiameter,pleaseseetherelativediagramas
below.YouwillthreadtheBolt into theTVusingthecorrectLockWasher(l,m,n,o),
Washer(r,s)andspacer(p,q).FortheM4orM5diameterbolt,youwillneedanother
M4/M5WasherbetweentheMonitorBracketandtheSpacer.Pleasemakesurethe
MonitorBracketsareverticallycenteredandlevelwitheachother.
STEP 2 Montaggio della placca a muro al muro
Mounting the Wall Plate to the Wall
STEP 3 Fissare il monitor alla placca a muro e aggiungere la vite
di sicurezza
Attaching Monitor to Wall Plate and Adding the Safety Bolts
Installazione su mattone, cemento armato o blocchi di calcestruzzo
Utilizzatelaplaccadamuro(a)comesagoma persegnareleposizionidei6forida
effettuaresulmuro.Treforisonosituatinellapartesuperioreealtritrenellapartein-
ferioredellastaffa.Praticareiforiconunapuntadatrapanoda10mm(3/8”)efate
inmodocheiforiabbianounaprofonditàdialmeno60mm(2.4”).Inserireuntassello
(v)inciasunodiquestifori.Assicuratevicheitassellisianoinseriticompletamentee
sianoaloconlasupercieincalcestruzzo,anchese,frontalmente,vièunostratodi
cartongessoodialtromateriale.Fissatelaplaccaamuroalmuroutilizzandole6viti
peritasselli(t),le6rondelledeitasselli(u)e6tasselli(v)comemostratonelloschema.
Brick, Solid Concrete and Concrete Block mounting:
UsetheWallPlate(a) asatemplatetomark 6holelocationson thewall.Threein
thetoprowofslotsandthreemoreinthebottomrow.Pre-Drilltheseholeswitha
3/8"(10mm)masonrybittoatleast2.4"(60mm)indepth.InsertaConcreteAnchor(v)
intoeachoftheseholes.Makesuretheanchorisseatedcompletelyushwiththe
concretesurfaceevenifthereisalayerofdrywallorothermaterialinfront.Attach
theWallPlatetothewallusing6pcsLagBolts(t),6pcsLagBoltWashers(u)and6pcs
ConcreteAnchor(v),showninDiagram.
ATTENZIONE: alcune televisioni per essere sollevate richiedono due persone! Il produttore
non è responsabile per eventuali danni a cose e persone.
Prima agganciate le staffe del monitor (b,c) sulla parte alta della placca a muro (a), quindi fate
ruotatelapartebassadellastaffaattaccataalmonitorversolaparteinferioredellastaffaamuro
comemostraloschemaA.Utilizzateilcacciaviteperstringerelevitidisicurezza.Quindilastaffa
delmonitorsiposizioneràdietrolalinguetta presenteinbasso sullaplaccaamurocomepotete
notarenelloschemaB.
Warning: Some TVs may require two people to lift! We are not responsible for personal
injury or product damage.
FirsthooktheMonitorBrackets(b,c)overthetopofthewallPlate(a),thenletthebottomofthe
MonitorBracketsrotatetothebottomoftheWallPlateasshownintheDiagramA.Usethescrew
drivertotightenthesafetybolts.ThentheMonitorBracketwillsitbehindthebottomtabonthe
WallPlateasshownintheDiagramB.
a
t
u
v
a
b , c
b , c
a
d
l
r
b
b
rme
nf
s
c
c
sog
bc
h
l
r
r
p
b
r
r
p
mi
j
n
s
q
k
o
s
qc
d
l
r
b
b
rme
nf
s
c
c
sog
bc
h
l
r
r
p
b
r
r
p
mi
j
n
s
q
k
o
s
qc
VitiM4
M4Bold
VitiM4
M4Bold
VitiM5
M5Bold
VitiM5
M5Bold
VitiM6
M6Bold
VitiM6
M6Bold
VitiM8
M8Bold
VitiM8
M8Bold
LED LCD TV Fixed Wall Mount
vitedisicurezza
safetybolt
muro
wall
muro
wall
SchemaA
DiagramA
SchemaB
DiagramB
a
t
u
v
a
b , c
b , c
a
www.techly.it
Other Techly TV Mount manuals

Techly
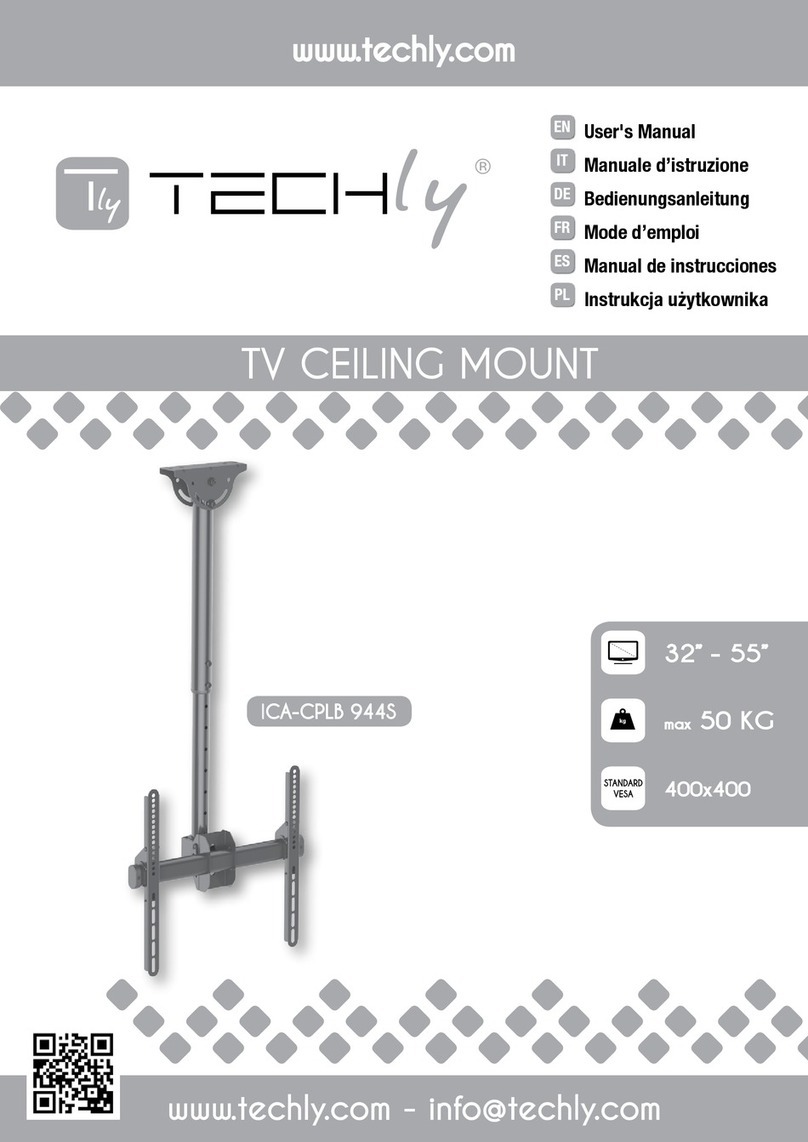
Techly ICA- CPLB 944S User manual

Techly
Techly ICA-PLB 162M User manual

Techly
Techly LED 300 User manual

Techly
Techly ICA-LCD 323M User manual

Techly
Techly ICA-PLB 162M User manual

Techly
Techly ICA-CS 62 User manual

Techly
Techly ICA-PLB 147 User manual

Techly
Techly ICA-PLB 162M User manual

Techly
Techly ICA-PLB 162M User manual

Techly
Techly ICA-TR17T1 User manual

Techly
Techly ICA-PLB 118 User manual

Techly
Techly ICA-CPLB 922S User manual

Techly
Techly ICA-PLB 840 User manual

Techly
Techly ICA-LCD 110BK User manual

Techly
Techly ICA-LCD 2100 User manual

Techly
Techly ICA-CPLB 946L User manual

Techly
Techly ICA-TR32 User manual

Techly
Techly iCa-PLB 133L User manual

Techly
Techly DESK 100 User manual

Techly
Techly AV 100 User manual