manuals.online logo
Brands
  1. Home
  2. •
  3. Brands
  4. •
  5. Teknim
  6. •
  7. Security System
  8. •
  9. Teknim VAS-741B Instruction Manual

Teknim VAS-741B Instruction Manual

1
Release Date: 12.02.2020
Rev:0
GENERAL:
Read this manual carefully before operating the devices and save them for later use. Follow all warnings and precautions
mentioned in the user manual. Follow all operating instructions, respectively.
✓Since the sound level produced by this device may cause hearing loss, it should not be used indoors.
✓The sound level produced by the device may be harmful to the human ear, use headphones during assembly.
✓Keep the devices away from water and moisture.
✓When cleaning the devices, always remove the electrical connection, do not use liquid cleaner (detergent, etc.), clean with
a damp cloth. Always use the device with its own box
✓Since the device is not mounted securely, it may be harmful to the device and / or environment, so be sure to install the
device on a solid surface.
ENVIRONMENTAL:
Do not operate the device in extreme hot and cold environments except the following conditions.
Temperature : Between -10C ~ +65C
Humidity: %95rH at +40C
VENTILATION:
This device does not need ventilation.
POWER:
Use the device only with the voltage values specified in this manual. If you are unsure about the supply voltage of the device,
please contact your dealer or the manufacturer.
EARTHING AND POLARIZATION:
Before energizing the device, make sure that the grounding is properly connected. Note that the supply voltage is appropriate.
POWER CABLE PROTECTION:
Protect the power cord from being crushed and broken.
POWER LINE:
Especially for external applications, feed with a separate line from the power line of devices such as lighting lamps or power
circuit and keep away from the line of other devices.
OVERLOAD:
To protect against the risk of electric shock or fire, do not connect extension cords and outlets to the device (s) that will draw
more current than usual.
OBJECT AND LIQUID INPUT:
To prevent fire and electric shock, make sure that no liquid or any object can enter the device, which may cause a short circuit.
SERVCE:
In case of any malfunction, contact your dealer or authorized service. Technical intervention to the device must be done by
qualified service personnel.
Do not try to repair the device yourself, if you open the cover of the device, you may be exposed to electric shock.
MALFUNCTIONS REQUIRING SERVICE:
In case of any malfunction or in the following cases, contact your authorized service or dealer.
✓When the power cord or plug is damaged
✓Any contact of water, rain or chemical liquid inside the device
✓When an object falls on the device or is hit
✓If the device has been dropped or the casing has been damaged
✓If the device has a noticeable level of performance change
✓Call the service if the device does not operate normally according to the operating instructions specified in the user manual
or because incorrect operations may cause other malfunctions.,
VAS-741B Blue Window (Metal Internal Protection)
VAS-741BP Blue Window (Polycarbonate Internal Protection)
VAS-741BX Blue Window (Without Internal Protection)
VAS-741R RED Window (Metal Internal Protection)
VAS-741RP RED Window (Polycarbonate Internal Protection)
VAS-741RX RED Window (Without Internal Protection)
INSTALLATION & USER MANUAL
2
SPARE PART:
If the repair is to be done by replacing the parts, make sure that the service technician is using original or equivalent parts against
the risk of fire, electric shock or another malfunction.
SECURITY CHECK:
Request service from your dealer to check whether the device operates in healthy, smooth, and safe conditions.
TRANSPORT AND SHIPPING:
The device should be handled with care so as not to experience any impact from outside and prevent fluid ingress. Malfunctions
occurring during improper transport are out of warranty.
HUMAN AND ENVIRONMENTAL HEALTH:
This device does not contain any chemical or biological substances that could harm human health.
WHAT YOU CAN DO WITH YOURSELF:
Do not try to repair the device yourself, because if you open the cover of the device, you may be exposed to electric shock. In case
of any malfunction, contact your dealer or authorized service. Technical intervention to the device must be carried out by qualified
service personnel. The device should be cleaned with a dry cloth. No chemicals should be used.
1. Features
The VAS741, offers 6 ultra bright LED walking light, EXT and INT operation options, and a wide area for the company logo on top.
Also,
✓Two sound options (Thick / Thin)
✓2-stage charging voltage (Charging and charging hold voltage)
✓System that can distinguish faulty battery (Separate LED indicator on the card)
✓Automatic discrimination of energy cut and sabotage
✓Adjustable automatic silence time (3min / 10min)
✓Ability to work with external or internal energy
✓Automatic trigger detection (- trigger or + trigger)
✓6 ultra bright LED flashers
✓Internal rechargeable Ni-MH battery (6V 350mAh Ni-Mh)
✓“First assembly system” that prevents noise pollution during installation
✓Tamper switch against front cover opening and removal from wall
✓3mm thick ABS body
✓Polycarbonate or metal protection can be preferred.
Technical Specifications
Sound Level
115 dB (±3 dB) max
Flasher
Ultra Bright LED’s
Cover Color
RED / Bule
Internal Protection
Polycarbonate / Metal / None
Electrical
Power
12 –24V DC
Avarage Consumption
75mA
Alarm Consumption
Single Piezzo : EXT: 285 mA ± %10 | INT: 160 mA
Double Piezzo : EXT: 385 mA ± %10 | INT: 160 mA
Battery Charging (constant charging)
65 mA avarage
General Specifications
Different Sond Tone
Yes
Fast / Slow Sound Option
Yes
Adjustable automatic silence time
3min/10min
-/+ Trigger Options
Yes
Automatic Trigger Sensation
Yes
LED
6 Bright Walking LEDs
Battery
6V 350mAh Ni-Mh
Sabotage
Front Cover and Removal from Wall
Sensation of Power Cut and Sabotage
Yes
Double Piezzo
Yes (Optional)
Mechanical
Weight
1195 gr / 1352 gr (Metal Protection)
Dimentions (mm)
215 x 300 x 60 mm
Body Material and Color
ABS / White
Environmental
Operating temperature
-10C ~ +65C
Humidity
%95 at +40C
3
2. Installation
For installation, places such as balconies and under eaves should be preferred, which will
not be exposed to direct rain and sun. In addition, care should be taken that the mounted
location is a place that is easily visible but not easily accessible.
Using the back plate of the siren or the template on the back of the cardboard box, mark
the mounting hole locations and the location of the cable entry hole. Drill the holes using a
8mm drill bit and insert the dowels. Using a drill bit longer than the wall thickness, drill the
cable hole so that it projects behind the wall. Mount the siren on the wall using the provided
screws and the appropriate size Phillips screwdriver. Do not forget to pass the cable
through the hole in the body. While mounting, adjust the tamper "switch" handle according
to the surface to be mounted. Do not forget to screw the protection plate to the device
during assembly.
!!! WARNING !!!: When assembling, make sure that the siren is at least 5 cm from all
sides of the wall.
3. Cable Connections
EXAMPLE: 4-line sabotage siren connection
Suggestions!!
If more than one siren is to be connected, one of the sirens is "EXT" and the other is "INT" to prevent the sirens from drawing too much current
from the panel. Sirens in the “INT” position are powered by their own batteries at the time of the alarm.
4. Battery Usage
•VAS-741 B/R: These sirens use a NiVH rechargeable battery with a capacity of 6V 350mAh and comes installed as a factory
default. Only after installation, the connector of the battery must be installed in the place indicated on the card.
WARNING !
Pay attention to the direction of the battery during installation, never use batteries other than the specified type,
voltage and size
ATTENTION !
In the absence of a rechargeable battery, the siren operates, but due to environmental conditions, shelf life of the
battery, it is not guaranteed to provide the expected performance at the time of the alarm or even to operate the
siren. Batteries must be checked periodically for this risk.
Piezzo Buzzer 1
Piezzo Buzzer 2
Microswithc 1
Battery
4
5. Settings
J1 Usage Type (PWR)
EXT –EXTERNAL
The siren is supplied from the panel unless it is disconnected from the panel. If the panel is
disconnected, the battery is used.
INT –INTERNAL
In all cases, the siren is powered by its own battery. In this case, current consumption is
reduced. In this position, the sound level of the siren is slightly reduced. All Sirens comes in
"EXT" position as a Factory Default.
J2 SOUND TONE
With this setting, the siren sound can be made thicker (“LO”) or treble (“HI”). The factory
setting is "HI".
J3 SIREN TYPE
If desired, siren sound can be selected from two different shapes with the help of this switch.
Type 1 is a traditional siren sound, and the second is a sound similar to firefighter sound. The
factory setting is "1".
J4 SIREN TIME (TMR)
It shows how long the siren will sound during an alarm. 3/10 minutes can be selected. The
factory setting is 3 minutes
J5 SIREN DELAY (DLY)
It determines the detection delay time when the siren is activated. 5 minutes can be selected.
LD1 BATTERY FAULT LED (RED)
If the battery is disconnected or faulty, it light steadily.
LD2 CHARGING LED (GREEN)
It is litght steadily if the battery is in charged and/or fully charged
Status
Battery Fault LED
(RED)
BATTERY FULL LED
(GREEN)
CHARGING
Result
Normal Charge
OFF
OFF
64mA.
Charging
Trickle CHARGE
OFF
ON
40mA.
Battery is Full, discharging is blocked
Charge Cutout
ON
OFF
0mA.
Battery is Faul tor No Input Voltage
*Complies with WEEE regulation. This product is made from recyclable and reusable high quality parts and materials.
Therefore, do not dispose of the product with domestic or other waste at the end of its service life. Take it to a collection point
for the recycling of electrical and electronic equipment.
J2- Sound
Tone
J1- Usage Type
LD1- Battery Fault
LED
LD2- Charging LED
J5- Siren Delay
J4- Sound Time
J3- Siren Type
MANUFACTURER
Bilgi Elektronik Sanayi ve Ticaret A.Ş.
Dudullu Organize Sanayi Bölgesi 1. Cadde İsmet Tarman İş
Merkezi No: 1 Kat: 2 No: 32 Ümraniye / İstanbul
Phone: +90 216 455 88 46 Fax: +90 216 455 99 06
www.bilgielektronik.com.tr www.teknim.com
sales@bilgielektronik.com.tr d[email protected]

This manual suits for next models

5

Other Teknim Security System manuals

Teknim TFS-1193R User manual

Teknim

Teknim TFS-1193R User manual

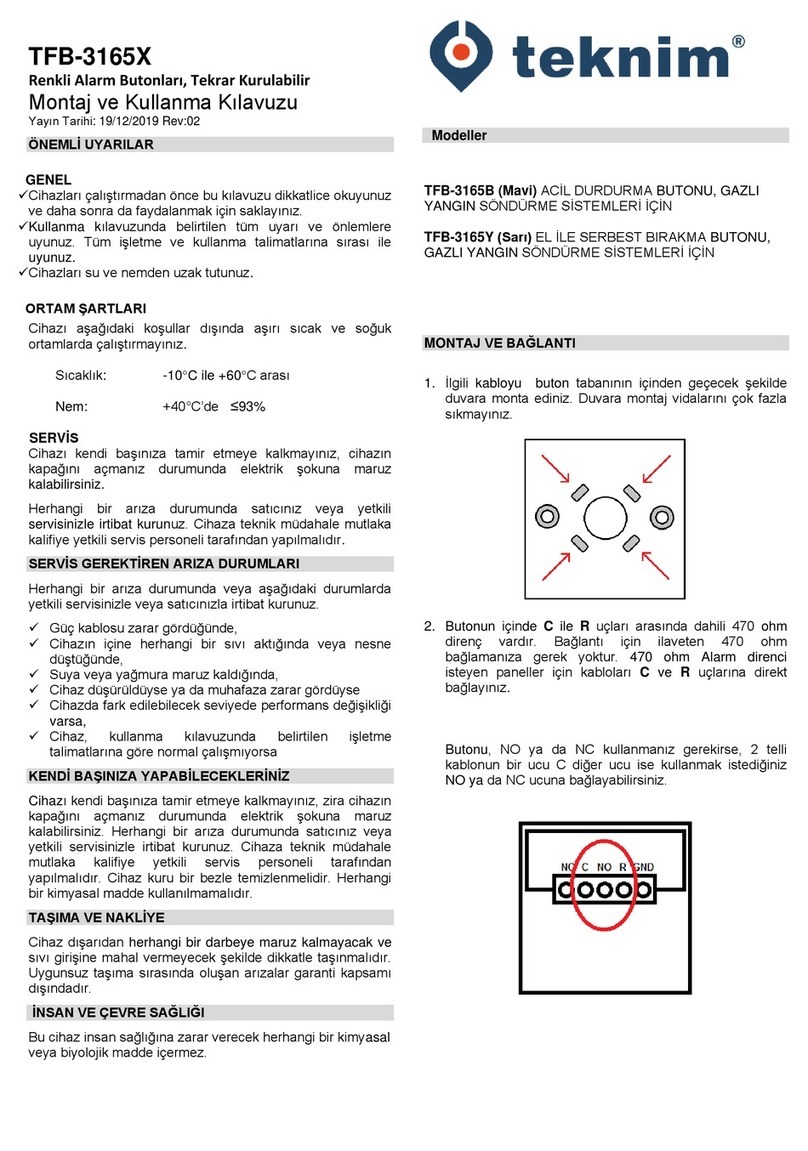
Teknim TFB-3165 User manual

Teknim

Teknim TFB-3165 User manual

Teknim TFP-40 Series User manual

Teknim

Teknim TFP-40 Series User manual

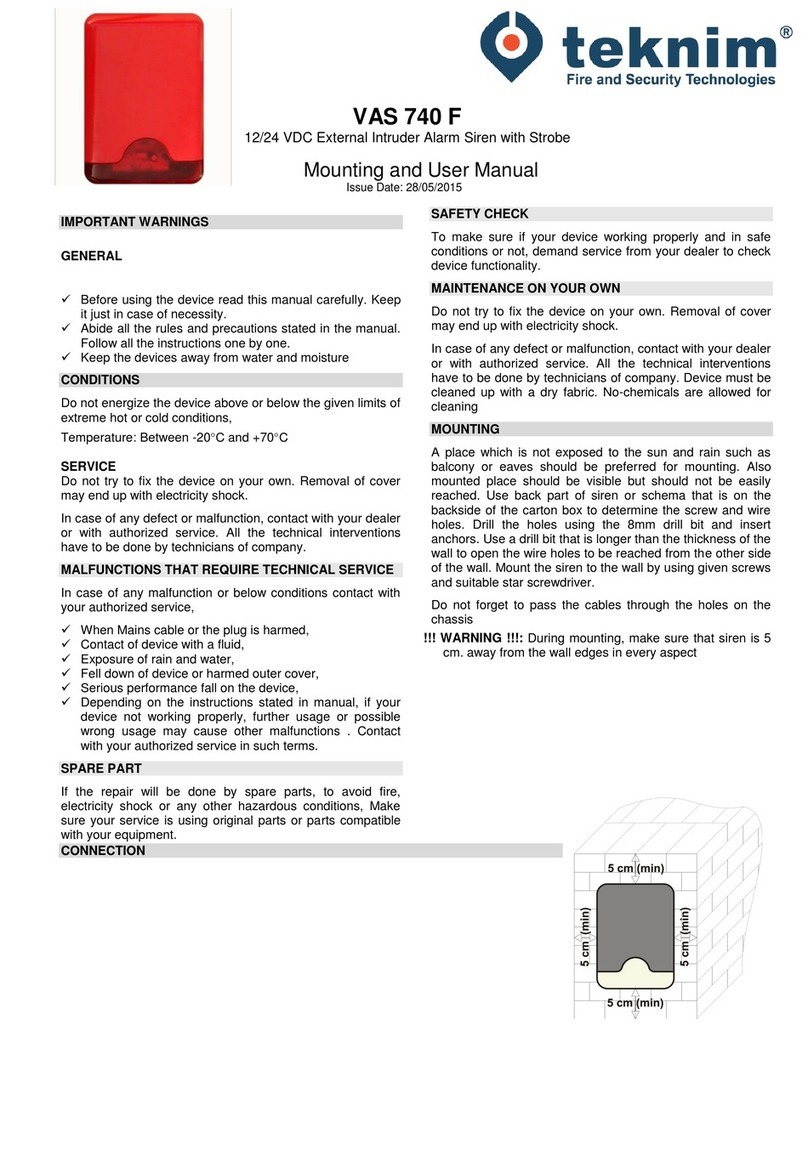
Teknim VAS 740 F User manual

Teknim

Teknim VAS 740 F User manual

Teknim PARS Series User manual

Teknim

Teknim PARS Series User manual

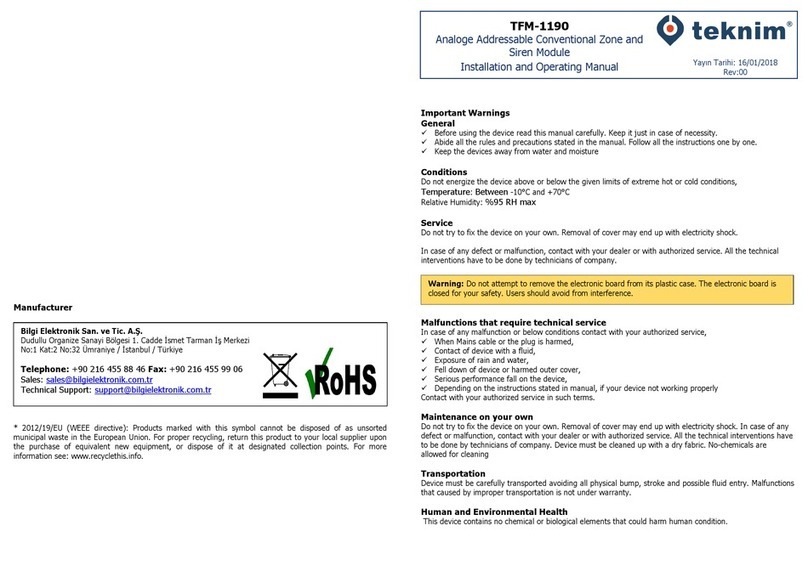
Teknim TFM-1190 User manual

Teknim

Teknim TFM-1190 User manual

Teknim TFB-3165 Series User manual

Teknim

Teknim TFB-3165 Series User manual

Teknim TFB-1166 User manual

Teknim

Teknim TFB-1166 User manual

Teknim PARS Series Assembly instructions

Teknim

Teknim PARS Series Assembly instructions

Teknim VAP416 User manual

Teknim

Teknim VAP416 User manual

Teknim VAP Series User manual

Teknim

Teknim VAP Series User manual

Teknim PARS Series User manual

Teknim

Teknim PARS Series User manual

Popular Security System manuals by other brands

Chateau ChateauXP user manual

Chateau

Chateau ChateauXP user manual

Skil-Care Restraint-Free FloorPro 909286 manual

Skil-Care

Skil-Care Restraint-Free FloorPro 909286 manual

Logan L-SA01 user manual

Logan

Logan L-SA01 user manual

Yale HSA3095 Installation instruction

Yale

Yale HSA3095 Installation instruction

Challenger APFW10 operating manual

Challenger

Challenger APFW10 operating manual

SkyBest SKY-N6004P Safety and maintenance instructions

SkyBest

SkyBest SKY-N6004P Safety and maintenance instructions

Meraki MX65W-HW installation guide

Meraki

Meraki MX65W-HW installation guide

LEGRAND E47ADCN manual

LEGRAND

LEGRAND E47ADCN manual

Viper Directed 4706V Quick reference install guide

Viper

Viper Directed 4706V Quick reference install guide

E2S STExB2X05DC012 instruction manual

E2S

E2S STExB2X05DC012 instruction manual

Radio Engineering Industries Digital BUS-WATCH SD40 user manual

Radio Engineering Industries

Radio Engineering Industries Digital BUS-WATCH SD40 user manual

GeoVision UMV859-A user manual

GeoVision

GeoVision UMV859-A user manual

Texecom Ricochet Impaq Contact-W user manual

Texecom

Texecom Ricochet Impaq Contact-W user manual

Cisco MERAKI MX65W installation guide

Cisco MERAKI

Cisco MERAKI MX65W installation guide

jablotron JA-162A quick start guide

jablotron

jablotron JA-162A quick start guide

ATSS ACTIVE LD user manual

ATSS

ATSS ACTIVE LD user manual

First Alert 3035DF Operations & installation guide

First Alert

First Alert 3035DF Operations & installation guide

Tiras ECD Tiras 1X installation manual

Tiras

Tiras ECD Tiras 1X installation manual

manuals.online logo
manuals.online logoBrands
  • About & Mission
  • Contact us
  • Privacy Policy
  • Terms and Conditions

Copyright 2025 Manuals.Online. All Rights Reserved.