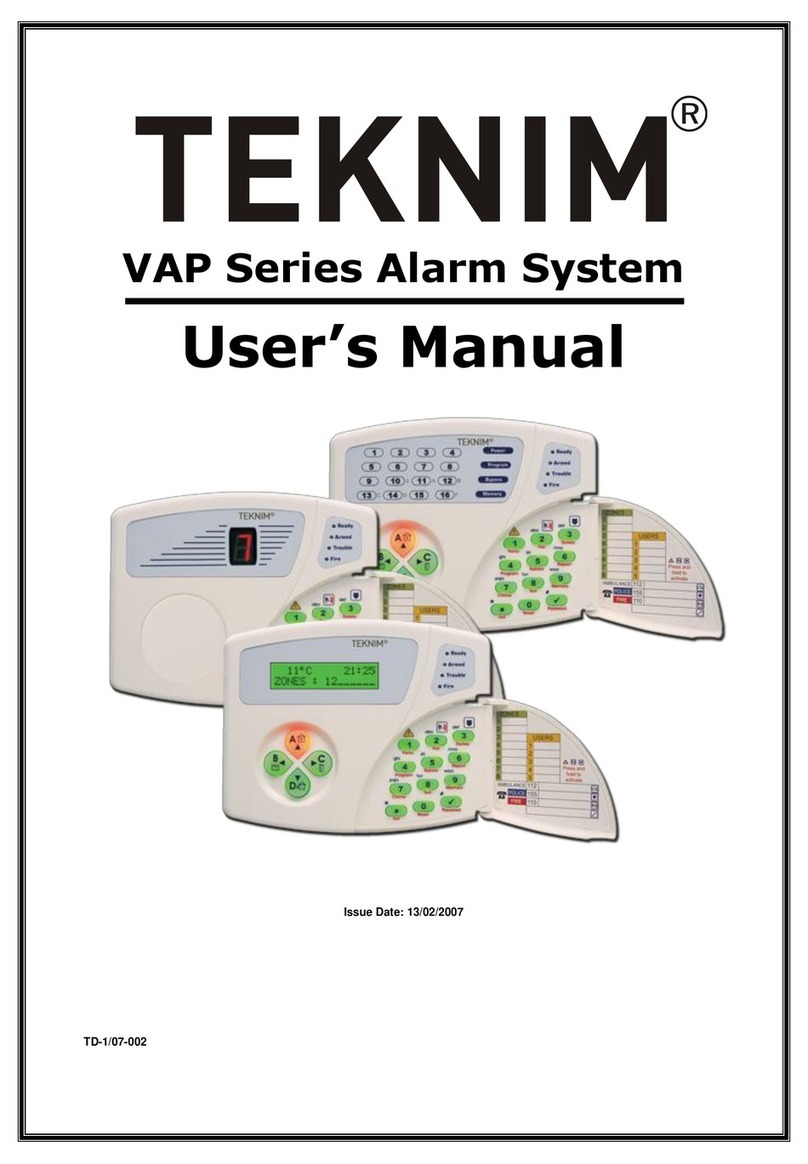
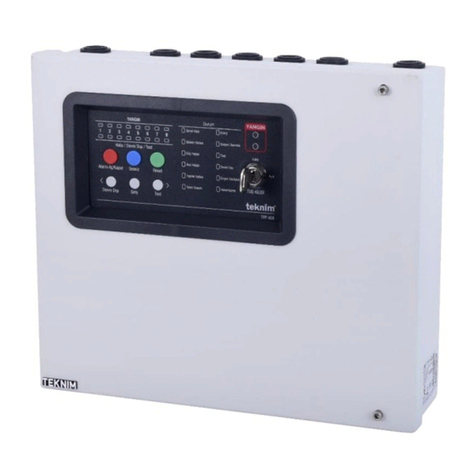
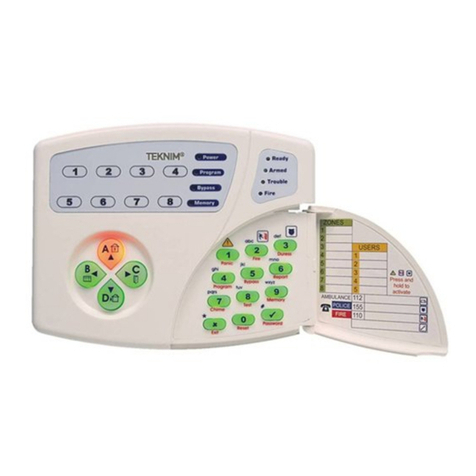
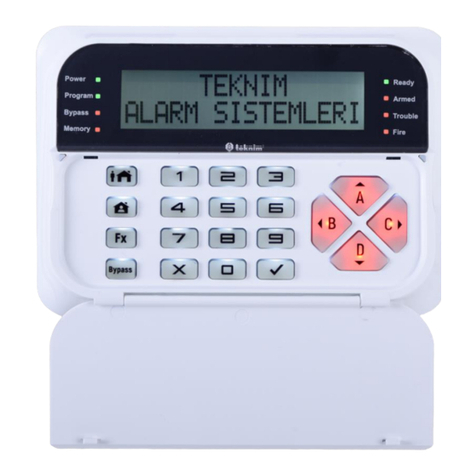
Teknim PARS Series User manual

V1.1
Release Date: 26.12.2019
PARS SERIES
Alarm Control Panels
TEKNİM PARS SERIES INTRUDER ALARM SYSTEMS QUICK
INSTALLATION GUIDE

1
TEKNİM PARS SERIES ALARM CONTROL PANELS
QUICK INSTALLATION GUIDE
1. TABLE OF CONTENTS
1. TABLE OF CONTENTS.................................................................................................................1
2. TSP ALARM PANELS CONNECTION DIAGRAMS ................................................................. 2
3. QUICK START GUIDE.................................................................................................................. 5
Entering Installer Menu................................................................................................................................................5
Setting the Time ..............................................................................................................................................................5
Setting the Date...............................................................................................................................................................5
Setting Entrance Delay .................................................................................................................................................5
Setting Exit Delay............................................................................................................................................................5
Setting CMS Account Number ....................................................................................................................................5
Setting the CMS Phone Numbers ..............................................................................................................................6
Setting the Backup CMS Phone Numbers...............................................................................................................6
Setting the Private Phone Numbers.........................................................................................................................6
Password Settings..........................................................................................................................................................6
User Codes.........................................................................................................................................................................7
4. PROGRAMMING TABLE ............................................................................................................8

2
TEKNİM PARS SERIES ALARM CONTROL PANELS
QUICK INSTALLATION GUIDE
2. TSP ALARM PANELS CONNECTION DIAGRAMS
Warning: Installation and electrical
connections of the panel must be done
by trained personnel. Unconscious
interventions may result in electrical
current exposure and malfunctions of
the panel board.

3
TEKNİM PARS SERIES ALARM CONTROL PANELS
QUICK INSTALLATION GUIDE
Warning: Installation and electrical
connections of the panel must be done
by trained personnel. Unconscious
interventions may result in electrical
current exposure and malfunctions of
the panel board.

4
TEKNİM PARS SERIES ALARM CONTROL PANELS
QUICK INSTALLATION GUIDE
Warning: Installation and electrical
connections of the panel must be done
by trained personnel. Unconscious
interventions may result in electrical
current exposure and malfunctions of
the panel board.

5
TEKNİM PARS SERIES ALARM CONTROL PANELS
QUICK INSTALLATION GUIDE
3. QUICK START GUIDE
Entering Installer Menu
Press [Fx] →[4]
Enter the four-digit Installer Code (Factory Default: “9999”)
“Program”LED will light continuously, and “Ready”LED will blink on LED Keypad
“Installer Menu” will appear on LCD Keypad.
To exit the Installer Menu, press and hold [X].
Setting the Time
LED Keypad; [01] [01] →[Hour and Minutes HH: MM] →[√ Ok]
LCD Keypad; [Basic Settings √ Ok] →[Time/Date Settings √ Ok] →[Time: HH: MM] →[√ Ok]
e.: To configure the time at 09:05; [01] [01] [09] [05] [√ Ok]
Setting the Date
LED Keypad; [01] [02] →[Date DD: MM: YY] →[√ Ok]
LCD Keypad; [Basic Settings √ Ok] →[Time/Date Settings √ Ok] →[Date: DD: MM: YY]→[√ Ok]
e.: To configure the date at 10.11.2019; [01] [02] [10] [11] [19] [√ Ok]
Setting Entrance Delay
LED Keypad; [02] [01] →[Entrance Delay SS] →[√ Ok]
LCD Keypad; [Basic Settings √ Ok] →[Entrance Delay √ Ok] →[01-Part Ent Delay: SS]→[√ Ok]
e.: To configure the entrance delay 10sec.; [02] [01] [10] [√ Ok]
Setting Exit Delay
LED Keypad; [03] [01] →[Exit Delay SS] →[√ Ok]
LCD Keypad; [Basic Settings √ Ok] →[Exit Delays √ Ok] →[01-Part Ext Delay: SS]→[√ Ok]
e.: To configure the exit delay 15sn; [03] [01] [15] [√ Ok]
Setting CMS Account Number
LED Keypad; [04] [01] →[CMS Account XXXX] →[√ Ok]
LCD Keypad; [Basic Settings √ Ok] →[CMS Accounts √ Ok] →[1. CMS ACCNT NO XXXX]→[√ Ok]
e.: To configure CMS Account number 1234; [04] [01] [1234] [√ Ok]
P.S.: If CMS Account number contains Hexadecimal Codes, (A, B, C, D, E, F) press long; [1] for A –[2] for B -
[3] for C –[4] for D –[5] for E –[6] for F

6
TEKNİM PARS SERIES ALARM CONTROL PANELS
QUICK INSTALLATION GUIDE
Setting the CMS Phone Numbers
LED Keypad; [05] [01] →[CMS Phone NO XXXXXXXXXXX] →[√ Ok]
LCD Keypad; [Basic Settings √ Ok] →[CMS Phones √ Ok] →[1. CMS Phone No XXXXXXXXXXX]→[√ Ok]
e.: To configure CMS Phone No 02161234567; [05] [01] [02161234567] [√ Ok]
P.S.: To erase CMS number; enter the same section on the program and press and hold the [B] Key.
e.: [05] [01] [Press and Hold B] [√ Ok]
Setting the Backup CMS Phone Numbers
LED Keypad; [05] [03] →[CMS Backup Phone Number XXXXXXXXXXX] →[√ Ok]
LCD Keypad; [Basic Settings √ Ok] →[CMS Phones √ Ok] →[3. CMS Phone XXXXXXXXXXX]→[√ Ok]
e.: To configure CMS Backup Phone No 02161234567; [05] [03] [02161234567] [√ Ok]
Setting the Private Phone Numbers
LED Keypad; 1. User Phone Number: [06] [01] →[Phone NO XXXXXXXXXXX] →[√ Ok]
2. User Phone Number: [06] [02] →[Phone NO XXXXXXXXXXX] →[√Ok]
3. User Phone Number: [06] [03] →[Phone NO XXXXXXXXXXX] →[√Ok]
4. User Phone Number: [06] [04] →[Phone NO XXXXXXXXXXX] →[√Ok]
5. User Phone Number: [06] [05] →[Phone NO XXXXXXXXXXX] →[√Ok]
6. User Phone Number: [06] [06] →[Phone NO XXXXXXXXXXX] →[√Ok]
LCD Keypad; [Basic Settings √ Ok] →[Private Phones √ Ok] →[XXXXXXXXXXX]→[√ Ok]
e.: To set first private phone number as 05321234567; [06] [01] [05321234567] [√ Ok]
P.S.: To erase any private number; enter the same section on the program and press and hold the [B] key.
e.: [06] [01] [Press and Hold B] [√ Ok]
Password Settings
Master Code factory default is “1234”, Installer Code factory default is “9999” and both can be change as
follow;
[Press and Hold the √Key] →[Old Code XXXX]→[New Code XXXX] →[Repeat New Code XXXX]
e.: To set Master Code as 9876; [Press and Hold √Key] [1234] [9876] [9876]
To set Installer Code as 4321; Press and Hold √Key] [9999] [4321] [4321]
P.S.: The password change process for LCD and LED Keypad is the same and it is not necessary to press the
[ √ OK] key at the end of the password change process. You will be hearing double short tone when process
succeed.

7
TEKNİM PARS SERIES ALARM CONTROL PANELS
QUICK INSTALLATION GUIDE
User Codes
There are no user codes defined in the control panel as a factory default. To define a user code, it is
necessary to enter the Master Menu with Master Code.
To enter “Master Menu” with “Master Code”;
Press and Hold the Key [4]
Enter four-digit Master Code (Factory Default: “1234”)
To set user code;
LED Keypad; [07] [01] →[1. User Code XXXX] →[√ Ok]
LCD Keypad; [Basic Settings √ Ok] →[User Codes √ Ok] →[01-User Code XXXX]→[√ Ok]
e.: To set 1. User Code as 1111; [07] [1] [1111] [√ Ok]
To set 2. User Code as 2222; [07] [2] [2222] [√ Ok]
Important: GSM/GPRS, CMS Communication and SMS configuration can be done
only by Teknim PC Configuration software. You can download the software from
www.teknim.com

8
TEKNİM PARS SERIES ALARM CONTROL PANELS
QUICK INSTALLATION GUIDE
4. PROGRAMMING TABLE
This table shows all the settings, options, and factory settings available in the control panel.
<InC> Access to Installer Menu with “Installer Code”–Factory Default: 9999
<MaC> Access to Master Menu with “Master Code”–Factory Default: 1234
ADRESS
FUNCTION
VALUE-SETTINGS
FACTORTY
DEFAULT
ACCESS
AUTHORITY
0 –BASIC SETTINGS
01 –CLOCK SETTINGS
01 01
Time
HH: MM HH: Hour, MM:Minute
00:00
InC & MaC
01 02
Date
DD MM YY DD: Day, MM:Month, YY:Year (Last Two Digit)
00.00.00
InC & MaC
02 –ENTRANCE DELAYS
02 01
02 02
02 03
02 04
A PART ENT DLY
B PART ENT DLY
C PART ENT DLY
D PART ENT DLY
0~255 Sec
15
0
0
0
InC
03 –EXIT DELAYS
03 01
03 02
03 03
03 04
A PART EXT DLY
B PART EXT DLY
C PART EXT DLY
D PART EXT DLY
0~255 Sec
15
0
0
0
InC
04 –CMS ACCOUNTS
04 01
04 02
1. CMS ACCNT NO
2. CMS ACCNT NO
4-digit account number
0000
0000
InC & MaC
05 –CMS PHONES
05 01
05 02
05 03
05 04
1. CMS PHONE NO
2. CMS PHONE NO
3. CMS PHONE NO
4. CMS PHONE NO
Maximum 15-digit phone number
0 (press long) can give you space if you need time to wait for
line.
To erase the phone number press and hold [B]
Empty
Empty
Empty
Empty
InC & MaC
06 –PRIVATE PHONES
06 01
06 02
06 03
06 04
06 05
06 06
1. Phone Number
2. Phone Number
3. Phone Number
4. Phone Number
5. Phone Number
6. Phone Number
Maximum 15-digit phone number
0 (press long) can give you space if you need time to wait for
line.
To erase the phone number press and hold [B]
Empty
Empty
Empty
Empty
Empty
Empty
InC & MaC
07 –USER CODES
07 01
07 02
07 03
07 04
07 05
07 06
07 07
07 08
07 09
07 10
07 11
1. User Code
2. User Code
3. User Code
4. User Code
5. User Code
6. User Code
7. User Code
8. User Code
9. User Code
10. User Code
11. Threat (Duress) Code
4-digit code
----
----
----
----
----
----
----
----
----
----
MaC
1 –PANEL SETTINGS
10 –GENERAL SETTINGS
10 01
Panel Options
2. Quick Arm Enable / Disable
3. Auto Siren Test Enable / Disable
4. Arm / Disarm from Foreign Keypad Enable / Disable
5. Extend Exit Delay Enable / Disable
6. Double Hit Enable / Disable
2 - 5
InC
10 02
Output
1. PGM NC/NO (On: NC, Off: NO)
4. SRN NC/NO (+/- Trigger)
1. NO
4. NO
InC

9
TEKNİM PARS SERIES ALARM CONTROL PANELS
QUICK INSTALLATION GUIDE
10 03
Reset Type
1. Reset Codes
2. Reset Panel Settings
-
InC & MaC
10 04
Reset Permission
1. Allows Reset Codes Enable / Disable
2. Allows Reset Panel Settings Enable / Disable
1 –2
InC
10 05
Power Report Delay
0~60 minutes
15
InC
10 06
Double Trigger Time
0-255 seconds
Ps: If you enter “0” Cross Zone Feature will be Off.
60
InC
11 –SIREN SETTINGS
11 01
Siren Using Partitions
1. Partition A
2. Partition B
3. Partition C
4. Partition D
A- B- C- D
InC
11 02
Cut Off Time
2~255 minutes
3
InC
12 –AUTO ARM / DISARM
12 01
Auto Arm Partitions
1. Partition A
2. Partition B
3. Partition C
4. Partition D
Auto Arm is disable if no partition is selected.
Disable
InC & MaC
12 02
Auto Arm Days
1. Monday
2. Tuesday
3. Wednesday
4. Thursday
5. Friday
6. Saturday
7. Sunday
All Enable
InC & MaC
12 03
Auto Arm Time
HH MM HH: Hours, MM: Minutes
00:00
InC & MaC
12 04
Auto Disarm Partitions
1. Partition A
2. Partition B
3. Partition C
4. Partition D
Auto Disarm is disable if no partition is selected.
Disable
InC & MaC
12 05
Auto Disarm Days
1. Monday
2. Tuesday
3. Wednesday
4. Thursday
5. Friday
6. Saturday
7. Sunday
All Enable
InC & MaC
12 06
Auto Disarm Time
HH MM HH: Hours, MM: Minutes
00:00
InC & MaC
12 07
Arm When No Movement
1. Partition A
2. Partition B
3. Partition C
4. Partition D
Disable if no partition is selected.
Disable
InC & MaC
12 08
Arm When No Movement
Delay
5~255 Minutes
30
InC & MaC
13 –PGM SETTINGS
13 01
Use PGM as;
0: Manually
1: Zone Output
2: Partition Output
3: ARM Status
4: Fire Siren
5: Fire Sensor Power
6: Siren
7: Trouble Output
8: Access Control
9: Timer Output
10: Random
11: ARM Indicator
12: Disarm Indicator
0
InC

10
TEKNİM PARS SERIES ALARM CONTROL PANELS
QUICK INSTALLATION GUIDE
13: Toggle RC Button
14: Alarm Type
13 02
PGM Setting
0~255 Minutes
0
InC
14 –TIMER SETTINGS
14 01
Timer 1 Settings
1. PGM Control Enable / Disable
2. PGM State On/Off
-
InC & MaC
14 02
Timer 1 Days
1. Monday
2. Tuesday
3. Wednesday
4. Thursday
5. Friday
6. Saturday
7. Sunday
All Enable
InC & MaC
14 03
Timer 1 Time
HH MM HH: Hours, MM: Minutes
00:00
InC & MaC
14 04
Timer 2 Settings
1. PGM Control Enable / Disable
2. PGM State On/Off
-
InC & MaC
14 05
Timer 2 Days
1. Monday
2. Tuesday
3. Wednesday
4. Thursday
5. Friday
6. Saturday
7. Sunday
All Enable
InC & MaC
14 06
Timer 2 Time
HH MM HH: Hours, MM: Minutes
00:00
InC & MaC
15 –REMOTE ACCESS
15 01
Remote Control Settings
1. Option: Remote Access by Phone ON/OFF
2. Option: Cloud Communication ON/OFF
OFF
OFF
InC & MaC
15 02
Ring Count
1~20 times
5
InC & MaC
16 –PANEL INFO
16 01
Panel Type
Read Only
TSP-5xxx
InC
16 02
SW Version
Read Only
0
InC
16 03
HW Version
Read Only
0
InC
2 –ZONE SETTINGS
20 –CONNECTION TYPE
20 01
20 02
20 03
20 04
20 05
20 06
20 07
20 08
20 09-16
Z1
Z2
Z3
Z4
Z5
Z6
Z7
Z8
Z9-Z16
01-Keypad Zone 29
02-Keypad Zone 30
03-Keypad Zone 31
04-Keypad Zone 32
1. Opt.: NC/NO
2. Opt.: Singl EOL, Double Zone On/Off*
3. Opt.: Double EOL, Double Zone On/Off*
4. Opt.: Zone Use In Use/Not In Use
* 2 and 3 should be Off in Resistance-Free Connection.
*2 and 3 should be On in Double Zone Connection.
*Z9...Z(nx2) No Zone Activation Required.
*Double Zone is Not Available with Additional Zone Card.
Keypad Zone settings can only be done via LCD Keypad.
When the Keypad Zone is activated, the zone numbers
according to the Keypad address are assigned as follows;
Keypad 1: Zone 29
Keypad 2: Zone 30
Keypad 3: Zone 31
Keypad 4: Zone 32
1 –4
1
InC
21 –ZONE PARTITIONS
21 01
21 02
21 03
21 04
21 05
21 06
21 07
21 08
Z1
Z2
Z3
Z4
Z5
Z6
Z7
Z8
01-Keypad Zone 29
02-Keypad Zone 30
03-Keypad Zone 31
04-Keypad Zone 32
1. Partition A
2. Partition B
3. Partition C
4. Partition D
A
InC
22 –ZONE TYPE

11
TEKNİM PARS SERIES ALARM CONTROL PANELS
QUICK INSTALLATION GUIDE
21 01
21 02
21 03
21 04
21 05
21 06
21 07
21 08
Z1
Z2
Z3
Z4
Z5
Z6
Z7
Z8
01-Keypad Zone 29
02-Keypad Zone 30
03-Keypad Zone 31
04-Keypad Zone 32
0. Free Zone
1. Door
2. Window
3. Internal
4. External
5. 24 Hour
6. Fire
7. Panic
8. Duress
9. Tamper
10. Medical
11. Custom
12. Keyswitch
Z1: 1
Z2: 3
Z3: 3
Z4: 3
Z5: 3
Z6: 3
Z7: 3
Z8: 3
KZ1: 3
KZ2: 3
KZ3: 3
KZ4: 3
InC
23 –ZONE SETTINGS
21 01
21 02
21 03
21 04
21 05
21 06
21 07
21 08
Z1
Z2
Z3
Z4
Z5
Z6
Z7
Z8
01-Keypad Zone 29
02-Keypad Zone 30
03-Keypad Zone 31
04-Keypad Zone 32
1. Option: Last Door Zone Enable/Disable
2. Option: Follower Zone Enable/Disable
3. Option: Entry-Exit Zone Enable/Disable
4. Option: Silent Zone Enable/Disable
5. Option: Manual Bypass Enable/Disable
6. Option: Include Home Arming Enable/Disable
7. Option: Cross Zone Enable/Disable
Z1: 1
Z2: 3
Z3: 3
Z4: 3
Z5: 3
Z6: 3
Z7: 3
Z8: 3
KZ1: 3
KZ2: 3
KZ3: 3
KZ4: 3
InC
24 –RESPONSE TIME
24 01
24 02
24 03
24 04
24 05
24 06
24 07
24 08
Z1
Z2
Z3
Z4
Z5
Z6
Z7
Z8
01-Keypad Zone 29
02-Keypad Zone 30
03-Keypad Zone 31
04-Keypad Zone 32
2~255
Calculated in multiples of 30 milliseconds
Response Time: Value x 30ms
15
(450ms)
InC
25 –ZONE NAMES –(ONLY WITH LCD KEYPAD)
Z1 Name
Z2 Name
Z3 Name
Z4 Name
Z5 Name
Z6 Name
Z7 Name
Z8 Name
Z9 –Z16 Name
01-Keypad Zone 29
02-Keypad Zone 30
03-Keypad Zone 31
04-Keypad Zone 32
Numeric Letter
Scroll letters with Right and Left Arrow keys
Press the ”0” key twice to delete the letter.
Door
2. Zone
3. Zone
4. Zone
5. Zone
6. Zone
7. Zone
8. Zone
9.- 16. Zone
29. Zone
30. Zone
31. Zone
32. Zone
InC
3 –KEYPAD SETTINGS
30 –KEYPAD OPTION
30 01
30 02
30 03
30 04
1. Keypad
2. Keypad
3. Keypad
4. Keypad
1. Option: Use Keypad Enable/Disable
2. Option: Quick Arm Enable/Disable
3. Option: Arm Permission Enable/Disable
4. Option: Disarm Permission Enable/Disable
5. Option: Programming Enable/Disable
6. Option: Access Control Enable/Disable
7. Option: Keypad Tamper Enable/Disable
1. Keypad
1-2–3-4-5
Others
2-3-4
InC

12
TEKNİM PARS SERIES ALARM CONTROL PANELS
QUICK INSTALLATION GUIDE
31 –KEYPAD PARTITION
31 01
31 02
31 03
31 04
1. Keypad
2. Keypad
3. Keypad
4. Keypad
1. Partition A
2. Partition B
3. Partition C
4. Partition D
A–B–C-D
InC
32 –KEYPAD CUSTOMIZE
32 01
32 02
32 03
32 04
32 05
32 06
32 07
32 08
32 09
32 10
32 11
32 12
32 13
32 15
32 16
Chime on Zone ON 1-8
Chime on Zone ON 9-16
Chime on Zone ON 17-24
Chime on Zone ON 25-32
Chime on Zone OFF 1-8
Chime on Zone OFF 9-16
Chime on Zone OFF 17-24
Chime on Zone OFF 25-32
Light 1-8
Light 9-16
Emergency Buttons
Sound Option
Language (Only LCD)
Logo Line 1. (Only LCD)
Choose the Zones to Chime When Zone Active
Choose the Zones to Chime When Zone Passive
Emergency Buttons
1. Option: Panic
2. Option: Fire
3. Option: Medical
4. Option: Keypad Tamper
Sound Options
1. Option: Entry/Exit
2. Option: Armed
3. Option: Alarm
4. Option: Fault
5. Option: Key Tone
6. Option: Operate
Language
Turkish - English (Only LCD Keypad)
Logo Line 1. and 2.
Company Information (Only LCD Keypad)
All ON
ALL ON
ON
ON
ON
ON
ON
ON
ON
ON
ON
ON
Turkish
InC & MaC
4 –USER SETTINGS
40 –USER START TIME
40 01
40 02
40 03
40 04
40 05
40 06
40 07
40 08
40 09
40 10
1. User Start Time
2. User Start Time
3. User Start Time
4. User Start Time
5. User Start Time
6. User Start Time
7. User Start Time
8. User Start Time
9. User Start Time
10. User Start Time
HH MM HH: Hour, MM: Minute
00:00
MaC
41 –USER FINISH TIME
41 01
41 02
41 03
41 04
41 05
41 06
41 07
41 08
41 09
41 10
1. User Finish Time
2. User Finish Time
3. User Finish Time
4. User Finish Time
5. User Finish Time
6. User Finish Time
7. User Finish Time
8. User Finish Time
9. User Finish Time
10. User Finish Time
HH MM HH: Hour, MM: Minute
23:59
MaC
42 –USER AUTHORIZED DAYS
42 01
42 02
42 03
42 04
42 05
42 06
42 07
42 08
42 09
42 10
1. User Authorized Days
2. User Authorized Days
3. User Authorized Days
4. User Authorized Days
5. User Authorized Days
6. User Authorized Days
7. User Authorized Days
8. User Authorized Days
9. User Authorized Days
10. User Authorized Days
1. Monday
2. Tuesday
3. Wednesday
4. Thursday
5. Friday
6. Saturday
7. Sunday
All Enable
MaC
43 –USER AUTHORIZED PARTITIONS

13
TEKNİM PARS SERIES ALARM CONTROL PANELS
QUICK INSTALLATION GUIDE
43 01
43 02
43 03
43 04
43 05
43 06
43 07
43 08
43 09
43 10
1. User Auth. Partition
2. User Auth. Partition
3. User Auth. Partition
4. User Auth. Partition
5. User Auth. Partition
6. User Auth. Partition
7. User Auth. Partition
8. User Auth. Partition
9. User Auth. Partition
10. User Auth. Partition
1. Partition A
2. Partition B
3. Partition C
4. Partition D
A-B-C-D
MaC
44 –USER AUTHORIZED KEYPADS
44 01
44 02
44 03
44 04
44 05
44 06
44 07
44 08
44 09
44 10
1. User Auth. Keypad
2. User Auth. Keypad
3. User Auth. Keypad
4. User Auth. Keypad
5. User Auth. Keypad
6. User Auth. Keypad
7. User Auth. Keypad
8. User Auth. Keypad
9. User Auth. Keypad
10. User Auth. Keypad
1. Keypad 1
2. Keypad 2
3. Keypad 3
4. Keypad 4
1-2-3-4
MaC
45 –USER LIMITATIONS
45 01
45 02
45 03
45 04
45 05
45 06
45 07
45 08
45 09
45 10
1. User Limitations
2. User Limitations
3. User Limitations
4. User Limitations
5. User Limitations
6. User Limitations
7. User Limitations
8. User Limitations
9. User Limitations
10. User Limitations
1. Option: Arm Limit Yes/No
2. Option: Disarm Limit Yes/No
3. Option: One Time Code Yes/No
4. Option: One Day Code Yes/No
5. Option: Bypass Limitation Yes/No
3 and 4 are valid only for the guest user.
-
-
-
-
-
-
-
-
-
4
MaC
5 - COMMUNICATOR
50 –GENERAL OPTIONS
50 01
General Settings
1. Option: CMS Call Yes/No*
2. Option: User Call Yes/No **
3. Option: SMS Yes/No
4. Option: Call Cancel When Disarm Yes/No
5. Option: Siren Warning When No Line Yes/No
6. Option: Confirmation from Phone Yes/No
7. End Calls on First Confirmation Yes/No
8. Silence Alarm on Confirmation Yes/No
(*) CMS Call Automatically Opens When Any Phone Number
Is Entered.
(**) User Call Opens Automatically When Any Phone Number
Is Entere.
4
MaC
50 02
DIAL ATTEMPTS
1~15
3
InC
50 03
CMS ANSWER WAIT TIME
10~60 Second
30
InC
50 04
CMS TEST INTERVAL
1~48 Hours
24
InC
50 05
FIRST TEST AT TIME
HH MM HH: Hour, MM: Minute
00:00
InC
50 06
CALL DELAY
1~30 Second
3
InC
50 07
50 08
1. CMS FORMAT
2. CMS FORMAT
0=Contact ID
1= SIA
0
InC
50 09
50 10
50 11
50 12
Partition A CMS
Partition B CMS
Partition C CMS
Partition D CMS
1. CMS 1 Enable / Disable
2. CMS 2 Enable / Disable
1
InC
50 13
50 14
50 15
50 16
Partition A Phone
Partition B Phone
Partition C Phone
Partition D Phone
1. Option: 1. User Phone
2. Option: 2. User Phone
3. Option: 3. User Phone
4. Option: 4. User Phone
5. Option: 5. User Phone
6. Option: 6. User Phone
All Enable
InC

14
TEKNİM PARS SERIES ALARM CONTROL PANELS
QUICK INSTALLATION GUIDE
50 17
50 18
50 19
50 20
Partition A SMS
Partition B SMS
Partition C SMS
Partition D SMS
1. Option: 1. User Phone
2. Option: 2. User Phone
3. Option: 3. User Phone
4. Option: 4. User Phone
5. Option: 5. User Phone
6. Option: 6. User Phone
All Enable
InC
51 –REPORT MASKS
51 01
51 02
51 03
51 04
51 05
51 06
51 07
51 08
51 09
51 10
51 11
51 12
51 13
51 14
51 15
51 16
51 17
51 18
51 19
51 20
51 21
51 22
51 23
51 24
51 25
51 26
51 27
51 28
51 29
51 30
51 31
51 32
1. Intruder Alarm
2. Panic Alarm
3. Fire Alarm
4. Duress Alarm
5. Tamper Alarm
6. Medical Alarm
7. Duress Disarm
8. Cancel Alarm
9. Zone Trouble
10. Mains Failed
11. Alarm Verify
12. Cross Zone Fault
13. Low Battery
14. Line Fault
15. Battery Fault
16. Com Fault (*)
17. Special Arm/Disarm
18. Alarm Arm/Disarm
19. Bypass
20. Program Begin
21. Program End
22. Periodic Report
23. Panel Restart
24. Manuel Test
25. Disarmed by Phone
26. Disarmed by PC
27. Remote Connection
28. Module Fault
29. Reserved
30. Custom Event
31. 24 Hour Alarm
32. Factory Default
1. Send Event to CMS
2. Send Event to Phone
3. Send Restore to CMS
4. Send Restore to Phone
5. Send Event to SMS
6. Send Restore to SMS
(*) Com Fault is only recorded in memory
(**) 3364 are restores
1-2-3-5
1-2-3-5
1-2-3-5
1-2-3-5
1-2-3-5
1-2-3-5
1-2-5
1-5
1-5
1-3-5
1-5
1-5
1-3-5
5
1-3-5
5
1-3-5
1-3-5
1-3-5
1-5
1-5
-
5
-
5
5
5
5
-
1-2-5
-
5
InC
6 –MODULES
60 –ADD REMOTE MODULE
60 01
Add Key fob
1-Enter User Code
2-Press 4 Buttons Same Time
3-Press 4 Buttons Same Time Again
-
MaC
61 01
61 02
61 03
61 04
61 05
61 06
61 07
61 08
61 09
61 10
61 11
User 1 Remote Erase
User 2 Remote Erase
User 3 Remote Erase
User 4 Remote Erase
User 5 Remote Erase
User 6 Remote Erase
User 7 Remote Erase
User 8 Remote Erase
User 9 Remote Erase
User 10 Remote Erase
Master Remote Erase
Choose “Unavailable” to Erase Remote Keyfon by Arrow Keys.
-
MaC

15
TEKNİM PARS SERIES ALARM CONTROL PANELS
QUICK INSTALLATION GUIDE
MANUFACTURER
Bilgi Elektronik Sanayi ve Ticaret A.Ş.
Dudullu OSB 1. Cadde İsmet Tarman İş Merkezi No: 1 Kat: 2 No: 32 Ümraniye / İstanbul
Phone: +90 216 455 88 46 Fax: +90 216 455 99 06
www.teknim.com sales@bilgielektronik.com.tr
Other manuals for PARS Series
2
Table of contents
Other Teknim Security System manuals

Teknim
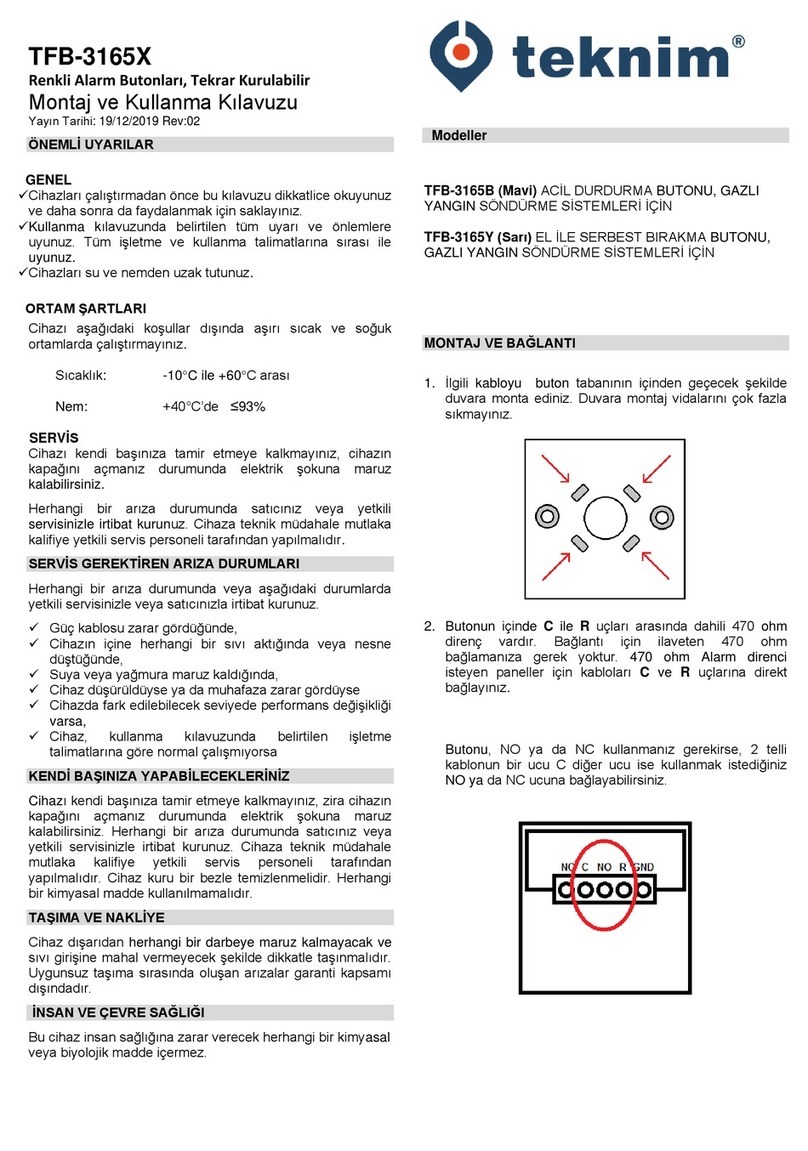
Teknim TFB-3165 Series User manual

Teknim
Teknim VAP Series User manual

Teknim
Teknim PARS Series User manual

Teknim
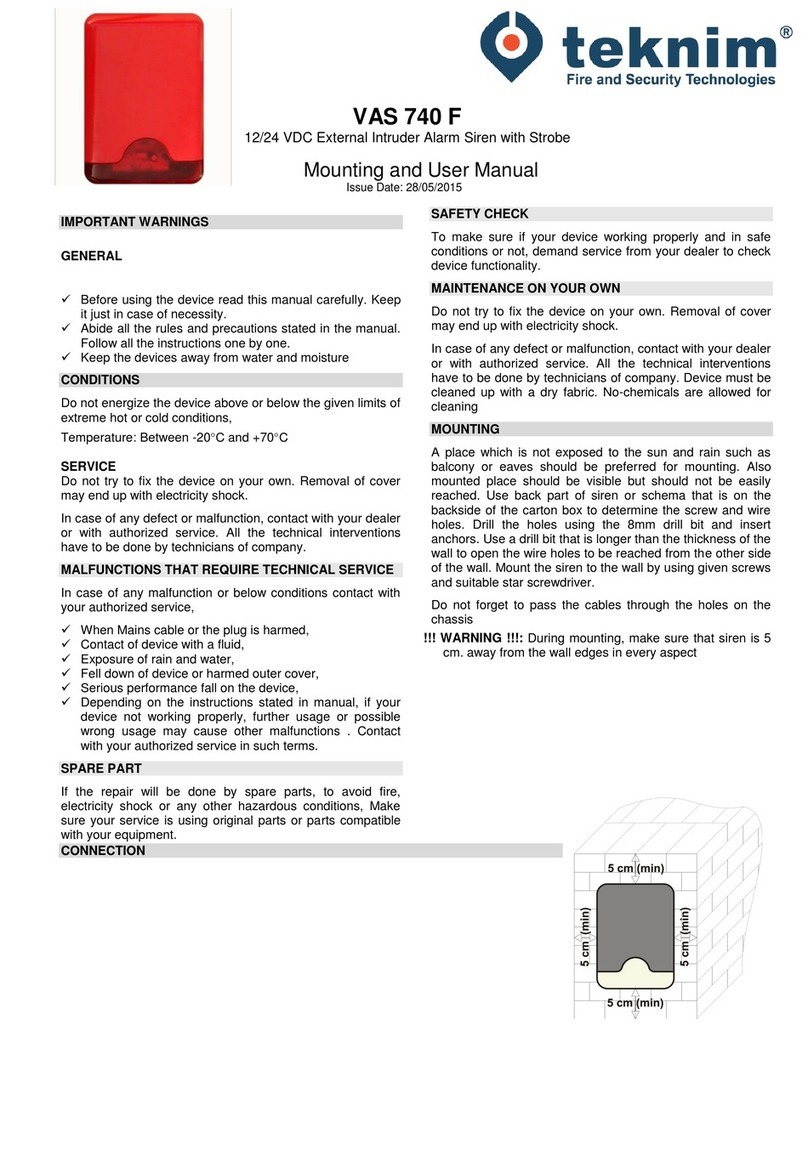
Teknim VAS 740 F User manual

Teknim
Teknim VAS-741B Instruction Manual

Teknim
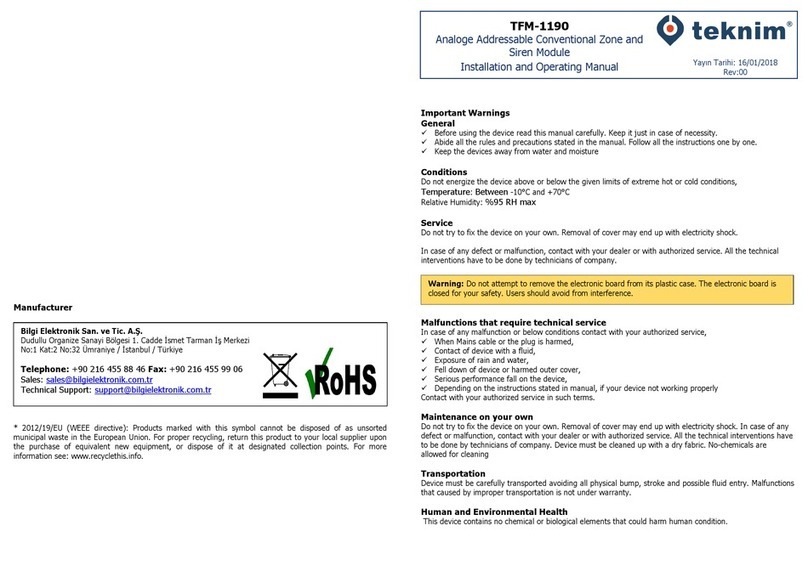
Teknim TFM-1190 User manual

Teknim
Teknim TFB-1166 User manual

Teknim
Teknim PARS Series Assembly instructions

Teknim
Teknim TFP-40 Series User manual
Teknim
Teknim TFS-1193R User manual