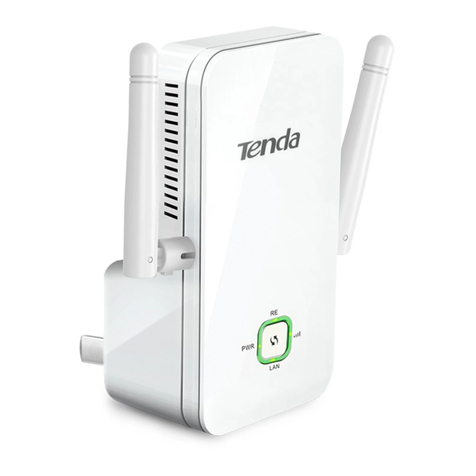
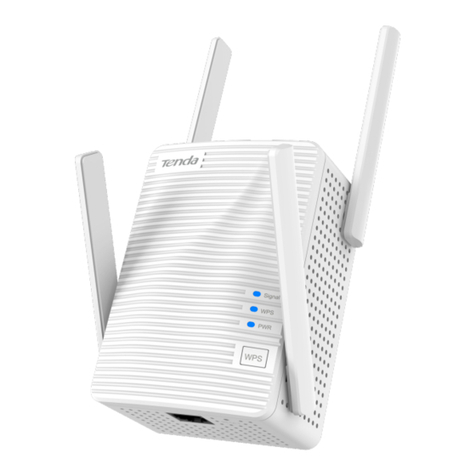
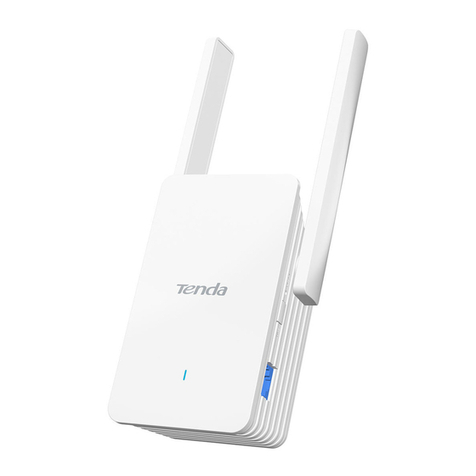
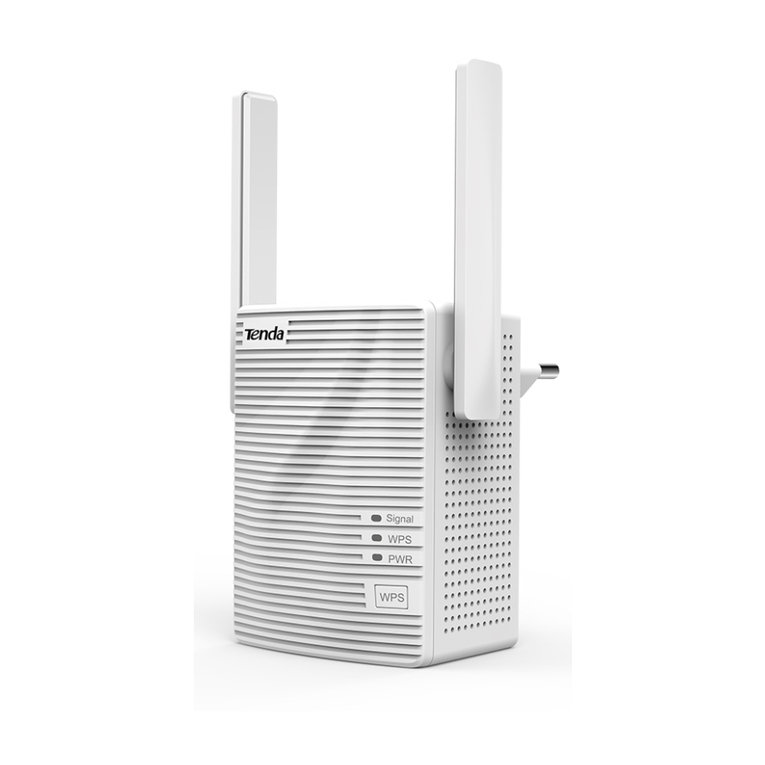
Tenda A27 User manual

Version1.0
AC2100 Dual Band WiFi Repeater ·
RSD0617
User Guide
WiFi 6 Range Extender A27&A33
User Guide

Version1.0
i
Copyright Statement
© 2022 Shenzhen Tenda Technology Co., Ltd. All rights reserved.
is a registered trademark legally held by Shenzhen Tenda Technology Co., Ltd. Other
brand and product names mentioned herein are trademarks or registered trademarks of their
respective holders. Copyright of the whole product as integration, including its accessories and
software, belongs to Shenzhen Tenda Technology Co., Ltd. No part of this publication can be
reproduced, transmitted, transcribed, stored in a retrieval system, or translated into any language
in any form or by any means without the prior written permission of Shenzhen Tenda Technology
Co., Ltd.
Disclaimer
Pictures, images and product specifications herein are for references only. To improve internal
design, operational function, and/or reliability, Tenda reserves the right to make changes to the
products without obligation to notify any person or organization of such revisions or changes.
Tenda does not assume any liability that may occur due to the use or application of the product
described herein. Every effort has been made in the preparation of this document to ensure
accuracy of the contents, but all statements, information and recommendations in this document
do not constitute a warranty of any kind, express or implied

Version1.0
ii
Preface
Thank you for choosing Tenda! Please read this user guide carefully before you start. This user
guide applies to A27 and A33. Unless otherwise specified, A33 is taken as an example in this guide.
Conventions
The typographical elements that may be found in this document are defined as follows.
Item
Presentation
Example
Cascading menus
>
System > Live Users
Parameter and value
Bold
Set User Name to Tom.
Variable
Italic
Format: XX:XX:XX:XX:XX:XX
UI control
Bold
On the Policy page, click the OK button.
Message
“ ”
The “Success” message appears.
The symbols that may be found in this document are defined as follows.
Symbol
Meaning
This format is used to highlight information of importance or special interest.
Ignoring this type of note may result in ineffective configurations, loss of data or
damage to device.
This format is used to supplement or explain the description of relevant
operations.
Additional Information
For more information, search this product model on our website at www.tendacn.com.
Type
Description
Datasheet
Used to help you understand the basic parameters of your product, including
product overview, specifications, etc.
Quick Installation Guide
Used to help you quickly set up your product to access the internet, including
internet setup guidance, hardware instructions, FAQs, etc.
User Guide
Used to help you understand more functions for your product, including the
instructions to configure the functions.

Version1.0
iii
Technical Support
If you need more help, contact us by any of the following means. We will be glad to assist you as
soon as possible.
Hotline
Global: (86) 755-27657180 (China Time Zone)
United States: 1-800-570-5892 (Toll Free: 7 x 24 hours)
Hong Kong: 00852-81931998
Canada: 1-888-998-8966 (Toll Free: Mon - Fri 9 am - 6 pm PST)
Email
support@tenda.cn
Revision History
Tenda is constantly searching for ways to improve its products and documentation. The following
table indicates any changes that might have been made since the extender was introduced.
Version
Date
Description
V1.0
2022-01-12
Original publication.

Version1.0
iv
Contents
1Get to know your device...............................................................................................................1
1.1 Overview ................................................................................................................................1
1.2 Appearance ............................................................................................................................1
1.2.1 LED indicator ...............................................................................................................1
1.2.2 Port & buttons.............................................................................................................2
2Quick setup ...................................................................................................................................4
2.1 Overview ................................................................................................................................4
2.2 Extender mode.......................................................................................................................5
2.3 AP mode...............................................................................................................................18
3Login to the Web UI ....................................................................................................................22
3.1 Login with a computer (applicable only to Extender Mode) ...............................................22
3.2 Login with a mobile phone/tablet .......................................................................................25
4Web UI.........................................................................................................................................27
4.1 Web UI layout.......................................................................................................................27
4.2 Common buttons .................................................................................................................28
5Network Status............................................................................................................................29
5.1 View whether the network is extended successfully...........................................................29
5.2 View network status of the WiFi extender ..........................................................................33
5.3 View the number of WiFi enabled devices in the network .................................................35
5.4 View the WiFi name of the WiFi extender...........................................................................36
6Re-extend ....................................................................................................................................37
7WiFi Settings................................................................................................................................41
7.1 Overview ..............................................................................................................................41
7.2 Unify 2.4 GHz and 5 GHz ......................................................................................................43
7.3 Separate 2.4 GHz and 5 GHz ................................................................................................44
7.4 Modify WiFi names and passwords .....................................................................................45

Version1.0
v
7.5 Hide the WiFi extender’s WiFi networks..............................................................................47
7.6 Connect to the hidden WiFi network...................................................................................48
8Client management.....................................................................................................................50
8.1 Overview ..............................................................................................................................50
8.2 View all online wireless clients/the blacklist .......................................................................52
8.3 Add a wireless client to the blacklist....................................................................................53
8.4 Remove a wireless client from the blacklist.........................................................................54
9Operating mode ..........................................................................................................................55
9.1 Switch the WiFi extender from extender mode to AP mode...............................................55
9.2 Switch the WiFi extender from AP mode to extender mode...............................................58
10 More settings ..............................................................................................................................60
10.1 Network settings................................................................................................................60
10.2 OFDMA...............................................................................................................................62
10.3 LED indicator ......................................................................................................................64
10.3.1 Overview .................................................................................................................64
10.3.2 Turn off the LED indicator as scheduled .................................................................64
10.4 Login password...................................................................................................................66
10.5 System time........................................................................................................................68
10.5.1 Overview .................................................................................................................68
10.5.2 Sync system time with internet time ......................................................................70
10.5.3 Sync system time with local time............................................................................71
10.5.4 Enable DST ..............................................................................................................72
10.6 System management..........................................................................................................73
10.6.1 Reboot the WiFi extender.......................................................................................73
10.6.2 Reset the WiFi extender..........................................................................................75
10.6.3 Export system logs ..................................................................................................77
10.6.4 Upgrade firmware system.......................................................................................78
Appendix ............................................................................................................................................81
A.1 Set the computer IPV4 address ...........................................................................................81

Version1.0
1
1 Get to know your device
1.1 Overview
Tenda WiFi 6 dual-band WiFi extender offers dual-band antennas to expand wireless network,
efficiently delivering superspeed and seamless connectivity to every corner of your home. It
supports dual-band integration technology, and the two frequency bands use the same WiFi name
and password, selecting the WiFi with the best network quality for users. It can give full play to the
highest performance of WiFi 6 dual-band wireless router, which is perfect for home WiFi coverage.
1.2 Appearance
1.2.1 LED indicator
LED Indicator
Status
Description
LED indicator
Solid blue
The WiFi extender has connected to your existing router and is at a
proper position or is too close to the router.
LED indicator

Version1.0
2
LED Indicator
Status
Description
Solid yellow
The WiFi extender has connected to your existing router and is at a
fair position. You are recommended to move it towards the router.
Solid red
The WiFi extender has connected to your existing router, but is too
far away from the router. You are recommended to move it towards
the router.
Blinking red slowly
The WiFi extender has been enabled but failed to extend the
network of the upstream device.
Blinking red quickly
The WiFi extender is connecting to your existing router through
WPS.
1.2.2 Port & buttons
Button/Port
Description
WPS
Use the WPS button to extend WiFi network. Press the WPS button of the WiFi extender,
and enable the WPS function of another device within 2 minutes to establish a WPS
connection. Please refer to Extend your WiFi networks using WPS for details.
RESET
Hold down the RESET button for 1-3 seconds with a needle-like object such as the pen
point. The LED indicator blinks as the reset begins. About 40 seconds later, the reset
completes.
Ethernet port.
WPS button
RESET button
Ethernet port

Version1.0
3
Button/Port
Description
In repeater mode, it is used to connect to devices, such as computer.
In AP mode, it is used to connect to a router to provide wireless network for WiFi enabled
devices.

Version1.0
4
2 Quick setup
2.1 Overview
The WiFi extender supports two working modes: the extender mode and the AP mode. In
extender mode, you can extend your existing WiFi network for broader WiFi coverage. While in AP
mode, you can connect the WiFi extender to a router through an Ethernet cable to convert
the wired network to the wireless one.
Choose your scenario and perform setup.
If you want to
Set the WiFi extender to
See
Extend your current WiFi coverage
Extender mode
2.2 Extend the current WiFi
coverage
Convert wired network to wireless
network
AP mode
2.3 Turn wired network into WiFi
network

Version1.0
5
2.2 Extender mode
This WiFi extender supports two network extending methods. If your router has a WPS button,
you are recommended to use Method 2.
Method 1: Extend your WiFi network using web UI
Scenario 1: Mobile phone as the WiFi enabled device (An Android phone is used for illustration)
Step 1 Plug the WiFi extender into a power outlet near the router in the same room. Wait until
the LED indicator of the WiFi extender turns blinking red.
Step 2 Extend your WiFi network.
Connect your mobile phone to the WiFi network of the WiFi extender: Tenda_EXT.1.
A quick setup page appears automatically.
LED indicator blinks red

Version1.0
6
Tap Start Now.2.
If the page does not appear, try the following solutions:
Ensure that your device has connected to the WiFi network of the WiFi repeater: Tenda_EXT, and
the Cellular Data (if any) function is disabled. Then manually start a web browser, enter
re.tenda.cn in the address bar and visit the address.
Reset the WiFi extender and try again.

Version1.0
7
Set a login password for network security (recommended) and tap Next.3.
Select Extender Mode, then tap Next.4.

Version1.0
8
Select the WiFi network you want to extend, which is Tenda_1 in this example.5.
Enter the WiFi password of the WiFi network you selected, and modify the extender WiFi6.
name as necessary (The WiFi name has been modified in the following example), then tap
Next.

Version1.0
9
Configuration on the web UI completed.
Step 3 Relocate the WiFi extender.
For better performance, you can relocate the WiFi extender as suggested below:1.
Place the WiFi extender within the range of your existing WiFi network.
Place it at a spacious position without obstacles.
Keep it away from electronics with strong interference, such as microwave ovens, bluetooth
devices, and refrigerators.
Check the color of the LED indicator to ensure the WiFi extender is at a proper position.2.
Solid blue: Proper location.
Solid yellow: Fair position. Move towards the router.
Solid red: Too far away from the router. Move towards the router.

Version1.0
10
---End
Connect your WiFi enabled devices to the extended network of the WiFi extender to access the
internet.
Scenario 2: Computer as the WiFi enabled device
Ethernet
cable
WiFi Name: WiFi name you set or WiFi name of the router
WiFi Password: Wifi password of the router
Computer
WiFi enabled devices
such as mobile phone
Internet
WiFi router
WiFi extender
LED indicator solid blue
Adjust the antennas straight
upward and vertical to the
ground

Version1.0
11
Step 1 Plug the WiFi extender into a power outlet near the router in the same room. Wait until
the LED indicator of the WiFi extender turns blinking red.
Step 2 Extend your WiFi network
Connect your laptop to the WiFi network of the WiFi extender: Tenda_EXT, or connect1.
your desktop computer to the LAN port of the WiFi extender with an Ethernet cable.
If you want to connect to the wireless network of the WiFi extender through a desktop computer, you
need to install a wireless network card in the desktop computer.
A quick setup page appears automatically.
LED indicator blinks red
Laptop
Ethernet
cable
Desktop computer

Version1.0
12
Click Start Now.2.
If the page does not appear, try the following solutions:
Ensure that your computer has set to Obtain an IP address automatically and Obtain DNS server
address automatically.
You can manually start a web browser, enter re.tenda.cn in the address bar and visit the address.
Set a login password for network security (recommended) and click Next.3.

Version1.0
13
Set the Working Mode of the WiFi extender as Extender Mode, select the WiFi network4.
you want to extend, which is Tenda_1 in this example, and click Next.
Enter the WiFi password of the WiFi network you selected, modify the extender WiFi5.
name as necessary (The WiFi name has been modified in the following example), and click
Next.
Other manuals for A27
1
This manual suits for next models
1
Table of contents
Other Tenda Extender manuals
Popular Extender manuals by other brands

EZCast Pro
EZCast Pro ER01 quick start guide

Rose electronics
Rose electronics CRK-T1DFXDM-DLT Installation and operation manual

TP-Link
TP-Link RE305 Quick installation guide

ClearCube
ClearCube A1410 quick start guide

PROLiNK
PROLiNK PME200 Quick installation guide

Ihse
Ihse Draco 487 Series quick start guide

Thinklogical
Thinklogical VelocityKVM T Series product manual

DirekTronik
DirekTronik 25-0564 Operation manual

Linksys
Linksys WRE54G - Wireless-G Range Expander Repeater Product data

Gefen
Gefen EXT-DVI-FM2500 user manual

GoMax Electronics
GoMax Electronics CV-57VE2-100 user manual

ICP Global Pty
ICP Global Pty AN150P Installation and user manual