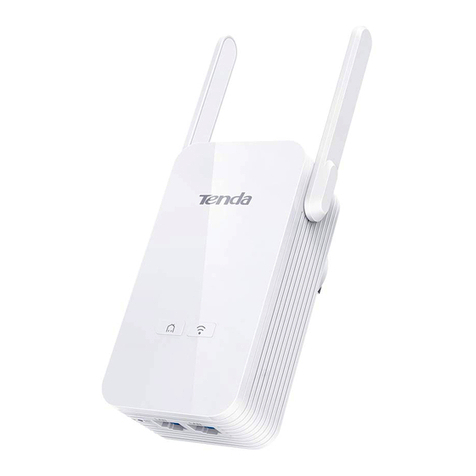
Tenda AV1000 User manual

1

i
Copyright Statement
Copyright Statement
© 2016 Shenzhen Tenda Technology Co., Ltd. All rights reserved.
Tenda is a registered trademark legally held by Shenzhen Tenda Technology Co., Ltd. Other brand
and product names mentioned herein are trademarks or registered trademarks of their respective
holders. Copyright of the whole product as integration, including its accessories and software,
belongs to Shenzhen Tenda Technology Co., Ltd. No part of this publication can be reproduced,
transmitted, transcribed, stored in a retrieval system, or translated into any language in any form or
by any means without the prior written permission of Shenzhen Tenda Technology Co., Ltd.
Disclaimer
Pictures, images and product specifications herein are for references only. To improve internal
design, operational function, and/or reliability, Tenda reserves the right to make changes to the
products without obligation to notify any person or organization of such revisions or changes. Tenda
does not assume any liability that may occur due to the use or application of the product described
herein. Every effort has been made in the preparation of this document to ensure accuracy of the
contents, but all statements, information and recommendations in this document do not constitute
the warranty of any kind, express or implied.
Setup Wizard of Common Functions
How to use the extender?
How to clone WiFi?
How to secure your powerline network?
How to add more powerline devices to your powerline network?
How to change the extender’s WiFi name and password?
How to schedule your WiFi?
How to change the login password?
How to turn off the LED indicators?

ii
Contents
ii
Contents
I Get to Know Your Extender ...........................................................................................................1
1 Package Contents...........................................................................................................................1
2 LED & Button & Interface............................................................................................................2
3 Place the Wireless Extender ..........................................................................................................3
II Access the Internet.........................................................................................................................5
1 Plug and Play.................................................................................................................................5
2 Clone WiFi.....................................................................................................................................6
3 Secure Your Powerline Network ...................................................................................................7
4 To add more powerline adapters:...................................................................................................8
III Configure the Extender................................................................................................................9
1 Login..............................................................................................................................................9
2 Wireless .......................................................................................................................................10
Change the WiFi name & password............................................................................................10
Schedule your WiFi.....................................................................................................................11
Deny an unknown wireless device..............................................................................................12
Change the wireless parameters..................................................................................................12
3 Powerline.....................................................................................................................................13
Change the extender’s network name .........................................................................................14
Change the device name .............................................................................................................15
4 Administration.............................................................................................................................15
Change the login password .........................................................................................................16
Network Settings.........................................................................................................................16
Select a Time Zone......................................................................................................................17
Turn off LED indicators..............................................................................................................17
Reboot the extender ....................................................................................................................18
Reset the extender.......................................................................................................................19
Upgrade.......................................................................................................................................20
Backup the configuration............................................................................................................21
Restore the configuration............................................................................................................22
Export the syslog.........................................................................................................................23
IVAppendix......................................................................................................................................24
1 Configure Your computer............................................................................................................24
Windows 8 ..................................................................................................................................24
Windows 7 ..................................................................................................................................25
Windows XP ...............................................................................................................................27
2 Join Your WiFi.............................................................................................................................28
Windows 8 ..................................................................................................................................28
Windows 7 ..................................................................................................................................29
iPad/iPhone .................................................................................................................................30
Android .......................................................................................................................................31

iii
Contents
iii
3 FAQs............................................................................................................................................33
4 Technical Support........................................................................................................................35
5 Safety and Emission Statement ...................................................................................................36

1
Get to Know Your Extender
1
I Get to Know Your Extender
AV1000 2-Port Gigabit Wi-Fi Powerline Extender extends your Internet connection to every room
of your house through your home’s existing electrical circuitry. With WiFi button, the wireless
extender can copy your wireless router’s wireless settings (WiFi name and password), giving you a
seamless roaming wireless networking experience.
* We take the adapter (P1000) as an example to work with the extender (PA6) for Internet extension here.
Before you use your Extender, take a moment to become familiar with the package contents, the
LED indicators, buttons and interfaces.
1 Package Contents
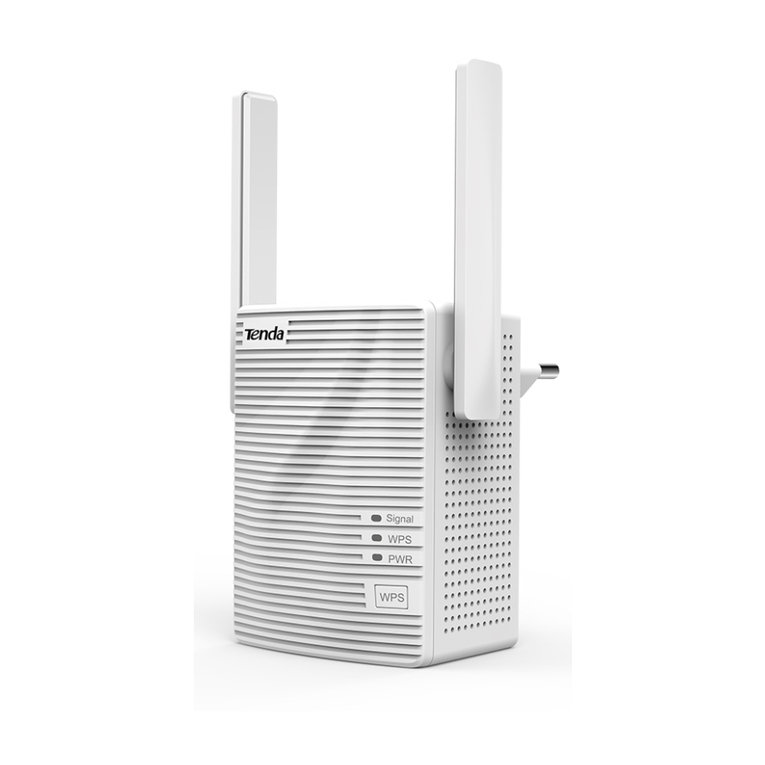
Powerline Extender * 1
Ethernet Cable * 1
Install Guide * 1
* If any item is discrepant, missing or damaged, please keep the original package and contact the
vendor for replacement immediately.

2
Get to Know Your Extender
2
2 LED & Button & Interface
The wireless extender varies by region.
LED
Color
Status
Description
PLC
Green
Off
The device doesn’t pair with other powerline devices,
or is powered off.
Green
Solid
The device is connected to a powerline network.
Green
Blinking quickly
The device is pairing with other powerline devices.
Green
Blinking slowly
The device is in power saving mode.
Red
Solid when it is
starting up
The extender is starting up.
Solid after it starts
up
The extender is in poor condition; try changing
another wall outlet until the light turns to green.
WiFi
Green
Off
The WiFi is disabled.
Green
Solid
The WiFi is enabled.
Green
Blinking quickly
The device is performing WiFi cloning.

3
Get to Know Your Extender
3
Pair Button
Press and then release it to start pairing process.
Press and hold it for about 1 second to wake up the extender from standby mode.
WiFi Button
Press and then release it to start WiFi cloning if the WiFi is enabled.
Press and hold it for about 6 seconds to disable WiFi.
Press and hold it for about 1 second to enable WiFi if the WiFi is disabled before. After the WiFi is
enabled (WiFi LED indicator turns solid green), press and then release the WiFi button to start WiFi
cloning.
Reset Button
Press and hold it for about 6 seconds to restore the extender to factory default.
Ethernet Ports
Connect them to Ethernet devices (computer, router, etc.) using Ethernet cable.
3 Place the Wireless Extender
For optimal performance, connect the device to a regular wall outlet without any other devices like
hair drier, electric iron, fridge or charger connected to the same outlet.

4
Get to Know Your Extender
4
Attention
The wireless extender should work with another powerline adapter. Connect the adapter to your
router (or Ethernet cable from the Internet side) to extend the Internet connection.And connect the
extender to your computer, or other clients.

Access the Internet
5
II Access the Internet
This section will instruct you how to use the wireless extender to access the Internet.
1 Plug and Play
1. Connect one powerline adapter (such as P1000) to any LAN port of your router via an Ethernet
cable and plug it into a wall outlet nearby.
2. Plug the wireless extender to your chosen place. When both of the PLC LED indicators on the
powerline adapter and wireless extender turn solid, a powerline network is established.
3. Connect your wireless devices or computer (with wireless adapter) to the wireless extender
wirelessly or via an Ethernet cable.
The default WiFi name is Tenda_XXXXXX, which can be found on the rear panel of the extender.

Access the Internet
6
And there is no default WiFi password.
4. Done. Enjoy your Internet!
The whole connection schematic diagram is similar to the figure shown above.
Tips
1. If you cannot access the Internet after the operation above, refer to Q1 to solve the problem.
2. Use a powerline device whose wireless speed is equal to the extender (1000Mbps) to work with
the extender, such as P1000, to make sure the average wireless speed is equal or greater than
1000Mbps.
3. After finishing the operation above, the adapter (P1000) and the extender (PA6) establish a public
(unencrypted) powerline network. If you want to create a private (encrypted) powerline network,
follow the steps in Secure Your Powerline Network.
2 Clone WiFi
With WiFi clone function, the extender can copy the WiFi name and password of your existing
wireless router (with WPS enabled), giving you a seamless roaming wireless networking
experience.
Follow the steps below to clone your WiFi.

Access the Internet
7
1. Plug the extender (PA6) next to the wireless router (with WPS enabled).
2. Press the WPS button on the wireless router.
3. Then press the WiFi button on the extender (PA6) and then release it. The WiFi LED will blink
quickly for a few seconds.
4. After successful cloning, relocate the extender (PA6) to your chosen position.
Tips
1. The extender’s (PA6) WiFi name (SSID) and password will be changed to the same as those of
your wireless router after cloning. So you need reconnect to the extender after cloning.
2. If your router doesn’t support WPS feature, or the cloning operation doesn’t work, you can also
log in to the extender’s User Interface to change the wireless name and password. Refer to Change
the WiFi name & password for details.
3 Secure Your Powerline Network
In this part, it instructs you how to use pair button to encrypt your powerline network.

Access the Internet
8
1. Plug the extender (PA6) next to the powerline adapter (P1000).
2. Press the Pair button on the adapter (P1000) and then release it. The PLC LED indicator will
blink.
3. Press the Pair button on PA6 and then release it. The PLC LED will blink quickly.
4. When PLC LED indicator on each powerline device turns solid green, a secure powerline
network is established.
5. Then you can relocate the extender (PA6) to your chosen position.
4 To add more powerline adapters:
If you want to add more powerline adapters to a private powerline network, follow the steps below:
1. Press the Pair button of any powerline device in the security powerline network.
2. Press the Pair button on the new powerline device.
3. PLC LED indicators on both powerline devices turn solid green.
4. Done.

Configure the Extender
9
III Configure the Extender
In this section, it will describe how to use the User Interface to configure the extender.
1 Login
1. Connect your computer to the extender wirelessly, via an Ethernet cable, or via powerline.
2. Launch a web browser, type plc.tendawifi.com in the address bar of the browser, and tap Enter
on the keyboard.
3. There are 11 languages (English, Deutsch, Español, Français, Italiano, Polski, Română, Magyar,
Português, Türkçe and Pусс) of the User Interface. And it will match with the browser’s
language automatically. You can also select a language manually.
The login page will appear. Type the default login password admin, and click Login.

Configure the Extender
10
2 Wireless
In the wireless settings part, you can configure the WiFi name and password manually, and specify
the time that you want to enable/disable your WiFi.
Change the WiFi name & password
1. Log in to the extender’s User Interface, and click Wireless.
2. Move to WiFi Name and Password part, uncheck the No Password Set option and then you can
customize the WiFi name and password.
3. Click OK on the bottom of this page to apply your settings.

Configure the Extender
11
Tips
1. There is no default WiFi password. So the No Password Set option is checked by default.
Uncheck it before you customize a WiFi password.
2. If the Hide Wireless Network option is checked, the wireless clients cannot search the WiFi
name of the router. You need know the WiFi name in advance and enter the WiFi name on each
wireless client manually.
Schedule your WiFi
1. Log in to the extender’s User Interface, and click Wireless.
2. Move to WiFi Schedule part, and specify the time you want to turn off your WiFi.
For example:
You want to turn off your WiFi during 00:00~07:00, from Sun. to Sat. You can configure it as
follows:
3. Click OK on the bottom of this page to apply your settings.
Tips
If you don’t want to use this feature, click Disable > OK to disable it.

Configure the Extender
12
Deny an unknown wireless device
1. Log in to the extender’s User Interface, and click Wireless.
2. Move to Wireless Access Control part. You can see the wireless devices connected to the
extender.
For example: you want to deny the device with MAC address 38:BC:1A:AF:D1:1F.
Turn off the Internet Access button, and click OK to apply your settings.
Tips
1. You can type a descriptive name in Host Name field for the device to recognize it easily.
2. If you want to deny a wireless device with specified MAC address, you can click +Add, type its
MAC address in the MACAddress field manually, and click OK to apply your settings.
Change the wireless parameters
1. Log in to the extender’s User Interface, and click Wireless.

Configure the Extender
13
2. Move to Wireless Parameters part, you can change the mode, channel and channel width here.
Mode
Compatibility
Wireless Speed
11b/g/n mixed
Allows 802.11b, 802.11g, and 802.11n devices to join the network.
Up to 300Mbps
11b/g
Allows 802.11b and 802.11g devices to join the network.
Up to 54Mbps
11b
Allows 802.11b devices to join the network.
Up to 11Mbps
11g
Allows 802.11g devices to join the network.
Up to 54Mbps
Channel: Do not change the channel unless you experience interference (shown by lost wireless
connection or slow data transfers). If this happens, experiment with different channels to see which
the best is. The recommended channel spacing between adjacent access points is four channels (for
example, use channel 1 and 5, or 6 and 10).
Channel Width (Only available in 11b/g/n mixed mode):
Select any of these channel bandwidths to accommodate higher transmission speeds:
40MHz: Select this bandwidth to maximize the wireless throughput.
20MHz: Select this bandwidth if you encounter some issues with your wireless connection.
Auto: Select this bandwidth if you want it to change the channel bandwidth automatically
according to needs.
3. Click OK to apply your settings after configuration.
3 Powerline
This section allows you to configure the powerline network settings.

Configure the Extender
14
Change the extender’s network name
Note
1. Only the powerline devices sharing a same network name can be in a same powerline network.
And the powerline devices in different powerline networks cannot communicate with each other.
2. The default network name is HomePlugAV. All powerline devices with this default network
name can establish a public powerline network automatically. So if you want the powerline devices
to establish a private powerline network for security purpose, change their network names to the
same one. Or you can refer to Secure Your Powerline Network to use the pair button.
1. Log in to the extender’s User Interface, and click Powerline.
2. Type a new network name and click OK to apply your settings.

Configure the Extender
15
Tips
1. You can click Default to restore the default network name, and click OK to save it.
2. The powerline devices paired with each other have a same network name. So you can use the pair
button to change their network names to a same one.
Change the device name
1. Log in to the extender’s User Interface, and click Powerline.
2. Type a new name in the Device Name field for easy recognition.
3. Click OK on the bottom of this page to apply your settings.
Tips
The PLC Device List will present all powerline devices in a same powerline network as the
extender.
4 Administration
This section describes how to administer and maintain the extender.

Configure the Extender
16
Change the login password
1. Log in to the extender’s User Interface, and click Administration.
2. Type the old password, new password, and retype the new password respectively in the
corresponding field.
3. Click OK on the bottom of this page to apply your settings.
Tips
The old password is admin when you change it at the first time.
Network Settings
This part allows you to view this extender’s current network info: LAN IP address (the LAN IP of
the extender which is obtained from the connected router), subnet mask, default gateway, and DNS
server. When you uncheck the option before Enable, you can set up them manually.
Other manuals for AV1000
3
Table of contents
Other Tenda Extender manuals