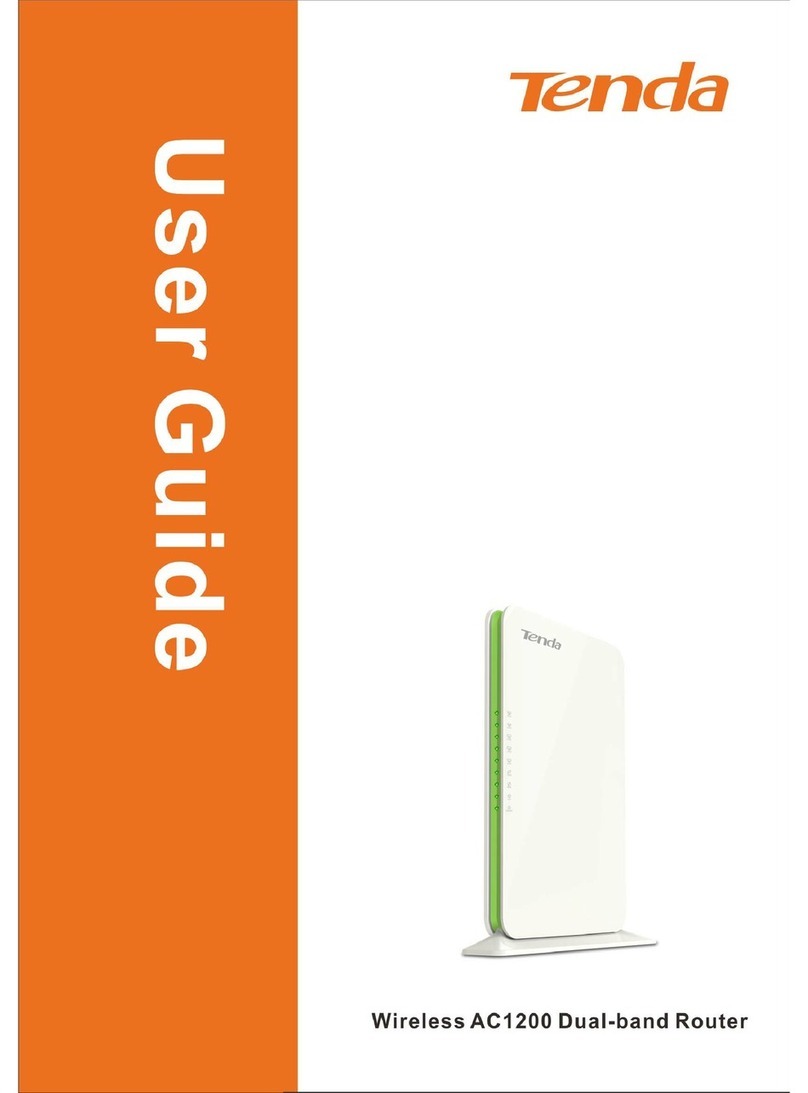
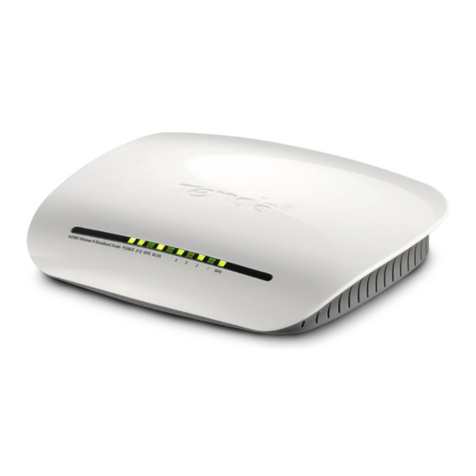
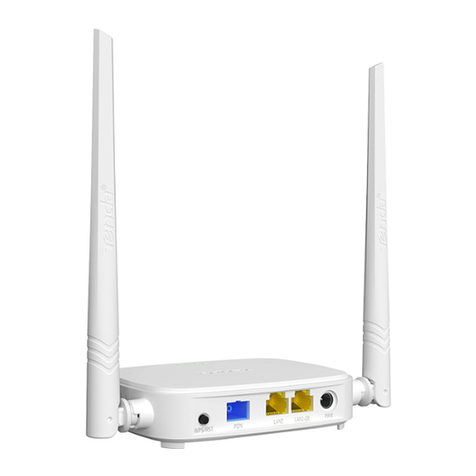
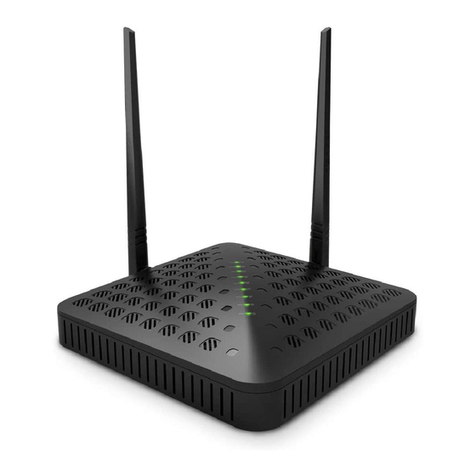
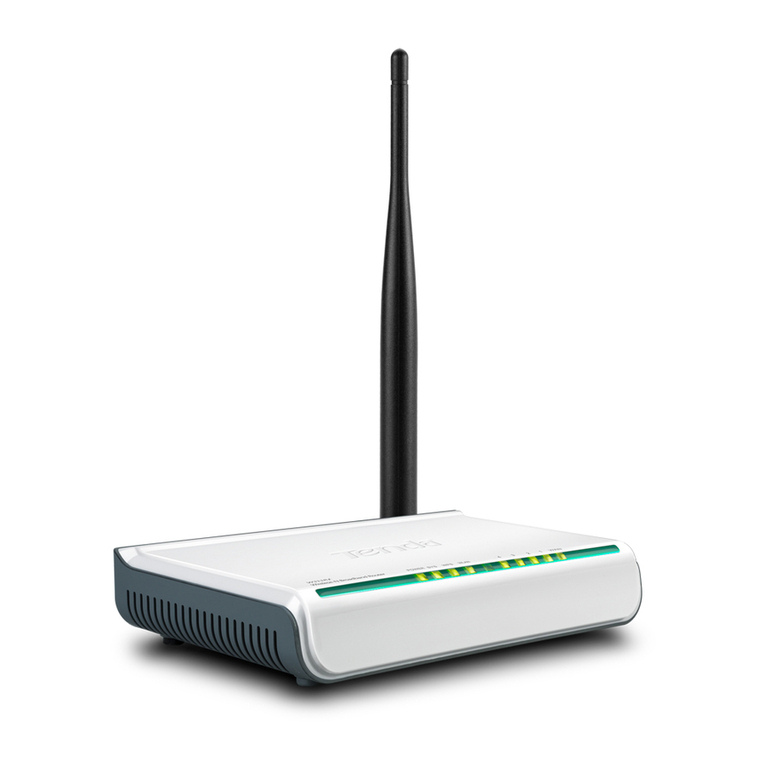
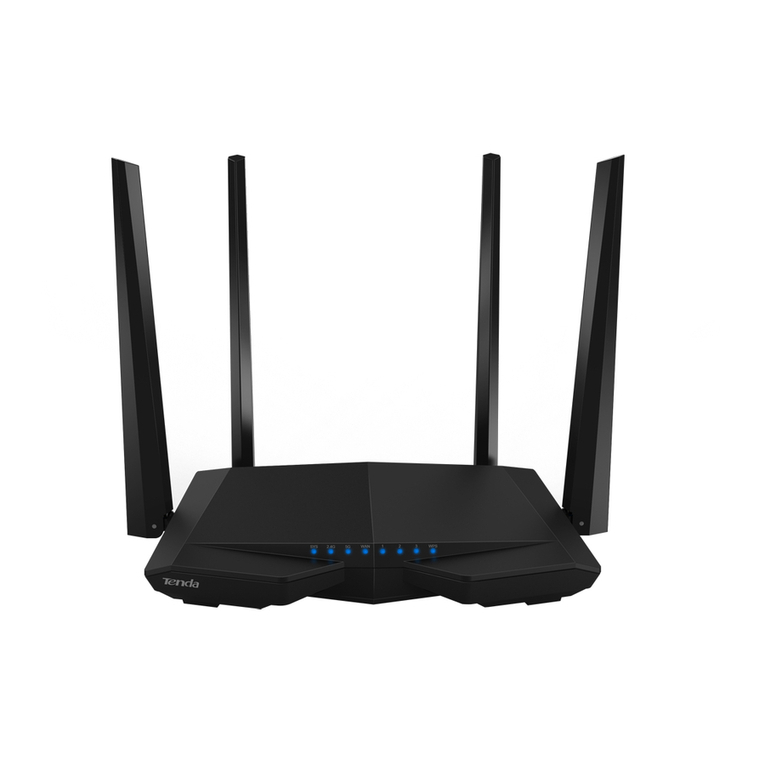
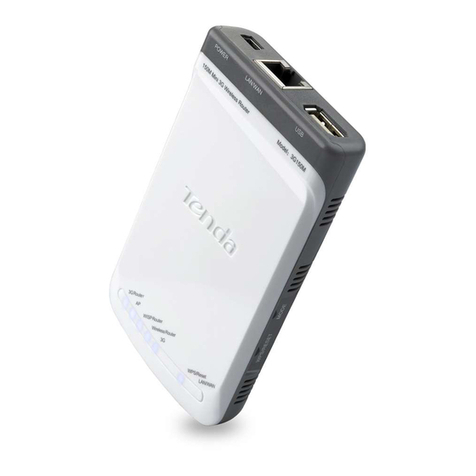
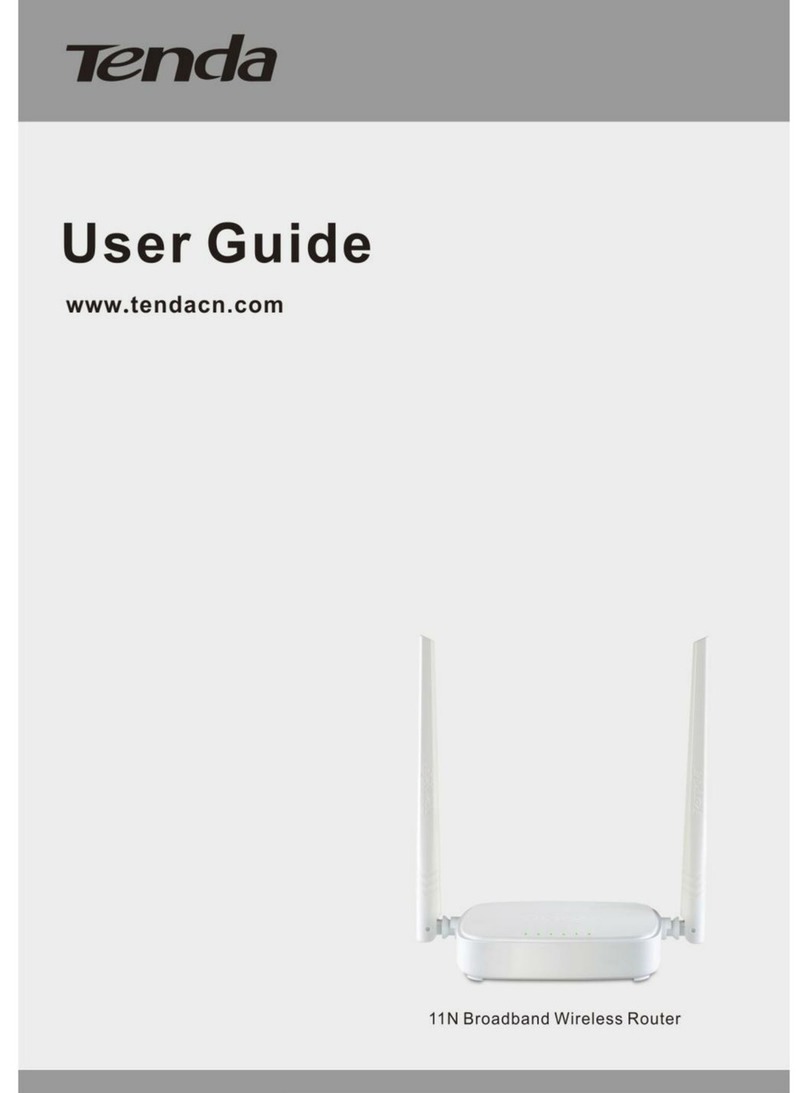
Tenda A5 User manual

How to fix unstable or slow wireless network
It is not rare that people experience unstable or slow wireless networks. A variety of things can
bring wireless interference, such as wireless interference, wireless security mode incompatible,
overloading, etc.This article will provide you with solutions on troubleshooting an unstable or
slow wireless network.
Solution 1:Position the Tenda device in an ideal location
Solution 2:Disconnect some devices
Solution 3:Change the wireless channel
Solution 4:Change the wireless security mode and the encryption
Solution 5:Power cycle the Tenda device and your computer
Solution 6: Manually assign a proper IP address for your wireless device
Solution 7: Disable the power saving feature of the wireless adapter
Solution 8: Check your antivirus program
Solution 9: Upgrade to a newer firmware
Solution 10: Extend the Wi-Fi coverage when using wireless device far away from the Tenda
device
Your wireless router’s position can affect your coverage area and the strength of your signal. If
you have a modem, you don't have to have the router in close proximity to your modem. Ideally,
a Wi-Fi router should be in a central location.
Quick tips to position your router for the best signal:
i. Place the router in the middle of your house. If you place the router in a room off to the side of
your house, you won’t get as strong a signal on the other side of your house.
ii. Position the router’s antenna vertically, so that the antenna is standing straight up. Antennas
can be adjusted and lie horizontally, but standing straight up is generally the ideal position.

iii. Elevate your router away from floors. You’ll get better reception if the router is on a desk, not
on the floor.
iv. You should also pay attention to the kinds of materials the router is near. For example,
placing the router on a metal desk or up against a metal wall will cause problems. Signals can
travel through a wood desk easily, but metal will obstruct the signals.
Note:A variety of household appliances may cause wireless interference. Depending on the position of the
Tenda device, your networked device, and the appliance, you may even have the wireless network cut out
when your microwave or cordless phone is in use. Plus, older Bluetooth devices can interfere with nearby Wi-
Fi signals, although newer Bluetooth devices don’t. Ensure that microwave isn’t between the Tenda device and
your wireless devices, in this way, problems with microwaves can often be solved.
The Tenda device might be too busy to respond to new requests if there are several computers or
devices using it. If you have other wireless devices that are connecting to the network, try
temporarily disconnecting them.
Interference from other wireless networks in the area can cause issues with your wireless signal.
When multiple wireless networks are competing for the same channel, an unstable and slow
wireless network comes. You can change the wireless channel to fix it. For instructions on
changing the channel, click here.
Note: In the same page where you change the SSID, you can also fix the unstable or slow
wireless network by changing the Network mode from 11b/g/n Mixed Mode to be 11b/g Mixed
Mode.
Changing the security mode may be much helpful in resolving wireless security mode
incompatibleissue.
i. It is highly recommended to use WPA or WPA2 personal as wireless security modes. Other
than providing better security, this will establish a stable connection with your wireless device,
especially devices with the latest technology.
For a Tenda device, you can selectWPA-PSK, WPA2-PSK, Mixed WPA/WPA2-PSK, WPA
Personal, WPA2 Personal or Mixed WPA-WPA2 Personal as the Security Mode/Network
Authentication.
Click here to find instructions on setting up WPA or WPA2 personal wireless security on a
Tenda wireless device.
Note:You’d better select AES as the WPA-Algorithms/Cypher Type/WPA Encryption.
ii. Sometimes, the wireless security mode of the Tenda device is not compatible with your
wireless device. You may need to disable the wireless security. This is especially true for older
devices and Windows Vista computers.
Note: You can secure your Wi-Fi with Access Control once the security mode is disabled.
Manually assign a proper IP address for your wireless device, which must be within the same
range of the router's IP address. For example, if the IP address of the Tenda device is
192.168.0.1, you can set a static IP address ranging from 192.168.0.2 to 192.168.0.254 for your
wireless device, set the subnet mask to be 255.255.255.0, and set the default gateway to be the IP
address of your Tenda device: 192.168.0.1.
An unstable and slow wifi may simply caused by overloading, you can power cycle the Tenda
device, your computer and your modem if any
Step 1:
Unplug the power adapter from your modem first, then the Tenda device. Shut down your
computer.
Step 2:
Power on the modem first, then the Tenda device, wait for its lights on, and then turn on the
computer.
To get a stable wireless connection, you’d better disable the power saving feature of the wireless
adapter.
Here we take a Windows 7 computer for example.
Step 1:
Right click on Computer, select Properties, and then click Device Manager.

Step 2:

Point to Network adapters and find your wireless network adapter.
Step 3:
Right click on your wireless network and select Properties, switch to Power Management tab
(see screenshot below):

Step 5:
Uncheck Allow the computer to turn off this device to save power, press OK.
Check your antivirus software, just turn it off to check. (Don't get mail or go to anywhere that a
risk exists! Only surf only safe sites while doing this test, like Microsoft, Yahoo, Google, etc.) If
you find the problem is caused by the anti-virus program, remove and install another one.
Note: Antivirus software often scans the transfer file and slows down the connection. You can
turn if off before transferring something and make sure to turn the antivirus software back on
after the transfer completes.
After you have tried all the above-mentioned solutions but in vain, you can try to upgrade the
Tenda device’s firmware if any bugs exist.

Note: You should extend the Wi-Fi coverage when using wireless devices far away from the
Tenda device.
If you need to cover a large area with a wireless signal, one Tenda device may not meet your
need. You can buy another Tenda router or extender, working as a wireless repeater or range
extender to extend its Wi-Fi coverage.
Note: Depending on the Tenda device, you may be able to attach an improved antenna that gives
your signal additional range.
What if I cannot log into Tenda web-based
setup page
The login problem may be caused by different factors. Following the solutions below will
help you resolve this issue. Except A5 and 3G186R, it is highly recommended to
connect your computer to the Tenda device via an Ethernet cable to smooth the whole
process.
Note: Ensure that the login IP address you typed in the address bar is correct, as
well as the login username and password if any.
Solution 1 Check the hardware connections and the LED status on the Tenda device
Solution 2 Ensure that your computer has obtained a proper IP address
Solution 3 Change another web browser or delete cookies on the web browser
Solution 4 Reset the Tenda device to factory default
Solution 5 Power cycle the Tenda device and your computer
Solution 6 Update the driver of your computer
Step 1:

Take an Ethernet cable to connect your computer with one of the yellow LAN ports of
the Tenda device.
Step 2:
Ensure that the light corresponding to the LAN port where the Ethernet cable is
connected to is lit. If it is lit, you may proceed with the next solution. Otherwise, try to
connect your computer to another yellow LAN port or change another Ethernet cable.
Note:
There is only one LAN or LAN/WAN port on some devices like
A5/A6/A3/A30/N3/PW201A, etc. For A5 and 3G186R, you can only log into the
setup page wirelessly.
To ensure that your computer has obtained a proper IP address, click on here, you can
find instructions for each operating system:
Note: You may need to proceed with the next solution if you still cannot login.
i. Try to use another web browser to login, e.g. if you are currently using Google
Chrome, try Internet Explorer or others.
ii. Delete cookies on the web browser. Here we take Internet Explorer for example.
Step 1:
Launch the web browser.
Step 2:
Click the Tools button,point to Internet Options.

Step 3:
Check “Delete browsing history on exit” and click on Delete.

Step 4:
Check all the items in the following picture and click Delete.

Step 5:
There will be a progress bar named Delete Browsing History.
Step 6:

Click OK and close this dialog box in the end.
Note: You may need to proceed with the next solution if you still cannot login.
Find a Reset or RST button/hole on the side of the Tenda device and hold down it for
about 10 seconds. During which time, you will find that all the indicators turn on or off
and several of them will back off or on later.All of the customized settings of the Tenda
device will be erased after resetting. You can search the corresponding article from our
website to set up your Tenda device again.
Note:You may need to proceed with the next solution if you still cannot login. For
W150D/W300D, you may encounter an page of upgrading after resetting, you can power cycle
W150D/W300D to solve the problem.
Perform the power cycle process as below:
Step 1:
Unplug the power adapter from the Tenda device and shutdown your computer.
Step 2:
Power on the Tenda device, wait for its lights on, and then turn on the computer.
Note: You may need to proceed with the next solution if you still cannot login.
You may need to update the driver of your computer, or simply use another computer to
login. This is especially true for older devices. Refer to the device's user manual for
more information
How can I change the wireless channel and
security mode
Sometimes, you may need to change the wireless channel or/and security mode when you meet
some wireless connectivity issues. This article will guide you on changing them in detail.

Part 1:Connect the devices together
Part 2:Log into the web-based setup page
Part 3:Change the wireless channel
Part 4:Change the security mode
Connect the devices together
Step 1:
Take an Ethernet cable to connect your computer with one of the yellow LAN ports of the Tenda
device.
Step 2:
Ensure that the light corresponding to the LAN port where the Ethernet cable is connected to is
lit. If it is lit, you may proceed with the next procedure. Otherwise, try to connect your computer
to another yellow LAN port or change another Ethernet cable.
Note: There is only one LAN or LAN/WAN port on some devices like
A5/A6/A3/A30/N3/3G150B/PW201A, etc. You can only log into the setup page wirelessly for
A5 and 3G186R.
Log into the web-based setup page
Find out the login IP address on the label located on the back of the Tenda device, and then enter
it in the address bar of a web browser. Enter the login username and password if prompted,
generally admin both for username and password. If you have ever changed the login IP address
or password, you should login with the new IP address and password.
You may need to refer to the User Guide for help about logging into the setup page. For
troubleshooting on logging into the setup page, click here.
Note: For A5 and 3G186R, you can only log into the setup page wirelessly.

Change the wireless channel
Tips on finding the best channel:
i. You can download a tool like inSSIDer to analyze, which will show you the wireless channels
nearby networks are using and recommend the ideal channel for you to use —one that isn’t
being used by so many networks.
ii. If you don’t have access to a wireless-analyzing app, you can simply try a different channel
and then see if the wireless connection improves. Begin with channel 1 and 6, then 11, if all of
those are slow, try others.
Follow the steps below to change the channel:
Step 1:
Click on Advanced Settings/Advanced directly after logging into the setup page.
Step 2:
SelectWireless Settings/WLAN Settings/Wireless from the main menu.
Step 3:
SelectWireless Basic Settings/Basic Settings/Basic from the submenu and you will then be
directed to a page similar to the one below.

Step 4:
Locate the Channel and choose a channel from the drop-down menu. Click on OK/Apply/Save.

Change the security mode
It is highly recommended to use WPA or WPA2 personal as wireless security modes. Other than
providing better security, this will establish a more stable connection with your wireless device,
especially devices with the latest technology.
Step 1:
Click on Advanced Settings/Advanced directly after logging into the setup page.
Step 2:
Select Wireless Settings/WLAN Settings/Wireless from the main menu.
Step 3:
Select Wireless Security/Security Settings/Security from the submenu, you will be directed to
a page similar to the one below.

Step 4:
Locate the Security Mode (also called Network Authentication) and you can change the
security mode there. For a Tenda device, you can selectWPA-PSK, WPA2-PSK, Mixed
WPA/WPA2-PSK, WPA Personal, WPA2 Personal or Mixed WPA-WPA2 Personal.
Note:You’d better select AES as the WPA-Algorithms/Cypher Type/WPA Encryption.
Sometimes, the wireless security mode of the Tenda device is not compatible with your wireless
device. You may need to disable the wireless security. This is especially true for older devices
and Windows Vista computers. You can secure your Wi-Fi with Access Control once the
security mode is disabled.
Where can I find or change my wireless
network name(SSID) and password
The wireless network name (SSID) and password are important especially if you are
trying to connect to a wireless network. Those information can be accessed through
the web-based setup page of your Tenda device. You can change the Wi-Fi name and
password to whatever you want.
Part 1: Connect the devices together
Part 2: Log into the Tenda web-based setup page
Part 3:Find out or change the Wi-Fi name
Part 4:Find out or change the password
Connect the devices together
Here we recommend you connect your device to Tenda device by a wired
connection.
Step 1:
Take an Ethernet cable to connect your computer with one of the yellow LAN ports
of the Tenda device.
Step 2:
Ensure that the light corresponding to the LAN port where the Ethernet cable is
connected to is lit. If it is lit, you may proceed with the next procedure. Otherwise,
try to connect your computer to another yellow LAN port or change another Ethernet
cable.
Note: There is only one LAN or LAN/WAN port on some devices like
A5/A6/A3/A30/N3/3G150B/PW201A, etc. You can only log into the setup page
wirelessly for A5 and 3G186R.
Log into the Tenda web-based setup page
Find out the login IP address on the label located on the back of the Tenda device,
and then enter it in the address bar of a web browser. Enter the login username and
password if prompted, generally admin both for username and password. If you
Other manuals for A5
1
This manual suits for next models
7
Table of contents
Other Tenda Network Router manuals
Popular Network Router manuals by other brands

Cisco
Cisco HiPort user guide

ZyXEL Communications
ZyXEL Communications Dimension ES-4024 user guide

THOMSON
THOMSON SpeedTouch 608 WL Configuration guide

Nortel
Nortel 8300 Series Important notice

TRENDnet
TRENDnet TW100-BRV204 SHEETS Specifications

Comtrend Corporation
Comtrend Corporation CT-510 user manual