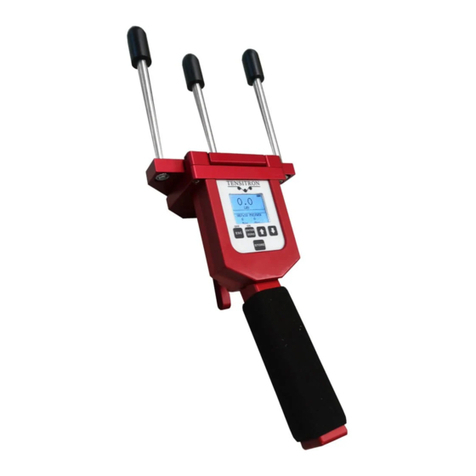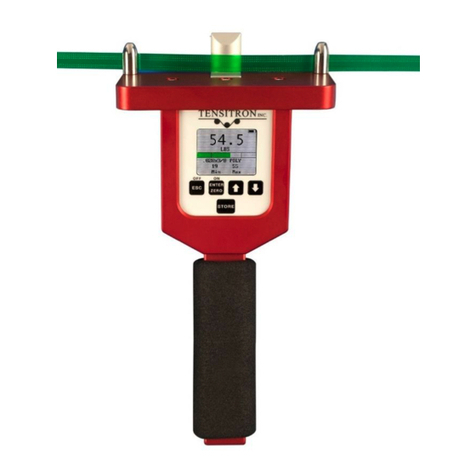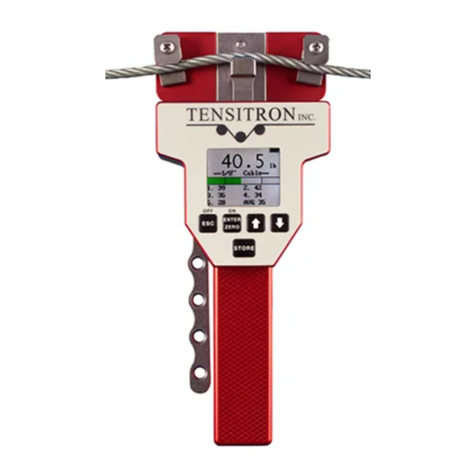
The ACM-100 is shipped calibrated and ready to use
on 1/16", 3/32", 1/8" and 5/32" diameter aircraft cables.
O
OPERATION
1. Memory lock system must be "off." To set in the "off" position push the memory lock
button down fully, so that the red flag is not showing (reference Figure 1).
2. Determine the diameter of the cable to be checked. For example, in Figure 1 the cable
diameter to be tested is 3/32". Rotate the riser so the number 3/32 faces you and clicks into
place. This automatically aligns the back of the riser with the two flanged reference pivots.
3. Open the closure bar by gently pushing it through the handle. This raises the reference
pivots.
4. With the closure bar open, engage the meter onto the cable. Position the cable under the
two reference pivots and over the top of the riser. Squeeze the handle back to the “closed”
position.
5. With the meter now locked onto the cable, note where the pointer is on the dial. Refer to
the calibration chart on the back of the instrument and locate the column for the cable
diameter size you are testing. Then find the row in this column with the number closest to
the one the pointer is on.
6. Follow this row all the way to the left until you come to a number in the “TENSION IN LBS”
column—this number is the true tension of the cable.
7. For example, in Figure 1 the pointer indicates “30” on the dial. Locate the number 30 in the 3/32”
column. Follow this row to the “TENSION IN LBS” column where you see the number 20. Thus,
in this example the true cable tension is 20 lbs.
MEMORY/POINTER LOCK FEATURE
1. Use the memory lock to make a tension reading where the dial cannot be seen. Insert the ACM in
the hidden area. Open meter and clip flanges over cable. Close meter securely. Push the memory
lock button UP as far as possible, exposing the red flag. Remove the ACM from the cable and note
the reading. To clear the reading and return the pointer to zero, push the memory lock button on top
of the instrument fully down.
2. If the memory lock button is pushed up when meter is not in use, you may see the needle move from
1/2 to 1 1/2 dial increment lines. If the memory lock feature is used correctly very little of this
motion is transferred to the actual readings taken. The full-scale accuracy will still be well within
4%.
Before each use:
Verify that the serial number on the instrument and the calibration
chart match, as readings may vary among instruments.
The pointer must be resting at 0 on the dial. If the pointer is not
resting at 0, the calibration should be checked.
Check that the calibration and certification are current.
ACM-100 Operating Instructions Page 1
