TESA BNR 77775 User manual
Other TESA Household Hardware manuals

TESA
TESA Powerstrips 59781-00000-00 User manual

TESA
TESA Powerstrips 59782-00000-00 User manual

TESA
TESA Powerstrips 59783-00000-00 User manual
TESA
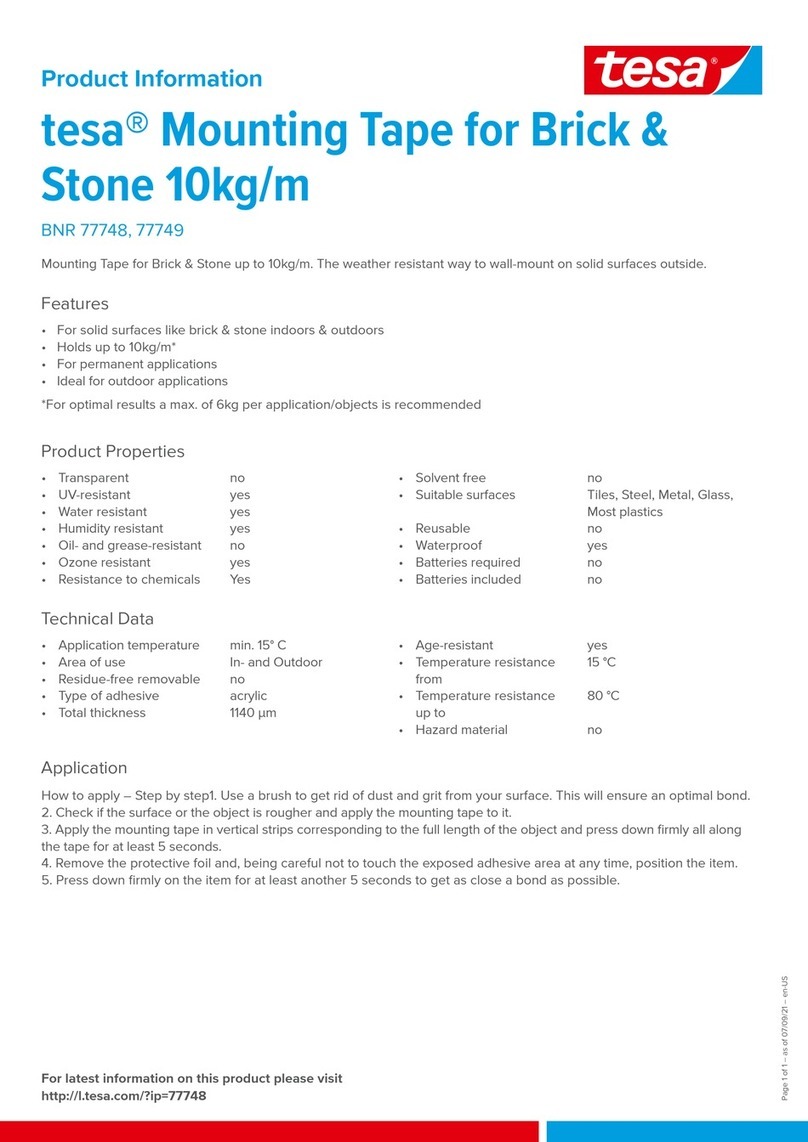
TESA BNR 77748 User manual
TESA
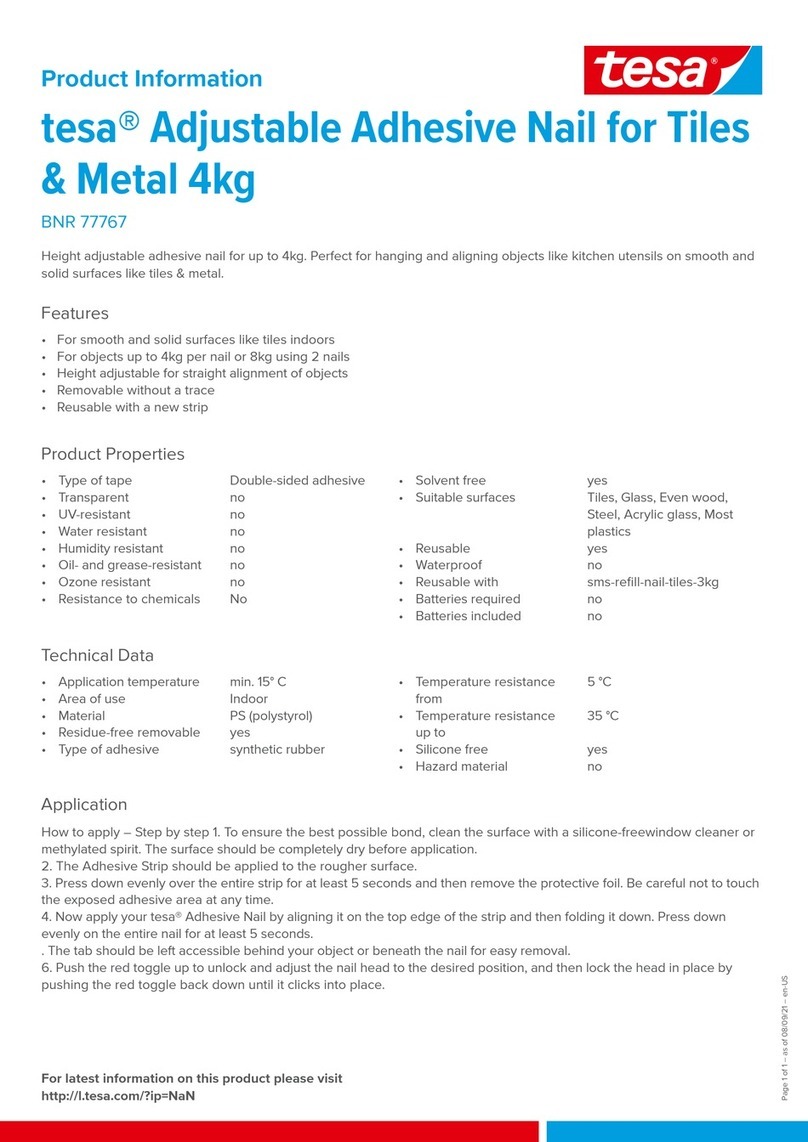
TESA BNR 77767 User manual
TESA
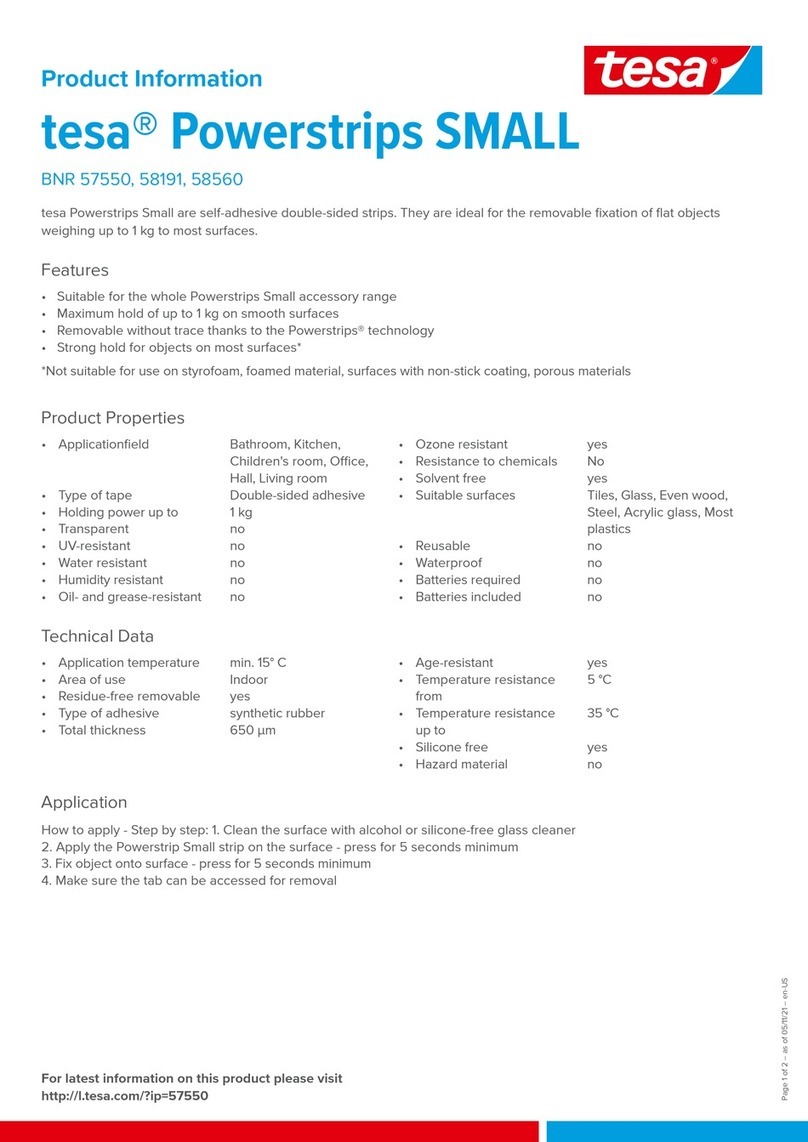
TESA Powerstrips SMALL BNR 57550 User manual
TESA
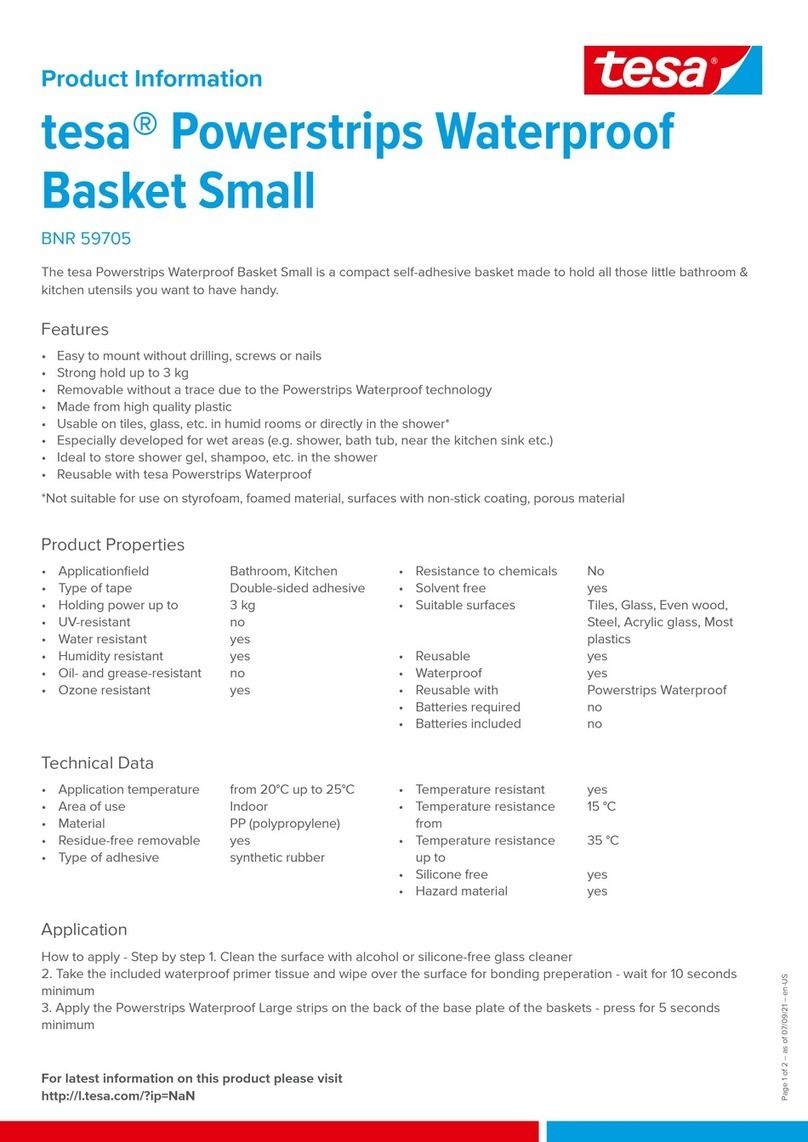
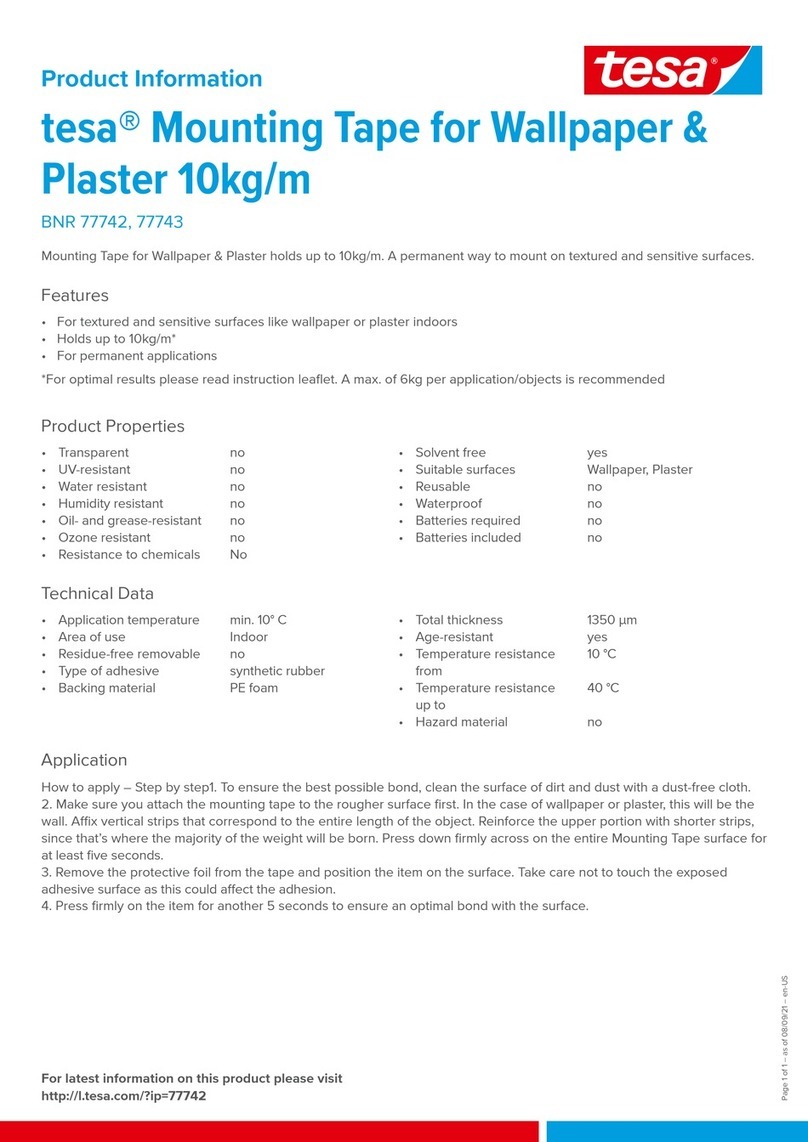
TESA Powerstrips Waterproof Basket Small User manual
TESA
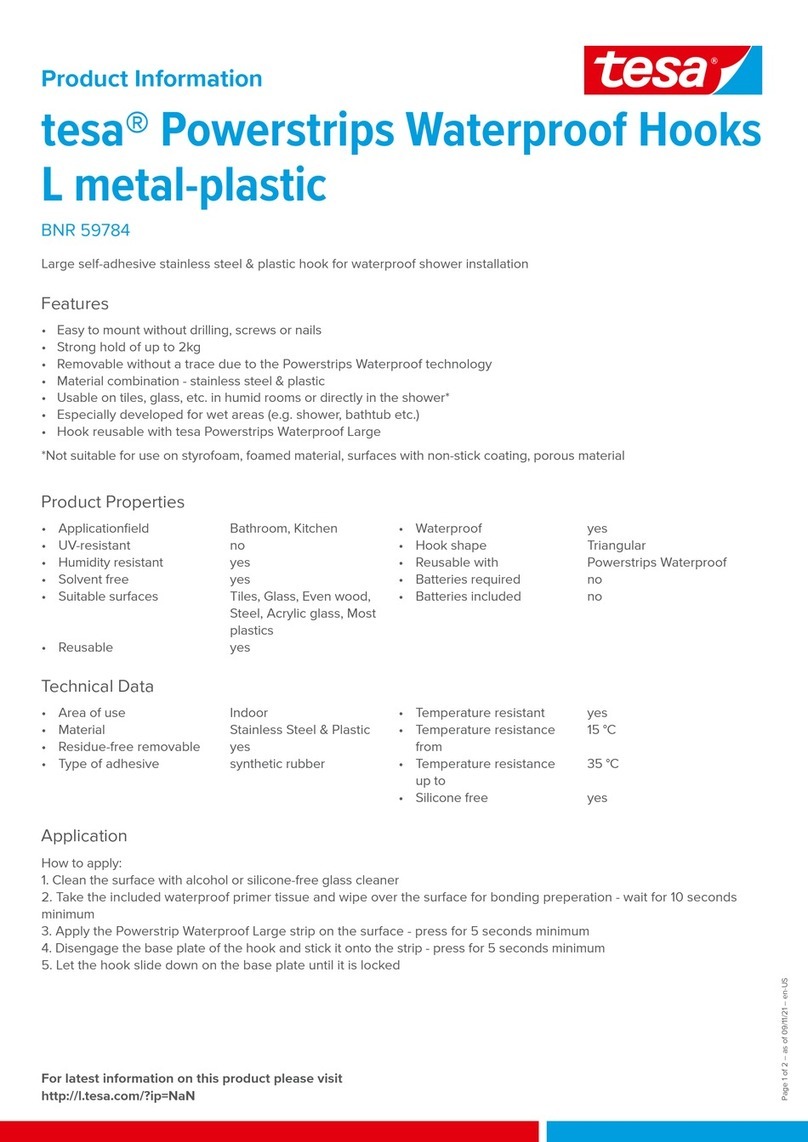
TESA BNR 77742 User manual
TESA
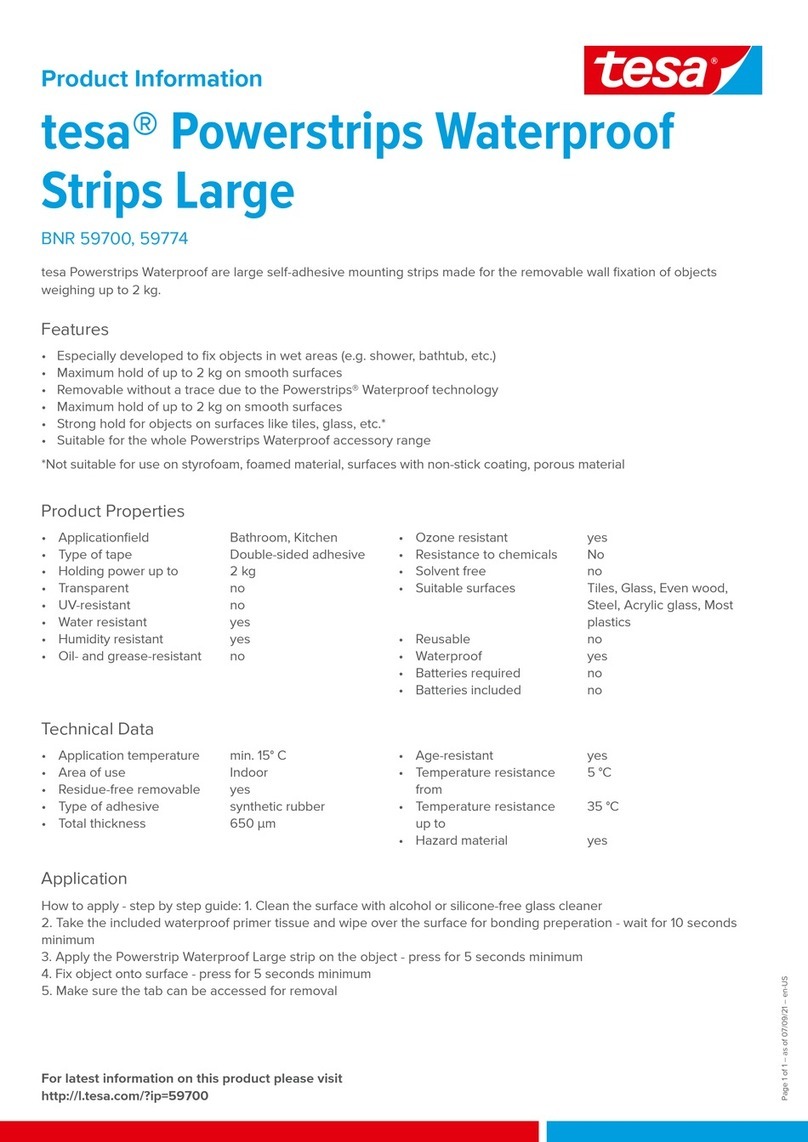
TESA Powerstrips BNR 59784 User manual
TESA
TESA Powerstrips BNR 59700 User manual
Popular Household Hardware manuals by other brands

Kallista
Kallista Per Se P77618-00-CP installation guide

Lefroy Brooks
Lefroy Brooks FLEETWOOD M2-5099 Installation, operating, & maintenance instructions
Miele
Miele APFD 203 operating instructions
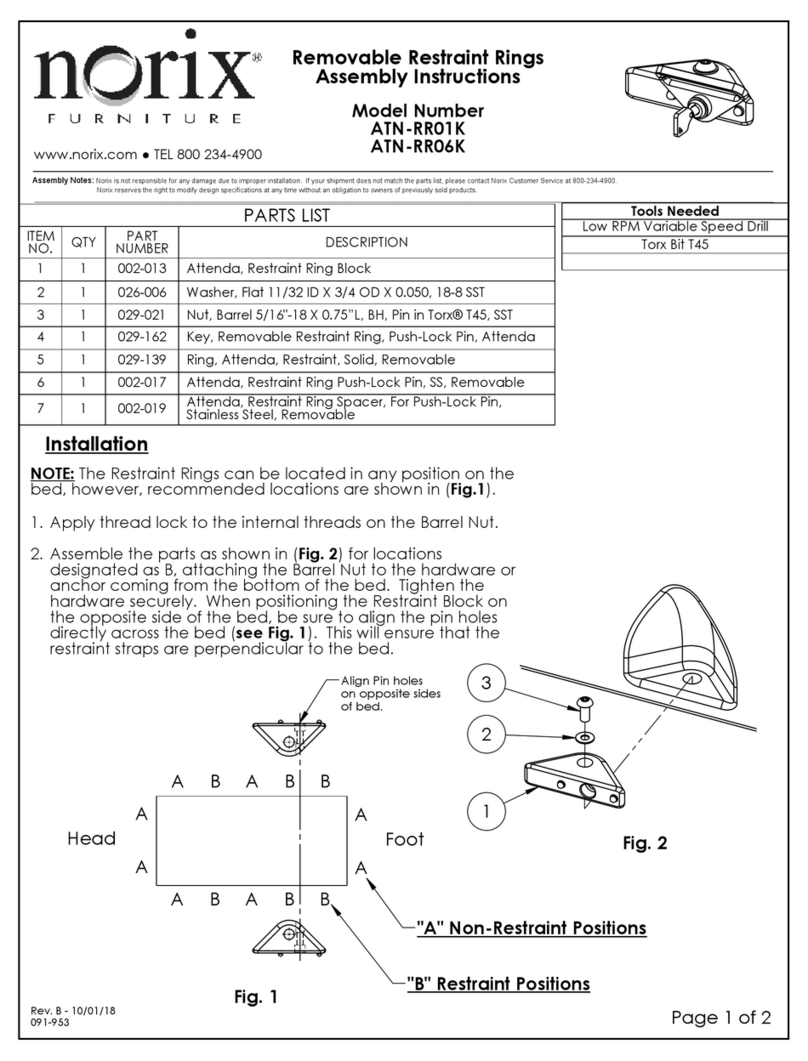
norix
norix ATN-RR01K Assembly instructions
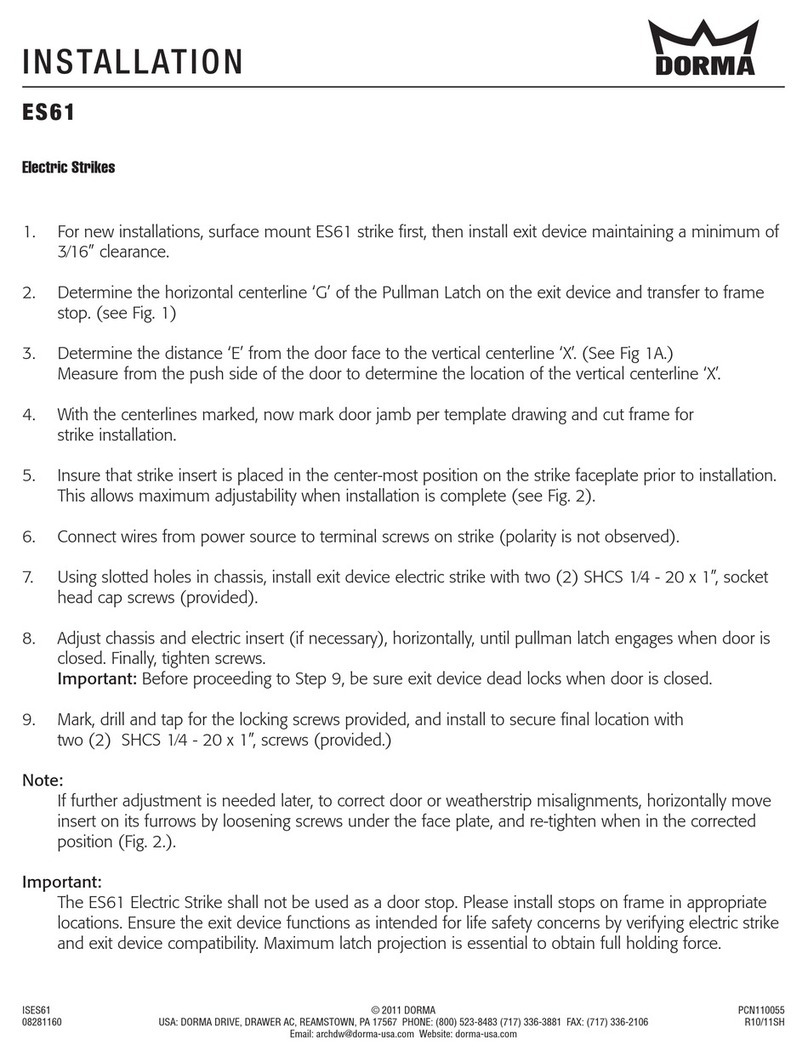
Dorma
Dorma ES61 installation guide
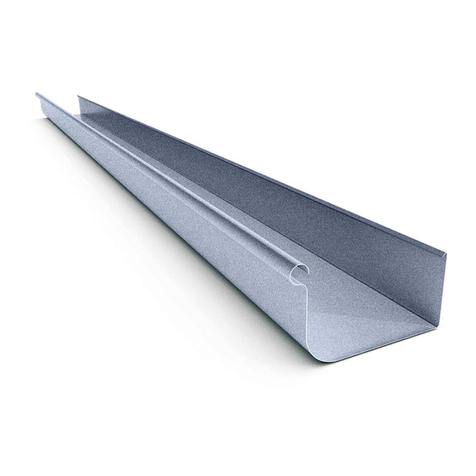
Stratco
Stratco Gutters installation guide

Lefroy Brooks
Lefroy Brooks X1-3091 Installation, operating, & maintenance instructions
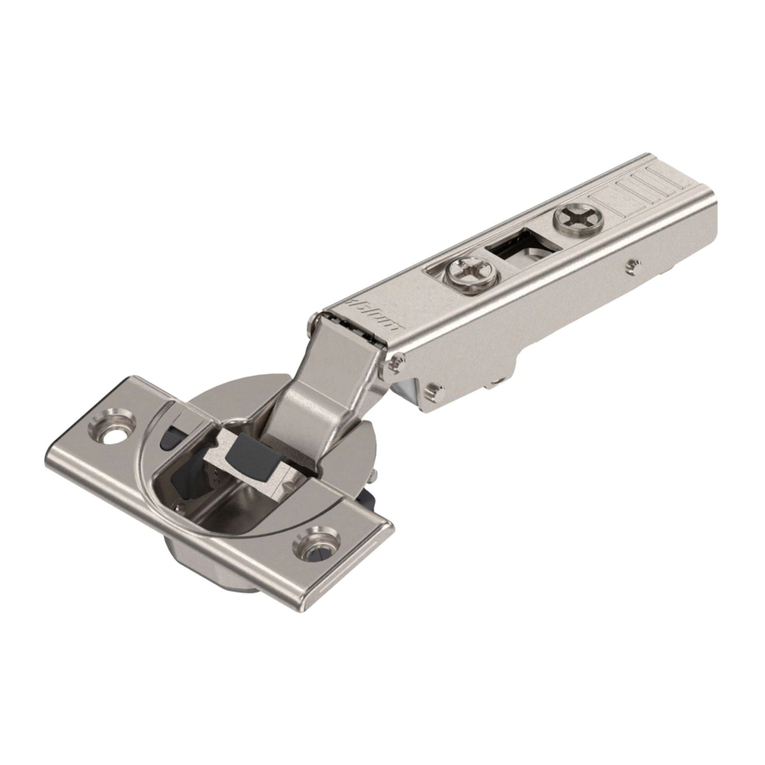
BLUM
BLUM CLIP Cleaning and Maintenance Manual

Safe
Safe SC 809 user manual

Lefroy Brooks
Lefroy Brooks M1-5122 Installation, operating, & maintenance instructions

Lefroy Brooks
Lefroy Brooks K1-5311 Installation, operating, & maintenance instructions

Lefroy Brooks
Lefroy Brooks M1-5103 Installation, operating, & maintenance instructions

Safe
Safe SafeGate SC 907 user manual

Lefroy Brooks
Lefroy Brooks X1-3001 Installation, operating, & maintenance instructions

Kvadrat
Kvadrat Ready Made Curtain installation guide
hawa
hawa Telescopic 40/4 Planning and installation instructions
Griffwerk
Griffwerk 417 ASSEMBLY, CARE INSTRUCTIONS, SERVICE AND MAINTENANCE
ADAMS RITE
ADAMS RITE 4580 quick start guide

