manuals.online logo
Brands
  1. Home
  2. •
  3. Brands
  4. •
  5. TESTO
  6. •
  7. Measuring Instrument
  8. •
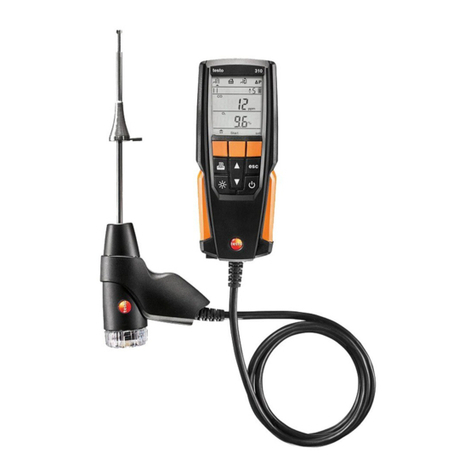
  9. TESTO 327 User manual

TESTO 327 User manual

Other manuals for 327

2

Other TESTO Measuring Instrument manuals

TESTO 510 User manual

TESTO

TESTO 510 User manual

TESTO 330-1 LL Reference guide

TESTO

TESTO 330-1 LL Reference guide

TESTO 350 Maritime V2 How to use

TESTO

TESTO 350 Maritime V2 How to use

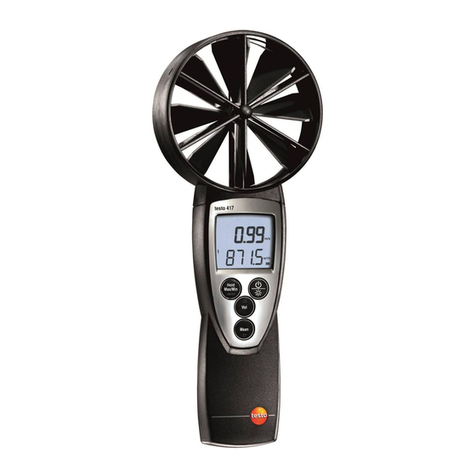
TESTO 417 User manual

TESTO

TESTO 417 User manual

TESTO 340 User manual

TESTO

TESTO 340 User manual

TESTO 405-V1 User manual

TESTO

TESTO 405-V1 User manual

TESTO 416 User manual

TESTO

TESTO 416 User manual

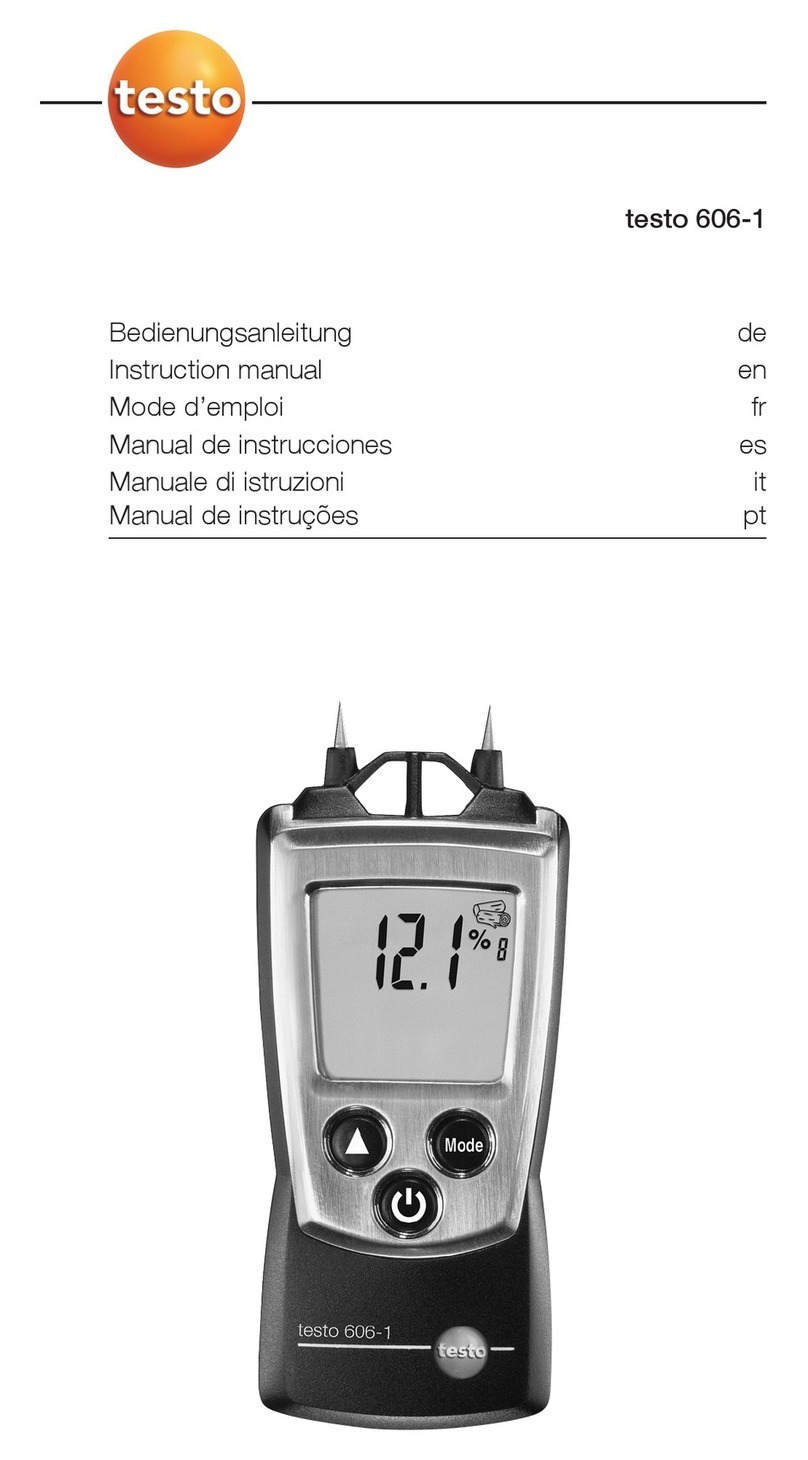
TESTO 606-1 How to use

TESTO

TESTO 606-1 How to use

TESTO 606-2 User manual

TESTO

TESTO 606-2 User manual

TESTO 915i User manual

TESTO

TESTO 915i User manual

TESTO 108 User manual

TESTO

TESTO 108 User manual

TESTO 570 User manual

TESTO

TESTO 570 User manual

TESTO 0519.0816 User manual

TESTO

TESTO 0519.0816 User manual

TESTO 635 How to use

TESTO

TESTO 635 How to use

TESTO 623 User manual

TESTO

TESTO 623 User manual

TESTO 410-1 User manual

TESTO

TESTO 410-1 User manual

TESTO 510 How to use

TESTO

TESTO 510 How to use

TESTO 608 - H1 User manual

TESTO

TESTO 608 - H1 User manual

TESTO 400 User manual

TESTO

TESTO 400 User manual

TESTO 625 User manual

TESTO

TESTO 625 User manual

TESTO 400 Manual

TESTO

TESTO 400 Manual

TESTO 405-V1 User manual

TESTO

TESTO 405-V1 User manual

TESTO 112 User manual

TESTO

TESTO 112 User manual

TESTO 755-1 User manual

TESTO

TESTO 755-1 User manual

Popular Measuring Instrument manuals by other brands

Powerfix Profi 278296 Operation and safety notes

Powerfix Profi

Powerfix Profi 278296 Operation and safety notes

Test Equipment Depot GVT-427B user manual

Test Equipment Depot

Test Equipment Depot GVT-427B user manual

Fieldpiece ACH Operator's manual

Fieldpiece

Fieldpiece ACH Operator's manual

FLYSURFER VIRON3 user manual

FLYSURFER

FLYSURFER VIRON3 user manual

GMW TG uni 1 operating manual

GMW

GMW TG uni 1 operating manual

Downeaster Wind & Weather Medallion Series instruction manual

Downeaster

Downeaster Wind & Weather Medallion Series instruction manual

Hanna Instruments HI96725C instruction manual

Hanna Instruments

Hanna Instruments HI96725C instruction manual

Nokeval KMR260 quick guide

Nokeval

Nokeval KMR260 quick guide

HOKUYO AUTOMATIC UBG-05LN instruction manual

HOKUYO AUTOMATIC

HOKUYO AUTOMATIC UBG-05LN instruction manual

Fluke 96000 Series Operator's manual

Fluke

Fluke 96000 Series Operator's manual

Test Products International SP565 user manual

Test Products International

Test Products International SP565 user manual

General Sleep Zmachine Insight+ DT-200 Service manual

General Sleep

General Sleep Zmachine Insight+ DT-200 Service manual

Sensa Core Lacto Spark user manual

Sensa Core

Sensa Core Lacto Spark user manual

VOLTCRAFT UTS-1980 operating instructions

VOLTCRAFT

VOLTCRAFT UTS-1980 operating instructions

EBCHQ 94915 Operation manual

EBCHQ

EBCHQ 94915 Operation manual

Balluff BIP LD2-T017-01-EP-S4 Series user guide

Balluff

Balluff BIP LD2-T017-01-EP-S4 Series user guide

Pulsar IMP Lite Series instruction manual

Pulsar

Pulsar IMP Lite Series instruction manual

ETCR 6800 user manual

ETCR

ETCR 6800 user manual

manuals.online logo
manuals.online logoBrands
  • About & Mission
  • Contact us
  • Privacy Policy
  • Terms and Conditions

Copyright 2025 Manuals.Online. All Rights Reserved.

Quick Start Guide
Model 327
Follow these basic steps outlined in this Quick Start Guide
to get you up and running with your new meter quickly and easily
Before using completely charge the battery
(for how long)
- attach power supply to analyzer
plug the power cord into wall socket
PTest screen displayed
(all segments are lit : 3s)
PInitial screen displayed
(Serial number, firmware version,
instrument model number, date, time
and country code : 5s)
FOrange hot keys can be used to:
- change fuel (Fuel)
- enter flue gas measuring mode
(Flue g)
- enter diagnostics mode
(Diagnost)
PMeasuring Mode Displayed (fig. 2)
Change measurement mode (press )
(See Fig xx Measuring Mode menu
items)
FOrange hot keys can be used to
- change fuel (Fuel) (some modes)
- select measuring mode (OK)
Measuring
Flue gas
Fuel OK
Serial Number
Firmware Version
Sec.
Zero
°F
Tamb
MM/DD
YYY
Date
T I : M E
(EXAMPLE: Flue Gas Measuring Mode)
Note: Items in display are user
configurable and may not match this example
FPress OK hot key to enter mode
(Note: press esc to exit mode)
CAUTION:
30 SEC. COUNTDOWN IS A NULL
CALIBRATION. ENTER THIS MODE IN
CLEAN AIR ONLY
fig 3
7 5 . 7
29
FChange fuel (press / )
FOrange hot keys can be used to:
- change fuel (Fuel)
- change date and time (Date)
Reminder: verify date and time
fig 2.
PInitial flue gas measuring
mode screen displayed (fig. 4)
Note: This display will only appear if a Null
Calibration has NOT been performed.
Reentering Flue Gas mode after Null Calibration
will bypass this display.
Reminder: Dashes (----) appear when that
data field is empty
- Data has not been saved
- Calculation is out of limits
- Probe/sensor has not been
installed
Flue gas
Nat gas
°F
Tstack
%
CO2
%
EFF
%
ExAir
0.0
7 5 . 7
_________
_________
fig 4
FChange fuel (press / )
FOrange hot keys can be used to:
- enter measuring mode (OK)
PFlue Gas Measuring Mode Screen
Displayed (fig. 5)
Flue gas
Nat gas
°F
Tstack
%
CO2
%
EFF
%
ExAir
8 0 3 . 0
7 5 . 7
_________
_________
FScroll though line items
(press / )
FOrange hot keys can be used to:
- change fuel (Fuel)
- Start measuring flue gasses
(Start)
Reminder:
Probe must be inserted into
stack to take stack measurements
fig 5.
PFlue Gas Null Calibration Screen
Displayed (fig. 3)
Step 1 - Charge battery.
Step 2-
Attach Probe
to Instrument
see fig 1.
fig 1.
Step 3- Turn Instrument ON
Step 4 - Select Measuring Mode
see fig 5.
Fuel
OK
Fuel Start
j
k
l
m
n
o
p
Product
Description:
j- IR interface,
ON/OFF switch
k- Display
l- Control keys
m- Power supply,
probe connec
tions, gas
outlet
n- condensate
trap
o- battery, cells
compartment
p- magnetic back
testo, Inc. 35 Ironia Rd., Flanders, NJ
07836, 800-227-0729, fax 973-252-1729,
www.testo.us. e-mail: [email protected]
Please read, undersand and follow the directions, pre-cautions
and warnings in the product instruction manual.
CAUTION:
Water trap level should be monitored and
emptied to avoid damage that is possible
when moisture is pumped into analyzer
PFlue Gas Measuring Mode Displayed
(fig. 6)
Flue gas
Nat gas
°F
Tstack
%
CO2
%
EFF
%
ExAir
8 0 3 . 0
7 5 . 7
1 . 1 4
8 8 . 2
FScroll though line items
(press / )
FOrange hot keys can be used to:
- change fuel (Fuel)
- start measuring flue gasses
(Start)
Reminder:
Probe must be inserted into
stack to take stack measurements
FOrange hot keys can be used to:
- print real time measurements
- lock in measurements (Stop)
Reminder:
This assumes you pressed the START
button on the previous screen
PFlue Gas Measuring Mode Displayed
(fig. 7)
Flue gas
Nat gas
°F
Tstack
%
CO2
%
EFF
%
ExAir
8 0 3 . 0
7 5 . 7
1 . 1 4
8 8 . 2
fig 6
fig 7
FOrange hot keys can be used to:
- print locked-in measurements
(Print)
- Start a new test (Start)
Reminder:
This assumes you pressed the STOP
button on the previous screen
CAUTION:
Pressing Start again will write over
locked-in data from previous real-time
flue gas measurements.
Items NOT to be written over are:
Draft
CO-AirFree
- When stored independent
measurement
Smoke/Oil
Diff prs
Delta Temp
Ambient CO
Analyzer will enter a purge mode from 1-90 seconds based on last O2 measurement
taken then cycle off
CAUTION:
All locked-in and saved date will be deleted
AEmpty water trap daily (minimum) or when it appears to be full (see figure 8)
A
Disconnect probe from the instrument during storage of the analyzer wile not in use
AReplace the particle filter when visibly dirty (see fig. 9)
fig 8
Step 5 - Insert gas-sampling
probe into stack Step 6 - Print locked-in data Step 7 - Turn OFF instrument
Step 8 - Care for your analyzer
fig 9
Fuel Start
Print Start
August, 2007