Cleaning All in 1
4
WARNING!
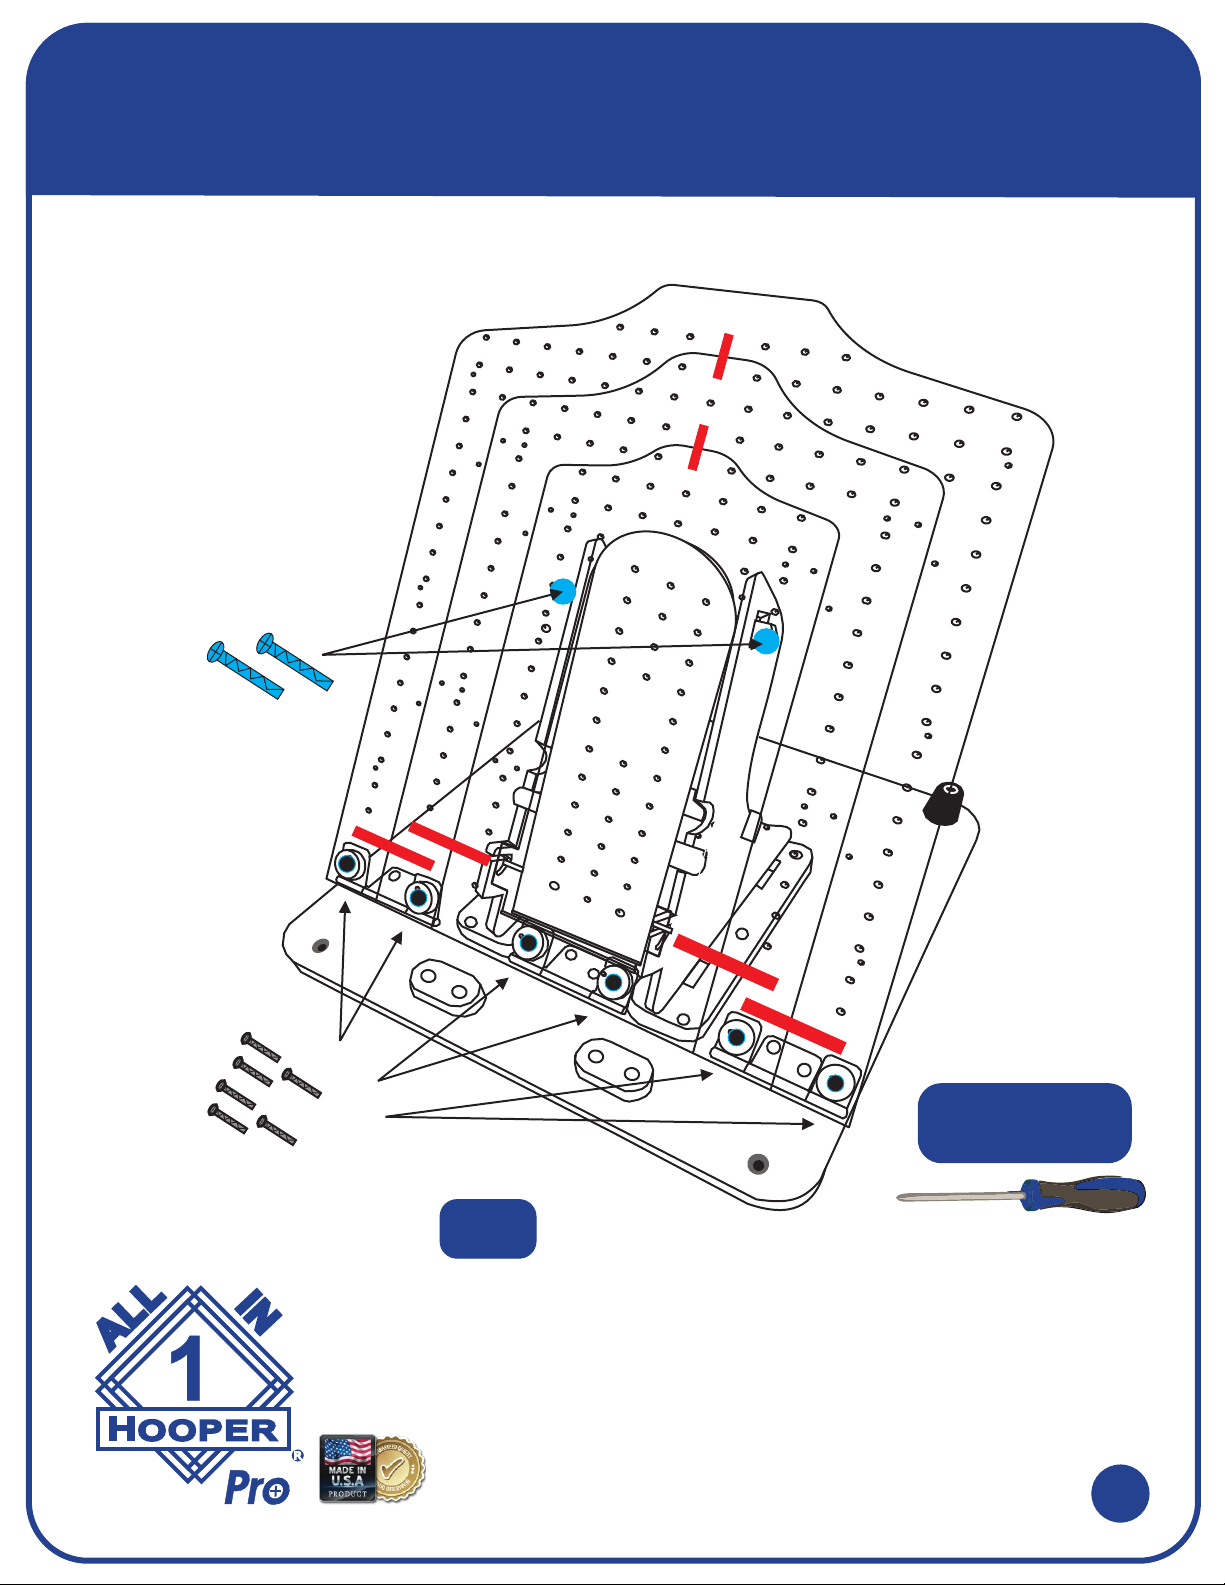
Main Board, Sleeve Board, Leveler Pro & XL
& Sleeve Support are all acrylic and can
crack if not cared for properly.
The All In 1 Hooper is made of very durable but yet sensitive Acrylic.
WARNING!!!! Acrylic is a plastic substance and can shatter if hit hard
enough or if a chemical solvent is sprayed on the surface it will cause
spider cracking. If this happens this will void your manufacture’s warranty.
DO NOT USE: any products with Methanol, Isopropyl, Acetone, MEK, or
Alcohol based products. DO NOT USE WINDEX
Proper cleaning solution that won’t harm Acrylic is
A clean lint-free cloth, such as a diaper, with mild soap solution, a warm
water rinse and air dry will work great for most cleaning applications,
including fingerprints. We recommend Craftics 20/20 Plastic Cleaner
Visit ---> www.craftics.com
WARNING!
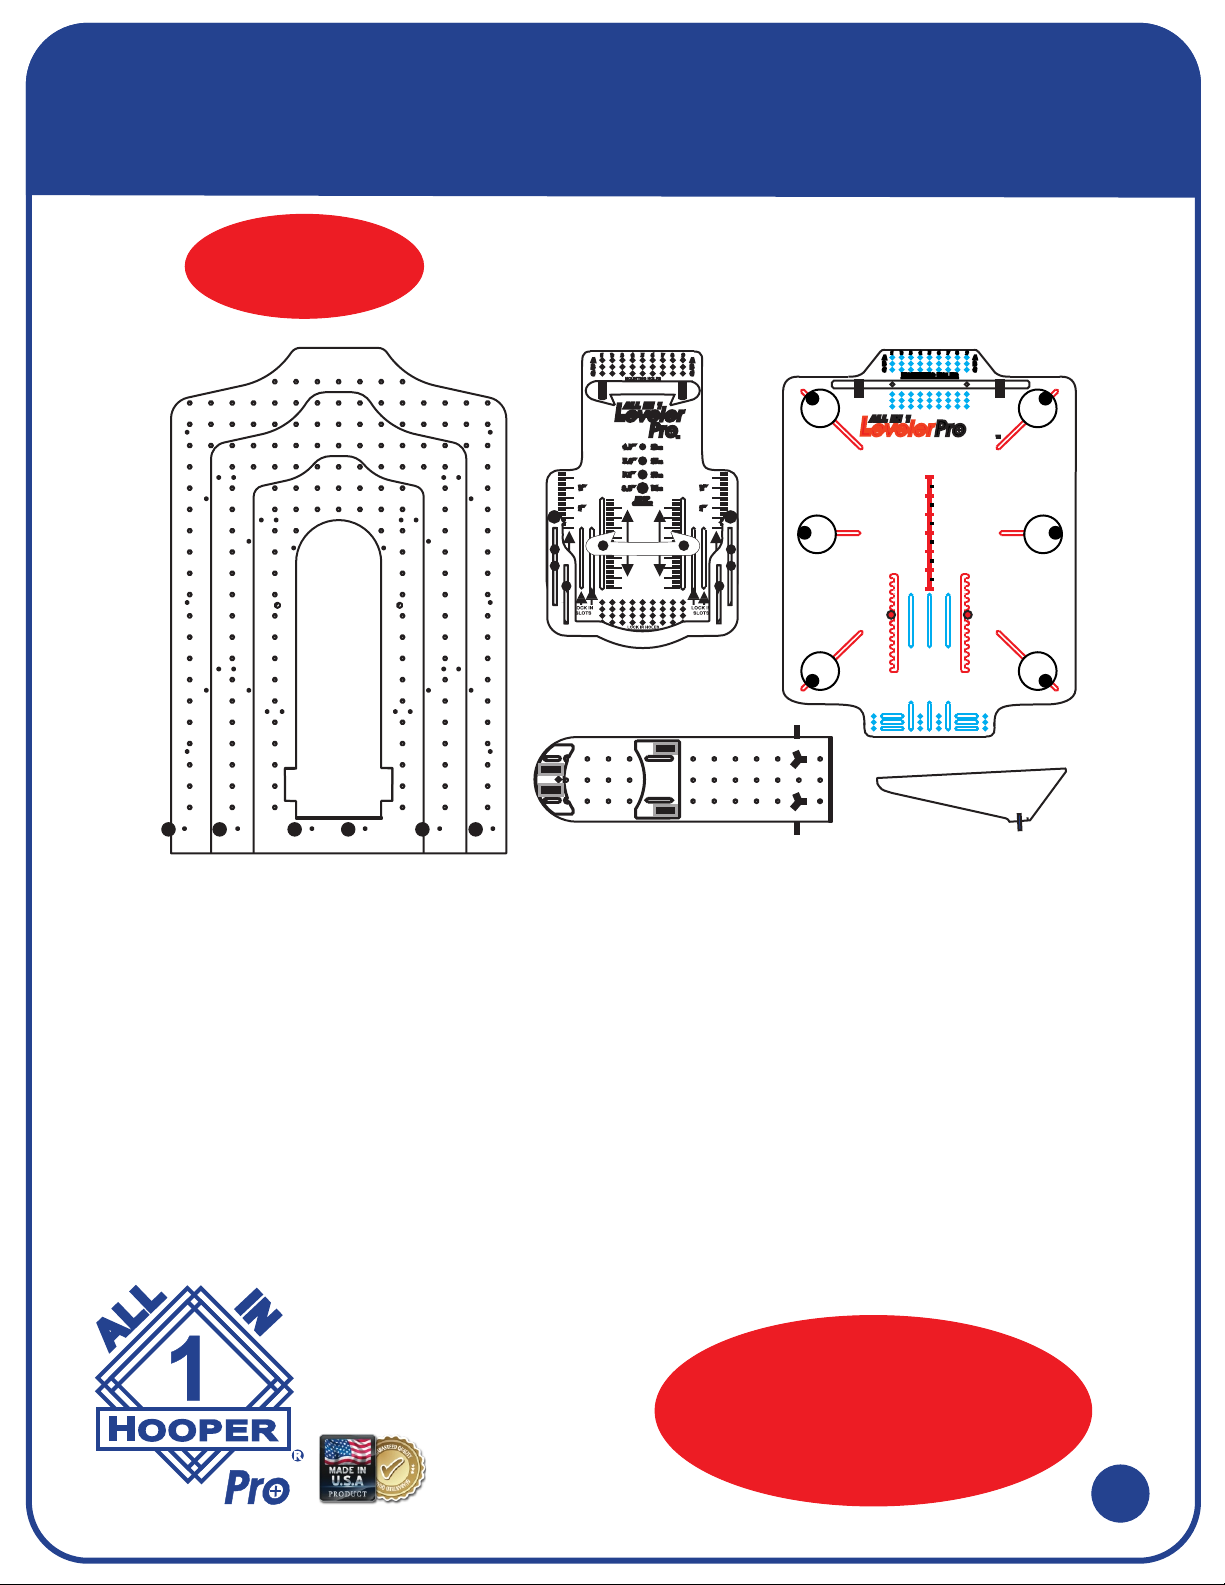
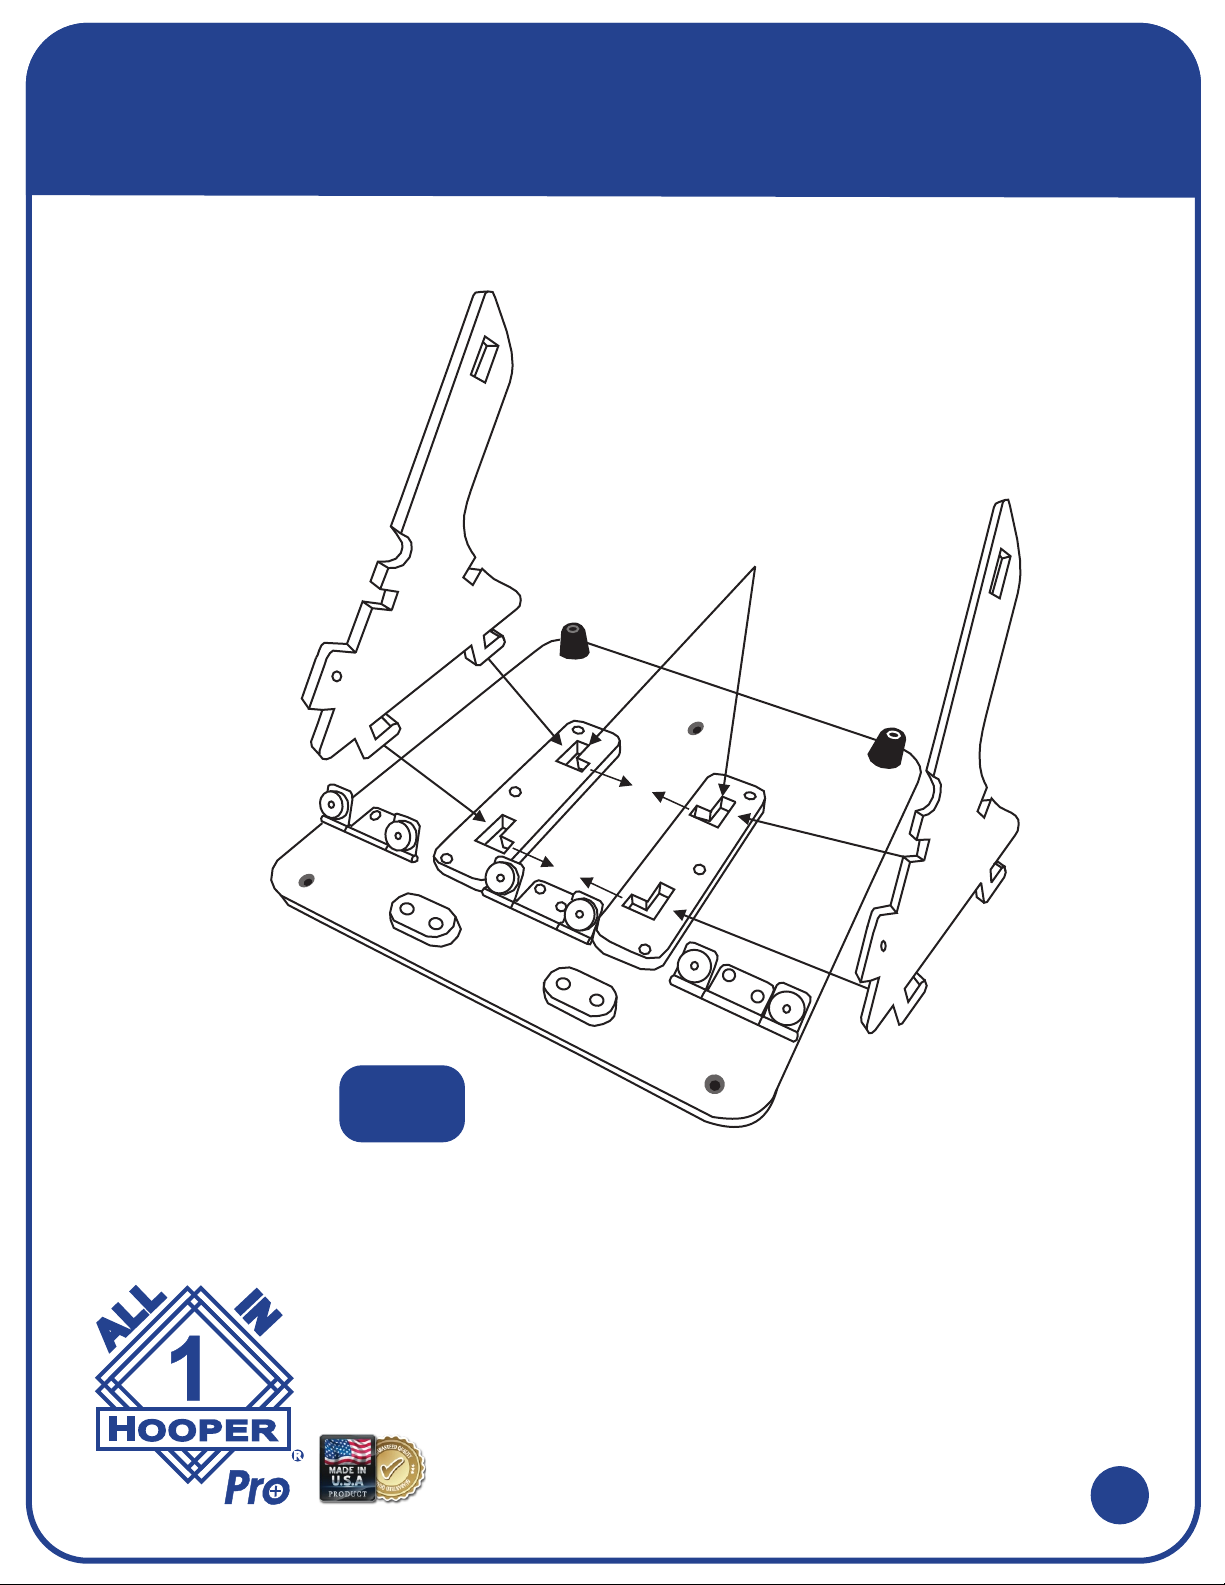
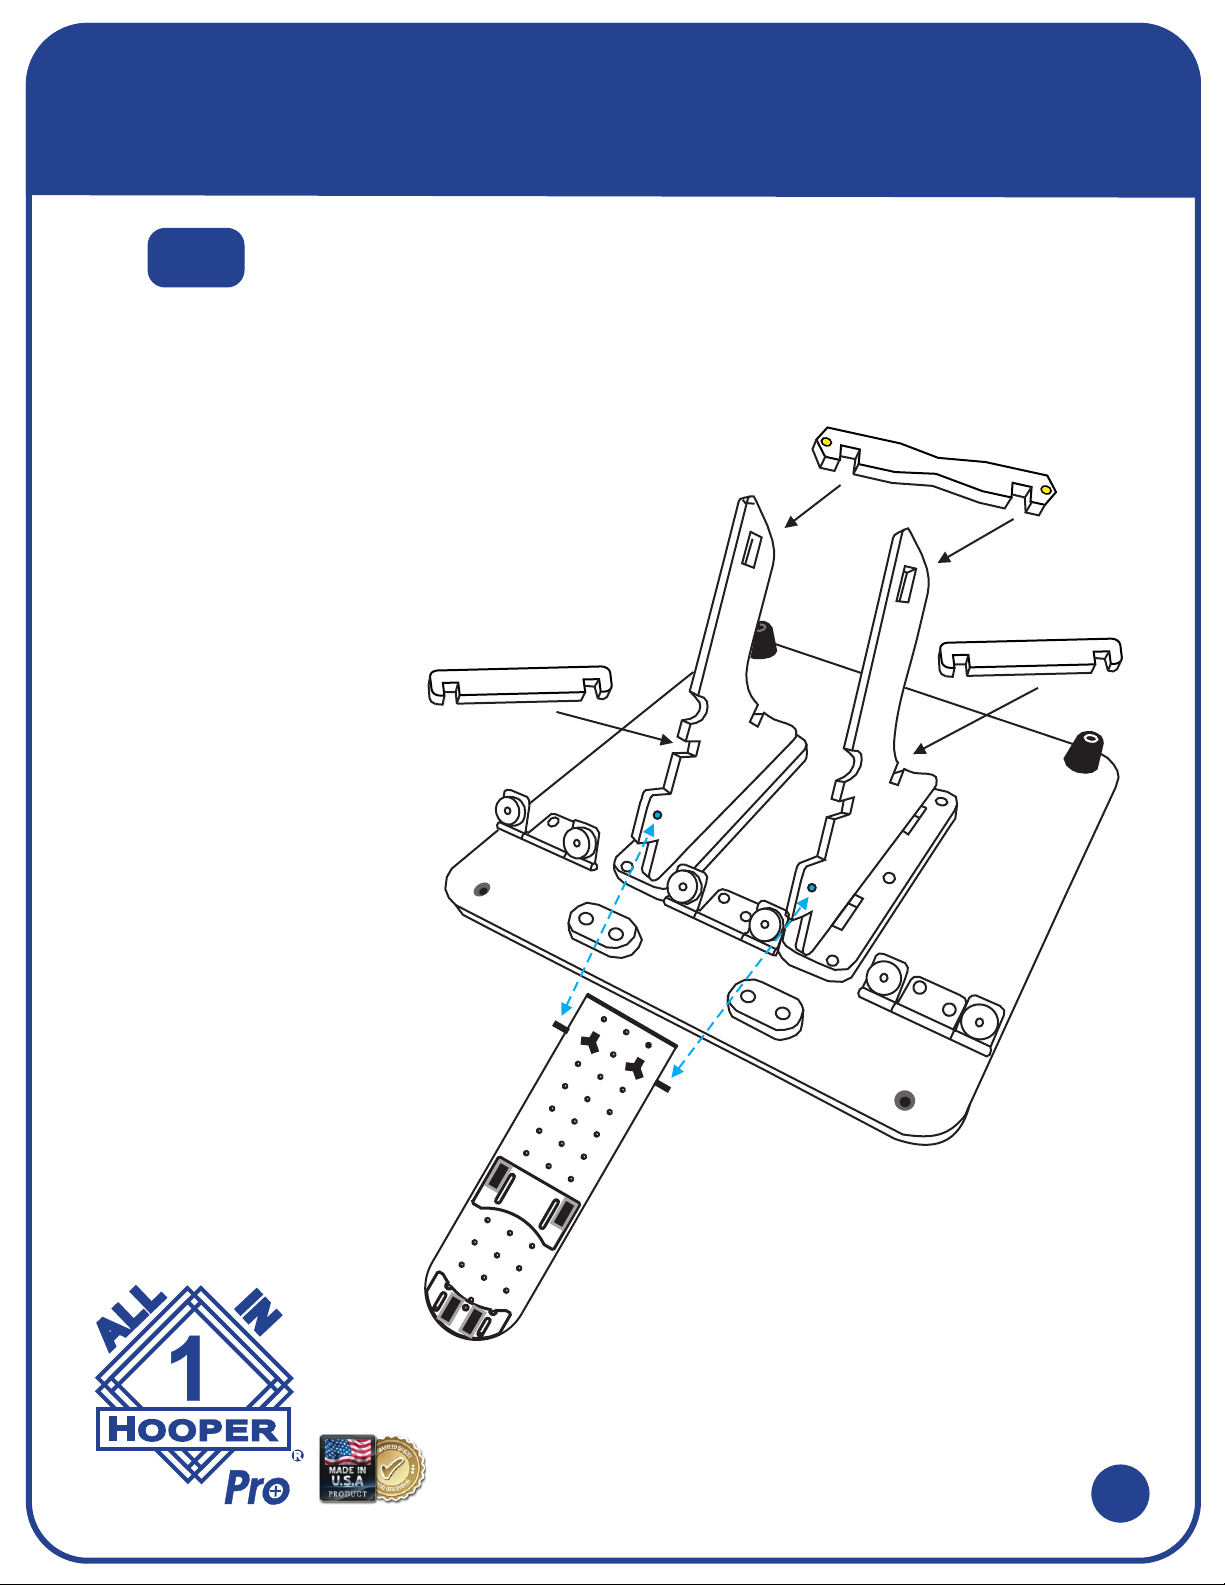
Leveler Arm
www.Allin1Hooper.com
Patented
XL
A
B
C
D
E
F
G
5
5
5
5
5
5
Center
Location
Center
1
2
3
4
5
6
7
8
9
10
11
12
13
1
2
3
4
5
6
7
8
9
10
11
12
13
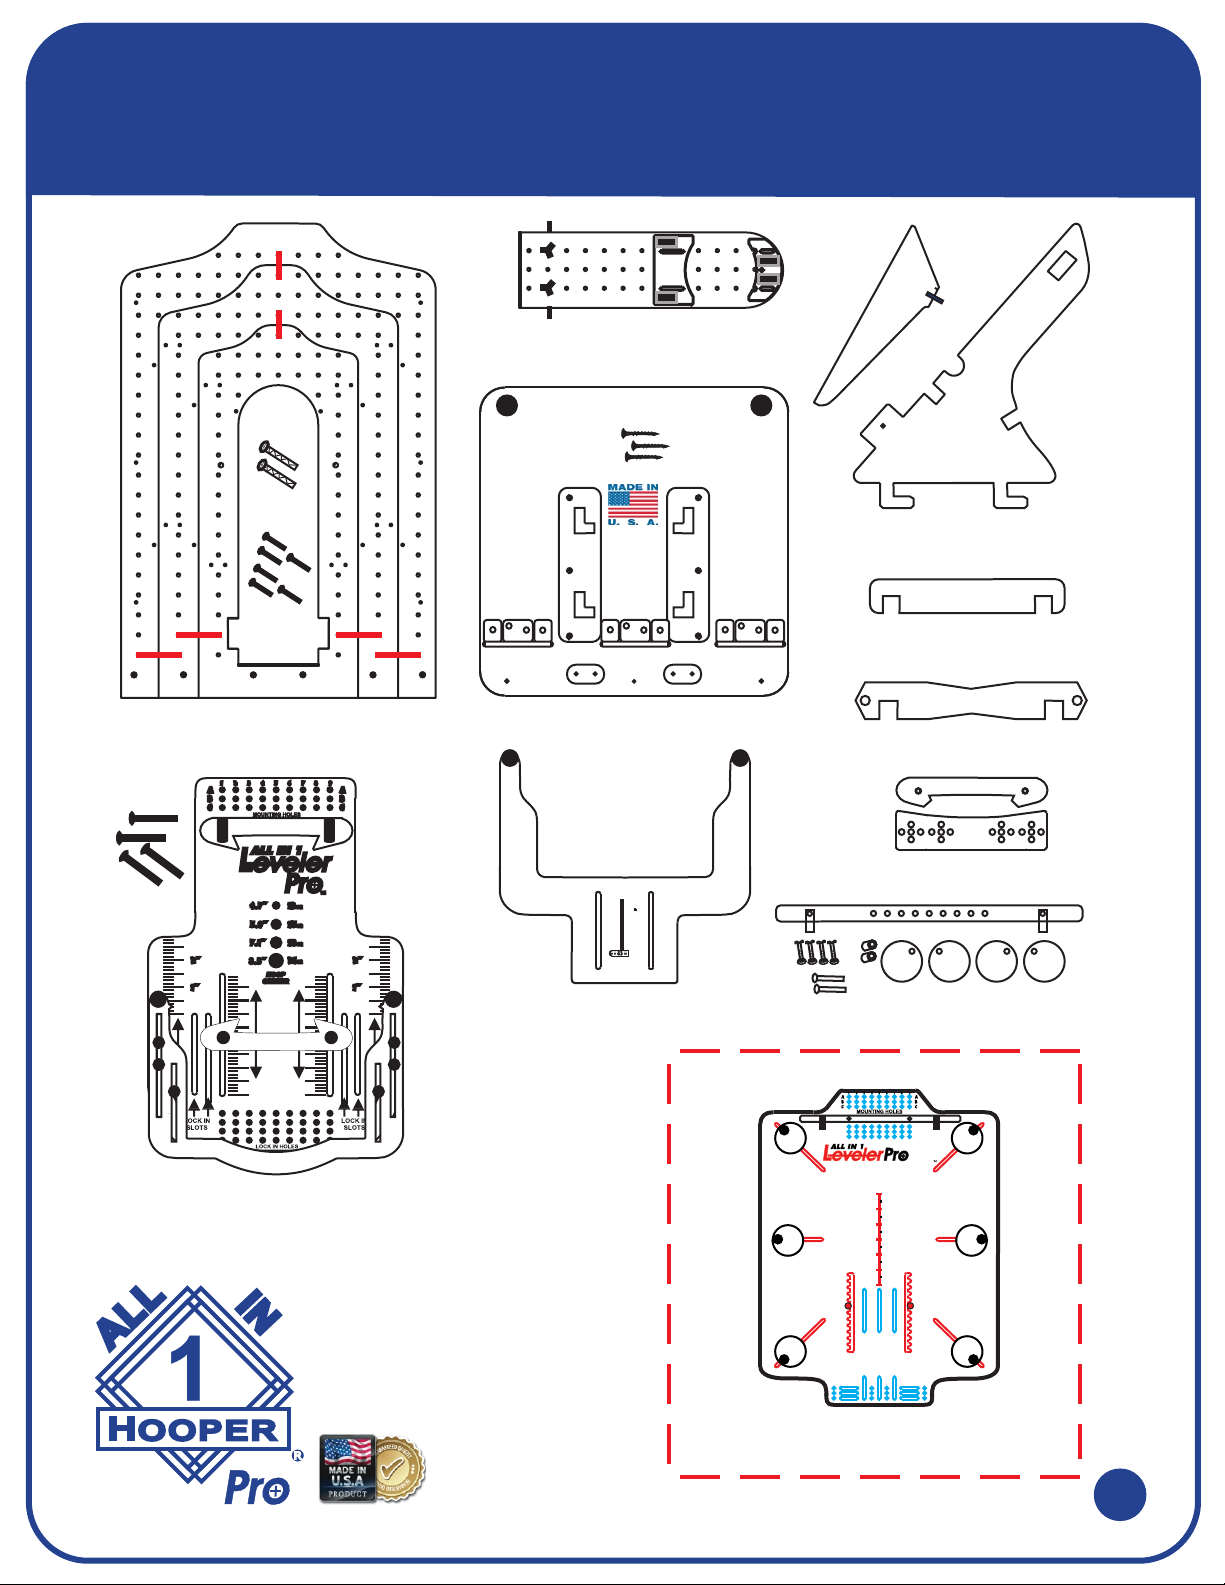
Backing Mounts
D5