98
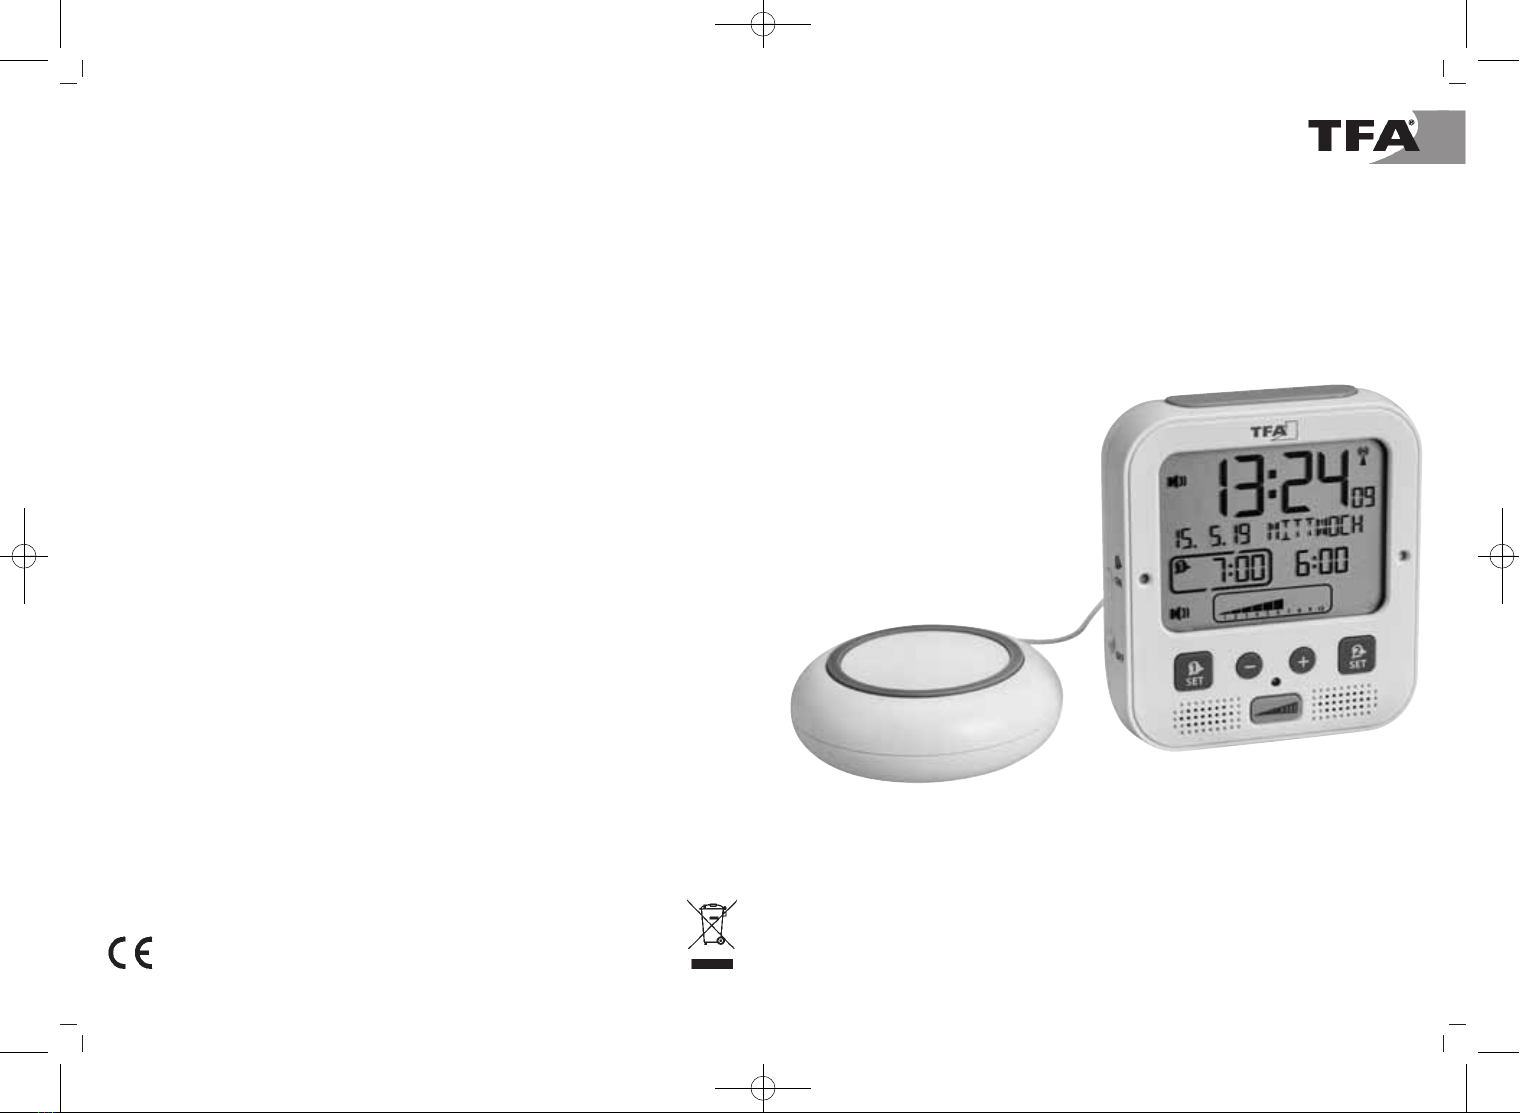
BOOM – Hochleistungs-Funkwecker mit Vibrationsalarm
Main durch ein DCF-77 (77.5 kHz) Frequenzsignal übertragen mit einer Reichweite von ca. 1.500
km. Ihre Funkuhr empfängt das Signal, wandelt es um und zeigt immer die exakte Zeit an. Auch die
Umstellung von Sommer- und Winterzeit erfolgt automatisch. Während der Sommerzeit erscheint
im Display. Der Empfang hängt hauptsächlich von der geographischen Lage ab. Im Normalfall
sollten innerhalb des Radius von 1.500 km ausgehend von Frankfurt bei der Übertragung keine
Probleme auftauchen.
Bitte beachten Sie folgende Hinweise:
• Es wird empfohlen, einen Abstand von mindestens 1,5 – 2 Metern zu eventuell störenden Geräten
wie Computerbildschirmen und Fernsehgeräten einzuhalten.
• In Stahlbetonbauten (Kellern, Aufbauten) ist das empfangene Signal natürlicherweise schwächer.
In Extremfällen wird empfohlen, das Gerät in Fensternähe zu platzieren und/oder durch Drehen das
Funksignal besser zu empfangen.
• Nachts sind die atmosphärischen Störungen meist geringer und ein Empfang ist in den meisten
Fällen möglich. Ein einziger Empfang pro Tag genügt, um die Genauigkeit zu gewährleisten und
Abweichungen unter 1 Sekunde zu halten.
6.3 Einlegen der Batterien
• Die Batterien fungieren im Falle eines Stromausfalls als Backup-Batterien.
• Für eine dauerhafte Hintergrundbeleuchtung, die Nutzung der Vibrationseinheit und um die Lei-
stungsdauer der Batterien zu verlängern, verwenden Sie bitte den mitgelieferten Netzstecker.
• Öffnen Sie das Batteriefach auf der Unterseite.
• Legen Sie zwei neue Batterien 1,5 V AA in das Batteriefach. Achten Sie auf die richtige Polarität
beim Einlegen der Batterien.
• Schließen Sie das Batteriefach wieder.
7. Bedienung
• Halten Sie die –oder +Taste im Einstellmodus gedrückt, gelangen Sie in den Schnelllauf.
• Das Gerät verlässt automatisch den Einstellmodus, wenn länger als 15 Sekunden keine Taste
gedrückt wird.
7.1 Manuelle Einstellungen
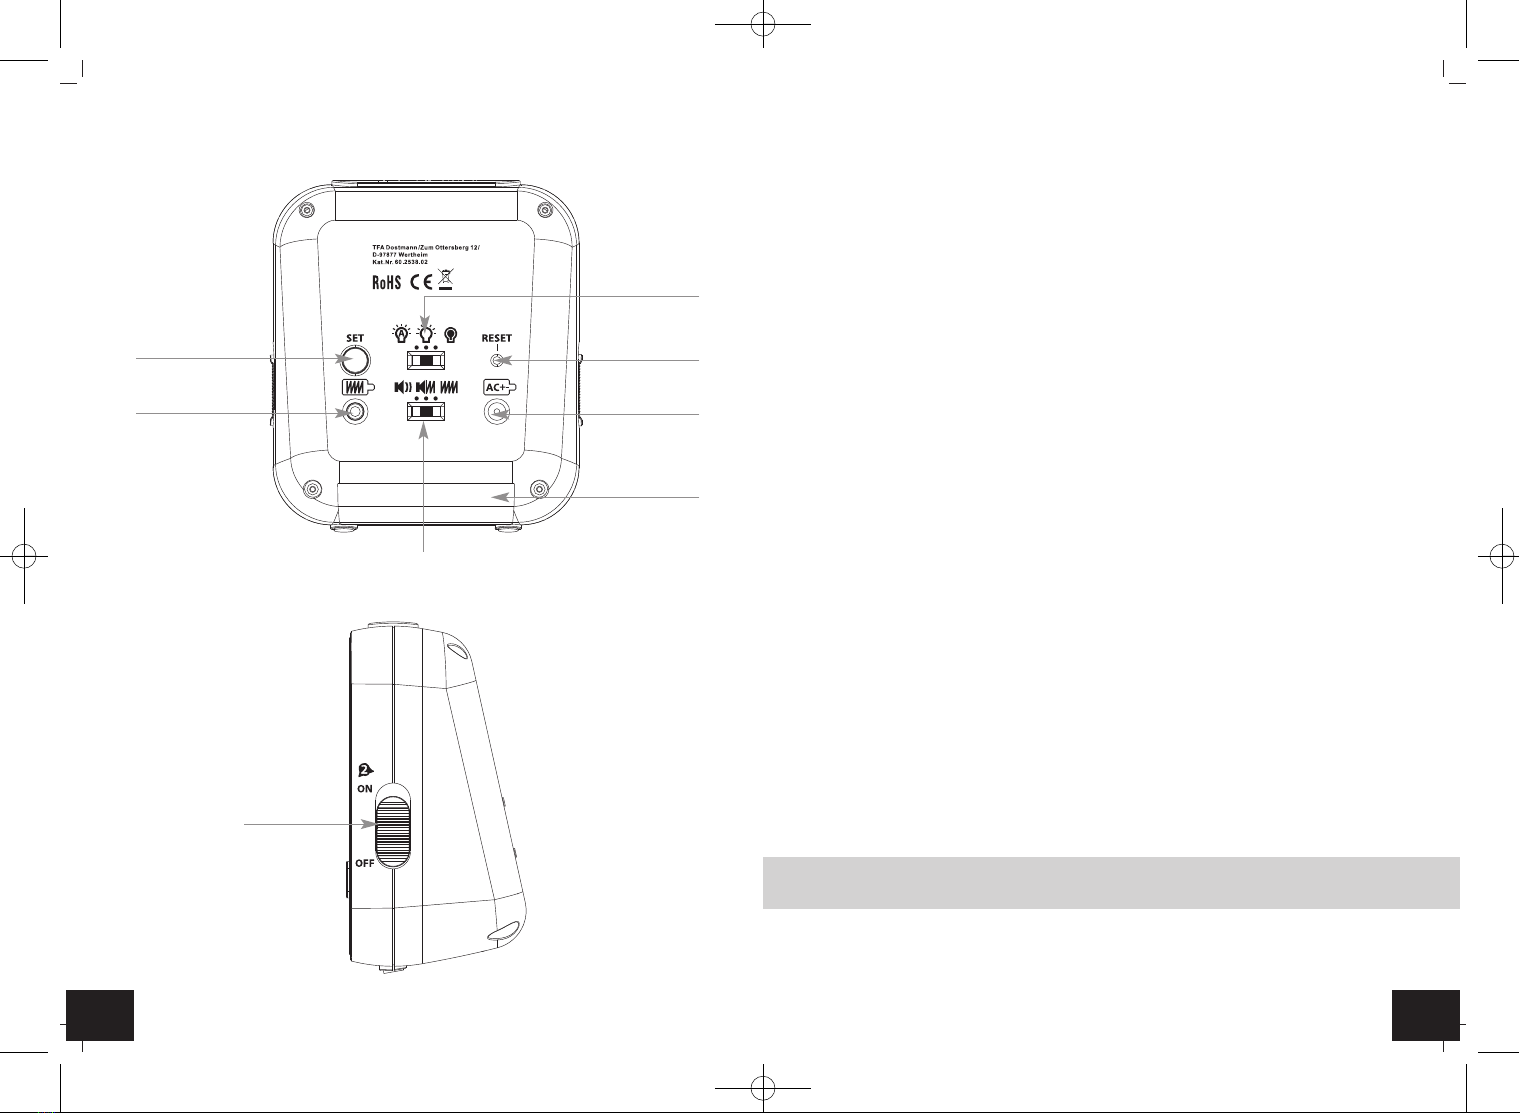
• Halten Sie die SET Taste auf der Rückseite im Normalmodus für drei Sekunden gedrückt.
• dcF erscheint im Display und ON (Voreinstellung) blinkt. Standardgemäß ist der DCF-Empfang
aktiviert und nach erfolgreichem Empfang des DCF-Signals ist keine manuelle Zeiteinstellung
erforderlich.
• Drücken Sie die –oder + Taste, wenn Sie den DCF-Funkempfang deaktivieren wollen (OFF).
• Bei deaktiviertem Empfang müssen Sie Uhrzeit und Datum manuell einstellen. Dann verschwin-
det das DCF-Empfangszeichen. Es erscheint keine Zeitzone.
• Bestätigen Sie die Eingabe mit der SET Taste.
• Drücken Sie die SET Taste noch einmal und Sie können nun nacheinander das 12- oder 24-
Stunden-Zeitsystem (Voreinstellung: 24hr), die Zeitzone TIME ZONE (Voreinstellung: 0), die
Stunden HOUR, die Minuten MINUTE, das Jahr YEAR, den Monat MONTH, den Tag DATE, die
Sprache für den Wochentag (Voreinstellung: GERMAN), den Tastenton bEEP (Voreinstellung:
OFF) und die Auto Light-Helligkeitsstufe (Voreinstellung: LOW) ansteuern und mit der –oder +
Taste einstellen.
BOOM – Hochleistungs-Funkwecker mit Vibrationsalarm
• Bestätigen Sie die Eingaben mit der SET Taste.
• Bei erfolgreichem Empfang des DCF-Funksignals und wenn der DCF-Funkempfang im Einstell-
modus aktiviert ist (dcF ON), wird die manuell eingestellte Zeit überschrieben.
7.1.1 Einstellung des 24- oder 12- Stunden-Formats
• Im Einstellungsmodus können Sie mit der –oder + Taste zwischen dem 24-Stunden oder 12-
Stunden-Format auswählen.
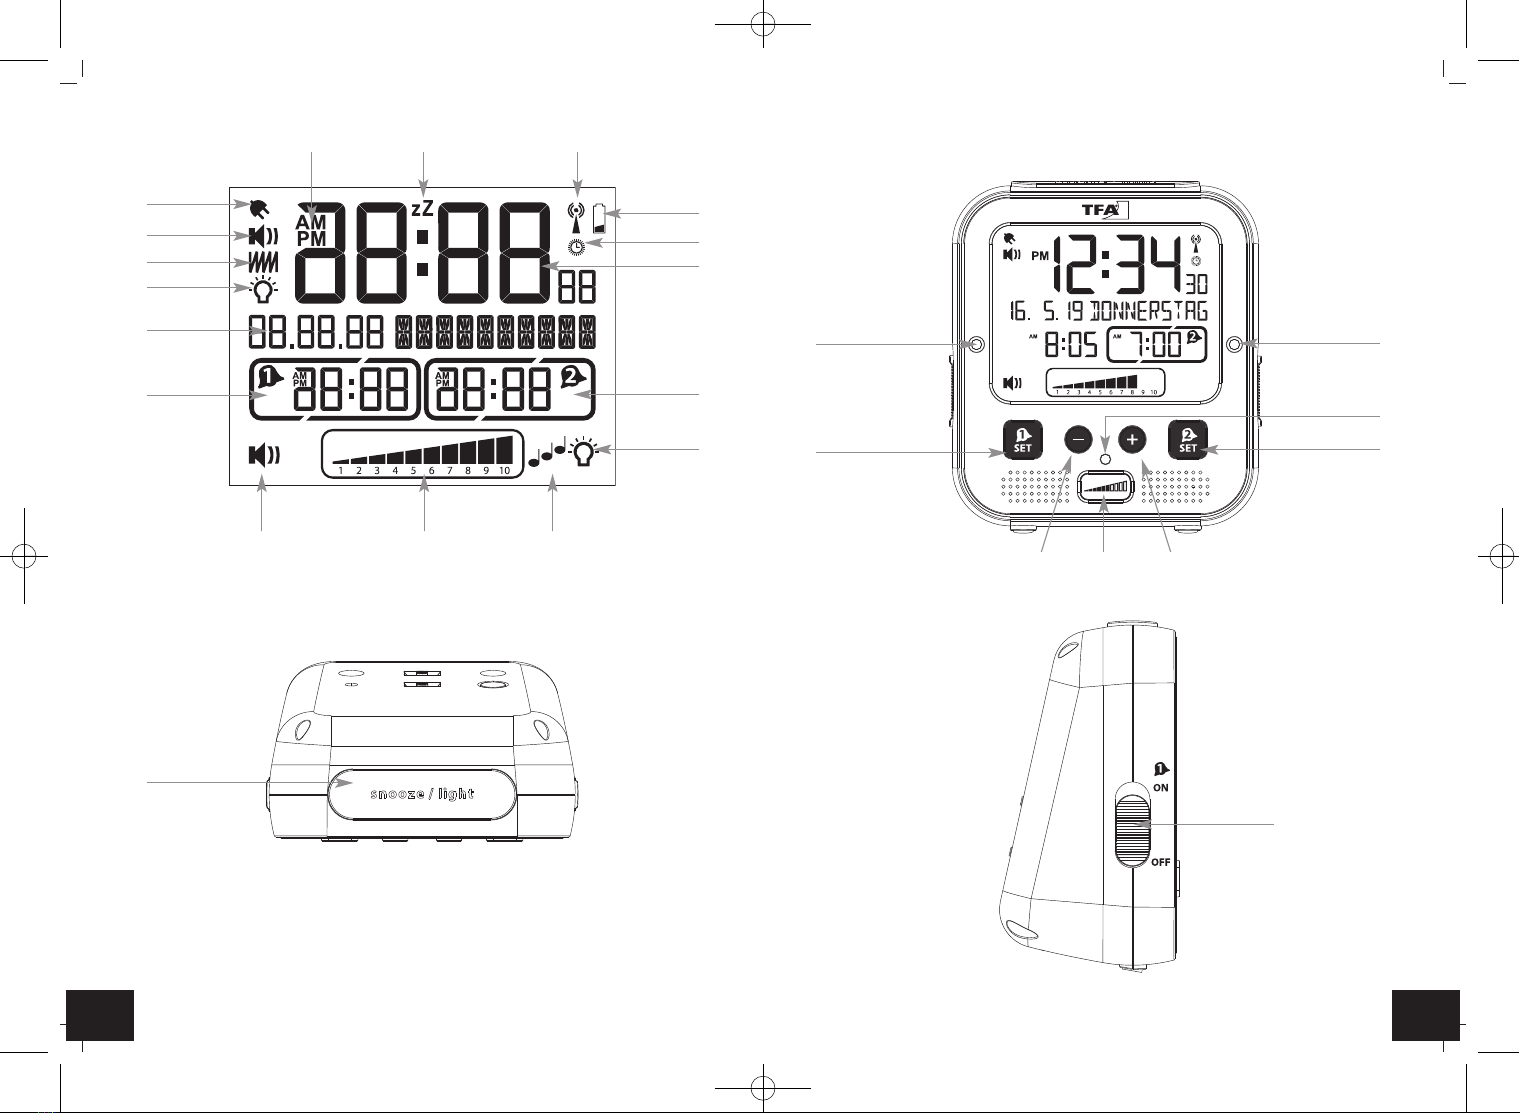
• Im 12-h-Format erscheint AM (vormittags) und PM (nachmittags) auf dem Display.
• Im 12-h-Format erscheint Monat / Tag / Jahr als Datumsformat auf dem Display.
7.1.2 Einstellung der Zeitzone
• Im Einstellungsmodus können Sie mit der –oder + Taste die Zeitzonenkorrektur (+9/-9) vorneh-
men.
• Die Zeitzonenkorrektur wird benötigt, wenn das DCF Funksignal empfangen werden kann, die
Zeitzone sich aber von der funkgesteuerten Zeit unterscheidet (z.B. +1 = eine Stunde später).
7.1.3 Einstellung der Sprachauswahl für den Wochentag
• Im Einstellungsmodus können Sie die Sprache für den Wochentag auswählen.
• Drücken Sie die –oder + Taste.
• Im Display erscheint: Deutsch - GERMAN, Englisch - ENGLISH, Französisch - FRENCH, Spa-
nisch - SPANISH, Italienisch - ITALIAN und Niederländisch - DUTCH.
7.1.4 Einstellung des Tastentons
• Standardgemäß ist der Tastenton bEEP deaktiviert (OFF).
• Drücken Sie im Einstellungsmodus die –oder + Taste, wenn Sie den Tastenton einschalten wol-
len (ON).
• Bei aktiviertem Tastenton wird jede Tastenbedienung mit einem Piep-Ton quittiert.
7.1.5 Einstellung Auto Light
• Im Einstellmodus können Sie die Helligkeitsstufe der automatischen Nachtbeleuchtung einstel-
len.
• Drücken Sie die –oder +Taste, um zwischen LOW (Voreinstellung) oder HIGH zu wählen (siehe
8. Hintergrundbeleuchtung).
8. Hintergrundbeleuchtung
• Das Gerät verfügt über eine Hintergrundbeleuchtung, die auch bei heller Umgebung sichtbar ist
und eine Nachtbeleuchtung, die die Anzeige bei Dunkelheit ablesbar macht. Der Lichtsensor
schaltet die Nachtbeleuchtung bei Dunkelheit automatisch an.
• Mit dem LIGHT Schiebeschalter auf der Rückseite können Sie zwischen drei verschiedenen Ein-
stellungen wählen:
Auto Light, permanent, aus.
• In der Position schaltet sich bei Dunkelheit automatisch die Nachtbeleuchtung an.
• In der Position ist die Hintergrundbeleuchtung dauerhaft aktiv. Bei Dunkelheit schaltet sich
die Nachtbeleuchtung an.
TFA_No. 60.2538_Anleitung 27.11.2018 15:34 Uhr Seite 5