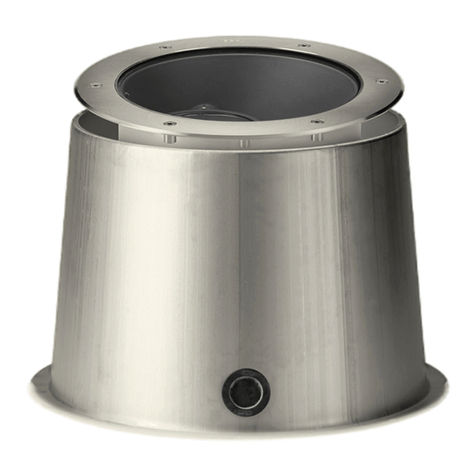
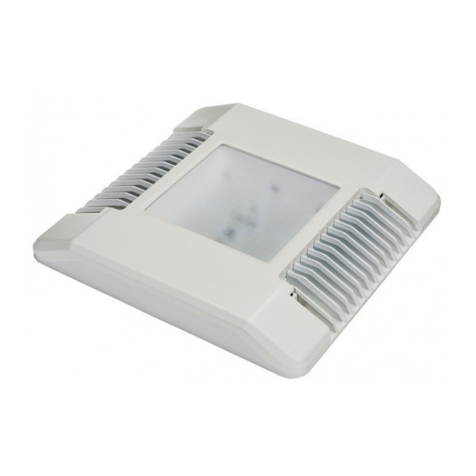
TGS TRITON 500W User manual

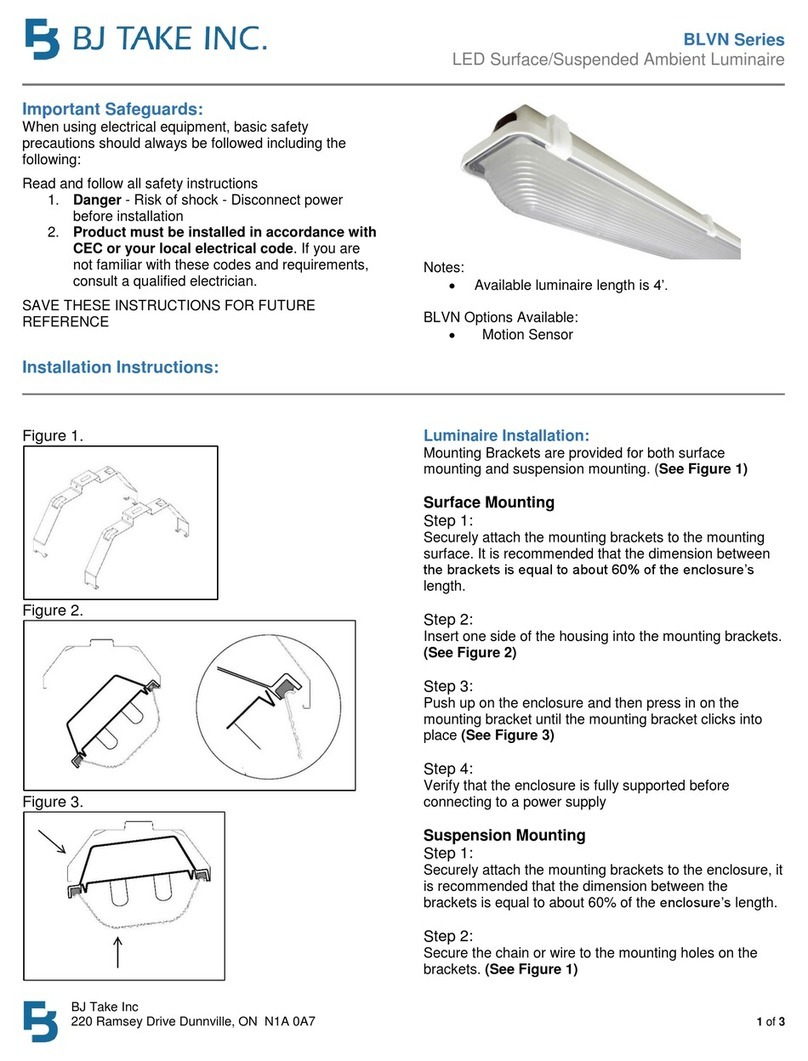
TRITON ™ Installation Instructions
SAFETY INSTRUCTIONS
Read and understand this entire manual before attempting to assemble, operate, or install the LED Luminaire. If you
have any questions regarding the product, please call TGS Customer Service at (818) 206-4404.
1. All electrical work must conform to the National Electric Code (NEC) and all applicable local codes and ordinances.
2. Only qualied personnel shall install and maintain the luminaires. TGS recommends that a licensed electrician install and maintain
the luminaire. Verify the safety of existing power distribution system before beginning installation. FAILURE TO FOLLOW OPERATING
INSTRUCTIONS MAY LEAD TO DEATH, SEVERE INJURY, OR PROPERTY DAMAGE.
Turn o power before performing any electrical or control work. FAILURE TO FOLLOW THIS WARNING MAY LEAD TO DEATH,
SEVERE INJURY, OR PROPERTY DAMAGE.
DO NOT make or alter any open holes in the luminaire. Do not modify the luminaire.
WARNING
Follow all applicable safety procedures and use Personal Protective Equipment such as hardhats, safety glasses, reective vests,
electrical safety gloves, fall protection equipment and safety toe boots during the installation, operation, and maintenance of the
luminaire. FAILURE TO FOLLOW THIS WARNING MAY LEAD TO DEATH, SEVERE INJURY, OR PROPERTY DAMAGE.
WARNING
Risk of eye injury! Eye protection is required at all times during the installation, operation, and maintenance of the luminaire. The
high intensity light produced by the luminaire can cause severe damage to the eye if viewed directly at close range. Avoid being
in front of a luminaire that is on or wear suitable light blocking protective eyewear such as welding goggles.
Store luminaires in a clean, dry place, protected from dirt, water, and sunlight. See table for required storage and operating conditions:
WARNING
Storage Temperature
40°F to 167°F
Operating Temperature
-20°~131°F
Humidity
5% to 95% non-condensing
TRITON ™ Installation InstructionsTRITON ™ Installation Instructions

TRITON ™ Installation Instructions
1.Please read the manual carefully before installation.Power off before installation;
Warning:
2.Please authorize only qualified person or professional engineer to install the fixture;
3.Before installation, please check if the local voltage range is correspond with the working voltage of the fixture;
4.If the fixture is damaged, it should be replaced by the supplier, a service agent or a qualified person;
5.Please keep the fixture out of fire,electric shock,vibration.
Installation instruction:
Product Features:
The material of heat sink is high thermal conductivity cold-forging aluminum,good for heat dissipation and the surface is anti-static.
The unique design of housing help to speed up the heat dissipation,further ensuring the life of the fixture.
The integrated design of appearance makes the fixture looks elegant.
This fixture is waterproof, dustproof, anticorrosive
Light barrier
Heat sink
M5*12mmHex Screw
Light barrier installation of 750W/1000W/1250W
Light barrier installation of 500W
Heat sink
Light barrier
Put the light barrieron the lamp body
Use 5 pcs of M5*12MMHex Screw
to lock the light barrieron the lamp body
M5*12mm Hex Screw
Put the light barrieron the lamp body
Use 6 pcs of M5*12MMHex Screw
to lock the light barrieron the lamp body
TRITON ™ Installation Instructions

TRITON ™ Installation Instructions
Wiring Diagram label
brack --L--
White --N--
green
LL
NN
GND GND
200.0
Ø62.5
Ø21.0
21.0
35.0
R5.3
200.0
Ø62.5
Ø21.0
21.0
35.0
R5.3
M20 Nuts
200.0
Bindingbolt
1: Fix the M20 bolt at the mountingsurfaceplate
2:Fix the rotatablebracket on the M20 bolt
M20 Bolt
200
Mountingsurfaceplate
3: Put the plain washer&lock washerin the M20 bolt
4:Fasenthe nut, fix the light on the mountingsurface
M20 Nuts
5:Adjustthe beam angle
6:Lockthe bindingbolt to fasten the light body
Bindingbolt
750W 1000W 1250W
Mounting hole drawing
1: Fix the M20 bolt at the mountingsurfaceplate
2:Fix the rotatablebracket on the M20 bolt
Mountingsurfaceplate
M20 Bolt
3: Put the plain washer&lock washer in the M20 bolt
4:Fasenthe nuts, fix the light on the mountingsurface
5:Adjustthe beam angle
6:Lockthe bindingbolt to fasten the light body
240° Beam angle rotatable
Min installationpostion Max installationpostion
750W 1000W 1250W Beam angle adjustable
240°Beamangle rotatable
500W Beam angle adjustable
Min installationpostion Max installationpostion
0
10
20
30
40
50
60
70
80
90
90
80
70
60
50
40
30
20
10
0
10
20
30
40
50
60
70
80
90
90
80
70
60
50
40
30
20
10
trulygreensolutions.com
500W
Mounting hole drawing
TRITON ™ Installation Instructions

TRITON ™ Laser Guide Instructions
Aim The Luminaires:
Precision Laser Aiming by Coordinates:
Aim the luminaire is a critical part of the led lighting solution to ensure that light is evenly distributed on the playing surface.
There are two basic methods to properly aim a sports venue - Precision Laser Aiming by Coordinated, and Orient-Tilt.
A x the laser guide in to the laser holder
Screw
Screw
“L” type holder
Laser holder
Laser Guide
Tighten the middle screw on the holder Insert the “L” type holder at the bottom
of the laser holder
To lock the “L”type holder tighten the
two end screws on the laser holder.
TRITON™ 300W-500W
Aim the groove on “L” type holder with the center heat sink then
insert on it.
Groove “L” type holder
Heat Sink
TRITON™ 750W-1250W
Insert the “L” type holder on the xing holder
Attachment holder
for Laser guide.
Laser aiming is the most eective and preferred technique for aiming TRITON™ LED sports lighting. This method uses a laser mounted to the lumi-
naire to point the xture at a predetermined point on the playing surface using (X,Y) coordinates.
Unless otherwise noted, aiming coordinates on TRITON™ photometrics or project Installation drawings are based on the origin (0,0,0) placed at
center eld, court, or ice. All dimensions from that point are in feet along the playing surface unless otherwise noted.
This manual suits for next models
3

