manuals.online logo
Brands
  1. Home
  2. •
  3. Brands
  4. •
  5. Cree
  6. •
  7. Lantern
  8. •
  9. Cree CPY250 User manual

Cree CPY250 User manual

CPY Series
LED Canopy Luminaire
304 Conversion to CPY250TM Luminaires
1 of 3 LPN00622X0001A0_A
INSTALLATION INSTRUCTIONS
INSTRUCTIONS D’INSTALLATION
TO INSTALL:
INSTALLATION
STEP 1:
Disconnect power from the installed 304 luminaire.
STEP 2:
Remove the Driver Module Cover on the 304 luminaire by removing
four screws. See Figure 1.
STEP 3:
Allow the Driver Module to hang from the hinge and disconnect the
following wires from the terminal block See Figure 2 & 3:
• Red and Black Lightbar Connector wires
• Blue, Green & Brown OR White, Green & Black Cord wires
• Green Luminaire Ground wire.
NOTE: Wires are removed from the terminal block by depressing
the button above the wire being removed and gently pulling the
wire out.
IMPORTANT SAFEGUARDS
When using electrical equipment, basic safety precautions should always be
followed including the following:
READ AND FOLLOW ALL SAFETY
INSTRUCTIONS
1. DANGER- Risk of shock- Disconnect power before installation.
DANGER – Risque de choc – Couper l’alimentation avant l’installation.
2. This luminaire must be installed in accordance with the NEC or your local
electrical code. If you are not familiar with these codes and requirements,
consult a qualied electrician.
Ce produit doit être installé conformément à NEC ou votre code électrique
local. Si vous n’êtes pas familier avec ces codes et ces exigences, veuillez
contacter un électricien qualié.
3. DO NOT lift luminaire by the power leads or cord.
SAVE THESE INSTRUCTIONS FOR
FUTURE REFERENCE
NOTE:
No user maintenance is required. Do not remove the
enclosure cover after installation.
1
2
T- T+ N G L
Green
FIXTURE
GROUND
Black
Red
White
Blue or White
Green
Brown or Black
Lightbar
Connectors
Surge
Suppressor
Cord
3
2 of 3 LPN00622X0001A0_A
STEP 3:
Remove the driver door from the luminaire by
removing the hinge from the hinge bracket. Push the
hinge together and route it out of the opening in the
hinge bracket or remove the (2) screws connecting the
hinge bracket to the luminaire. See Figure 4. Properly
discard the Driver Module.
STEP 4:
Remove the trim frame from the 304 luminaire by
removing (4) retaining screws. See Figure 5.
STEP 5:
Clean the canopy surface of any accumulated debris
adjacent to the 304 luminaire. Apply bead of silicone
between installed 304 housing and canopy opening.
See Figure 6.
STEP 6:
Apply the supplied ring gasket to the CPY250TM
luminaire as shown in Figure 7.
STEP 7:
Bring the Adapter Plate up to the 304 luminaire,
aligning the rectangular recess in the center of
the plate with the 304 driver cavity. Ensure that the
Adapter Plate seal is facing up. See Figure 8.
STEP 8:
Carefully bring the 304 luminaire’s power leads and
ground lead through the hole in the Adapter Plate. See
Figure 7.
STEP 9:
Secure the Adapter Plate to the 304 luminaire using
(8) 1/4" drive supplied fasteners to 30 in-lb torque.
Four of the fasteners are pre-installed into the plate.
See Figure 8.
4
Hinge
Bracket
Hinge
6
78
Canopy
Ring Gasket
Adapter Plate
304 Driver Cavity
(4) 1/4” Drive
Fasteners
(4) 1/4" Drive
Fasteners pre-
installed into
plate
5
Trim
Frame
Dotted Line
Represents Bead
of Silicone
3 of 3 LPN00622X0001A0_A
lighting.cree.com
© 2018 Cree, Inc. All rights reserved. For informational purposes only. Content is subject to change.
See http://lighting.cree.com/warranty for warranty and specifications. Cree®and the Cree Logo are registered trademarks, and
CPY250™ is a trademark of Cree, Inc..
ELECTRICAL CONNECTIONS
STEP 1:
Make the following Electrical Connections :
a. Connect the black fixture lead to the voltage supply position
of the terminal block or Hot 1 (for 208/240V wiring).
b. Connect the white fixture lead to the neutral supply position
of the terminal block or Hot 2 (for 208/240V wiring).
c. Connect the green or green/yellow ground lead to the green
wire position of the terminal block.
d. If Dimming is an option; connect the violet dimming positive
lead to the supply dimming positive lead.
e. If Dimming is an option; connect the grey dimming negative
lead to the supply dimming negative lead.
LINE
OR HOT 1
GREEN
LINE-BLACK
GROUND-GREEN
NEUTRAL-WHITE
DIM (-) GREY
DIM (+) VIOLET
NEUTRAL
OR HOT 2
VIOLET
GREY
SUPPLY WIRING
(DIMMING OPTIONAL)
LUMINAIRE
TERMINAL
BLOCK
9
Cable
Boss
Air Craft
Cable
View of the Back
of CPY250TM
CPY250TM
Hub
STEP 10:
Attach the Air Craft Cable to the cable boss
on the back of the CPY250TM luminaire and
attach the other end of the Air Craft Cable to
the Adapter Plate with supplied #8 screws
to 30 in-lb torque. Then carefully let the
CPY250TM luminaire hang down for wiring.
See Figure 9.
STEP 11:
Make wiring connections between the
CPY250TM luminaire and the leads coming
out of the center of the Adapter Plate per the
“Electrical Connections” section.
STEP 12:
Position the CPY250TM luminaire over the
Adapter Plate, carefully push excess leads
through the Adapter Plate hole into the 304
driver cavity.
STEP 13:
Align the CPY250TM mounting holes with
the mounting holes in the Adapter Plate
and insert (4) 3/4" long 5/16" drive supplied
fasteners. Secure the CPY250TM luminaire by
tightening the (4) 5/16" drive fasteners to 30
in-lbs torque. See Figure 10.
NOTE: (1) 1"long 5/16" drive fastener is
included in hardware bag if needed to draw
CPY250TM closer to Adapter Plate in the event
of an uneven canopy surface.
10
(4) Mounting
Holes Adapter Plate
(4) 5/16"
Drive
Fasteners

This manual suits for next models

1

Other Cree Lantern manuals

Cree FLEX Series User manual

Cree

Cree FLEX Series User manual

Cree RUL Series User manual

Cree

Cree RUL Series User manual
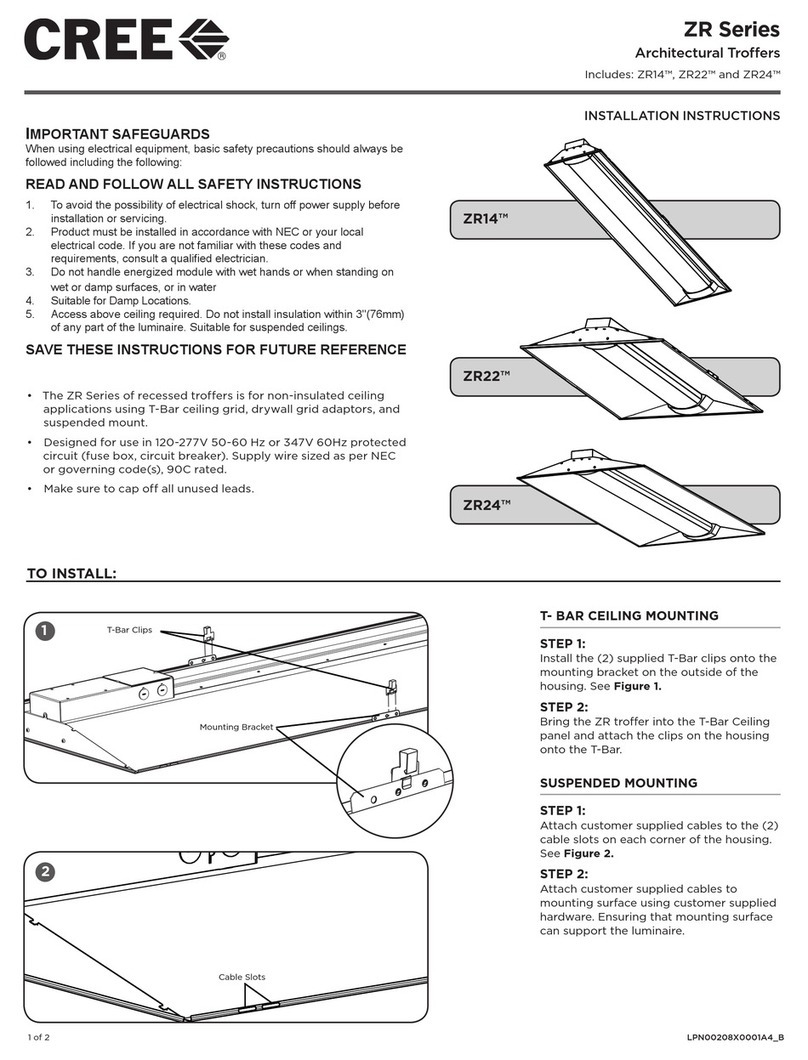
Cree ZR Series User manual

Cree

Cree ZR Series User manual
Cree LS8 User manual

Cree

Cree LS8 User manual

Cree RUL Series User manual

Cree

Cree RUL Series User manual
Cree CPY Series User manual

Cree

Cree CPY Series User manual
Cree IG Series User manual

Cree

Cree IG Series User manual
Cree XAK Series User manual

Cree

Cree XAK Series User manual

Cree 228 Series User manual

Cree

Cree 228 Series User manual
Cree Essentia FP Series User manual

Cree

Cree Essentia FP Series User manual
Cree DPT Series User manual

Cree

Cree DPT Series User manual

Cree KBL Series Installation instructions
Cree

Cree KBL Series Installation instructions

Cree THE EDGE Series User manual

Cree

Cree THE EDGE Series User manual

Cree 228 Series User manual

Cree

Cree 228 Series User manual
Cree Edge User manual

Cree

Cree Edge User manual
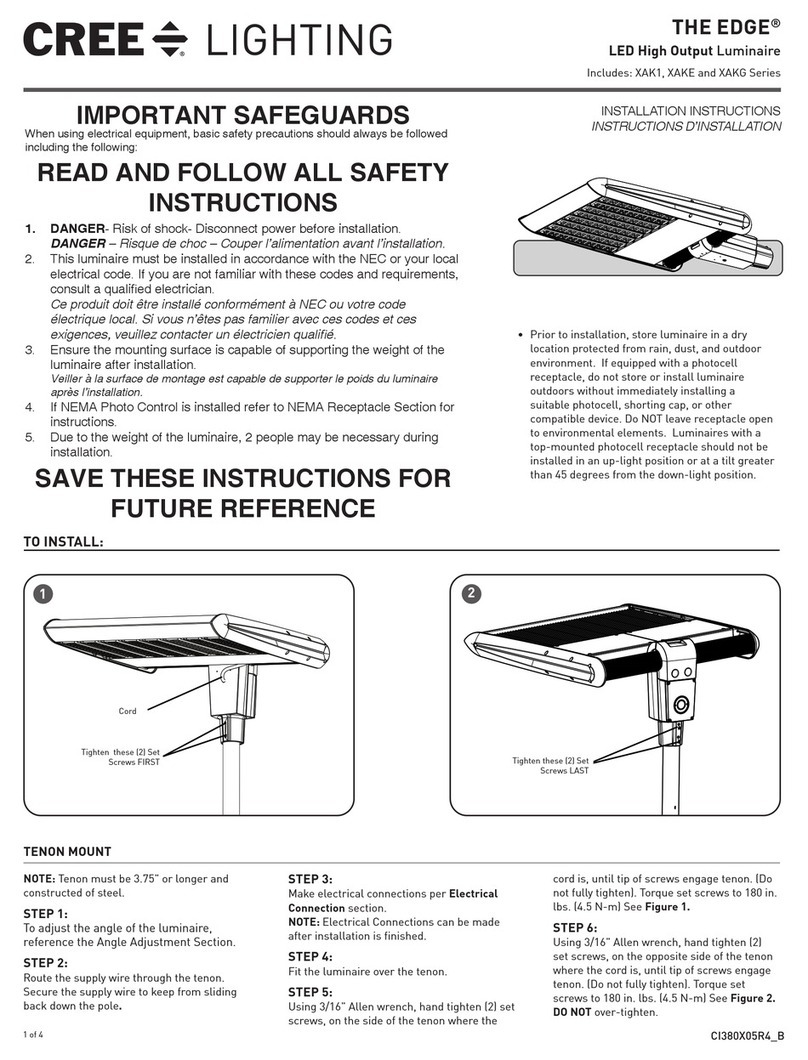
Cree Edge XAKE Series User manual

Cree

Cree Edge XAKE Series User manual
Cree C-Lite C-TR-A-FP User manual

Cree

Cree C-Lite C-TR-A-FP User manual
Cree CR Series User manual

Cree

Cree CR Series User manual

Cree XRAAF Series User manual

Cree

Cree XRAAF Series User manual

Cree XSP Series User manual

Cree

Cree XSP Series User manual

Cree WS Series User manual

Cree

Cree WS Series User manual

Cree CS14 User manual

Cree

Cree CS14 User manual

Popular Lantern manuals by other brands

Orion AL 11-1141/1 Mounting and safety instructions

Orion

Orion AL 11-1141/1 Mounting and safety instructions

Harbor Breeze WL131MBK manual

Harbor Breeze

Harbor Breeze WL131MBK manual

Ilti Luce BLUX08034250AA Mounting instructions
Ilti Luce

Ilti Luce BLUX08034250AA Mounting instructions

Coleman 2000000859 operating instructions

Coleman

Coleman 2000000859 operating instructions

Hubbell Killark KFL-DARK INSTALLATION, OPERATION & MAINTENANCE DATA SHEET
Hubbell

Hubbell Killark KFL-DARK INSTALLATION, OPERATION & MAINTENANCE DATA SHEET

McLED Orbis ML-611.318.17.0 installation manual

McLED

McLED Orbis ML-611.318.17.0 installation manual

Coleman BG 800L manual

Coleman

Coleman BG 800L manual

Dale Tiffany PG80516 Assembly instructions

Dale Tiffany

Dale Tiffany PG80516 Assembly instructions

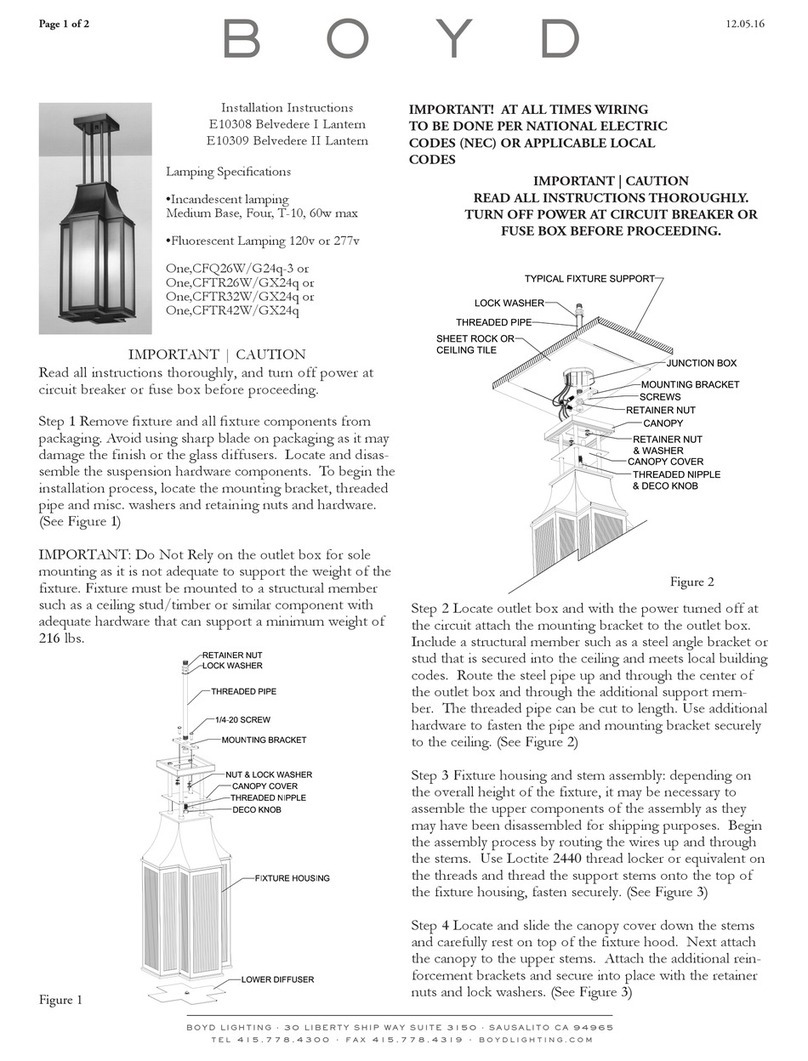
Boyd Belvedere I installation instructions

Boyd

Boyd Belvedere I installation instructions

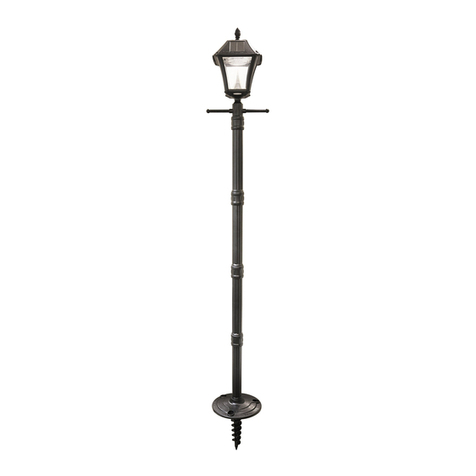
Gama Sonic BAYTOWN II instruction manual

Gama Sonic

Gama Sonic BAYTOWN II instruction manual

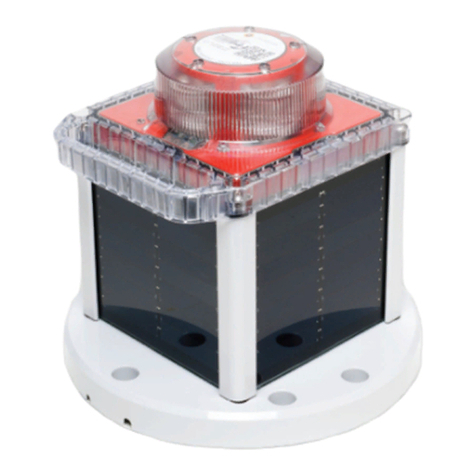
Carmanah M850 instructions

Carmanah

Carmanah M850 instructions

Heitronic SLATE Installation and operating instructions

Heitronic

Heitronic SLATE Installation and operating instructions

KingShield ELTSLED65NM Installation & operating instructions

KingShield

KingShield ELTSLED65NM Installation & operating instructions

WE-EF RBL640 Installation and maintenance instructions
WE-EF

WE-EF RBL640 Installation and maintenance instructions

Anslut 016233 operating instructions

Anslut

Anslut 016233 operating instructions
Eaton CEAG 23011 CG-S Mounting and operating instructions
Eaton

Eaton CEAG 23011 CG-S Mounting and operating instructions

Project Source FEW1691A-7 quick start guide
Project Source

Project Source FEW1691A-7 quick start guide

Aurora AU-A1BTD10CW quick start guide

Aurora

Aurora AU-A1BTD10CW quick start guide

manuals.online logo
manuals.online logoBrands
  • About & Mission
  • Contact us
  • Privacy Policy
  • Terms and Conditions

Copyright 2025 Manuals.Online. All Rights Reserved.