Grille
Bafe Board
Metal Deectors
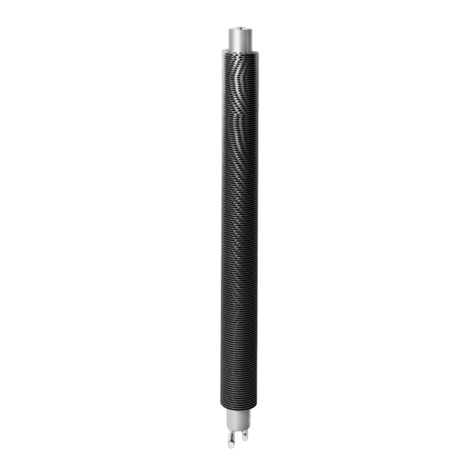
Convector
Convector /
Bafe Support Legs
Grille Casing
Trench unit
•We recommend that you regularly lift the grille and vacuum the trench /
ns to remove any dust that may clog up the convector & reduce output.
•The grille does have spaces where small items can fall through e.g.
coins, pens etc; remove them if this happens.
•Remind anyone wearing high heels to be careful when crossing the
grilles.
Dig a pit that allows for 20mm
additional length and 20mm
additional width for easy
insertion of the trench (see
diagram opposite). The Grille
Casing has a lip that will cover
the additional length / width
which you can screed up to.
Unpack & Inspect
1
The Radiator Company prides itself on selecting products from
manufacturers who exercise tight quality control measures. We only
select models with excellent standards of welding and brazing, as
well as high quality nishes. All of our products are well packaged and
should reach you in perfect condition. Just in case however, we offer a
minimum 5-year no quibble guarantee for all radiators and towel rails.
Please carefully unpack and inspect this radiator
and all ttings. The Radiator Company must be
notied of any shortages or damage within 28 days
of delivery. For further information please see terms
and conditions on back page.
Exploded drawing of Trench
You will need:
•A pit for the trench (point 2 'Dig a Pit for the Trench’)
•Tape measure
•Spirit level
•Plumbing tools
•Inline Ball Valve x 2 (not supplied)
•A room stat or remote adjustment valve instead of an Inline ball
valve if you wish to individually control the trench /
trenches, instead of just on and off.
This is the standard Trench prole suited to new builds. The frame
protrudes from the sides to allow screed for ooring to be laid over the
frame. The Trench frame is recessed 30 x 30 x 3mm for wood grilles and
25 x 35 x 3mm for aluminium grilles.
The cross section to the
left shows the correct
installation for the Trench
unit. Please note the
position of the Convector
Unit against the outside
edge with the bafe
board in the centre of the
Trench
Diagram A2
Inline Ball
Valve
Inside Outside
Glass Door
Bae Board
Convector
Diagram A1
Inline Ball
Valve
You should have:
• Trench Unit
including Grille Casing
•Convector/
Baffle Support Legs
•Convector
•Metal Deflectors
•Baffle Board
•Grille
Contents
Note: Although the Trench is waterproof and made from strong
materials, do not drag the trench along the oor and avoid banging
the unit or parts supplied.
Overview of installation
The illustration to the
right shows a typical
installation. Please note
how the pipe work enters
the Trench unit just
below the frame prior
to connection with the
convector unit.
Dig a Pit for the Trench
2
Lower the Trench unit into the pit and level as required.
Run your pipework to the trench unit, as per the Overview diagrams
below left. Pipework can be on the right or left hand side of the trench.
Drill two holes carefully through the edge of the trench just below the
grill casing to allow pipework to push through.
Note on Controlling the Trench; You can use the valves you install to
turn the unit on or off and / or you could connect the trench to a room
stat / Remote adjustment valve.
Insert Trench & run pipework to Trench unit
3
Do this by;
A. Inserting the Convector / Bafe Support Legs – space accordingly to
support the convector
B. Place the convector onto the support legs with the pipe connections on
the relevant right / left hand side i.e. nearest pipework you laid and with
the convector against the rear / outside edge of the trench – see note
above and diagram A2.
C. Connect up the pipework using standard valves (not supplied). The
convector does not have a ow and return, you can use either pipe for
ow or return.
D. Commission and ensure that the convector is heating; once all is
working only then screed the oor.
E. Once it is working, t the Metal Deectors by pushing them through the
ns and over the edge of the convector; they are a tight t, but hold the
convector in position.
F. Fit the Bafe Board by sliding it into position in the slots in the support legs.
G. Put the Grille in position
Set up Trench, connect pipework & commission
4
Note: the convector should be placed so that it is on the rear / outside
edge of the trench; the bafe board goes on the inside – see diagram A1.
Caring for your Trench
5
If you have any questions please contact us on 01342 302250
www.theradiatorcompany.co.uk
If you have any questions please contact us on 01342 302250
www.theradiatorcompany.co.uk
ench depth
PUR-foam 20mm Polyester
