Theben TC 649 E User manual

2019-10-11_310547 01
Manual for
TC 649 E
Version 1

TC 649 E Manual
Contents
1Introduction 3
1.1 TC 649 E control box 3
1.2 Information about the web interface 4
1.3 Main functions 5
1.4 Housing 5
2Start-up 7
3Connecting TC 649 E to the network 8
3.1 Connecting TC 649 E to the router 8
3.2 Connecting TC 649 E using a point-to-point connection 9
4Navigation 13
5Controls and menu 14
5.1 Start 14
5.2 Settings 15
5.3 Control 19
5.4 Info 22
5.5 Log out 22
5.6 Password forgotten 22
5.7 Switching language 23
6Appendix 24
6.1 Default settings 24
6.2 Troubleshooting 24
6.3 Specifications 25
6.4 Glossary 25
6.5 Use of open source software 26
7Contact 27

Introduction
TC 649 E Manual 3
1Introduction
1.1 TC 649 E control box
The TC 649 E control box is operated using an administration and configuration
tool (web interface). The control box can be used to send time switch and astro
programs via the LAN. It is installed in the network via an integrated web server.
The control box is integrated into the company's own network via VPN – this
means that you can operate your control boxes in a secure environment.
You can use simple functions with the control box, such as astronomically
controlled lighting, time-controlled access points and temperature reduction for
heating units during the day and at night.
Central control
via LAN
DHCP / IP
Central control
via LAN

Introduction
TC 649 E Manual 4
1.2 Information about the web interface
The web interface for the TC 649 E control box can be called up on a desktop PC
or a mobile end device such as a tablet or smartphone.
The following browsers / operating systems are supported:
•Browsers:
oGoogle Chrome from version 69 onwards
•Operating systems:
oMicrosoft Windows
oApple iOS from version 10 onwards
oGoogle Android from version 7 onwards

Introduction
TC 649 E Manual 5
1.3 Main functions
Feature
Meaning
NTP server Using the NTP server with the TC 649
E ensures switching accuracy to the
second across the globe.
Standalone operation The TC 649 E is operated as a single
device without any external software.
Administration via web interface The TC 649 E can be easily configured
via the web.
Update firmware Firmware can be easily updated via
the web interface.
1.4 Housing
1.4.1 Top
Name
Status
Meaning
Web server
Off The web server for the web interface is
switched off.
On The web server for the web interface is
switched on.
Flashing The web server for the web interface is
starting up.
Time
Off
The NTP service is deactivated.

Introduction
TC 649 E Manual 6
On
The NTP service is activated and a
connection has been established to an NTP
server.
Flashing The NTP service is activated and the device is
searching for a connection to the NTP server.
Relay
Off
All relays are switched off.
On
One or more relays are switched on.
PWR/TLS
Off
The TC 649 E is switched off.
Flashing
The TC 649 E is switched on.
1.4.2 Front
The socket for the power supply, both network interfaces (service, Ethernet) and
the socket for relays C1 and C3 are located on the front of the device.
1.4.3 Back
The socket for relays C2 and C4 is located on the back of the device.
Power supply

Start-up
TC 649 E Manual 7
2Start-up
Please refer to the enclosed installation and operating instructions for
information on how to connect the device and carry out initial operation.

Connecting TC 649 E to the network
TC 649 E Manual 8
3Connecting TC 649 E to the network
You will need a network cable (RJ45) to connect the TC 649 E control box to the
network.
Make sure the cabling is correct.
Connect the cables in accordance with the following sections.
3.1 Connecting TC 649 E to the router
Plug the network cable (RJ45 connector) into the router.
Plug the other end of the network cable (RJ45 connector) into the (right-
hand) Ethernet socket on the TC 649 E.
Open the web browser (Google Chrome) and load the
page http://serial-number for the TC 649 E.
Example: http://DTHE0200001111 or http://192.168.138.3
http://DTHE0200001111 or http://192.168.137.3
If you cannot reach the device via the hostname, it is probably because your router is
unable to resolve the hostname. You can use the user interface of your router to display
all devices and the IP addresses that are connected to your router. Please refer to your
router manual to see exactly how to do this.
→The TC 649 E login screen appears.

Connecting TC 649 E to the network
TC 649 E Manual 9
Enter admin as the user name.
Enter the default password (admin) or your own password as applicable.
Click on Log in or press the Enter key.
3.2 Connecting TC 649 E using a point-to-point connection
You can connect your PC directly to the TC 649 E control box (P2P) using a
point-to-point connection.
Your PC must have a static IP address.
As the default configuration for the TC 649 E control box is for it to be
connected to a router, the device must be reconfigured first.
Change the PC network interface from DHCP to static.
Open the network connection.
Press the Windows key + R.
Enter ncpa.cpl.
Double-click on the network connection under Network Connections.
→The following window will open:

Connecting TC 649 E to the network
TC 649 E Manual 10
Click on Properties.
Double-click on Internet Protocol Version 4 (TCP/IPv4).

Connecting TC 649 E to the network
TC 649 E Manual 11
You can now set the IP configuration to static.
To do this, select Use the following IP address.
Enter the required information (see screenshot).
Close all windows by pressing OK.
Plug the network cable (RJ45 connector) into the computer.
Plug the other end of the network cable (RJ45 connector) into the (left-
hand) Service socket on the TC 649 E.
Open the web browser and load the following page
Example: http://192.168.138.3

Connecting TC 649 E to the network
TC 649 E Manual 12
→The TC 649 E login screen appears.
Enter admin as the user name.
Enter the default password (admin) or your own password as applicable.
Click on Log in or press the Enter key.
Set the IP address to the static address you require via Settings Network
settings – for more information, see Network settings 5.2.1.1. DHCP
static
If you still cannot access the TC 649 E device, check the proxy settings and
contact the system administrator if necessary.
Once you have changed the TC 649 E's IP address to a static address:
Move the network cable from the Service interface to the Ethernet interface.
Change your computer's network adapter to the required address.
To do this, see the steps mentioned above.
Restart the device by disconnecting it briefly from the power supply.

Navigation
TC 649 E Manual 13
4Navigation
The main way to navigate around the user interface is via the menu bar at the
top of the screen. You can access all the TC 649 E settings via this navigation
bar.
Menu items marked with a contain sub-menu items which can be called up
with a single click.

Controls and menu
TC 649 E Manual 14
5Controls and menu
To navigate around the main menu, click on the required main menu item.
If the main menu item contains sub-menu items, a drop-down menu will open.
You can then click on the sub-menu item you want.
5.1 Start
Detailed device information is displayed on the start page.
This information cannot be changed here. To change the settings, use the
corresponding menu items under Settings or Control.

Controls and menu
TC 649 E Manual 15
5.2 Settings
5.2.1 Network settings
You can change the network settings for the TC 649 E in this menu.
Please note that all changes only affect the right network interface
(Ethernet).
5.2.1.1 DHCP static
To change the network interface from DHCP to static …
Untick the Use DHCP field.
Enter a valid IPv4 address, the corresponding subnet mask and a standard
gateway if applicable.
Click on Save to confirm changes.
To configure and use the NTP server, proceed as follows …
Tick the box next to Use NTP server.
Enter the relevant NTP server address.
Click on Save to confirm changes.

Controls and menu
TC 649 E Manual 16
If you have ticked the box next to Use NTP server, you cannot change the
time. If you untick the box, you can change the time again.
The control box is briefly unavailable after settings have been saved.
Changes to the network settings may result in loss of contact with the
control box.
5.2.2 Setting time/date/country
You can use the following menu to set the time and date and to store a location
for the astro functionality.
Changing the time
The date and time can only be changed if the NTP server is deactivated.
Click the following field.
→A pop-up window appears.

Controls and menu
TC 649 E Manual 17
Set the desired time.
Click on Apply.
Then click Save.
Changing the country and city
Select a country from the (country) drop-down menu.
Then select a city from the (city) drop-down menu.
Click Save.
5.2.3 Updating firmware
You can run a device update in this menu. You can run the device update either
online (Internet connection required) or offline (not on mobile devices).
A firmware update can only be carried out via the desktop application.
Online update
Click on the Check for updates button.
→A message appears if an update is available.
Then click on Start firmware update.
Press Yes to confirm and carry out the update.

Controls and menu
TC 649 E Manual 18
→The update is downloaded and installed automatically. Once the update has
completed successfully, you will be redirected automatically to the login
page.
The update will take 3 to 5 minutes. The web interface will not be
available during this time.
Do not disconnect the control box from the power supply during the
firmware update, as this may cause irreparable damage to the device.
Offline update
Drag and drop the firmware package provided by Theben AG into the dashed
field.
Then click on Start firmware update.
Press Yes to confirm and carry out the update.
The update is downloaded and installed automatically. Once the update has
completed successfully, you will be redirected automatically to the login
page.
The update will take 3 to 5 minutes. The web interface will not be
available during this time.
Do not disconnect the control box from the power supply during the
firmware update, as this may cause irreparable damage to the device.

Controls and menu
TC 649 E Manual 19
5.2.4 Change password
In this menu, you can change the password.
The new password must be between 5 and 20 characters in length.
Enter your old password.
Then enter the new password.
Confirm the new password.
Click on Save.
→Once you have saved your password, you will be automatically logged out
and redirected to the login page.
Log in using your new password.
5.3 Control
5.3.1 Direct connection
Direct connection is only possible with an active switching profile. Each channel
can be switched individually.
Status
Function
PERM OFF The channel is switched off and cannot be changed via the
programmed switching times.
PERM ON The channel is switched on and cannot be changed via the
programmed switching times.
AUTO The channel is switched according to the programmed
switching times.

Controls and menu
TC 649 E Manual 20
Changing the switching status
Select the desired mode in the drop-down menu (PERM OFF, PERM ON,
AUTO).
→The channel switches to the desired status.
→The current relay status is displayed.
5.3.2 ot2 download
You can transfer the ot2 file (from the OBELISK software) to the control box
here.
You can only download the ot2 file via the desktop browser.
Other manuals for TC 649 E
1
Table of contents
Other Theben Controllers manuals

Theben
Theben RM 4 H FIX1 User manual
Theben
Theben FCA 2 User manual
Theben
Theben RAMSES 856 top2 Installation guide
Theben
Theben DU 1 User manual
Theben
Theben RMG 8 User manual
Theben
Theben Mix Series User manual
Theben
Theben MIX 2 Series User manual
Theben
Theben JMG 4 T KNX User manual
Theben
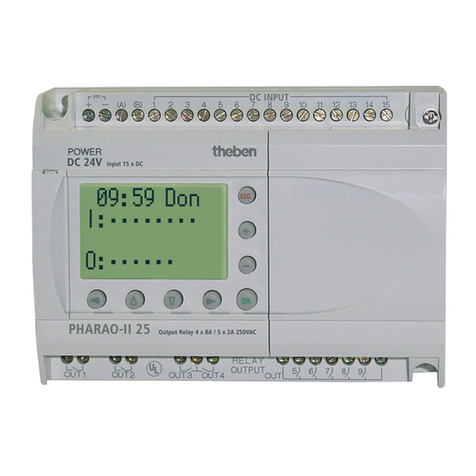
Theben PH-II Series User manual
Theben
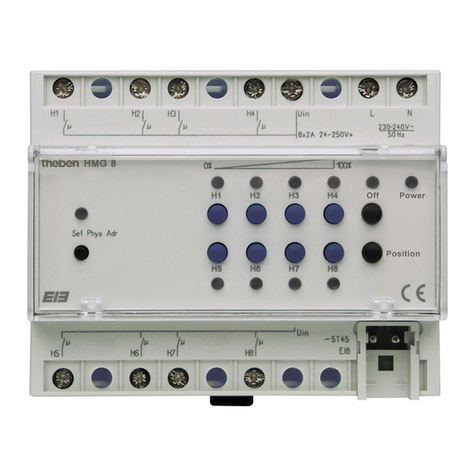
Theben HMG 8 User manual
Popular Controllers manuals by other brands
Danfoss
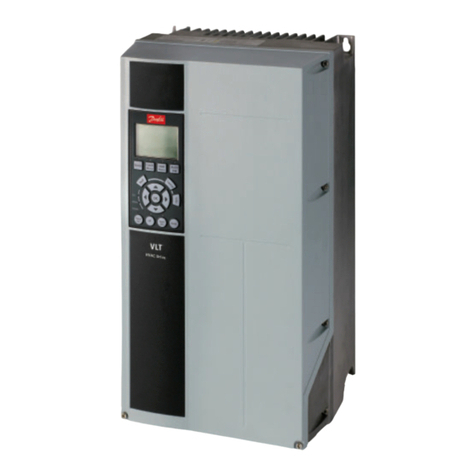
Danfoss VLT HVAC Drive FC 102 Design guide

Carel
Carel pCO1 series Application program
Licht-Technik
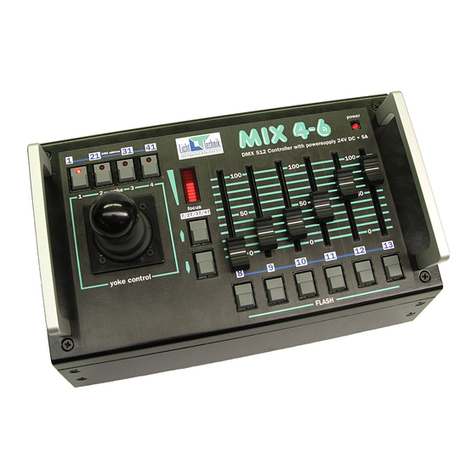
Licht-Technik Mix4-6 Functional description
Hanna Instruments
Hanna Instruments HI 720 instruction manual

Lenovo
Lenovo ServeRAID M5120 user guide
Johnson Controls
Johnson Controls LP-FXVMA Series installation instructions
