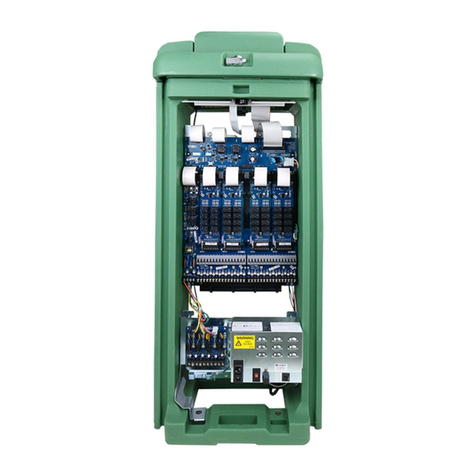
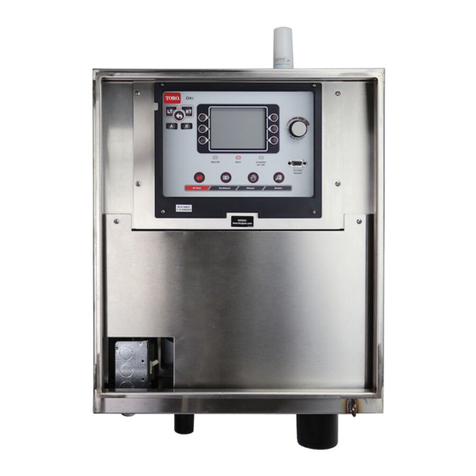
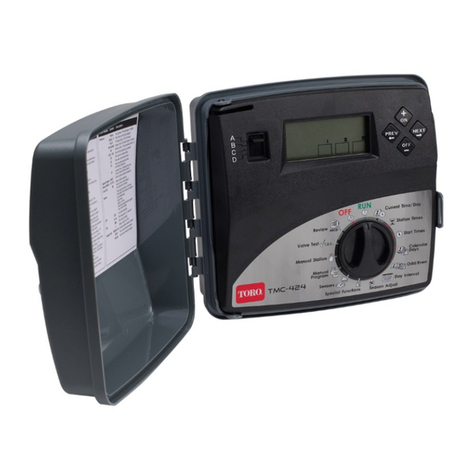
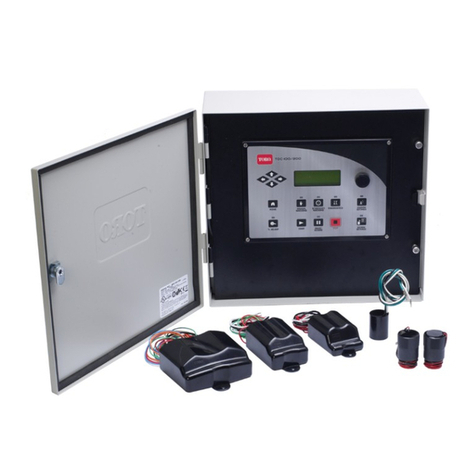
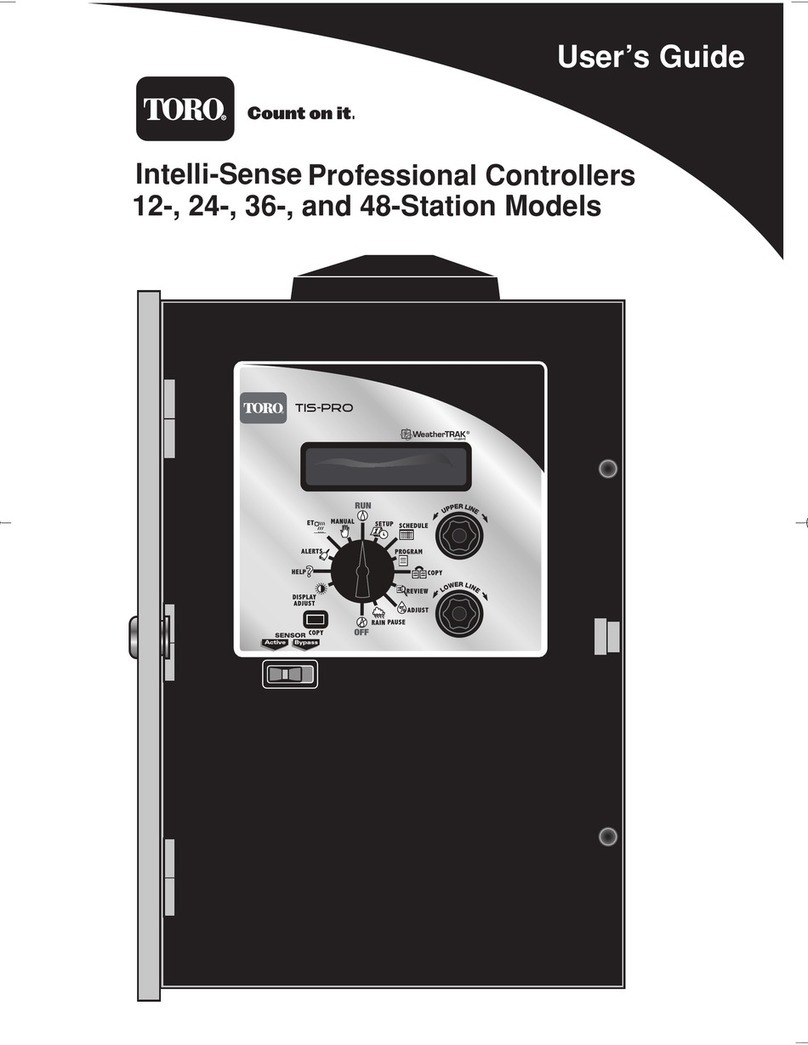
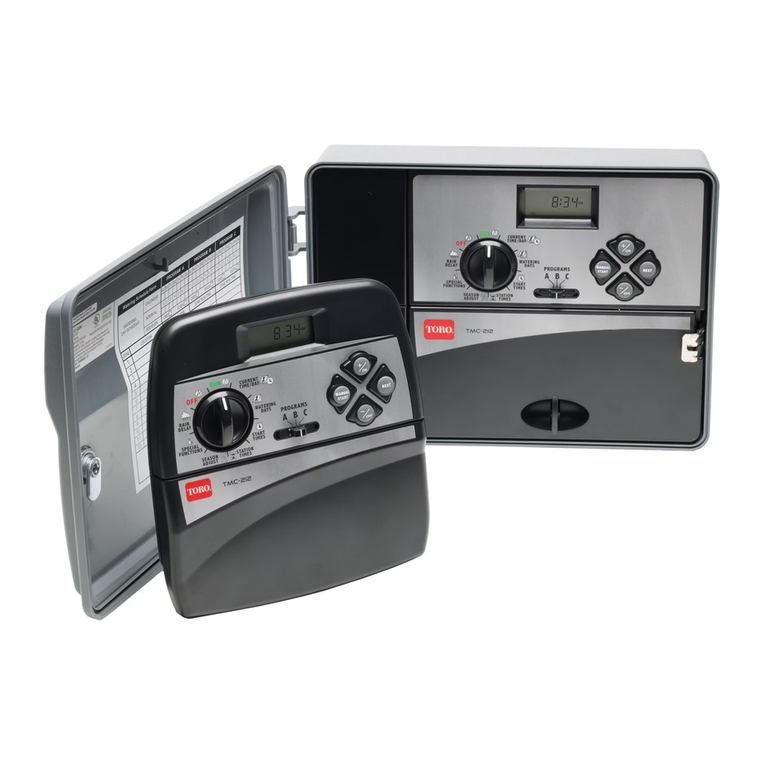
Toro Intelli-Sense TIS-612 User manual

• Setup
• Installation
• Programming
• Operation
•User’s Guide
Intelli-Sense TIS-612

Introduction......................................................................................... 1
Control Module Components
Internal Controller Components.........................................................6
Setting the Clock ...................................................................................8
Setting the Time Zone........................................................................... 9
About Controller Input........................................................................ 7
Selecting Auto Daylight Savings Option
Setting the Active Station Count.......................................................10
Selecting the Master Valve Control Option
Selecting the Stacking Option
Setting the Water District Number
Setting the ET Zone Number
Setting the Maximum Backup ET Value
....................................................12
.............................................................12
Setting the ZIP Code...........................................................................13
Chapter 3 - Setting Up Watering Schedules
Selecting the Schedule Mode to Define............................................15
Setting the Water Window..................................................................16
Setting the High ET Start Time..........................................................17
Setting the Watering Day Schedule...................................................17
Setting an Odd/Even Day Schedule
Setting an Interval Day Schedule
Setting a Days-of-Week Schedule
..................................................19
.................................................19
Chapter 4 - Setting Up Station Programs
Automatic Station Programming
Selecting the Station to Program
Selecting the Program Mode
Selecting the Progam Schedule
Selecting the Water Window Option
Selecting the Sprinkler Type
Setting the Precipitation Rate
...................................................21
.....................................................21
.........................................................22
.....................................................22
Setting the Efficiency Rate .............................................................24
....................................................................25
.................................................................25
...........................................23
..........................................................23
........................................................24
Selecting the Plant Type
Selecting the Soil Type
Setting the Root Depth....................................................................26
.............................................................26
...............................................................27
.................................27
Chapter 1 - Getting Started
Chapter 2 - Controller Setup
Selecting the Microclimate
Selecting the Slope Factor
Selecting the Sprinkler Location (on slope)
Table of Contents
.............................................................4
i
...........................................9
.....................................10
...........................................13
............................................................11
............................................18

Setting Up a User-defined Station Program........................................29
.......................................................29
.............................................................30
Selecting the Station to Program
Selecting the Program Mode
Selecting the Water Window Option
Setting the Cycle Time
Selecting the Number of Watering Cycles.......................................31
........................................................................30
...............................................30
Setting the Soak Time.........................................................................32
Setting the Usable Rainfall.................................................................32
..................................................33
Setting an Odd/Even Day Schedule................................................33
Setting an Interval Schedule..............................................................34
Setting a Days-of-Week Schedule.....................................................34
Setting a Reference ET Value.............................................................36
Adjusting the Watering Frequency..................................................46
Using the Copy Function ......................................................................38
.......................................................37
Chapter 5 - Control Functions
Copying Station Information ............................................................38
Restoring Station Program Function Default Values.....................39
Restoring Schedule Function Default Values..................................39
Restoring Setup Function Default Values .......................................39
Using the Review Function..................................................................42
Using the Rain Pause Function ...........................................................47
Using the Off Function .........................................................................48
Using the Display Adust Function .....................................................48
Using the Help Function.......................................................................49
ET Everywhere Service Status...........................................................49
Serial and Version Numbers .............................................................49
Controller Status .................................................................................50
Radio Antenna Option.......................................................................50
Microzone Number.............................................................................51
Phase Integrity......................................................................................51
Lock Phase............................................................................................51
Beep on Message.................................................................................52
Data Encription Mask ........................................................................52
Runtime Valve Test ............................................................................52
Manual Valve Test ..............................................................................53
Group Number....................................................................................54
Rain Service Status..............................................................................54
Using the Adjust Function ...................................................................44
Chapter 4 - Setting Up Station Programs (continued)
Selecting a Watering Day Schedule
ii

Using the Alerts Function ................................................................... 55
Water Window Alert ......................................................................... 55
Day Pattern Alert ............................................................................... 56
Communication Alert........................................................................ 57
Valve Alert .......................................................................................... 57
Using the ET Function........................................................................... 58
Viewing Current Daily and Weekly Average ET Values..............58
Adjusting Custom Plant Kc Factor
Using the Manual Watering Function................................................60
...................................................59
The Run Function...................................................................................62
Manually Operate Specific Stations .................................................60
Installing the Controller Cabinet
Connecting the Control Valves
Connecting a Rain Sensor
Connecting the Power Source and Earth Ground
Connecting the Outdoor Model Power Source
Installing an External Antenna
........................................................72
Fuse Replacement
Specifications
Manually Operate All Stations..........................................................61
Appendix A - Troubleshooting.....................................................63
Appendix B - Gathering Site Data...............................................67
Appendix C - Installation Procedures
Appendix D - Glossary of Terms...................................................79
Warranty
Chapter 5 - Control Functions (continued)
FCC Information..................................................................Back Page
................................................................................................81
iii
......................................................71
.........................75
..............................76
.......................................................................................78
...............................................................................78
.........................................................77
.................................................................74

Introduction
Welcome to the World of Intelli-Sense Irrigation
A shallow root zone
is often promoted by
over-watering.
A deep root zone
results from properly
applied irrigation.
Research has proven that over-watering is not only costly, but it
poses a threat to the environment as well as your landscape investment.
Overwatering leads to poor plant health and disease, dramatically
increases water bills, depletes precious water supplies and promotes
run off that can pollute local watersheds and beaches.
In many cases, landscapes become conditioned to improper irrigation.
Plants are prone to develop shallow root systems, making them vulnerable
to drought, cold, heat stress and desease. The Toro Intelli-Sense controller
is among the world’s most proven and reliable weather-based irrigation
control solution available. Numerous independent studies have proven
that Intelli-Sense coupled with WeatherTRAK technology optimizes
landscape health while saving time, money and resources.
Your Intelli-Sense controller features an advanced scheduling engine
that can automatically calculate an accurate irrigation schedule for each
watering area based on the specific irrigation needs of your landscape.
When linked to the optional WeatherTRAK ET Everywhere service,
the watering schedule is automatically adjusted each night so the
controller can calculate the exact amount of water needed for the next
watering cycle.
Over time, the Intelli-Sense watering control solution reconditions your
landscape to a natural balance, leading to healthier plants and greater
efficiency in the way they use and absorb water.
What is ET?
ET (Evapotranspiration) is the term used to describe the rate at which
moisture is lost to the atmosphere through the surface of the soil
(evaporation) and from the exposed surfaces of the plants (transpiration).
By comparing the current ET rate to the irrigation needs of the plant
and the capacity of the soil to hold water (reservior), the Intelli-Sense
can calculate the exact amount of irrigation needed to replenish the soil
reservior.

Intelli-Sense controllers
Intelli-Sense
Intelli-Sense
Toro

Thoroughly inspect the entire irrigation system to ensure
that all sprinklers and valves are working properly and that
the water supply is sufficient to operate each sprinkler zone
at optimum efficiency.
Install the controller per the installation instructions provided
on pages 71–77.
The following checklist provides the basic recommended steps
to guide you through the setup, programming and operation of
your Intelli-Sense controller:
Chapter 1
Take some time to read through this manual to become
familiar with the various controller components, program-
ming steps, installation procedures, operating features and
controller capabilities.
Fill out the Irrigation System and Landscape Detail Worksheet.
provided. The information recorded on this worksheet will be
used for reference during the setup and programming process
as well as the (optional) WeatherTRAK ET Everywhere service
activation.
Set up and program your controller using the step-by-step
procedures beginning with “Controller Setup” on page 7.
(Optional) Activate the WeatherTRAK ET Everywhere
subscription service by calling 1-800-362-8774.
Getting Started
3

4
Large, easy-to-read digital display provides text information for
controller setup, programming and operating functions.
Turn this dial left or right to select the menu items that appear on
the upper line of the display.
Turn this dial left or right to change the input data that appears
on the lower line of the display.
The Copy button is pressed to execute the copy function commands.
Turn this dial left or right to select the various controller
functions. A brief description of each function follows on page 5.
Control Module Components
- Information Display
- Copy Button
- Function Dial
- Upper Line Dial
- Lower Line Dial
Upper Line
Lower Line

5
The normal dial position for automatic operation. Current
time/date and controller activity is displayed.
To select and define specific controller setup parameters.
To select and define the watering day schedule for stations using
the Fully Automated program mode.
To enter specific watering program information required for
each station.
To transfer program data from one station to another. Enables
restoration of default Setup, Schedule and Program settings.
To review watering program settings for each station.
To adjust the total applied irrigation to a Fully Automated
station zone. Adjustment range: 25% increase to 50% decrease.
To suspend automatic watering for a period of 1 to 14 days.
To terminate and suspend all watering activity.
To adjust the display screen contrast.
To display various Help Menu items for troubleshooting
assistance.
To indicate system problems and operational conflicts.
To display various ET values and adjust plant coefficient
(Kc) factors.
To manually control station watering operation.
Function Dial Positions
SETUP
SCHEDULE
PROGRAM
COPY
REVIEW
ADJUST
RAIN PAUSE
OFF
DISPLAY ADJUST
HELP
ALERTS
ET
MANUAL
RUN
-
-
-
-
-
-
-
-
-
-
-
-
-
-

7
8
9
6
-External Antenna Cable Receptacle Access Cover.
- Rain Sensor Bypass Switch – Enables the rain sensor (if installed)
to be manually bypassed.
- Safety Fuse – 2A slow-blow fuse protects controller transformer.
- Valve Common Terminal – For connection of control valve
and master valve/pump relay common wire (if installed).
- 24 VAC Terminals – For connection of transformer wires.
- Earth Ground Terminal – For connection of earth ground wire.
-Station Valve Wire Connection Terminals – For connection of
24 VAC irrigation control valve power wires.
-Master Valve/Pump Start Relay Wire Connection Terminal.
-Rain Sensor Connection Terminals – For connection of a Toro
rain sensor.
Internal Controller Components

Controller Setup
•
• Setting the Time Zone
• Selecting Auto Daylight Savings
• Setting the Active Station Count
• Selecting the Master Valve Control Option
• Selecting the Stacking Option
• Setting the Water District Number
• Setting the ET Zone Number
• Setting the Maximum Backup ET Value
• Setting the ZIP Code
About Controller Input
As you begin the controller setup procedures, you will find that
virtually all controller input is accomplished in the same manner
using the Function Selector,Upper Line and Lower Line knobs.
For example, when you turn the Function Selector knob to the
SETUP position, the first item in the Setup menu will appear
on the upper line of the display. In this case, Set Clock Year will
be displayed. The year currently in memory will be displayed
on the lower line as shown in the following example:
SET CLOCK (YEAR)
Sep 25 2006
MENU COMPLETE
Turning the Upper Line knob steps through the various Setup
menu items (Year, Month, Day, Hour, Minute, Time Zone, etc.).
Turning the Lower Line knob changes the value of the selected
menu item. Any value selection or change you make is entered
into the controller memory when the Upper Line or Function
Selector knob is turned.
A display prompt, similar the example below, lets you know
when you have reached the end of the selected function’s menu.
The information entered in the Setup function will adapt the
controller for operation in your location.
The Setup menu consists of the following items:
Setting the Clock
7

Setting the Clock
1. Turn the Function Selector knob to SETUP. The first Setup menu
item is Set Clock (Year).
2. Turn the Lower Line knob to set the current year.
3. Turn the Upper Line knob one click to the right to select
4. Turn the Lower Line knob to set the current month.
SET CLOCK (YEAR)
Feb 24 2007
the next Setup menu item, Set Clock (Month).
5. Turn the Upper Line knob one click to the right to select
6. Turn the Lower Line knob to set the current day.
Set Clock (Day).
7. Turn the Upper Line knob one click to the right to select
8. Turn the Lower Line knob to set the current hour (am or pm).
Set Clock (Hour).
9. Turn the Upper Line knob one click to the right to select
10. Turn the Lower Line knob to set the current minute.
Set Clock (Minute).
Note: Leave the Function Selector knob in the SETUP position
to continue selecting and setting the remaining Setup menu items.
8

1. Within the Setup menu, turn the Upper Line knob to view the
following display:
2. Turn the Lower Line knob to select your time zone from the
following choices:
•Pacific (default setting)
•Alaska
•Hawaii
•Atlantic
•Eastern
•Central
•Mountain
Selecting Auto Daylight Savings
1. W
The default selection is Yes which enables the controller to
automatically compensate for Daylight Savings time. To disable
this option, turn the Lower Line knob to display No.
ithin the Setup menu , turn the Upper Line knob to view the
following display:
2.
AUTO DAYLIGHT SAVINGS?
Yes
SET TIME ZONE
Pacific
Setting the Time Zone
9

1.
2. The maximum number of active station will be displayed by default.
Within the Setup menu, turn the Upper Line knob to view the
following display:
Selecting the Master Valve Control Option
1. W
By default, the Master Valve circuit is Enabled. To disable the
circuit, turn the Lower Line knob to select Disabled.
itihin the Setup menu, turn the Upper Line knob to view the
following display:
2.
Note: The active station count entered in this step will also determine the
number of stations that can be accessed within the Programming,Review
and Copy function procedures.
Operation of the Master Valve (MV) control circuit can be enabled
or disabled as needed. By default the MV circuit is enabled.
SET MASTER VALVE
Enabled
SET ACTIVE STATIONS
10 (MAX AVAILABLE=12)
Setting the Active Station Count
The actual number of stations being used for irrigation must be entered
to enable accurate automatic scheduleing. By default, all stations are used
in the scheduling computations.
Important:
than actual will add unnecessary time to the Water Window causing an
alert condition to occur. Setting the station count lower than actual will
prevent some stations from operating.
!
If the actual number of active stations is not entered, errors and low
controller performace can result. Setting the active station count higher
MV
10
To change the number of active stations, turn the Lower Line knob.

1. Within the Setup menu, turn the Upper Line knob to view the
following display:
2.
STACKING
YES SCH A Same Times
Selecting the Stacking Option
YES is selected by default. To disable the Stacking option,
turn the Lower Line knob to select NO.
When the Stacking YES option is selected, the controller will be
constrained to operate one station at a time. The Water Window
start time and duration selected for Automatic Schedule Awill
also be assigned to Automatic Schedule Band U(User-defined)
Before selecting Stacking NO, ensure that the irrigation system
hydraulic capacity and the controller’s maximum current draw
capacity (1.0A) will not be exceeded if four stations and master
valve circuit are operated concurrently.
Important:
!
STOP
When the Stacking NO option is selected, the constraint is removed,
allowing up to four stations to operate at the same time. A separate
Water Window start time and duration can be set for all schedules.
This completes the Setup procedures required for controller operation.
The additional procedures on pages 12 and 13 are used exlcusively for
operation with the ET Everywhere service. If you elect to use the
subscription service, you will be guided through these procedures by
a WeatherTRAK customer support representative at the time of service
activation.
Continue now to Chapter 3 - Setting Up Watering Schedules, begining
on page 15.
schedules.
11

1. Within the Setup menu, turn the Upper Line knob to view the
following display:
3. T
2. The underlined digit is selected. To select a different digit, turn the
Upper Line knob.
urn the Lower Line knob to select a value from 0 – 9 for the selected
digit of the five-digit number.
4. Repeat steps 2 and 3 to display the Water District number.
SET WATER DIST.# Digit 1
12345
Setting the Water District Number
1. Within the Setup menu, turn the Upper Line knob to view the
following display:
SET ET ZONE# Digit 1
12345
Setting the ET Zone Number
3. T
2. The underlined digit is selected. To select a different digit, turn the
Upper Line knob.
urn the Lower Line knob to select a value from 0 – 9 for the selected
digit of the five-digit number.
4. Repeat steps 2 and 3 to display the ET Zone number.
12

Setting the Maximum Backup ET Value
Setting the ZIP Code
1. Within the Setup menu, turn the Upper Line knob to view the
following display:
Turn the Lower Line knob to adjust the decimal number value.
3. Turn the LowerLine knob to adjust the digit from 0 – 9.
4. Repeat steps 2 and 3 to set the five-digit ZIP Code number.
MAX BACKUP ET Part 1
2.00
SET ZIP CODE Digit 1
12345
The Maximum Backup ET value is a failsafe measure used by the
controller to calculate daily watering requirments in the event that
current ET Everywhere data is not recieved for an extended period.
1. Within the Setup menu, turn the Upper Line knob to view the
following display:
2. The underlined digit is selected. To select a different digit, turn
the Upper Line knob.
2.
The Maximum Backup ET default value of 2.00 is automatically
entered to help compensate for seasonal weather changes.
The whole number of the Maximum Backup ET value is selected
by default. To adjust the value from 1 – 3, turn the Lower Line
knob.
Note: The Maximum Backup ET is adjustable from 0.50 – 3.99.
The whole number is only adjustable to 0when the decimal
number value is .50 or higher.
4.
Turn the Upper Line knob right one stop to select the decimal
number.
3.
13

Notes
14

Chapter 3
Setting Up Watering Schedules
A key component of a station operating program is its watering
schedule. Two optional scheduling modes are available: Automatic
and User-defined. Within the Automatic mode, two separate
schedules (Aand B) can be defined. Within the User-defined (U)
schedule mode, operation with and without ET data input can be
defined. The defined watering schedules will then be assigned to
each station within the Program fucntion.
The Schedule function menu for Automatic and User-defined
schedules consists of the following items:
1. Turn the Function Selector knob to SCHEDULE to view the
following display:
2. Automatic Schedule Ais selected by default. To select Schedule
Bor U, turn the Lower Line knob.
SET SCHEDULE
Sch A
•
•
Set Schedule – to select the Schedule mode A,Bor U.
Set Irrigation Start – to set the Water Window start time.
Set Window Hour – to set the Water Window duration.
Automatic schedules Aand Bare defined with two additional
menu items:
•
Set High ET Start - to set the start time for high ET rate conditions.
•
Select Water Days - to set the active watering day schedule.
•
Selecting the Schedule Mode to Define
Setting the Water Window
and User-defined operating modes must have an assigned Water
Window start time and duration to enable operation.
When STACKING YES option is selected within the Setup
menu, the Water Window defined for Schedule A will also be
applied to Schedules B and U.
If STACKING NO option is selected, a separate Water Window
be defined for Schedules A, B and U.
Important:
!
The Water Window defines the period of time within an active
watering day in which all scheduled watering must occur. Automatic
15

1. Within the Schedule menu, turn the Upper Line knob to view
the following display:
2. The default Water Window start time is 3:01 a.m. Turn the
Lower Line knob to adjust the hour digit(s) and a.m./p.m.
SET IRR START HOUR SCH A
03:01am
3. Turn the Upper Line knob right one stop to view the following
display:
4. Turn the Lower Line knob to adjust the minutes digits.
SET IRR START MIN SCH A
03:01am
5. Turn the Upper Line knob right one stop to view the following
display:
6. Turn the Lower Line knob to adjust the Water Window duration
from 6 – 23 hours.
SET WINDOW HOUR SCH A
23:00 hrs (End 11:01pm)
7.
8.
Turn the Upper Line knob right one stop to view the following
display:
Turn the Lower Line knob to adjust the minutes of duration
from 01 – 59. End time is automatically calculated.
SET WINDOW MIN SCH A
23:00 hrs (End 11:01pm)
STOP: This completes the User-defined (U) Schedule setup
procedure. Continue on page 29 to complete User-defined station
programming. For Automatic Schedule setup, continue on page 17.
16
Table of contents
Other Toro Controllers manuals

Toro
Toro SRL-IR User manual

Toro
Toro TMC-424 Series User manual

Toro
Toro TCM-212 User manual

Toro
Toro DXI-PWM08 User manual

Toro
Toro EVOLUTION Series User manual

Toro
Toro DDCWP Series User manual

Toro
Toro 119-1100 User manual

Toro
Toro Wireless RainSensor 53770 User manual

Toro
Toro LoRa Tempus Air MV User manual

Toro
Toro LTC PRO User manual

Toro
Toro GDC 200 User manual

Toro
Toro TMC-212 User manual

Toro
Toro TIS-240 User manual

Toro
Toro EVOLUTION User manual

Toro
Toro TDC-100/200 User manual

Toro
Toro NO FOUND TMC-424E User manual

Toro
Toro 114-9273 User manual

Toro
Toro TEMPUS DC LCD User manual

Toro
Toro OSMAC RDR Satellite Controller User manual

Toro
Toro DXi Assembly instructions