manuals.online logo
Brands
  1. Home
  2. •
  3. Brands
  4. •
  5. Therian
  6. •
  7. Pet Care Product
  8. •
  9. Therian Cambridge Dog Bed User manual

Therian Cambridge Dog Bed User manual

Assembly Instructions
Cambridge Dog Bed
Tools Required
• Flat Surface To Work On
• Phillips Head Screwdriver
• Adjustable Wrench or Pliers
• Optional: Rubber Mallet
*Do not use power tools. 1
(I)
(I)
(I)
(C)
(C)
(B)
(A)
(H)
(G)
(B)
(B)
(H)
(G)
(B)
Parts List
• (A) 1 x Fabric
• (B) 4 x Top Corners
• (C) 4 x Bottom Corners
• (D) 8 x Bolts
• (E) 8 x Nuts
• (F) 4 x Screws
Pipes
• (G) 2 x Long Frame Pipes
• (H) 2 x Short Frame Pipes
• (I) 4 x Leg Pipes
• (J) 2 x Long Rods
• (K) 2 x Short Rods
*For ballistic nylon &
outdoor mesh fabrics only
(A) Fabric (C)BottomCorners
(D) Bolts
(F) Screws
(E) Nuts
(B) Top Corners
(H) Short Frame Pipes
(G) Long Frame Pipes
(I) Leg Pipes
(K, L) Fabric Rods*
(A)
(G)
(A)
(B)
(C)
(D)
(E)
(J)
(G)
(H)
2
Cambridge Dog Bed
Step 2.
With the fabric (A) seams still
facing up, insert the long edges
of the fabric into the channel
of tier pipe (G).
Insert the short edges of the fabric
into the channel of tier pipe (H).
Step 3.
With (A) fabric seams still facing
up, secure tier pipes (G) and
(H) between a top corner
underneath (B) and a bottom
corner above (C).
Lightly secure with a bolt (D)
and nut (E).
Repeat for all 4 corners.
Once corners are assembled,
completely fasten nuts.
NOTE:
Over tightening of the corners may
result in cracking, which is NOT covered
by the 1 year chew-proof warranty.
(A)
(J)
Step 1.
*For only ballistic nylon and
outdoor mesh fabric. If you have
the vinyl fabric, skip this step.
With the fabric (A) seams facing
up, insert the long rods (J) into
the long edges of the fabric.
Insert the short rods (K) into the
short edges of the fabric.
Assembly Instructions
3
Cambridge Dog Bed
(F)
(I)
(C)
Step 4.
Insert leg pipes (I) with the leg
caps facing up, into the open
bottom corners (C).
Secure legs into bottom
corners with screws (G).
Step 5.
Flip the bed over so the leg caps
are on the ground. Ensure the
corners are secure and level to
complete the Cambridge Dog Bed.
Therian Pty Ltd.
therian.com.au/kuranda | equipmen[email protected]
1800 251 766 | 07 5657 6777
Unit 4, 26 Commercial Drive,
Ashmore, QLD, 4214, Australia
Product Advisory
To maximize the life of the corner ttings, do not use excessive force to tighten bolts and nuts. Do
not use power tools to assemble the bed. Using power tools may result in screws to fall out over
time. Please be aware that over tightening the nuts located on the corners of the beds can cause
enough added stress that the corner pieces may fail. Periodically check hardware to prevent
indigestion hazards to dogs and cats.
Cleaning
It is recommended to use warm soapy water and hose down or pressure clean the Kuranda beds.
One Year Chew-Proof Warranty
We guarantee the structural integrity of each of our Kuranda beds for a period of one year from
the original date of purchase of the bed. If your dog or cat is able to damage any part of the
frame or fabric by chewing beyond usability, we will send out replacement parts free of charge.
The 1 year chew-proof warranty does not cover cosmetic damage or damage caused by
persistentscratching/digging; nor corner pieces that fail due to over-tightening of bolts and nuts.

Other Therian Pet Care Product manuals
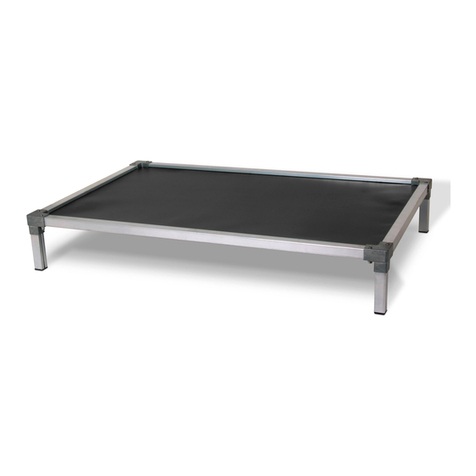
Therian All-Aluminium Kuranda Bed User manual
Therian

Therian All-Aluminium Kuranda Bed User manual

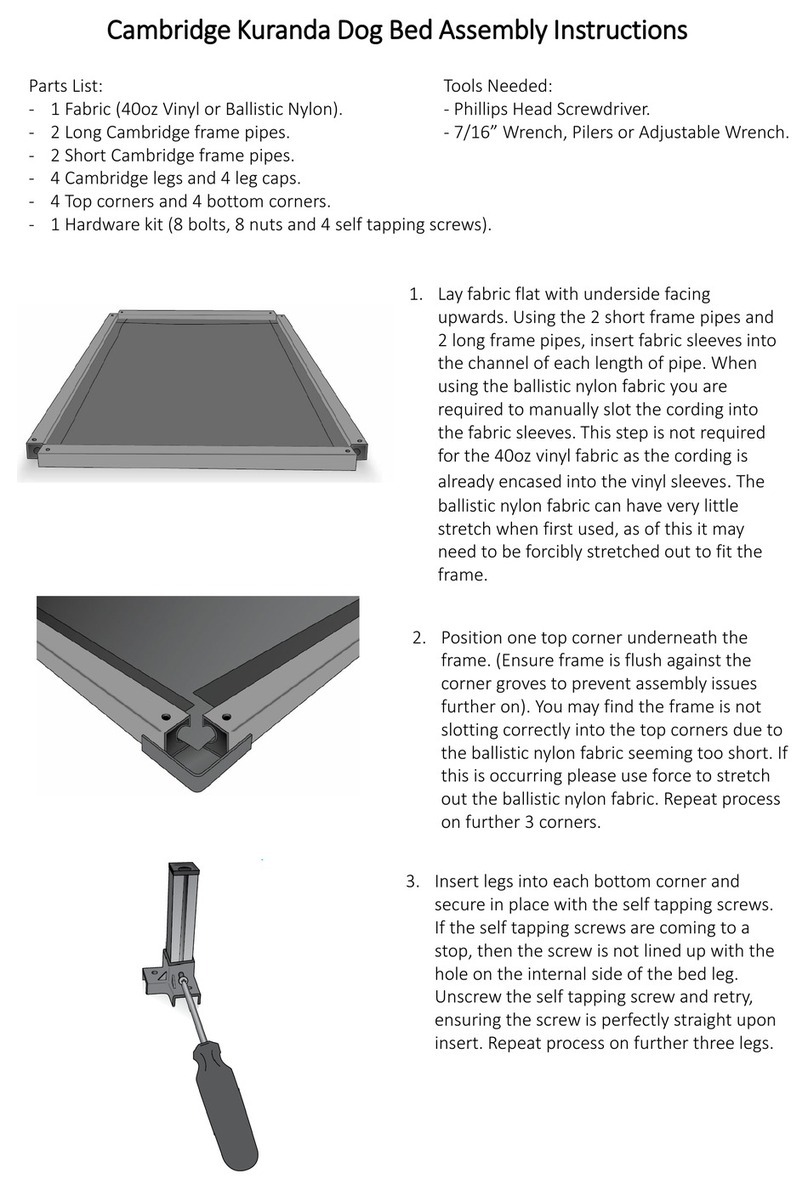
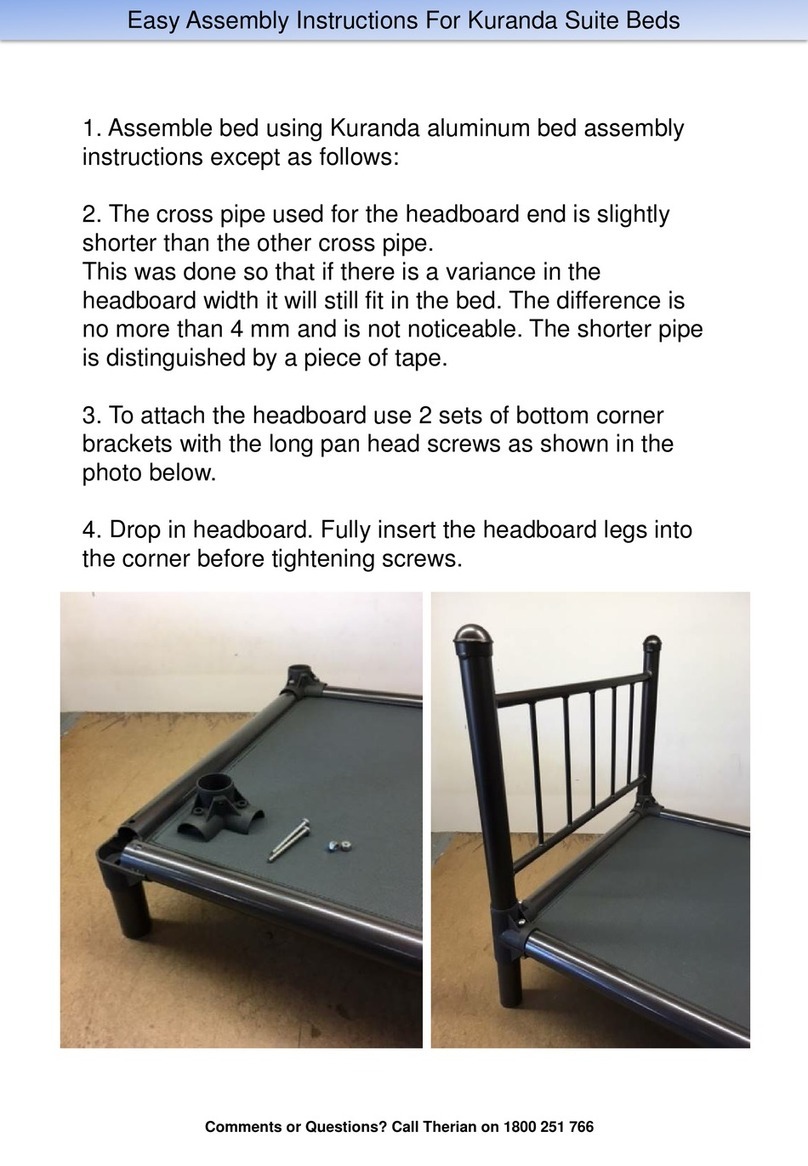
Therian Cambridge Kuranda User manual

Therian

Therian Cambridge Kuranda User manual
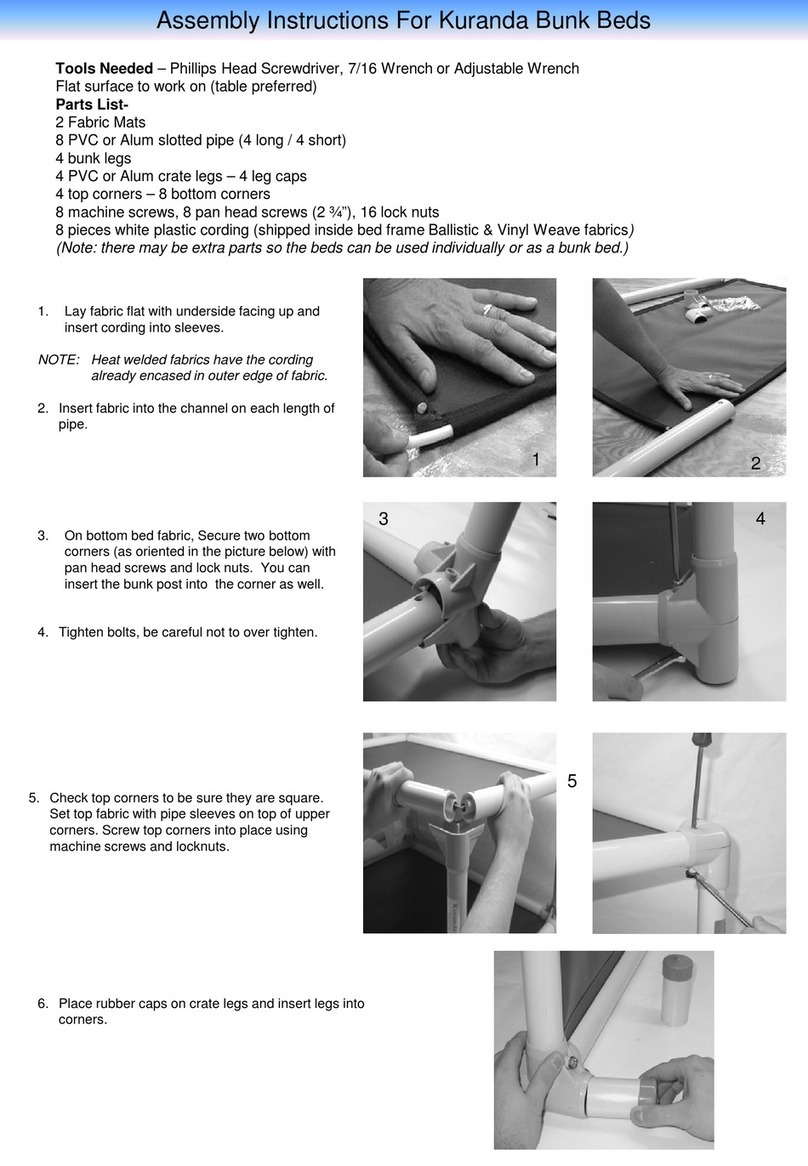
Therian Kuranda Bunk Bed User manual

Therian

Therian Kuranda Bunk Bed User manual
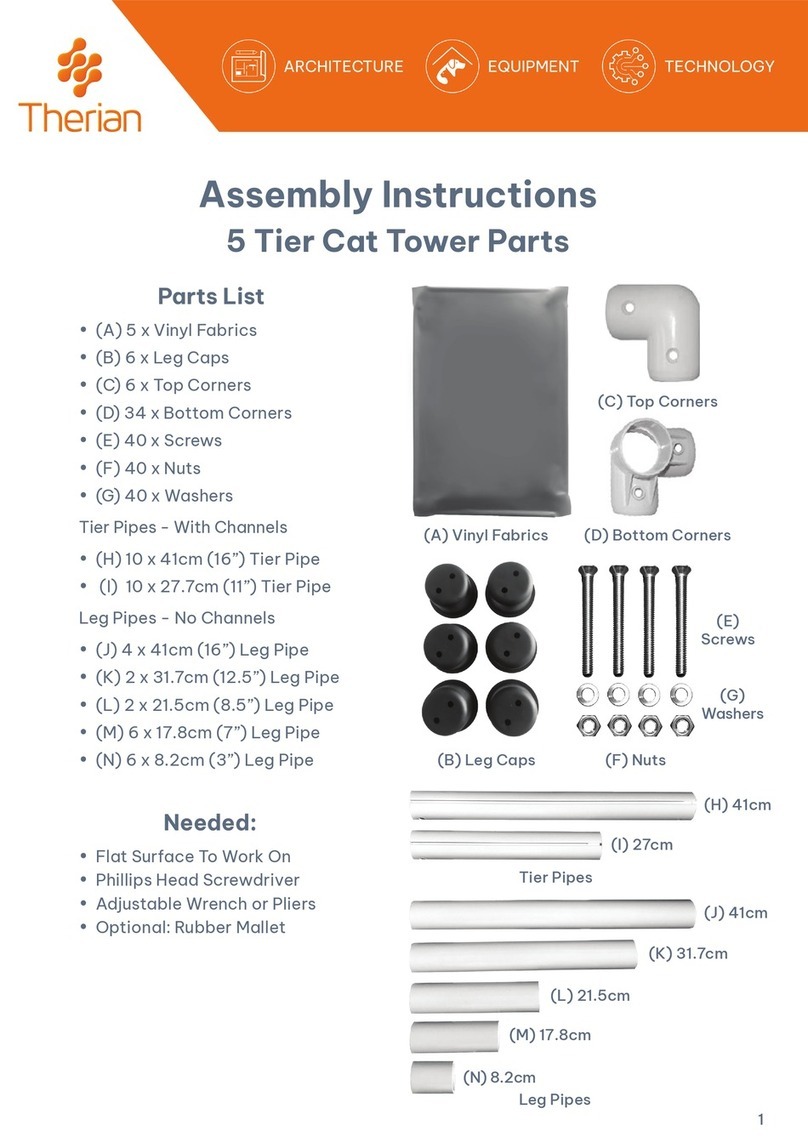
Therian 5 Tier Cat Tower Parts User manual
Therian

Therian 5 Tier Cat Tower Parts User manual

Therian Kuranda Standard bed Product information sheet
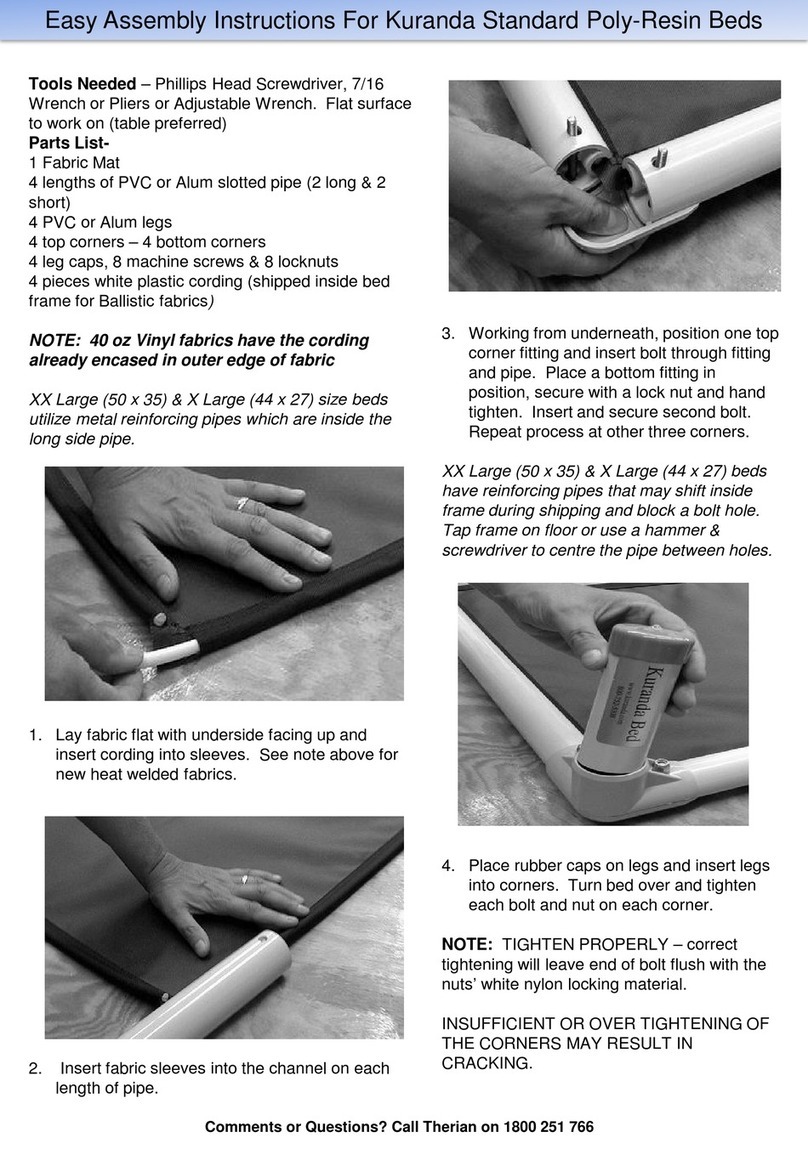
Therian

Therian Kuranda Standard bed Product information sheet

Therian Kuranda Product information sheet

Therian

Therian Kuranda Product information sheet

Therian All-Aluminium Dog Bed User manual

Therian

Therian All-Aluminium Dog Bed User manual

Popular Pet Care Product manuals by other brands
Havahart 5150G operating instructions

Havahart

Havahart 5150G operating instructions

Roverpet DC3623DF Assembly instructions

Roverpet

Roverpet DC3623DF Assembly instructions

GHL ProfiLux Expansion Box user manual

GHL

GHL ProfiLux Expansion Box user manual

Telereef TR1D user manual

Telereef

Telereef TR1D user manual

Innotek UltraSmart IUT-300E user manual

Innotek

Innotek UltraSmart IUT-300E user manual

SHOR-LINE Kat Play-Around Guide

SHOR-LINE

SHOR-LINE Kat Play-Around Guide

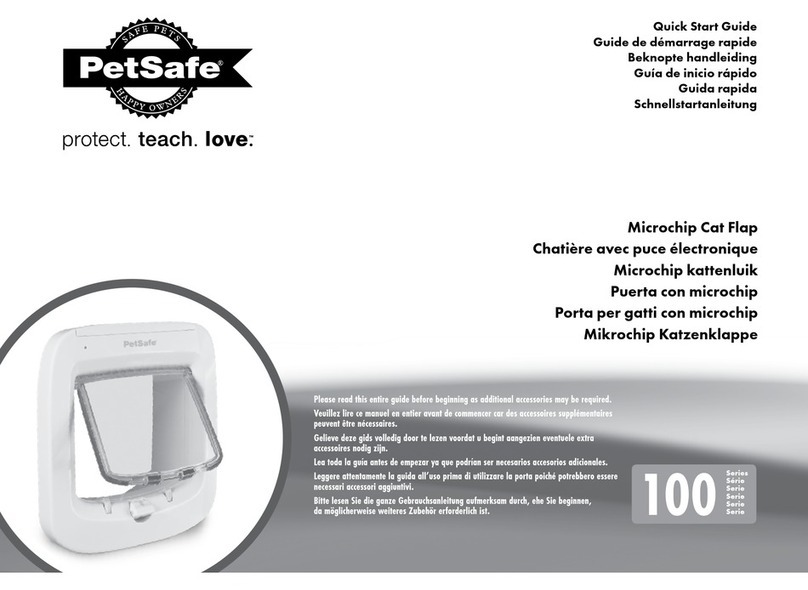
Petsafe 100 Series Quick start guides
Petsafe

Petsafe 100 Series Quick start guides

Omlet Eglu Cube instruction manual

Omlet

Omlet Eglu Cube instruction manual
Petsafe PIF00-12917 Operating and training guide

Petsafe

Petsafe PIF00-12917 Operating and training guide

Petsafe Passport PPA19-20558 installation guide
Petsafe

Petsafe Passport PPA19-20558 installation guide

Ritchie Classic Equine EZFount installation instructions
Ritchie

Ritchie Classic Equine EZFount installation instructions

Company of Animals CLIX Training guide

Company of Animals

Company of Animals CLIX Training guide

Garmin TT 25 owner's manual

Garmin

Garmin TT 25 owner's manual

Savic Splash Giant Assembly instruction

Savic

Savic Splash Giant Assembly instruction

Eurotops 45540 instruction manual

Eurotops

Eurotops 45540 instruction manual

natural PARADISE Orchid Vanda manual

natural PARADISE

natural PARADISE Orchid Vanda manual

Dogtra 3500X owner's manual

Dogtra

Dogtra 3500X owner's manual

Patpet p-collar 360 quick start guide

Patpet

Patpet p-collar 360 quick start guide

manuals.online logo
manuals.online logoBrands
  • About & Mission
  • Contact us
  • Privacy Policy
  • Terms and Conditions

Copyright 2025 Manuals.Online. All Rights Reserved.