manuals.online logo
Brands
  1. Home
  2. •
  3. Brands
  4. •
  5. Thermaltake
  6. •
  7. Storage
  8. •
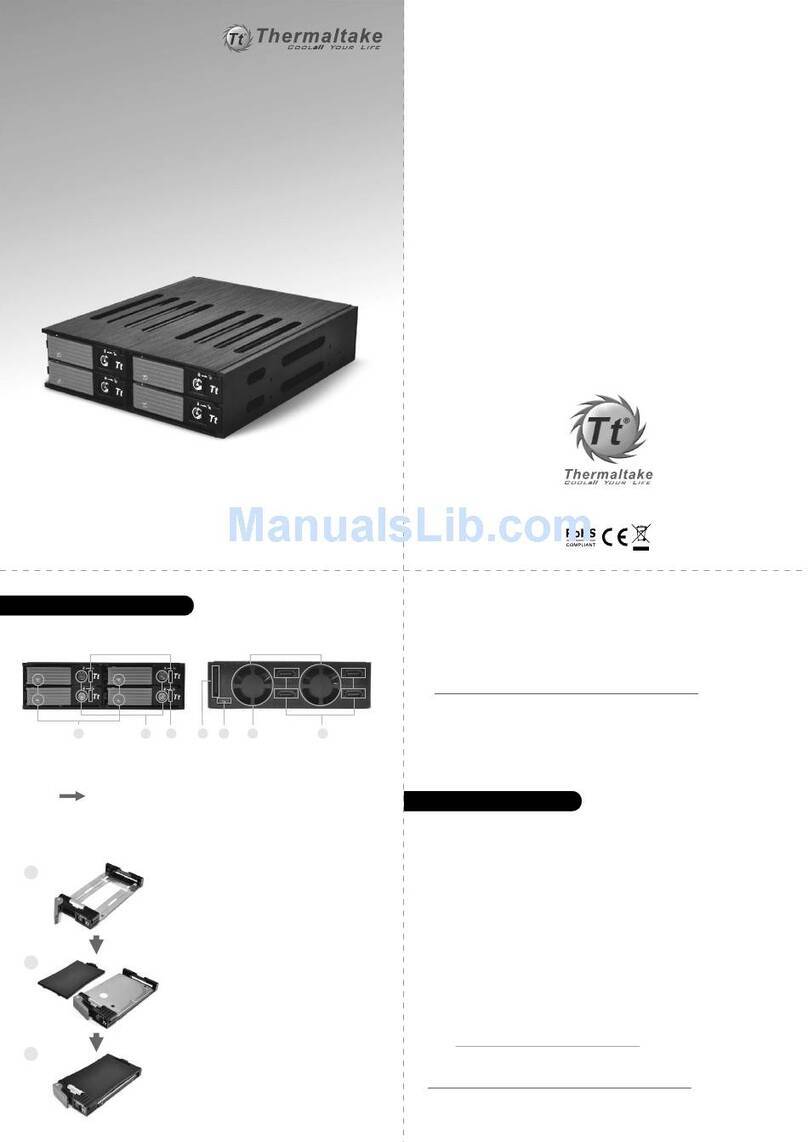
  9. Thermaltake Muse X-Duo RAID User manual

Thermaltake Muse X-Duo RAID User manual

Muse X-Duo RAID
User’s Guide
Revision 1.1
July 2007
TRADEMARKS
All brand and product names are trademarks or registered trademarks of their
respective companies.
NOTE
The information in this manual is subject to change without notice.
Important Notes
 If your Muse X-Duo RAID system is without hard dis drive
installed, follow the instructions on this User’s Guide to perform
hardware/software installations and start Muse X-Duo RAID storage
system management.
 If your Muse X-Duo RAID system comes with hard dis drive(s)
already installed, s ip the hardware/software installations portions
and go directly to Storage System Management (Section 3.2 of
Chapter 3).
 Your Muse X-Duo RAID system does not support USB hub connects
to USB port.
 When installing hard dis drive to your Muse X-Duo RAID system,
suggest using the same vendor and the same size hard dis .
iv
Table o Contents
Important Notes ................................................................................. iii
Table o Contents .............................................................................. iv
Chapter 1
Introduction.................................................................. 1
1.1
Package Contents............................................................................... 2
1.2
Specifications ...................................................................................... 3
ardware ....................................................................................... 3
Software ........................................................................................ 3
1.3
System View ....................................................................................... 4
Front Components......................................................................... 4
Rear Components ......................................................................... 6
Chapter 2
Setting Up .................................................................... 7
Step 1. Install the ard Disks..................................................................... 7
Step 2. Connect to the Network ............................................................... 11
Step 3. Connect to Power ........................................................................ 12
Step 4. Configure Your Storage System.................................................. 12
Chapter 3
Con iguring Your Storage System ........................... 13
3.1
Installing and Starting the Storage System Management ................ 14
3.2
Starting Storage System Management............................................. 30
3.3
My NAS Page ................................................................................... 33
System Setting ............................................................................ 34
Network Setting ........................................................................... 36
3.4
Users & Groups Page ....................................................................... 40
Users ........................................................................................... 40
Groups......................................................................................... 45
Quota Management..................................................................... 47
3.5
Shared Folders Page ........................................................................ 49
Add Shared Folder ...................................................................... 50
Assign Access ............................................................................. 50
Delete Shared Folder .................................................................. 52
3.6
Disk Page.......................................................................................... 53
3.7
Advanced Page................................................................................. 54
Alerts ........................................................................................... 54
Firmware...................................................................................... 57
iTunes Server ...............................................................................59
Media Server ................................................................................61
Printer Server ...............................................................................63
UPS ..............................................................................................66
USB Backup .................................................................................68
Download Station .........................................................................71
System Log ..................................................................................72
Shut Down....................................................................................73
Reboot..........................................................................................75
Back to Zero Disk .........................................................................77
3.8
Logging Out of Storage System Management ..................................80
Chapter 4
Map Shares................................................................ 83
Chapter 5
Using One-Touch Backup......................................... 85
5.1
Connecting a USB Device .................................................................85
5.2
Using the Card Reader ......................................................................86
1
Chapter 1 Introduction
Your Muse X-Duo RAID is a high-performance, extremely flexible RAID
(Redundant Array of Independent/Inexpensive Dis s) subsystem.
RAID technology, one of the best solutions for protecting your data, provides
higher data integrity and availability than single standard hard dis storage.
With the ability of error detection and redundant storage system for recovering
original data, RAID system is an ideal configuration to safeguard valuable data
with stream-lining performance.
Additional features include:

RAID Mode

RAID Degrade

HW (hardware) Health Monitor

UPS (uninterruptible power supply)

Reset to Factory Default Setting

One-touch Bac up

Event Log

Software shutdown by using Web Management

Can function as a FTP server and printer server

DHCP client support
2
1.1 Package Contents
Includes the following:

Muse X-Duo RAID Storage System

HDD Rail × 2

Power Adapter

Power Cord

RJ-45 Ethernet Cable

Set of Screws

Utility Disc

Quic Start Guide
3
1.2 Specifications
NOTE: Specifications are subject to change without notice.
Hardware
Processor
LSI NAS201
System Memory
128 MB of DDR2 SDRAM
Flash Memory
8 MB
Hard Disk Drive Bay/Type
Up to two 3.5-inch SATA (Serial ATA)
Storage Capacity
Using 750 GB drives provides up to 1.5 TB
One Touch Button
Backup files from digital camera, mass storage,
and Card Reader
Network
Automatic MDIX RJ-45 port
(10/100/1000 Mbps)
Others
• USB port for still images, mass storage,
printer
• Card Reader (MMC, SD, MS card)
Power Supply
DC Output 12 V / 5 A
Dimension
( )140 x (W)120 x (D)240 mm
Weight
1.8 kg
Environment
• Operating temperature:
0
0
C (32
0
F) to 40
0
C (104
0
F)
• Storage relative humidity:
5 % to 90 % non-condensing
Software
Network Client Support
• Microsoft Windows, Mac (10.4.x)
Network Protocol
• TCP/IP
• TTP
• FTP
• SMB/CIFS
Application or NAS Management
• Data Sharing, Protection
• Data Backup and Recovery (future option)
• Web User Interface
Disk Con iguration
Single, RAID 0/1, and JBOD
Browser
• Internet Explorer 6.0
• Firefox 2.0
Others
• English language support
• Real Time Clock (RTC)
• Programmable system clock
• Network time protocol support
• D CP Client support
• ardware/Software power off
• Reset button to return to factory default
setting
• Firmware upgradeable
• FTP server and printer server support
• Media Server (DLNA v.1.0) support
• Event logs and email alerts
• ot swap and automatic rebuild
remove and insert hard disk under RAID 1
rebuild new hard disk automatically
• ardware monitor / temperature sensor
4
1.3 System View
Front Components
Re
Component Description

Hard Disk Drive
Compartment
Contains two hard dis drive slots.

Compartment
Cover Opening
Slot
Allows you to pull open the hard dis drive compartment
cover.
Device Indicators
Power Glows blue to indicate the power is on.
Glows green to indicate system is connected to networ .

Network
Blin s green to indicate system is trying to establish a
networ connection.
5
Re
Component Description
Device Indicators (continued)
Glows blue to indicate RAID function is implemented.
Blin s blue to indicate RAID function is rebuilding the
hard dis drive.
RAID
Glows red to indicate RAID function is inactive/
malfunction.
Glows blue to indicate hard dis drive 1 is on standby.
HDD1
(right slot) Blin s blue to indicate read/write functions of hard dis
drive 1.
Glows blue to indicate hard dis drive 2 is on standby.
HDD2
(left slot) Blin s blue to indicate read/write functions of hard dis
drive 2.
Glows blue to indicate system is connected with USB
storage device(s), or SD/MMC/MS card through Card
Reader slot.

OT
Blin s blue upon pressing the One-Touch Bac up button
to indicate read/write function.

One-Touch
ackup utton
Allows you to bac up files from digital camera, mass
storage device, or Card Reader.

Card Reader Accepts a MMC (MultiMediaCard), SD (Secure Digital),
or MS (Memory Stic ) card for removable storage media.

US Port Connects to a USB device, such as a USB mass storage
device.
6
Rear Components
Re
Component Description

Power Switch Turns the power on (I) and off (O).

Power Connector
DC IN
Connects to the power adapter.

Reset Switch
RESET
Allows you to reset the system to the factory default
username, password, DHCP, and IP.

RJ-45 Connector
LAN
Connects the LAN cable.
Green LED (upper) – glows green when the system has an
available connection to LAN.
Yellow LED (lower) – blin s yellow when the system is
accessing the LAN.

US Ports Connect USB devices, such as USB mass storage device
or digital camera.

Ventilation
Opening
Maintain proper operating temperature. Do not cover or
bloc the openings.
7
Chapter 2 Setting Up
Step 1. Insta the Hard Disks
1. Pull off the hard dis drive compartment cover from the device by pulling
on the indented portion.
CAUTION: Be gent e when pu ing off the cover. Pu ing it vigorous y cou d damage the
cover hinges and device. The compartment cover was designed as a f at surface for the
protection and safety of data and hard disks. It is not encouraged to open the compartment
cover frequent y.
8
2. Fasten two screws on "1" position to secure the HDD rail on the hard dis
drive. Fasten three screws on the opposite side of the hard dis drive
(without HDD rail).
3. Slide the hard dis drive all the way into the right slot.
NOTE: Insta the first hard disk drive on the right s ot, the second hard disk drive on the eft
s ot. This is important when imp ementing RAID.
4. Repeat step 2 and 3 to install the second hard dis drive.
9
5. Slide the second hard dis drive all the way into the left slot.
6. Place the hard dis drive compartment cover bac on the storage device.
CAUTION: Be gent e when rep acing the cover to avoid damaging the cover hinges and
device. Rep acing it vigorous y cou d damage the cover hinges and device. The
compartment cover was designed as a f at surface for the protection and safety of data and
hard disks. It is not encouraged to open the compartment cover frequent y.
In the event that you would need to remove a hard dis drive, pull on the plastic
handle and slide the dis off the compartment.
10
NOTE: If you have two hard disk drive insta ed, remove the hard disk drive on the eft s ot
first, then remove the hard disk drive on the right s ot.
11
Step 2. Connect to the Network
1. Ma e sure that the computer is connected to a router.
2. Connect one end of the Ethernet cable to the networ connector (LAN) on
the bac of your storage system (Muse X-Duo RAID) and the other end to a
router.
Or you can connect both your computer and storage system (Muse X-Duo
RAID) to one switch, and this switch is connected to the networ which has a
DHCP server.
12
Step 3. Connect to Power
1. Ma e sure that your storage system is turned off (Power switch on the “O”
position).
2. Plug the DC cord of the AC adapter to the power connector (DC IN) on the
rear of the storage system ().
3. Plug the female end of the AC power cord to the AC adapter and the male
end to an electrical outlet ().
CAUTION:

When you disconnect the AC adapter, disconnect from the e ectrica out et first and then
from the storage device. A reverse procedure may damage the AC adapter or the
storage device.

When unp ugging the connector, a ways ho d the p ug head. Never pu on the cord.
Step 4. Configure Your Storage System
See the next chapter for the software configuration instructions.
13
Chapter 3 Con iguring Your Storage
System
You must install at least one hard dis (right slot) before your storage system
can provide services.
An Muse X-Duo RAID networ consists of an Muse X-Duo RAID server and
several clients connected via networ lin s.
14
3.1 Insta ing and Starting the Storage System Management
You need to install Storage System Management before you can perform any
system configurations.
NOTE: Make sure that your storage device is powered off.
1. Insert the included utility disc into your computer and the following screen
appears (if not, clic on the file AutoRun.exe on the utility disc).

Other Thermaltake Storage manuals

Thermaltake Silver River II ST0018Z User manual

Thermaltake

Thermaltake Silver River II ST0018Z User manual

Thermaltake WaterRam RGB User manual

Thermaltake

Thermaltake WaterRam RGB User manual

Thermaltake MAX-1542 User manual

Thermaltake

Thermaltake MAX-1542 User manual

Thermaltake Vi-ON ST0009U User manual

Thermaltake

Thermaltake Vi-ON ST0009U User manual

Thermaltake N0006US User manual

Thermaltake

Thermaltake N0006US User manual

Thermaltake Muse NAS-RAID N0001LN User manual

Thermaltake

Thermaltake Muse NAS-RAID N0001LN User manual

Thermaltake MAX-2533 User manual

Thermaltake

Thermaltake MAX-2533 User manual

Thermaltake Silver River II ST0016U User manual

Thermaltake

Thermaltake Silver River II ST0016U User manual

Popular Storage manuals by other brands

HP StoreAll Series installation guide

HP

HP StoreAll Series installation guide

AMX MAX-BSM installation guide

AMX

AMX MAX-BSM installation guide

HP 3PAR StoreServ 7200 2-node Installation and setup guide

HP

HP 3PAR StoreServ 7200 2-node Installation and setup guide

Tandberg Data SDLT320 - quick start guide

Tandberg Data

Tandberg Data SDLT320 - quick start guide

Quest Engineering DR4300 Getting started

Quest Engineering

Quest Engineering DR4300 Getting started

Hiddn SafeDisk installation manual

Hiddn

Hiddn SafeDisk installation manual

Advantech SQF-MSDS1-2G-85E Technical manual

Advantech

Advantech SQF-MSDS1-2G-85E Technical manual

Synology DiskStation DS214se Quick installation guide

Synology

Synology DiskStation DS214se Quick installation guide

Transcend SSD18M user manual

Transcend

Transcend SSD18M user manual

Hitachi Hyper Scale-Out Maintaining and troubleshooting

Hitachi

Hitachi Hyper Scale-Out Maintaining and troubleshooting

Aluratek Cavalry ACUES3501000F product reference card

Aluratek

Aluratek Cavalry ACUES3501000F product reference card

Polydome PD-1250 Assembly instructions

Polydome

Polydome PD-1250 Assembly instructions

Tandberg Data STORAGELIBRARY REV2 ONLINE - QUICK Quick installation guide

Tandberg Data

Tandberg Data STORAGELIBRARY REV2 ONLINE - QUICK Quick installation guide

Maxtor OneTouch 4 500GB user guide

Maxtor

Maxtor OneTouch 4 500GB user guide

Kennedy 9600B Installation and operation manual

Kennedy

Kennedy 9600B Installation and operation manual

Fujitsu LTO-5 user guide

Fujitsu

Fujitsu LTO-5 user guide

HP C7745NB - SureStore DLT Tape Autoloader 1/9 manual

HP

HP C7745NB - SureStore DLT Tape Autoloader 1/9 manual

iStorage diskAshur user manual

iStorage

iStorage diskAshur user manual

manuals.online logo
manuals.online logoBrands
  • About & Mission
  • Contact us
  • Privacy Policy
  • Terms and Conditions

Copyright 2025 Manuals.Online. All Rights Reserved.