thermopatch.com
9
II. Installation
2.1 INSTRUCTION FOR HANDLING
The NL-33 AUTO has been packed in a wooden crate and xed
to a pallet. If you need to relocate the machine at a later
point, we advise you to pack the machine in a similar fashion.
Let the machine cool down completely before packing and
moving it.
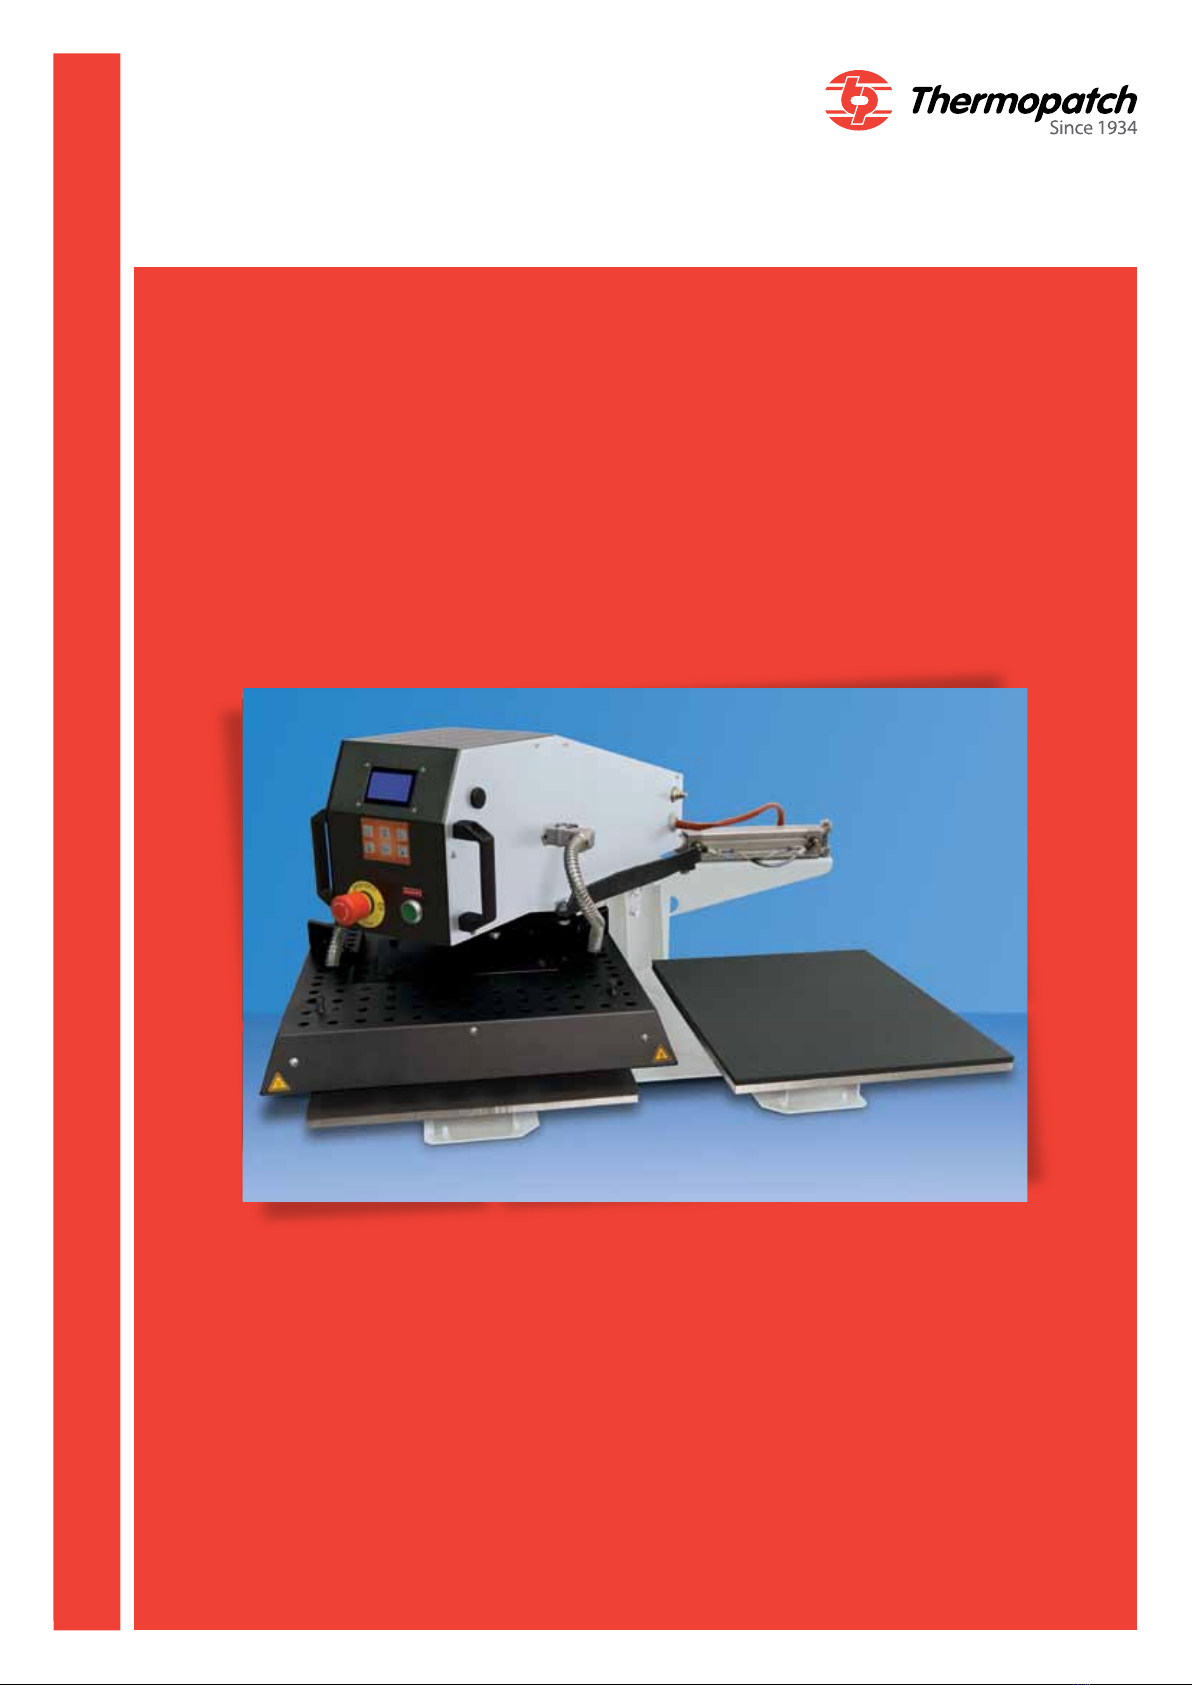
2.2 INSTALLING AND CONNECTING THE NL-33 AUTO
Take the Thermoseal NL-33 AUTO from its box and place it
on a stable worktop near an earthed wall socket. Connect the
machine with the supplied power cord to the electrical current
(230 Volt, alternating current). The NL-33 AUTO is earthed
and provided with a fuse (11 Amps).
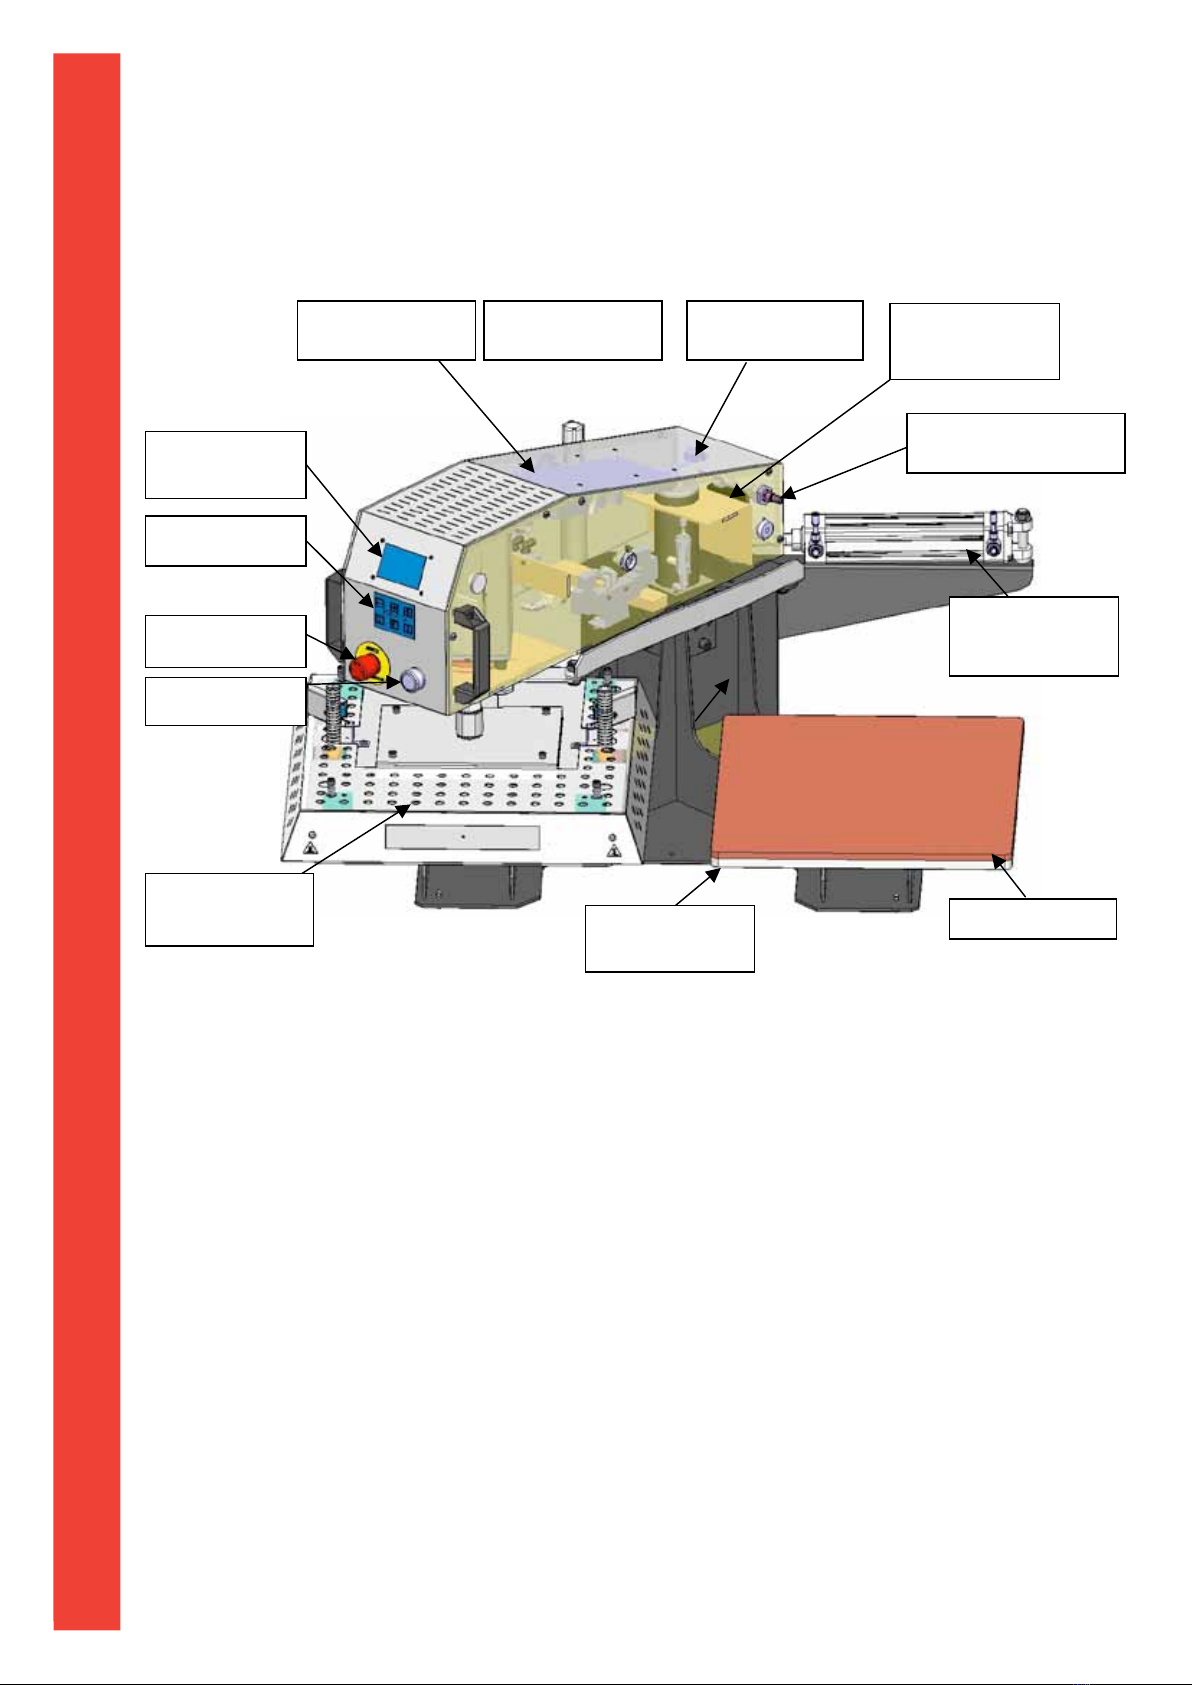
2.3 ASSEMBLY
To ensure a problem-free operating of your NL-33 AUTO,
it is essential to work with dry, clean compressed air. The
supplied pressure regulator with water condenser is only an
added protection of the machine. The user has to make sure
that the pressure on the machine does not exceed 6 Bars.
Connect a 6 mm air tubing with the compressor or the local
compressed air system and connect this subsequently to the
water condenser / pressure regulator mounted on the
NL-33 AUTO. The NL-33 AUTO is tted with a foot pedal for
its operation. Connect the foot pedal by inserting the
connector into its slot, which is placed underneath power
entry on the back of the machine. Fasten the securing ring
after inserting the connector.