P2
INTRODUCTION
1.0 INTRODUCTION
1.1 Safety Instructions
DO NOT INSTALL YOUR RECEIVER:
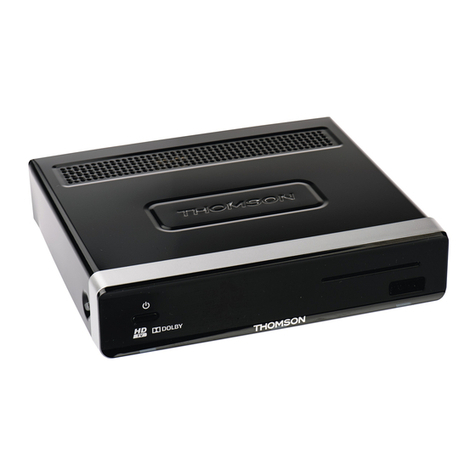
•In a closed or poorly ventilated cabinet; directly on top of or under any other equipment; on a
surface which might obstruct the ventilation slots.
DO NOT EXPOSE THE RECEIVER OR ITS ACCESSORIES:
•To direct sunlight or any other equipment that generates heat; to rain or intense moisture; to
intense vibration and to any shock which may cause permanent damage to your receiver or to any
magnetic objects, such as loudspeakers, transformers, etc.
•Do not use a damaged power cord. It may cause a fire or an electric shock. Do not touch a power
cord with wet hands. It may cause an electric shock.
•When the receiver is not used for a long period of time, you should unplug the power cord from
the wall socket.
•Do not use alcohol or ammonia based liquids to clean the receiver. If you wish, you may clean
your receiver with a soft lint-free cloth slightly made damp with a mild soap solution, and only
after disconnecting from the mains voltage supply. Make sure no foreign objects fall through the
ventilation slots because this could cause fire or an electric shock.
•Do not place any objects on top of the receiver because this might prevent proper cooling of the
components inside.
Safety Precautions
•Never try to open the receiver. It is dangerous to touch the inside of the receiver due to high
voltages and possible electrical hazards. Opening the receiver will void the warranty of the
product. Refer all maintenance or servicing to suitably qualified personnel.
•When you are connecting cables, be sure that the receiver is disconnected from the mains supply
voltage. Wait a few seconds after switching off the receiver before you move the receiver or
disconnect any equipment.
•It is a necessity that you only use an approved extension and compatible wiring that is suitable
for the electrical power consumption of the installed equipment. Please ensure that the electrical
power supply corresponds with the voltage on the electrical identification plate at the back of the
receiver.
If the receiver does not operate normally even after strictly following the instructions in this user
manual, it is recommended to consult your dealer.
1.2 Storage
Your receiver and its accessories are stored and delivered in a packaging designed to protect
against electric shocks and moisture. When unpacking it, make sure that all the parts are included
and keep the packaging away from children. When transporting the receiver from one place to
another or if you are returning it under warranty conditions, make sure to repack the receiver in its
original packaging with its accessories. Failing to comply with such packaging procedures could
damage the product and void your warranty.
