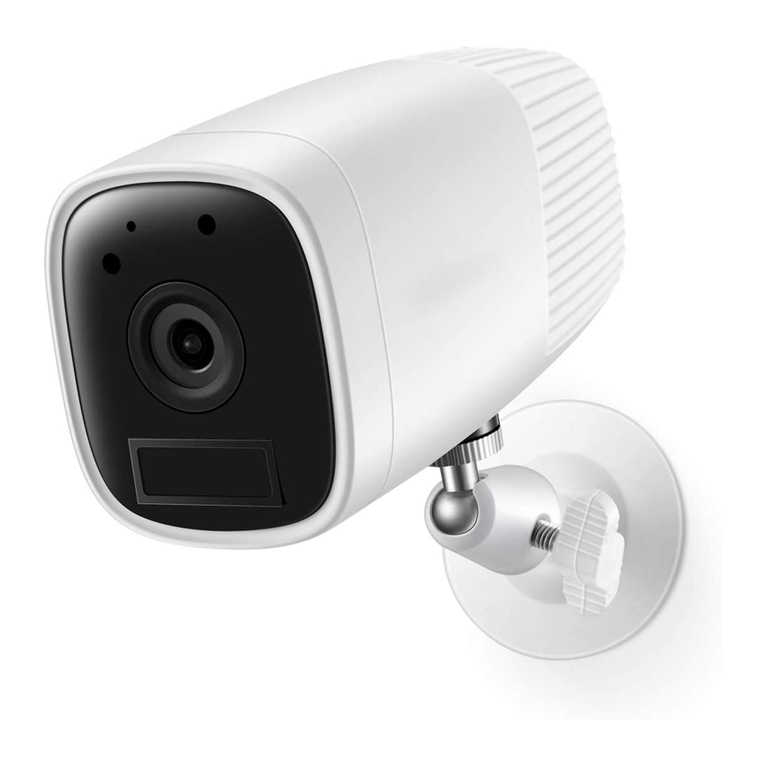
Tiandy TY-CG6E-30WSL User manual

Keep an Eye on What Matters
Smart WiFi Battery Camera
User Manual

Contents
1. Packing List
2. Product Appearance
3. Quick Start
4. Add Camera by QR code Scanning
5. Add Camera by Hotspot
6. Install the Camera
7. Share the Camera
8. Play the Camera
9. Setup your Home and Rooms
10. Camera's Specification
11.Solar Panel's Specification
12. Firmware Upgrade
13. Contact Us
01
01
04
06
08
10
12
13
15
16
16
16
17

Packing List
Camera
Bracket for Camera
Screws Bag
User Manual
Solar Panel
Bracket for Solar Panel
USB Charging Cable
1
X
1
X
1
X
1
X
1
X
1
X
1
X
Product Appearance
Lens
White Light
Status Indicator
Human Body
Infrared Sensor
Microphone
Camera
01

Bracket Interface
Speaker
Power Button
Reset Button
Type-C Port
Micro-SD
Card Slot
02

Bracket
Power Cable
(Type-C Port)
Solar Panel ( 1.6W )
Solar Panel
03

Quick Start
1. Download and install the App
Android
Download
Download
App Store
The wireless smart battery camera supports Android and iOS
devices using the mobile App: Tinosec. For your best experience,
please scan the QR code below with your mobile phone, install
the App, and follow the instruction to complete the user
registration.
The wireless smart battery camera operates on the built-in
internal batteries and can also be powered using AC-Power
supply.
04

Sign in to the App, tap on the " " symbol on the upper right hand
corner and follow the prompts displayed on screen (please bring
the camera and device close to the router when initially configuring).
2. Add camera
05

Add Camera by QR code Scanning
Step 1) After pressing the camera power button for 3 seconds, the
camera will turn on. The camera will emit the scanning sound
"Ding Dong Ding Dong" after it is turned on for seconds ( if you do
not hear it, please quickly press the power button twice).
Step 2) Then select the "Smart Camera (Wi-Fi)", just follow the
pages, tap "Next", no need to read the words in pictures. Until the
4th steps, tick "Got it", then tap "Next".
Step 3) Please do connect your phone to a 2.4GHz network, then
tap "Next". Take the camera to scan the QR code. Hold still and
keep them 15~20cm away from each other. After it succeeded
scanned, you will hear a sharp sound "ding ding ding". Keep the
device on, and then it will be starting registered on the server. You
will hear "Connection Succeeded" to confirm the success.
Power Button
06

Step 1 Step 2 Step 3
Step 4 Step 5 Step 6
If you failed to add camera by scanning QR code, you can try "Add
Camera by Hotspot" following next pages.
07

Add Camera by Hotspot
After pressing the camera switch for 3 seconds, the camera turns
on. The camera will emit the scanning sound "Ding Dong Ding
Dong" after it is on ( If you do not hear it, please quickly press the
power button twice).
Keep the camera powered on, then follow steps below to add the
camera to Wi-Fi by Hotspot.
1. Select Smart Camera (Wi-Fi).
2. On the Right corner, choose AP Mode.
3. Reset the camera by pressing reset button.
4. Choose a 2.4GHz Wi-Fi network and input password.
5. Go to connect to choose the camera's AP, which named
SmartLife-XXXX. Then go back to the App to continue.
Step 1 Step 2 Step 3
08

Step 4 Step 5 Step 6
After the success connection to Wi-Fi, you can place the camera at
the colcation you wish to set it up.
Step 7 Step 8 Step 9
09

Install the Camera
(1) Select a good spot for your camera
The camera can be placed on surfaces such as a shelf, ledge, or
table. You can also mount the camera to the wall with the
included mounting hardware.
Select a good spot for your camera, please install the camera in a
position where its view is not blocked and ensure that it is within
the coverage of the Wi-Fi network. The PIR infrared sensor is more
sensitive to movements across the camera's field of view than
movements toward or away from the camera.
About 15° Downward
ommended
Height About 6ft
Rec
10

Use the drilling tool to punch holes on the wall according to the
hole distance of the base. It is recommended to mark the holes
on the wall with a pencil before drilling. Screw the expansion nut
into the holes on the wall, and then connect the bracket to the
expansion nut with screws to complete the fixing.
(2) Install the bracket
1) Screw fixing:
Align the bracket screw with the screw hole on the back of the
camera, and then rotate it to the tightened state.
2) Fixing the camera
11

1 2
3) Adjust the angle
Share the Camera
Adjust the camera to an appropriate angle, the best angle is
about 15 degrees downward, and then tighten the base by
rotating it in clockwise direction to fix the angle.
You can provide access to the camera live stream as well as
previously recorded footage to family and friends using the camera
share function. Only the administrator account that initially set up
the camera can invite other users to share.
Find the camera you want to share on the App homepage or
camera setting page. Tap on the button to enter the "Share" page.
About 15 ° downward
12

Input the account you want to share, and then tap "Add Sharing".
(Please note: Sharing only works for accounts registered in the
same country.)
Play the Camera
1. You can tap to get more about the camera. On this screen you
can tap different icons for different functions to play the cameras.
1
13

1
4
5
6 7 8
2
3
1. Go to Camera Control Panel 2. Camera Setting 3. Zoom Up
4. Features Control Panel 5. Full Screen 6. Features
7. Cloud Storage 8. Alarm Messages
01
14

Setup your Home and Rooms
Follow steps below you can add Homes and Rooms to set your
cameras in different houses and different locations in the houses.
02
15

Solar Panel's Specification:
Item
Power
Working voltage
Working current
Interface
Size
Specification
1.6W
5.0V
≥320mA
Type-C
141x85x10.4(mm)
Firmware Upgrade
When you connect your camera through the App, it will prompt
you if the latest firmware is available. You can also manually
check the firmware upgrade in the settings of the App.
Please make sure that your camera is fully charged or connected
to the power adapter before upgrading the firmware, please do
not cut off the power supply during the upgrading.
Camera's Specification
Item
Camera lens
Image resolution
Video bit rate
Storage media
Battery capacity
Adapter requirement
Waterproof rating
Specification
Field of view: 120°
2048*1536@15fps
Adaptive
Micro SD card (Up to 128GB)
4500mAh
5V/1.5A
IP66
03
16

Contact Us
If you need any help, just feel free to write to us.Support
Email: [email protected]. You can get one year
free cloud storage with your reviews and ideas on our
products as a bonus to help us improving our products.
You can find the FAQs and demo vidoes on using the
camera on the App. You are highly welcomed to reach
us on the App.
04
17

support@Tinosec.com
V2024A-1
V2024A-2
07
Table of contents
Other Tiandy Security Camera manuals
