manuals.online logo
Brands
  1. Home
  2. •
  3. Brands
  4. •
  5. TimeLine
  6. •
  7. Recording Equipment
  8. •
  9. TimeLine Micro Lynx ACG Option Card User manual

TimeLine Micro Lynx ACG Option Card User manual

May-10 Page 173J011 REV A
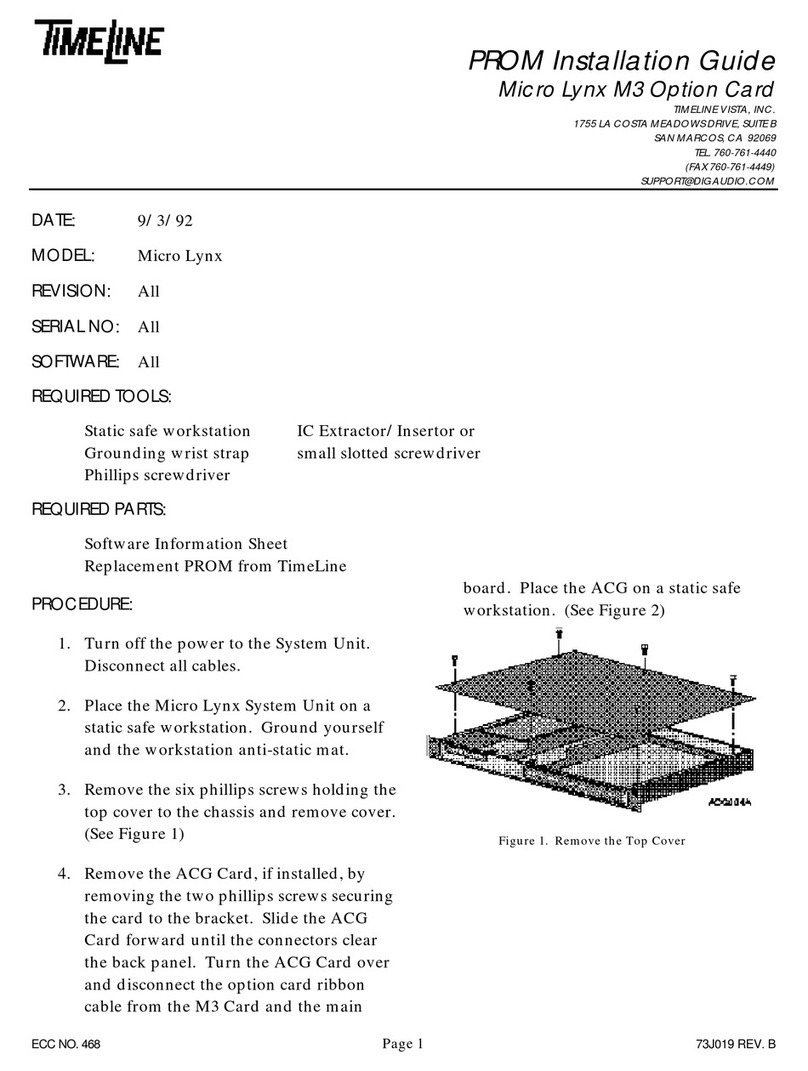
PROM Installation Guide
Micro Lynx ACG Option Card
qOptional TIMELINE VISTA, INC.
1755 LA COSTA MEADOWS DRIVE, SUITE B
qRecommended SAN MARCOS, CA 92069
TEL. 760-761-4440
q3Mandatory (FAX 760-761-4449)
[email protected]
DATE: 04/22/92
MODEL: Micro Lynx
REVISION: All
SERIAL NO: All
SOFTWARE: ACG PROM U12
REQUIRED TOOLS:
Static safe workstation IC Extractor/Insertor or
Grounding wrist strap small slotted screwdriver
Phillips screwdriver
REQUIRED PARTS:
Software Information Sheet
Replacement PROM from TimeLine
PROCEDURE:
1. Turn off the power to the System Unit.
Disconnect all cables.
2. Place the Micro Lynx System Unit on a
static safe workstation. Ground yourself
and the workstation anti-static mat.
3. Remove the six phillips screws holding
the top cover to the chassis. Remove the
top cover.
4. Remove the two phillips screws securing
the ACG Card to the bracket. Disconnect
the option card cable from the main board
and the M3 Option Card, if installed. Slide
the ACG Card foward until the connectors
clear the back panel and place on a static
safe workstation component side up.
Figure 1. Remove the Top Cover
May-10 Page 273J011 REV A
Figure 2. Removing the ACG Card
May-10 Page 373J011 REV A
PROM Installation Guide
PROCEDURE continued:
5. Locate U12, the ACG PROM. Remove and replace the PROM. Be careful to correctly align Pin 1
and properly seat the PROM, see Figure 3.
Figure 3. ACG PROM Location
6. Replace the ACG card component side down. Tilt and slide the card into the groove along the
top of the left side rail. Position the connectors into the appropriate cutouts in the back panel.
Insert the two phillips screws through the ACG Card into the bracket standoffs and tighten.
7. Connect the end of the cable into J3, the Option Cards Expansion Connector, on the main board.
If you have an M3 Option Card insert the connector closest to the ACG card into J1, the Option
Cards Expansion Connector, on the M3 card. Make sure the cable is lying flat across the slots in
the brackets.
Warning
Use an IC inserter to remove and replace the PROM. If one is not available, use a small
slotted screwdriver. Insert the screwdriver under the PROM, twist slightly and gently lift up.
Inserting the screwdriver incorrectly could damage surrounding components.
May-10 Page 473J008 REV A
8. Replace the cover on the System Unit. Insert and tighten the 6 phillips screws. Reconnect the
cables and turn on the power. The System Unit will automatically detect the new software
version. To verify that the upgraded software is operating, press SYS on the Keyboard
Controller, the new software version numbers will be displayed.

Other TimeLine Recording Equipment manuals

TimeLine Micro Lynx ACG-1 Option Card User manual

TimeLine

TimeLine Micro Lynx ACG-1 Option Card User manual

TimeLine Micro Lynx M3 Option Card User manual

TimeLine

TimeLine Micro Lynx M3 Option Card User manual

TimeLine Lynx Keyboard Control Unit User manual

TimeLine

TimeLine Lynx Keyboard Control Unit User manual

TimeLine Micro Lynx System Unit User manual

TimeLine

TimeLine Micro Lynx System Unit User manual

TimeLine Micro Lynx VITC Option Card User manual

TimeLine

TimeLine Micro Lynx VITC Option Card User manual

TimeLine Micro Lynx VSG Option Card User manual

TimeLine

TimeLine Micro Lynx VSG Option Card User manual

TimeLine Micro Lynx VITC Option Card User manual

TimeLine

TimeLine Micro Lynx VITC Option Card User manual

TimeLine Micro Lynx M3 Option Card User manual

TimeLine

TimeLine Micro Lynx M3 Option Card User manual

Popular Recording Equipment manuals by other brands

Alber neodrives SimplyRemote user manual

Alber

Alber neodrives SimplyRemote user manual

Yamaha TX-81Z owner's manual

Yamaha

Yamaha TX-81Z owner's manual

swissonic USB Studio D Mk. II operating manual

swissonic

swissonic USB Studio D Mk. II operating manual

Dreadbox Darkness user manual

Dreadbox

Dreadbox Darkness user manual

D-Link mydlink DNR-312L user manual

D-Link

D-Link mydlink DNR-312L user manual

Edirol Audio Capture UA-3FX owner's manual

Edirol

Edirol Audio Capture UA-3FX owner's manual

Vokkero ELITE WI user guide

Vokkero

Vokkero ELITE WI user guide

Korg Pandora Stomp owner's manual

Korg

Korg Pandora Stomp owner's manual

Euphonix The CUBE Service manual

Euphonix

Euphonix The CUBE Service manual

Arturia beatstep pro user manual

Arturia

Arturia beatstep pro user manual

junger b40 Operation manual

junger

junger b40 Operation manual

KEBCO COMBIVERT F5 instruction manual

KEBCO

KEBCO COMBIVERT F5 instruction manual

3M Series 410 instruction manual

3M

3M Series 410 instruction manual

BOSSCO MICRO BR owner's manual

BOSSCO

BOSSCO MICRO BR owner's manual

BOSSCO BR-1200CD supplementary guide

BOSSCO

BOSSCO BR-1200CD supplementary guide

BOSSCO ME-50B Turbostart

BOSSCO

BOSSCO ME-50B Turbostart

Yamaha CDR-HD1000 Service manual

Yamaha

Yamaha CDR-HD1000 Service manual

Crestron HD-XSP Operations & installation guide

Crestron

Crestron HD-XSP Operations & installation guide

manuals.online logo
manuals.online logoBrands
  • About & Mission
  • Contact us
  • Privacy Policy
  • Terms and Conditions

Copyright 2025 Manuals.Online. All Rights Reserved.